Introduction
Welcome to this step-by-step guide on how to install the Logitech Wireless Keyboard K360. Whether you’re upgrading your current keyboard or setting up a new one, this tutorial will help you navigate the installation process with ease.
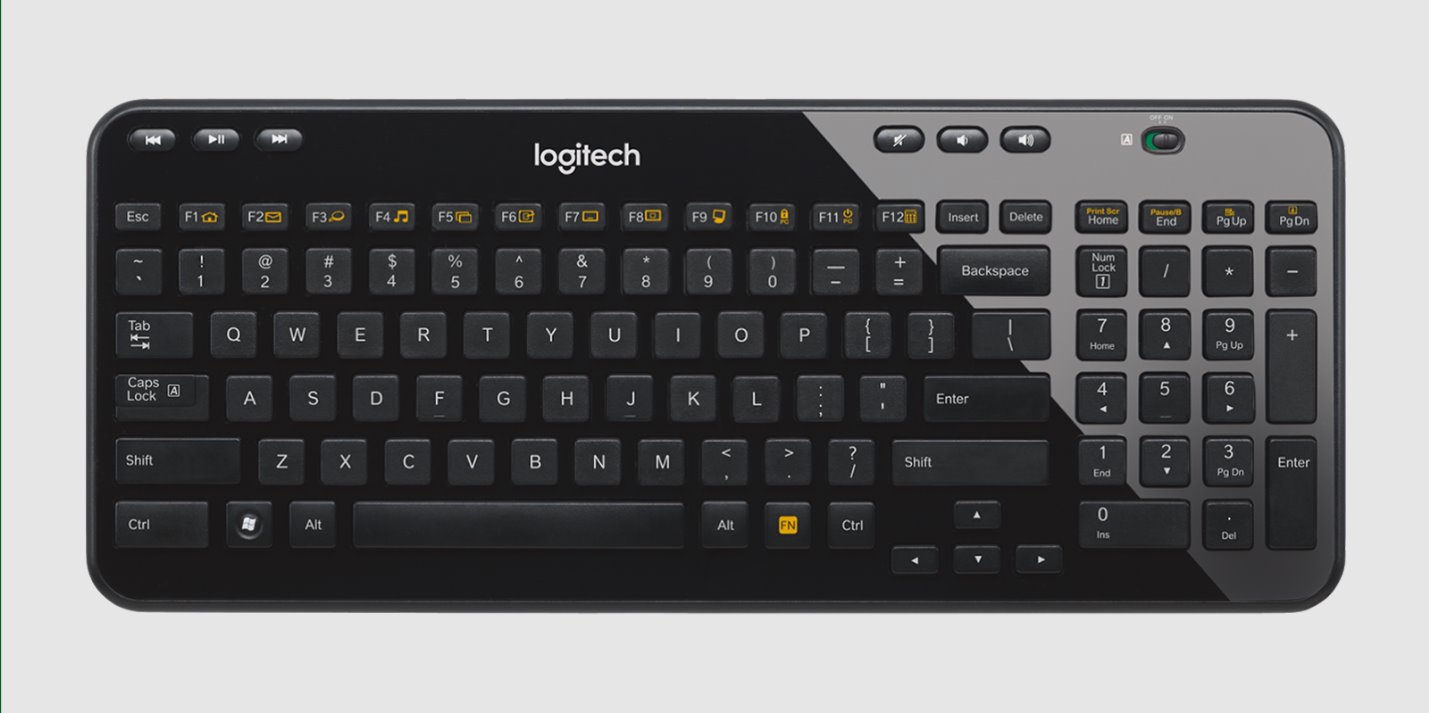
The Logitech Wireless Keyboard K360 is a sleek and compact keyboard designed to provide a comfortable typing experience without the clutter of wires. It is compatible with both Windows and Mac operating systems, making it a versatile choice for users across different platforms.
Installing the Logitech Wireless Keyboard K360 is a simple and straightforward process that requires minimal technical knowledge. By following the steps outlined in this guide, you’ll have your wireless keyboard up and running in no time.
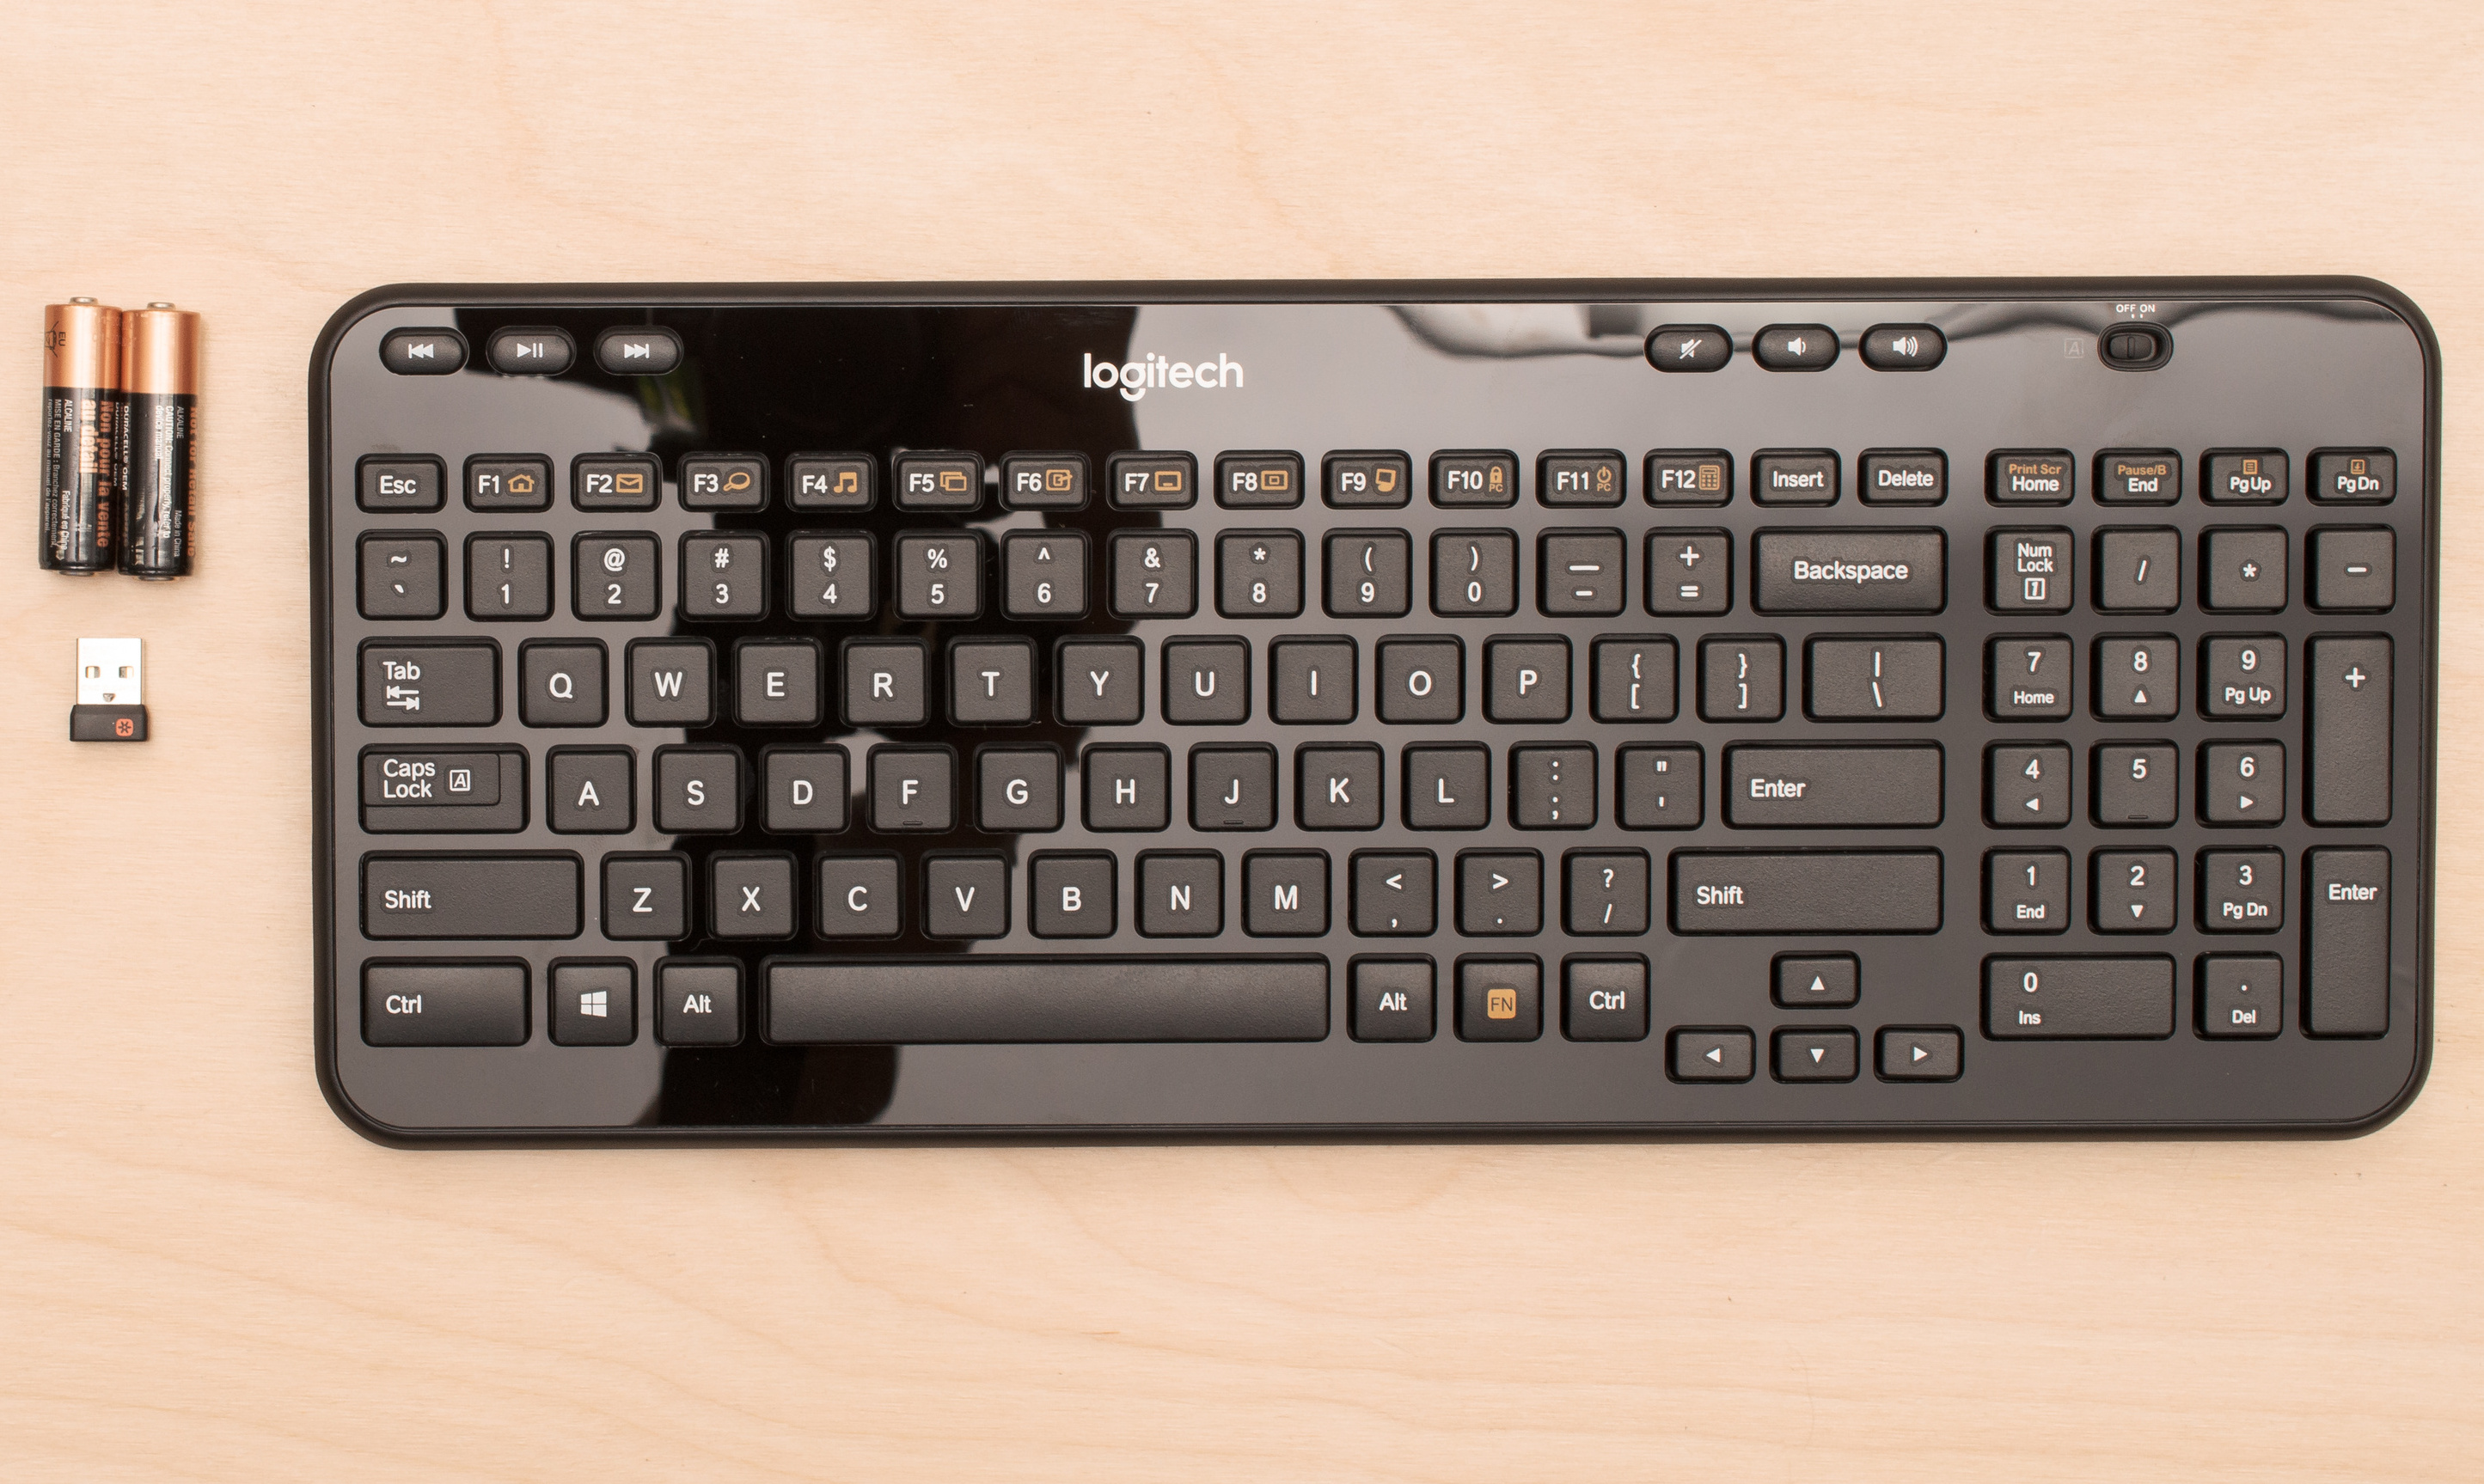
Before we dive into the installation process, make sure you have the necessary tools and materials handy. You will need the following:
- The Logitech Wireless Keyboard K360
- Two AA batteries
- A USB receiver
- A computer or laptop
With everything in place, let’s move on to the first step: unboxing the Logitech Wireless Keyboard K360.
Step 1: Unboxing the Logitech Wireless Keyboard K360
Start by locating the packaging of the Logitech Wireless Keyboard K360. Carefully remove the outer box and set it aside. Inside, you’ll find the keyboard securely packaged to protect it during transportation.
Gently open the packaging and take out the Logitech Wireless Keyboard K360. Notice its compact and sleek design, perfect for saving space on your desk. You’ll also find a user manual and a USB receiver included in the package.
Inspect the keyboard for any visible damage or defects. Logitech is known for its reliable products, but it’s always a good idea to double-check. If you notice any issues, contact Logitech support for assistance.
Now that you have unboxed the Logitech Wireless Keyboard K360, you’re ready to move on to the next step: inserting the batteries. Ensure you have two AA batteries available before proceeding.
Step 2: Inserting Batteries
To power the Logitech Wireless Keyboard K360, you’ll need to insert two AA batteries. Flip the keyboard over and locate the battery compartment at the top.
Slide the latch on the battery compartment cover to unlock it. Once unlocked, remove the cover to reveal the battery compartment. Take note of the correct polarity indicated inside the compartment, showing the correct orientation to insert the batteries.
Insert the two AA batteries into the compartment, following the polarity markings. Ensure the batteries are inserted firmly, and the positive (+) and negative (-) ends are aligned correctly.
Replace the battery compartment cover and slide the latch back into place to lock it. You should hear a click when it is securely closed.
With the batteries inserted, your Logitech Wireless Keyboard K360 is now ready to be connected to your computer or laptop using the USB receiver. This will be the focus of the next step.
Step 3: Connecting the USB Receiver
The USB receiver is a small device that allows your Logitech Wireless Keyboard K360 to communicate with your computer or laptop. It provides a reliable and secure wireless connection.
Locate the USB receiver included in the package. It is usually stored inside the battery compartment of the keyboard for safekeeping during transportation. Remove the USB receiver and set it aside.
Next, find an available USB port on your computer or laptop. It’s preferable to use a USB 2.0 port for optimal performance, but a USB 3.0 port will work as well. Insert the USB receiver into the USB port. You should hear a click sound when it is properly inserted.
The USB receiver will automatically be recognized by your computer or laptop, and the necessary drivers will install. This process may take a moment, so be patient.
Once the installation is complete, your Logitech Wireless Keyboard K360 is now physically connected to your computer or laptop. However, before you can start using it, you’ll need to pair the keyboard with the USB receiver. This is the focus of the next step.
Step 4: Pairing the Keyboard with the USB Receiver
Now that you have connected the USB receiver to your computer or laptop, it’s time to pair the Logitech Wireless Keyboard K360 with the receiver.
Turn on the keyboard by pressing the power button located on the top edge. A small LED indicator should illuminate, indicating that the keyboard is powered on.
Next, locate the connect button on the USB receiver. It is usually found on the side or bottom of the receiver. Press and hold the connect button until the LED light starts flashing.
On the Logitech Wireless Keyboard K360, look for the connect button. It is typically located on the bottom of the keyboard. Press and hold the connect button until the LED light on the keyboard starts flashing.
Release both connect buttons and wait for a few seconds. The LED lights on both the keyboard and the USB receiver should stop flashing and remain steady, indicating a successful pairing.
At this point, the Logitech Wireless Keyboard K360 is now connected to your computer or laptop. You can start using it for typing, navigating, and enjoying the wireless convenience it offers.
Before you delve into using the keyboard extensively, it’s recommended to test its functionality to ensure everything is working correctly. This will be the focus of the next step.
Step 5: Testing the Keyboard
After pairing the Logitech Wireless Keyboard K360 with the USB receiver, it’s important to test its functionality to ensure that all keys and features are working as intended. Follow these steps to conduct a quick keyboard test:
- Open a text editor or word processing program on your computer.
- Type a few sentences to check if all the keys are responsive. Make sure to test both standard keys and special function keys, such as media controls or volume adjusters.
- Verify that the keyboard’s hotkeys and shortcuts, if any, are working as expected.
- Use the arrow keys to navigate through a document or web page to ensure smooth and accurate movement.
- If your keyboard has programmable keys, test their functionality by assigning specific tasks or commands. This can be done through the Logitech Options software, which allows you to customize the keyboard settings.
- Perform a quick typing test to assess the comfort and responsiveness of the keys.
If you encounter any issues during the testing phase, refer to the troubleshooting section below for potential solutions. Logitech provides comprehensive support on its website and offers resources to help troubleshoot common problems.
Congratulations! You have successfully installed and tested the Logitech Wireless Keyboard K360. Enjoy the freedom and convenience of wireless typing as you engage in your daily tasks on your computer or laptop.
Troubleshooting Tips
While setting up the Logitech Wireless Keyboard K360 is a straightforward process, you may encounter some occasional issues. Here are some troubleshooting tips to help you resolve common problems:
- No keyboard response: Check that the batteries are inserted correctly and have sufficient power. Replace them if necessary. Additionally, ensure that the USB receiver is securely connected to your computer or laptop.
- Interference or connectivity problems: Avoid placing other wireless devices or metal objects near the keyboard and receiver, as this can cause interference. Try moving the receiver to a different USB port or away from potential obstructions.
- Unresponsive special function keys: Install the Logitech Options software, which allows you to customize and enable specific functions for those keys. Make sure the software is up to date.
- Keyboard layout issues: Verify that the selected keyboard layout in your computer’s settings matches the physical layout of the Logitech Wireless Keyboard K360.
- Keys typing the wrong characters: Double-check the selected language settings on your computer. Incorrect language settings can cause keys to display different characters.
- Software compatibility issues: Ensure that you are using the latest drivers and software updates for your operating system. Logitech regularly releases updates to enhance compatibility with new systems.
If you have followed these troubleshooting tips and are still experiencing issues, you may need to contact Logitech support for further assistance. They can provide personalized guidance and troubleshooting for your specific situation.
Remember, it’s always helpful to consult the user manual or online resources provided by Logitech for additional troubleshooting steps and guidance.
Conclusion
Installing the Logitech Wireless Keyboard K360 is a simple and hassle-free process that allows you to enjoy the convenience of wireless typing. From unboxing the keyboard to testing its functionality, the steps outlined in this guide have provided you with a comprehensive overview of the installation process.
By following the step-by-step instructions, you were able to unbox the keyboard, insert batteries, connect the USB receiver, pair the keyboard, and test its functionality. Throughout the process, it’s important to pay attention to details, ensure proper connections, and troubleshoot any potential issues that may arise.
The Logitech Wireless Keyboard K360 offers a sleek and compact design, making it an excellent choice for those looking to save space on their desk without compromising on typing comfort. With its wireless connectivity, you can enjoy freedom of movement and reduce cable clutter.
Remember to keep the troubleshooting tips in mind if you encounter any issues with your keyboard. Logitech provides excellent support resources to help you resolve any problems and ensure a seamless user experience.
Now that you have successfully installed and tested your Logitech Wireless Keyboard K360, you can fully embrace the convenience and efficiency it brings to your typing tasks. Whether you’re working, gaming, or simply browsing the web, this wireless keyboard is designed to enhance your productivity and comfort.
Thank you for following this installation guide. Happy typing with your new Logitech Wireless Keyboard K360!