Introduction
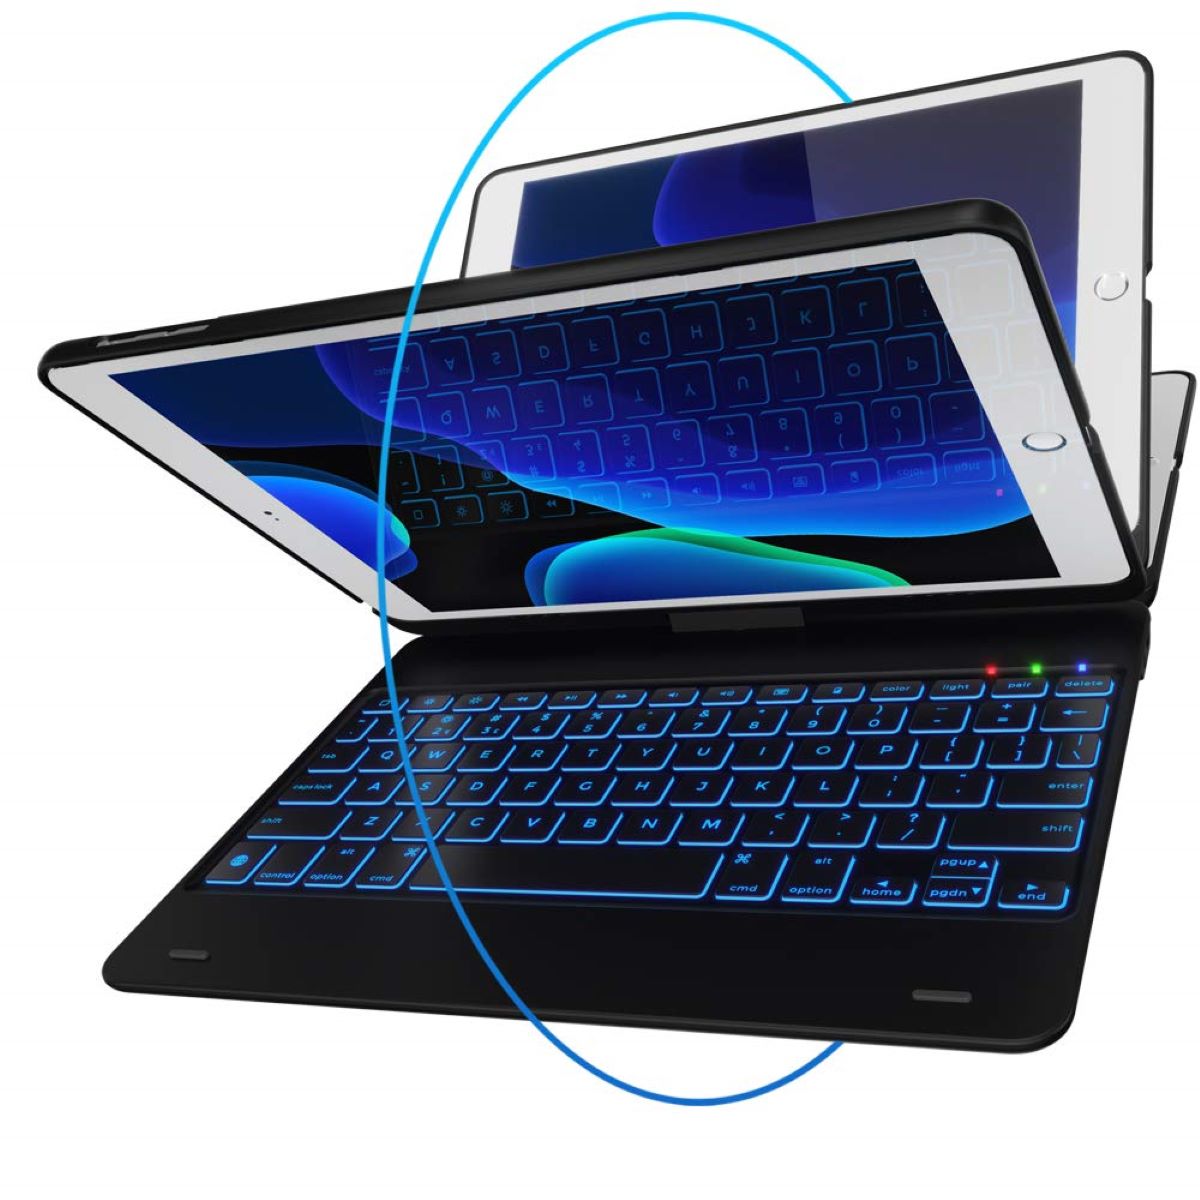
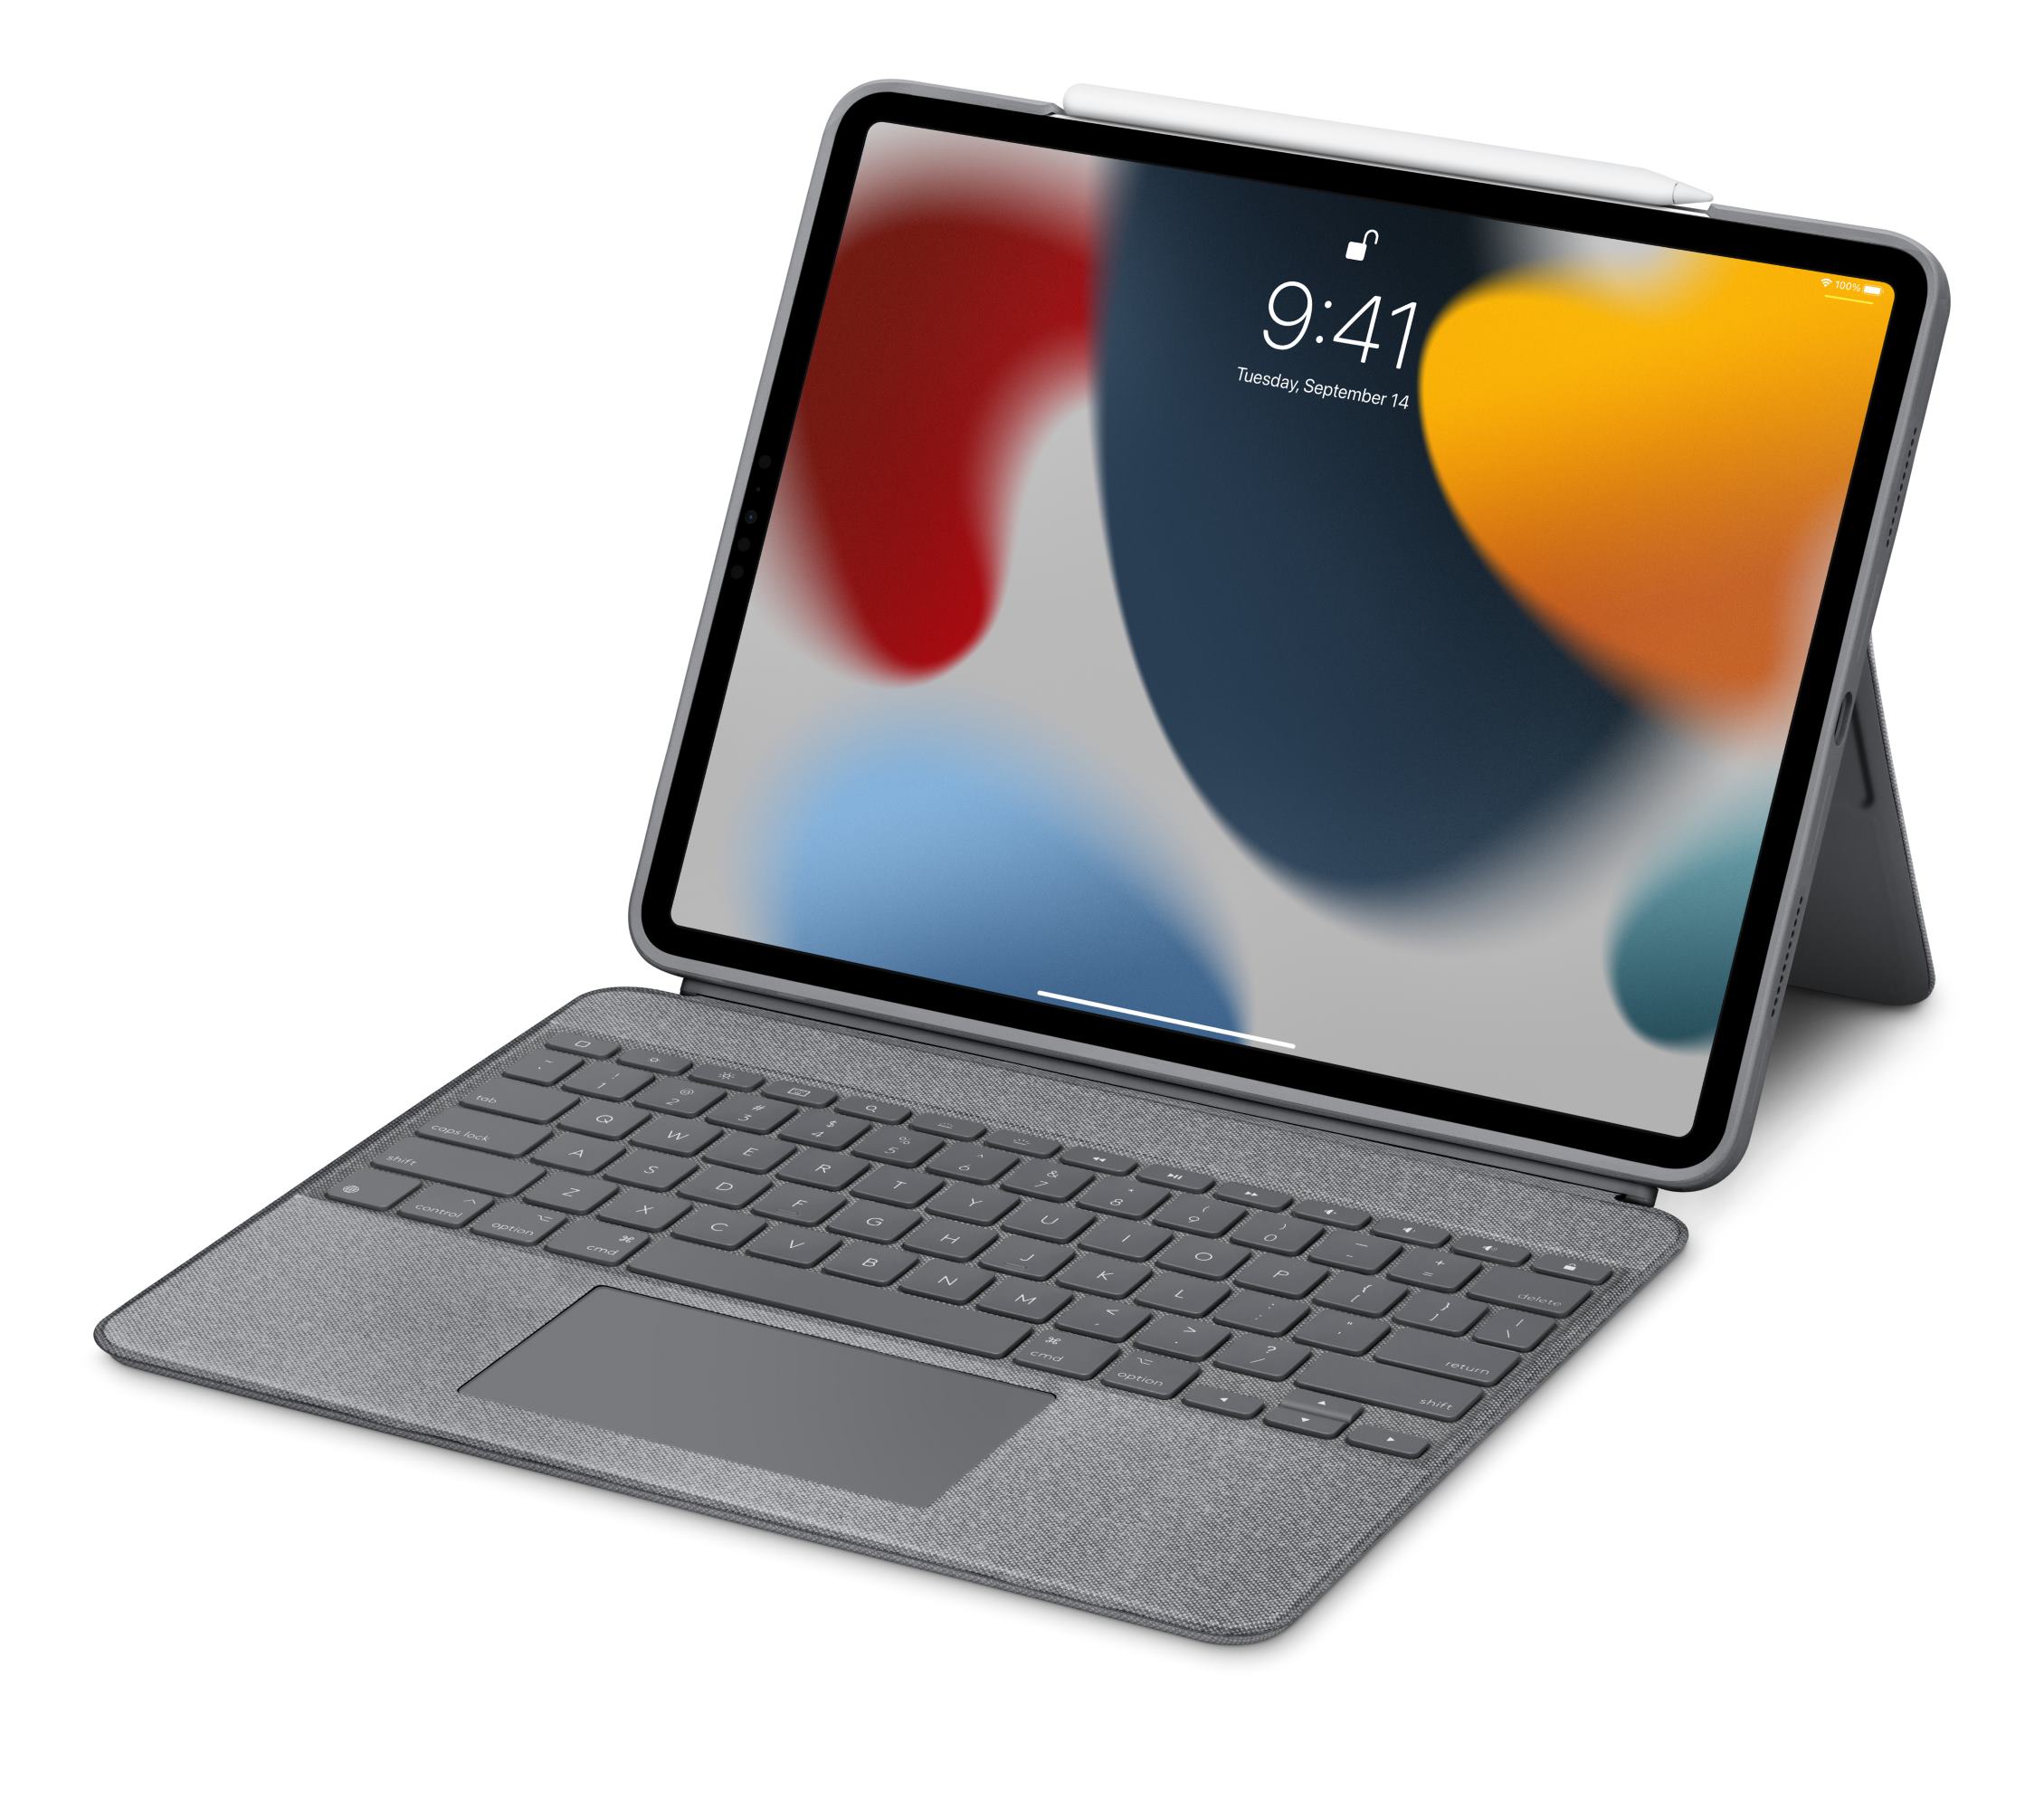
Welcome to our guide on how to replace the batteries in your Logitech Slim Folio Keyboard. The Logitech Slim Folio Keyboard is a popular choice for those seeking a more comfortable and efficient typing experience. It is compatible with various devices such as iPads and offers a sleek and ergonomic design.
Over time, the batteries in your keyboard may need to be replaced to ensure optimal performance. In this guide, we will walk you through the step-by-step process of replacing the batteries in your Logitech Slim Folio Keyboard.
Whether you are a tech-savvy individual or a beginner, rest assured that this guide is designed to be easy to follow. With just a few simple steps, you will be able to replace the batteries in your keyboard and continue enjoying its excellent functionality.
Before we dive into the process, please remember to always handle batteries with care. Follow the manufacturer’s guidelines for safe battery removal and disposal. So, let’s get started with gathering the necessary tools and materials for the battery replacement process.
Step 1: Gather the necessary tools and materials
Before you begin the battery replacement process, it’s important to gather all the tools and materials you will need. This ensures a smooth and efficient experience. Here’s a list of what you’ll need:
- New batteries: Check the user manual or the keyboard itself to determine the type and quantity of batteries required. Purchase fresh batteries from a reliable source.
- Screwdriver: Depending on the model, you may need a small Phillips or flathead screwdriver to remove the battery cover. Check the user manual or the keyboard itself to determine the type of screwdriver you’ll need.
- Workspace: Find a clean and well-lit area to work on. Having a clutter-free workspace ensures that you won’t misplace any screws or small parts during the process.
- Static-free surface: It is recommended to work on a static-free surface, such as an anti-static mat or a non-conductive material like a wooden table. This helps prevent any potential damage to the keyboard or the new batteries.
Once you have gathered all the necessary tools and materials, you are ready to move on to the next step: turning off the keyboard. Remember to take your time and be patient throughout the process. Rushing may lead to mistakes or damage to the keyboard.
Step 2: Turn off the keyboard
Before you begin handling any electronic device, it’s essential to turn it off to prevent any accidental keystrokes or damage. Follow these steps to turn off your Logitech Slim Folio Keyboard:
- Locate the power switch: On most Logitech Slim Folio Keyboards, the power switch is usually located on the side or the back of the keyboard. Look for a small toggle switch or a button labeled “On/Off.”
- Switch off the keyboard: Slide the power switch to the “Off” position or press the “On/Off” button to power down the keyboard. Ensure that the keyboard’s indicator lights, if any, are no longer lit.
- Wait a few seconds: Give the keyboard a few seconds to fully power off before proceeding to the next step. This ensures that any residual energy in the keyboard is discharged.
By turning off the keyboard, you’re minimizing the risk of accidental button presses during the battery replacement process. It’s crucial to wait a few seconds to allow the keyboard to completely shut down. Now that the keyboard is turned off, you can move on to the next step: removing the battery cover.
Step 3: Remove the battery cover
With the keyboard turned off, it’s time to remove the battery cover. Follow these steps to safely remove the battery cover from your Logitech Slim Folio Keyboard:
- Locate the battery compartment: Look for a small compartment on the underside or back of the keyboard. The battery compartment is usually marked with a battery icon or labeled “Battery.”
- Identify the battery cover release mechanism: Depending on the model of your Logitech Slim Folio Keyboard, the battery cover may have a latch, a sliding mechanism, or screws holding it in place. Check the user manual or inspect the keyboard to determine the specific type of release mechanism.
- Release the battery cover: If your keyboard has a latch or sliding mechanism, press or slide it in the designated direction (usually indicated with arrows) to release the battery cover. If your keyboard has screws, use the appropriate screwdriver to carefully unscrew them and set them aside in a secure location.
- Remove the battery cover: Once the release mechanism is activated or the screws are removed, gently lift or slide the battery cover to detach it from the keyboard. Be careful not to force it or apply excessive pressure, as this may cause damage.
With the battery cover successfully removed, you have gained access to the batteries in your Logitech Slim Folio Keyboard. Make sure to keep any screws and the battery cover in a safe place to avoid misplacing them. Now it’s time to move on to the next step: replacing the batteries.
Step 4: Replace the batteries
With the battery cover removed, you can now proceed to replace the batteries in your Logitech Slim Folio Keyboard. Follow these steps:
- Remove the old batteries: Carefully remove the old batteries from their compartments. Pay attention to their orientation for easy replacement. If there are multiple batteries, replace them one at a time to avoid confusion.
- Dispose of the old batteries properly: It’s essential to handle and dispose of old batteries according to local regulations. Contact your local waste management facility or recycling center for guidance on safe battery disposal.
- Insert the new batteries: Take the fresh batteries and insert them into the battery compartments, ensuring they are correctly aligned with the polarity markings (+ and -). Press down gently to secure them in place.
- Confirm battery placement: Double-check that the new batteries are inserted correctly by referring to the user manual or the keyboard’s battery compartment marking. Ensuring proper battery placement prevents damage to the keyboard and allows it to function optimally.
It’s crucial to use the right type of batteries specified for your Logitech Slim Folio Keyboard. Using compatible batteries guarantees optimal performance and prevents potential issues. Once the new batteries are securely in place, you’re ready to proceed to the next step: putting the battery cover back on.
Step 5: Put the battery cover back on
Now that you have replaced the batteries in your Logitech Slim Folio Keyboard, it’s time to put the battery cover back on. Follow these steps to properly reattach the battery cover:
- Align the battery cover: Place the battery cover back onto the keyboard, ensuring it is properly aligned with the battery compartment. Take care to line up any notches, grooves, or other designated alignment points.
- Secure the battery cover: If your keyboard has a latch or sliding mechanism, push or slide it in the opposite direction to secure the battery cover in place. If your keyboard was held together by screws, use the appropriate screwdriver to carefully tighten them.
- Check for proper closure: Gently press down on the battery cover to ensure it is fully closed and securely attached to the keyboard. Verify that there are no gaps or loose areas.
It’s important to ensure a snug and secure fit of the battery cover to prevent any accidental removal during use. Once you have confirmed that the battery cover is properly closed, you’re ready to move on to the final step: turning on the keyboard.
Step 6: Turn on the keyboard
With the battery cover securely in place, it’s time to turn on your Logitech Slim Folio Keyboard. Follow these steps to power on the keyboard:
- Locate the power switch: On the side or back of the keyboard, find the power switch. It is typically labeled as “On/Off” or indicated with a power icon.
- Toggle the power switch: Slide the power switch to the “On” position or press the “On/Off” button to turn on the keyboard. Look for indicator lights or a display screen to confirm that the keyboard is receiving power.
- Wait for the keyboard to initialize: Give the keyboard a few seconds to initialize and establish a connection with the device it’s paired with. You may see the indicator lights flash or a connection message appear on your device’s screen.
Now that your Logitech Slim Folio Keyboard is turned on, you can start using it again. Make sure to test the keys and ensure they are functioning correctly. If you encounter any issues, double-check the battery placement and try turning the keyboard off and on again.
Congratulations! You have successfully replaced the batteries in your Logitech Slim Folio Keyboard. Regularly checking and replacing the batteries as needed ensures continued performance and a seamless typing experience.
Remember, always refer to the user manual for specific instructions or consult Logitech’s official support channels if you encounter any difficulties during the battery replacement process.
Conclusion
Replacing the batteries in your Logitech Slim Folio Keyboard is a straightforward process that ensures optimal performance and prolongs the lifespan of your keyboard. By following the steps outlined in this guide, you can easily replace the batteries and continue enjoying a comfortable and efficient typing experience.
Remember to gather all the necessary tools and materials before starting and handle the batteries with care. Turning off the keyboard, removing the battery cover, replacing the batteries, and putting the battery cover back on are all simple steps that require attention to detail and precision.
Once the new batteries are inserted and the battery cover is securely attached, turn on the keyboard and confirm that it is functioning correctly. If you encounter any issues or have questions, refer to the user manual or seek support from Logitech’s official channels.
Regularly checking and replacing the batteries in your Logitech Slim Folio Keyboard ensures that it remains in optimal condition, providing reliable performance for all your typing needs. Don’t forget to dispose of the old batteries responsibly according to local regulations.
Thank you for following this guide on how to replace the batteries in your Logitech Slim Folio Keyboard. We hope that this information has been helpful and that you can continue to enjoy the excellent features and functionality of your keyboard for years to come.