Introduction
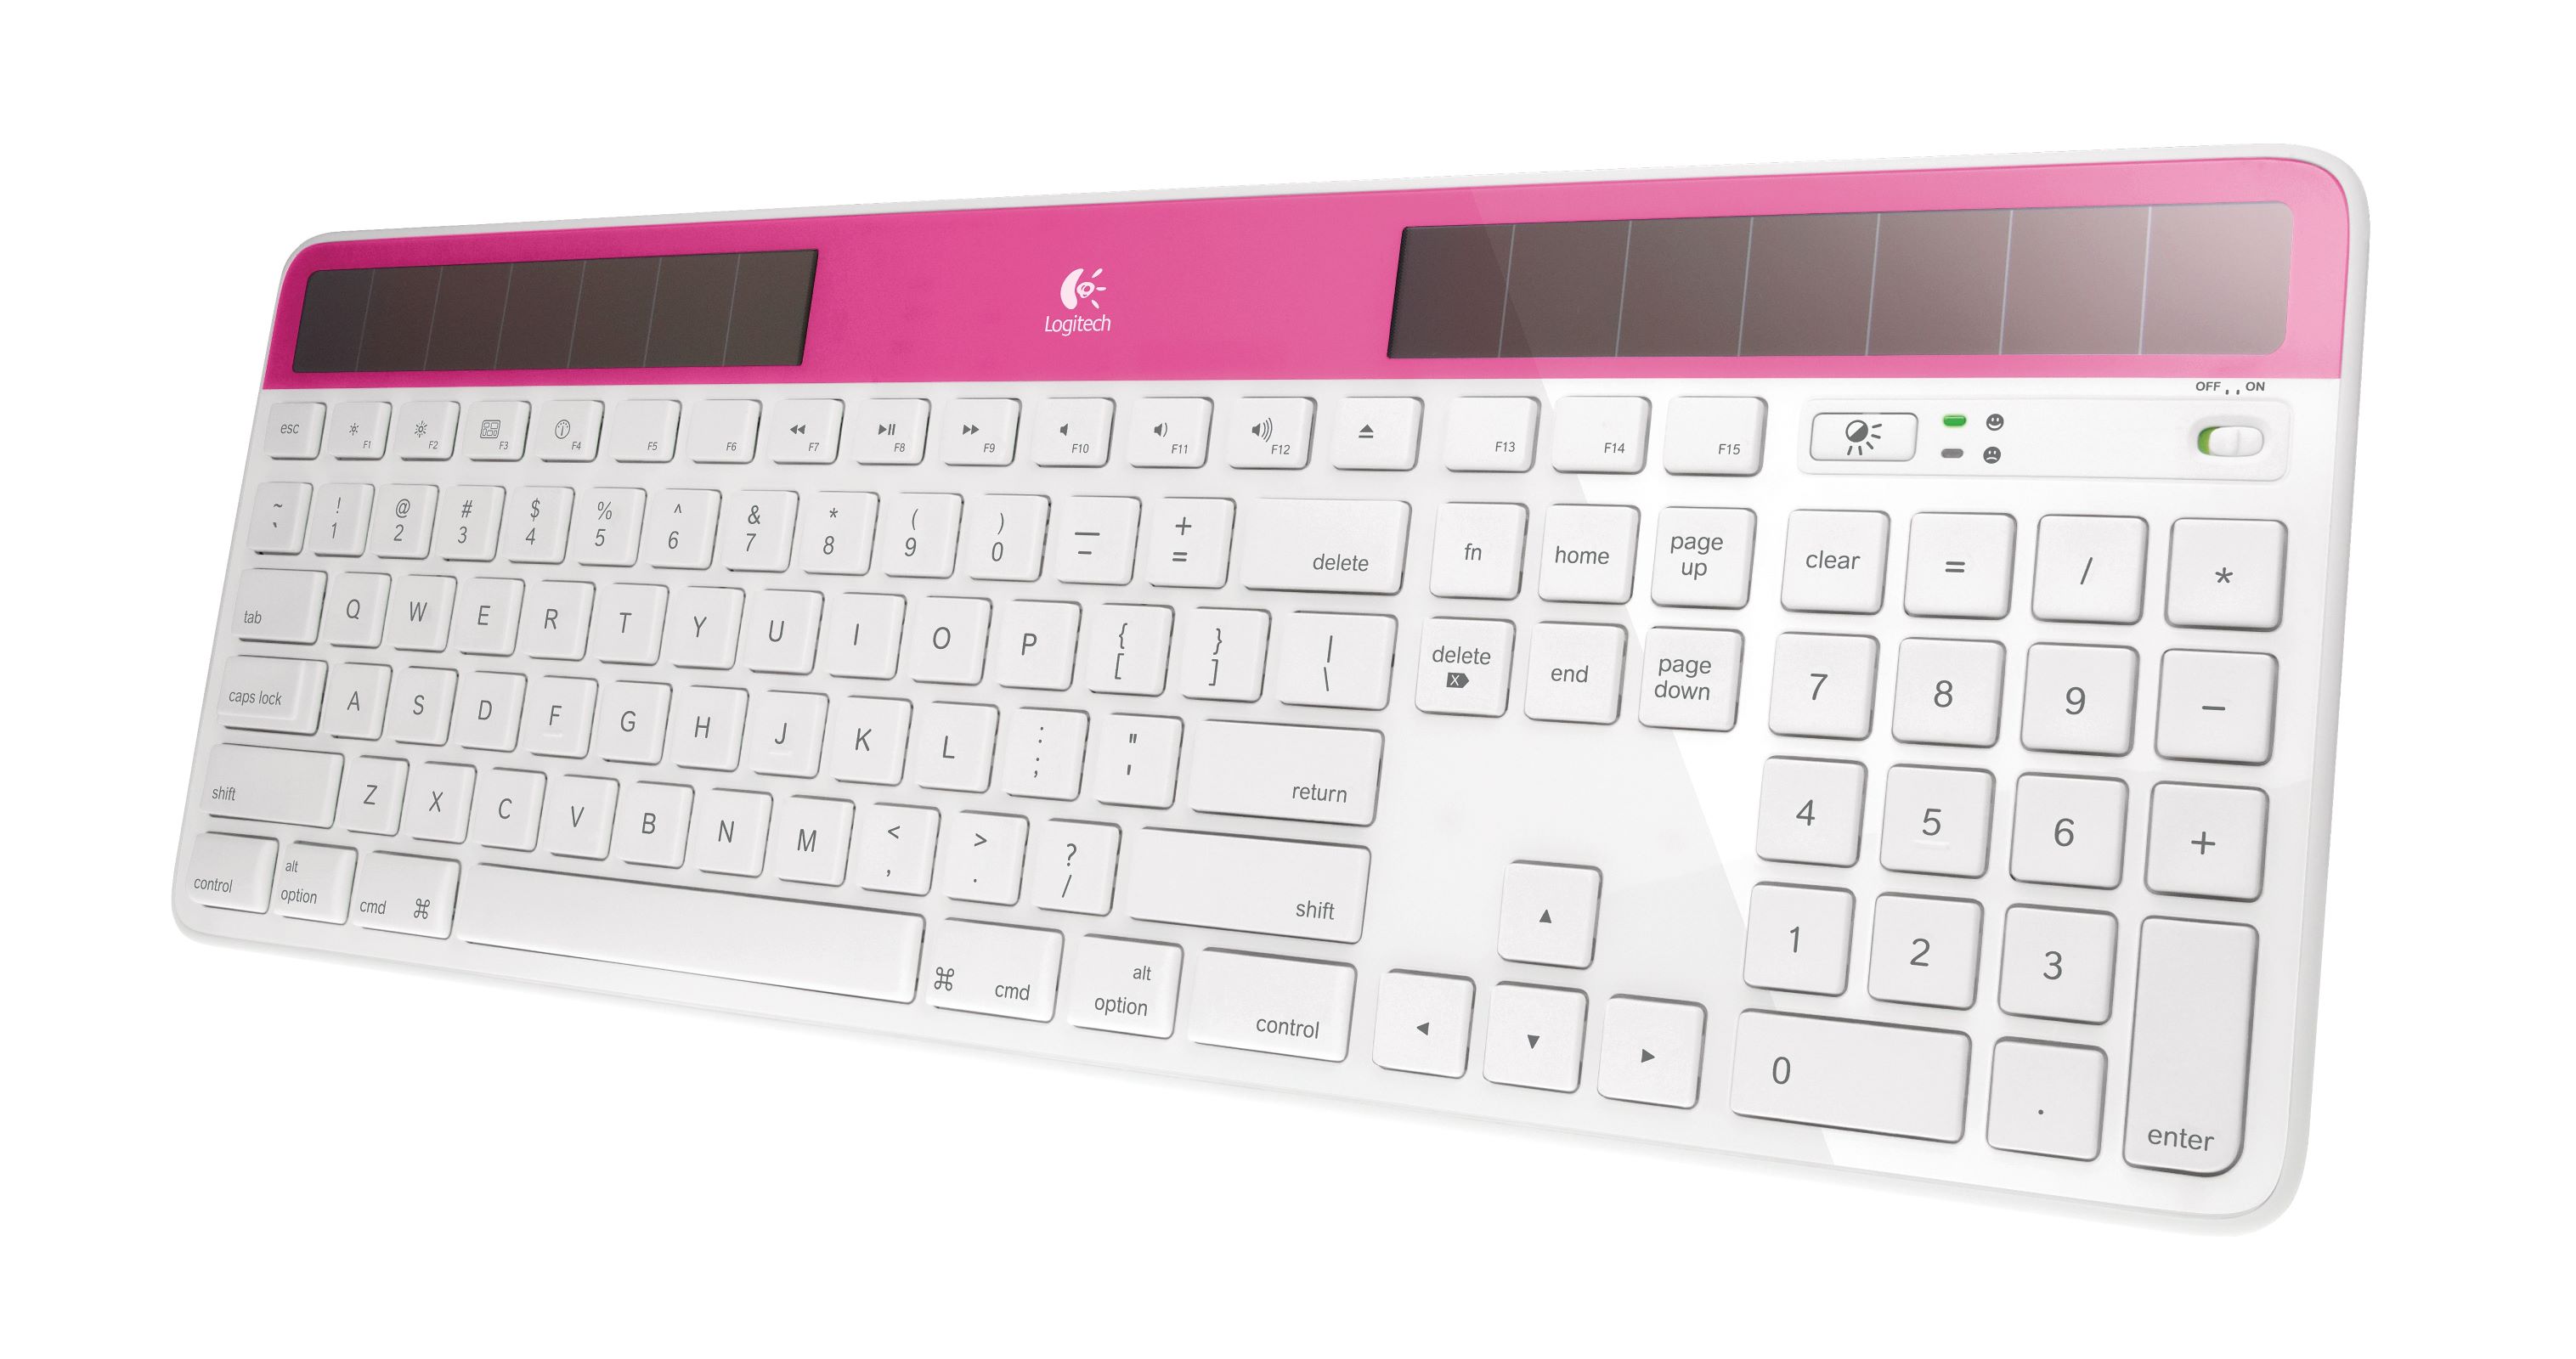
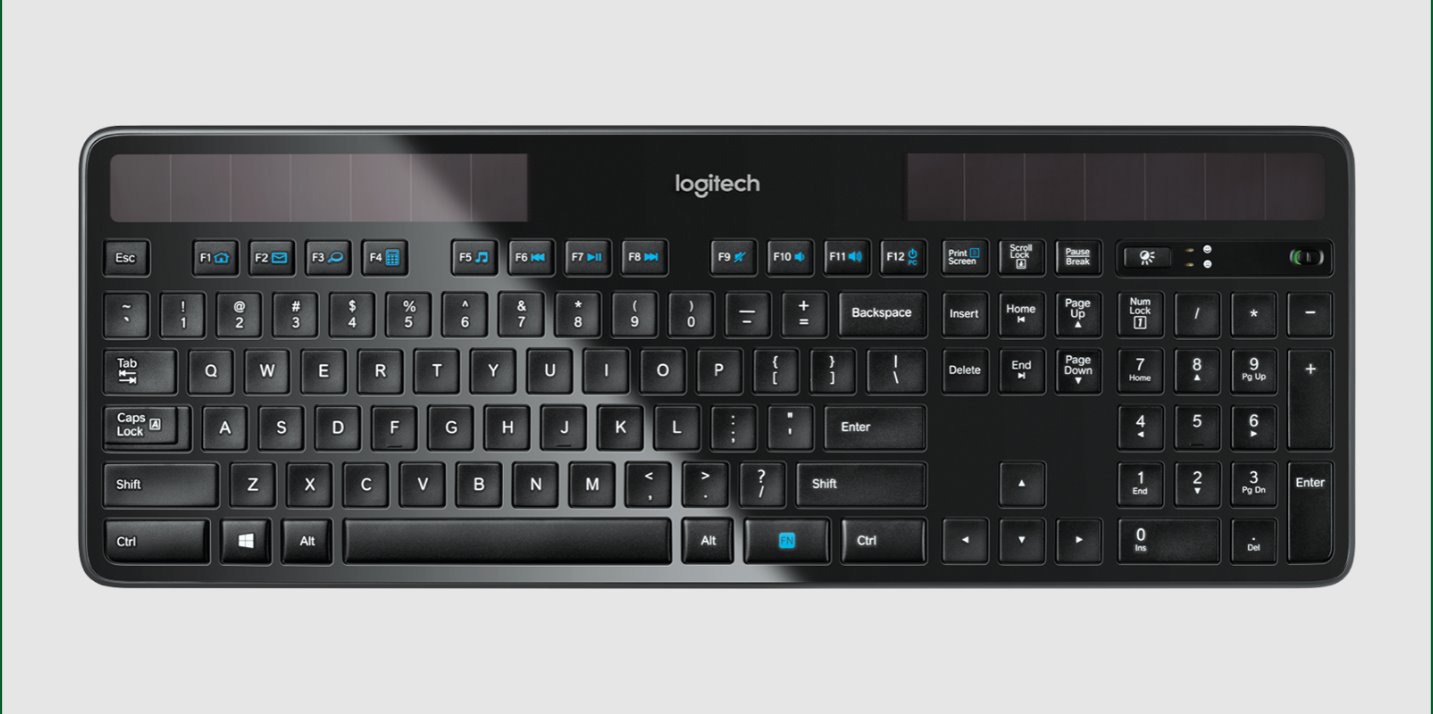
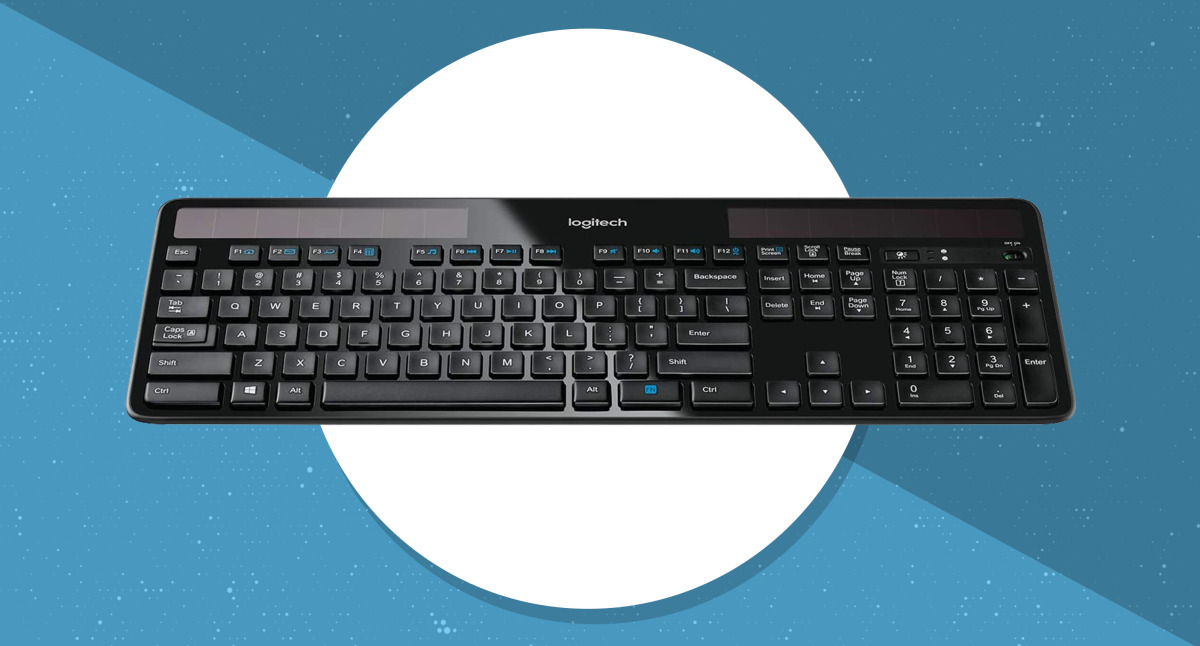
The Logitech K750 is a wireless keyboard known for its innovative solar-powered battery technology. With this keyboard, you can say goodbye to constantly buying and replacing batteries. The K750 is designed to be charged by both natural and artificial light sources, making it a sustainable and eco-friendly option for keyboard users.
In this guide, we will explore the various ways to charge your Logitech K750 and maximize its battery life. Whether you’re already a proud owner of the K750 or considering purchasing one, this article will ensure that you understand how to keep your keyboard charged and ready for use whenever you need it.
Before we dive into the specifics of charging the Logitech K750, it’s important to note that this keyboard uses a small solar panel to harness energy from light sources. This means that as long as there is enough light, the keyboard will be able to charge itself continuously. Additionally, the internal battery is designed to hold a charge for an extended period, so even in low-light conditions, you’ll still be able to use the keyboard without interruption.
Step 1: Checking the Battery Level
Before you begin charging your Logitech K750, it’s important to check the battery level to determine if it needs to be charged. Fortunately, Logitech has made this process simple and straightforward.
To check the battery level, locate the small LED indicator on the top right corner of the keyboard. The LED will illuminate in either green, orange, or red to indicate the battery level. Here’s what each color represents:
- Green: The battery level is high, and the keyboard has a significant charge. You can continue using the keyboard without the need to charge it.
- Orange: The battery level is moderate, and the keyboard will require charging soon. It’s recommended to start charging the keyboard to ensure uninterrupted usage.
- Red: The battery level is low, and the keyboard requires immediate charging. Connect the keyboard to a power source to prevent it from running out of power.
By regularly checking the battery level, you can ensure that your Logitech K750 is always ready for use. If the battery level is low or in the red zone, it’s time to move on to the next step and start charging the keyboard.
Step 2: Connecting the Receiver
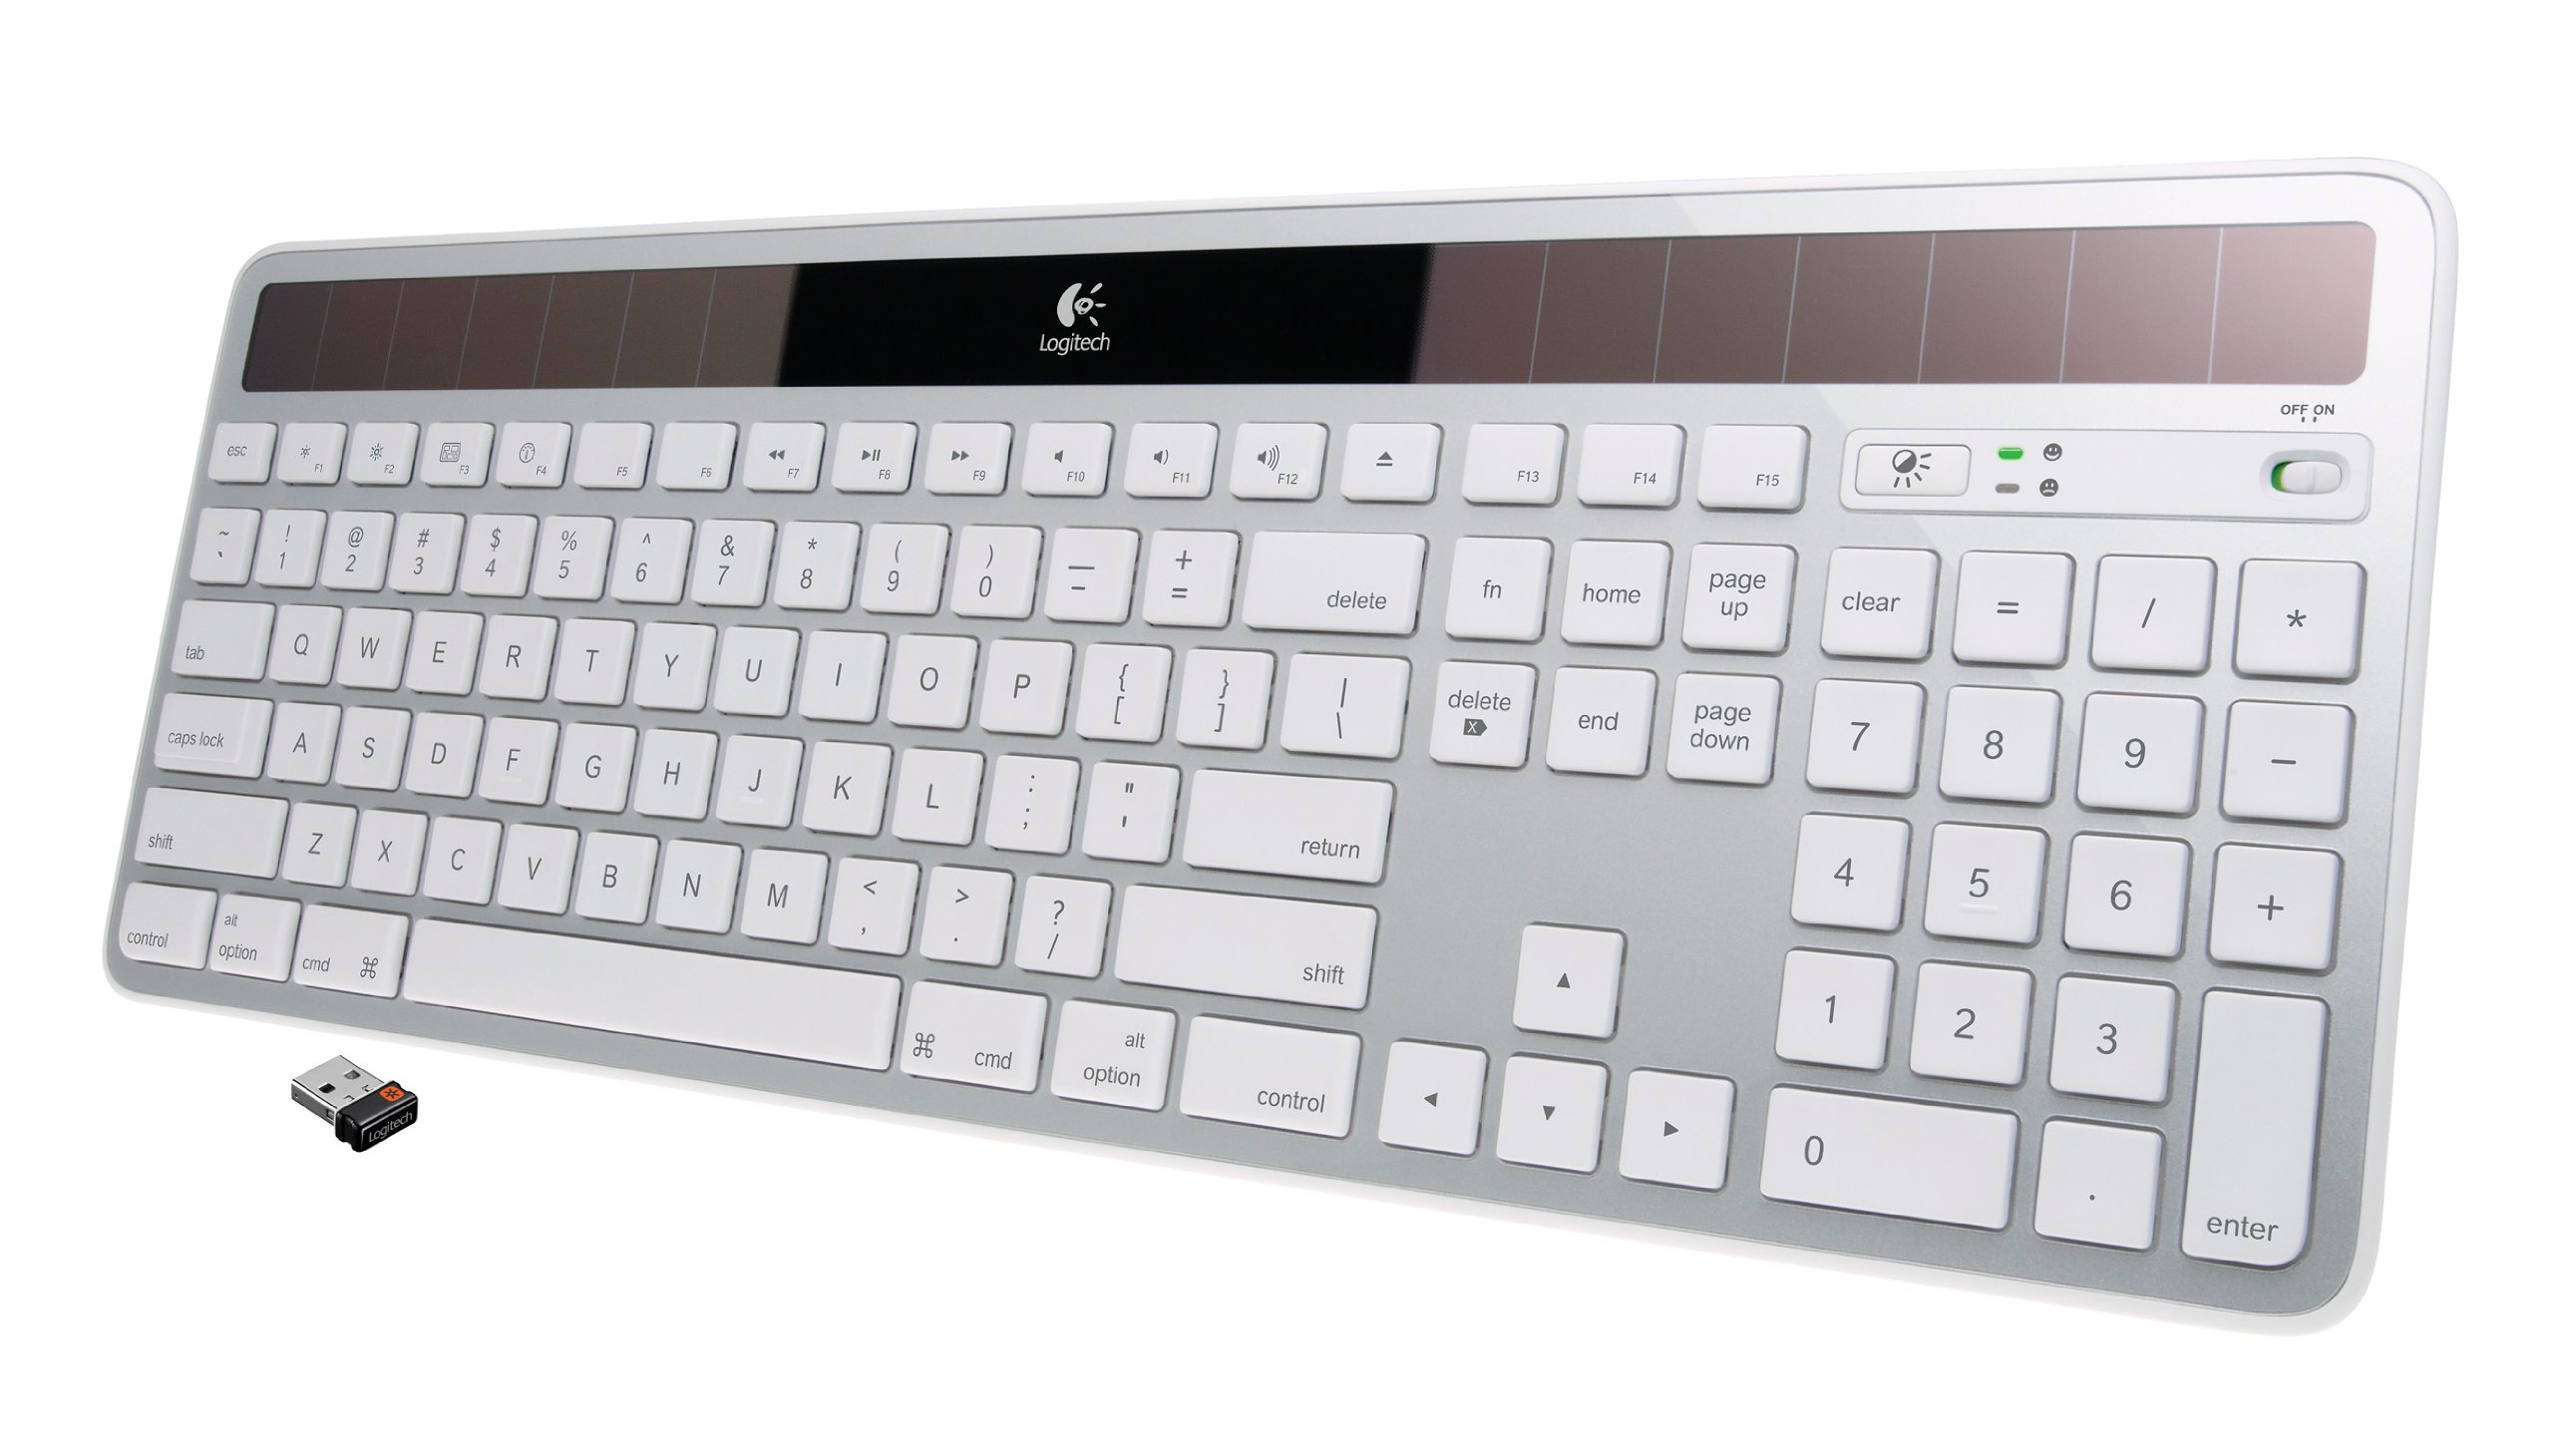
Before you can begin charging your Logitech K750, it’s important to ensure that the wireless receiver is properly connected to your computer or laptop. The receiver is a small USB device that allows the keyboard to communicate with your device.
To connect the receiver, follow these simple steps:
- Locate an available USB port on your computer or laptop. The receiver is typically plugged into a USB port.
- Insert the wireless receiver into the USB port. Make sure it is securely plugged in.
- Wait for your computer to recognize the receiver and install any necessary drivers. This process may take a few moments.
- Once the receiver is connected and recognized, you can now use your Logitech K750 wirelessly.
It is essential to keep the receiver connected to your computer so that the keyboard can transmit keystrokes effectively. Without a properly connected receiver, the keyboard will not function correctly or be able to receive a charge.
Once the receiver is connected, you can proceed to the next step to ensure that your Logitech K750 is placed in an optimal position for charging.
Step 3: Proper Placement for Optimal Charging
To ensure efficient charging of your Logitech K750, it’s crucial to place the keyboard in an area where it can receive ample light. Here are some tips for proper placement:
- Find a well-lit area: Look for a spot near a window or a source of natural light. Placing the keyboard in direct sunlight is not necessary, as it can still charge under ambient light.
- Avoid obstructing objects: Make sure there are no objects blocking the solar panel on the top of the keyboard. Clear any debris or dust that may accumulate on the panel, as it can impair charging performance.
- Angle the keyboard: Tilt the keyboard slightly towards the light source. This helps maximize the exposure of the solar panel to the light and improves charging efficiency.
- Consider artificial lighting: If you are working in a low-light environment, you can also use artificial light sources such as desk lamps or overhead lights to provide additional charging power to the keyboard. Just ensure that the light is not obstructed by any objects.
Remember, the Logitech K750 is designed to charge continuously as long as there is enough light. By placing the keyboard in an optimal position, you can ensure a consistent and reliable charge, even in challenging lighting conditions.
Now that you have properly positioned your Logitech K750 for optimal charging, it’s time to explore different charging methods, including utilizing both natural and artificial light sources.
Step 4: Charging using Natural or Artificial Light
The Logitech K750 keyboard is designed to harness both natural and artificial light sources for charging. This flexibility ensures that you can charge your keyboard in various lighting conditions.
When it comes to natural light, follow these guidelines to effectively charge your Logitech K750:
- Place the keyboard near a window or in a well-lit area where it can receive ample sunlight or ambient light throughout the day.
- Ensure that the solar panel on top of the keyboard is exposed to the light source, and there are no objects obstructing it.
- Adjust the angle of the keyboard to maximize the solar panel’s exposure to light.
- Leave the keyboard in the light for extended periods, ideally overnight, to allow for a complete charge.
If natural light is limited or not available, you can also rely on artificial light sources to charge your Logitech K750:
- Position desk lamps or overhead lights near the keyboard to provide additional light for charging.
- Make sure the artificial light is not obstructed by objects, and the solar panel is directly exposed to the light source.
- Leave the keyboard in the vicinity of the artificial light source for an extended period to allow for sufficient charging.
By utilizing both natural and artificial light sources, you can ensure that your Logitech K750 has a constant and reliable source of energy, keeping it powered and ready for use.
Next, let’s explore an alternative method of charging the keyboard using a USB cable.
Step 5: Charging with a USB Cable
In addition to charging via natural or artificial light, the Logitech K750 can also be charged using a USB cable. This method allows you to power the keyboard even in situations where light sources are limited or unavailable. Here’s how to charge your Logitech K750 using a USB cable:
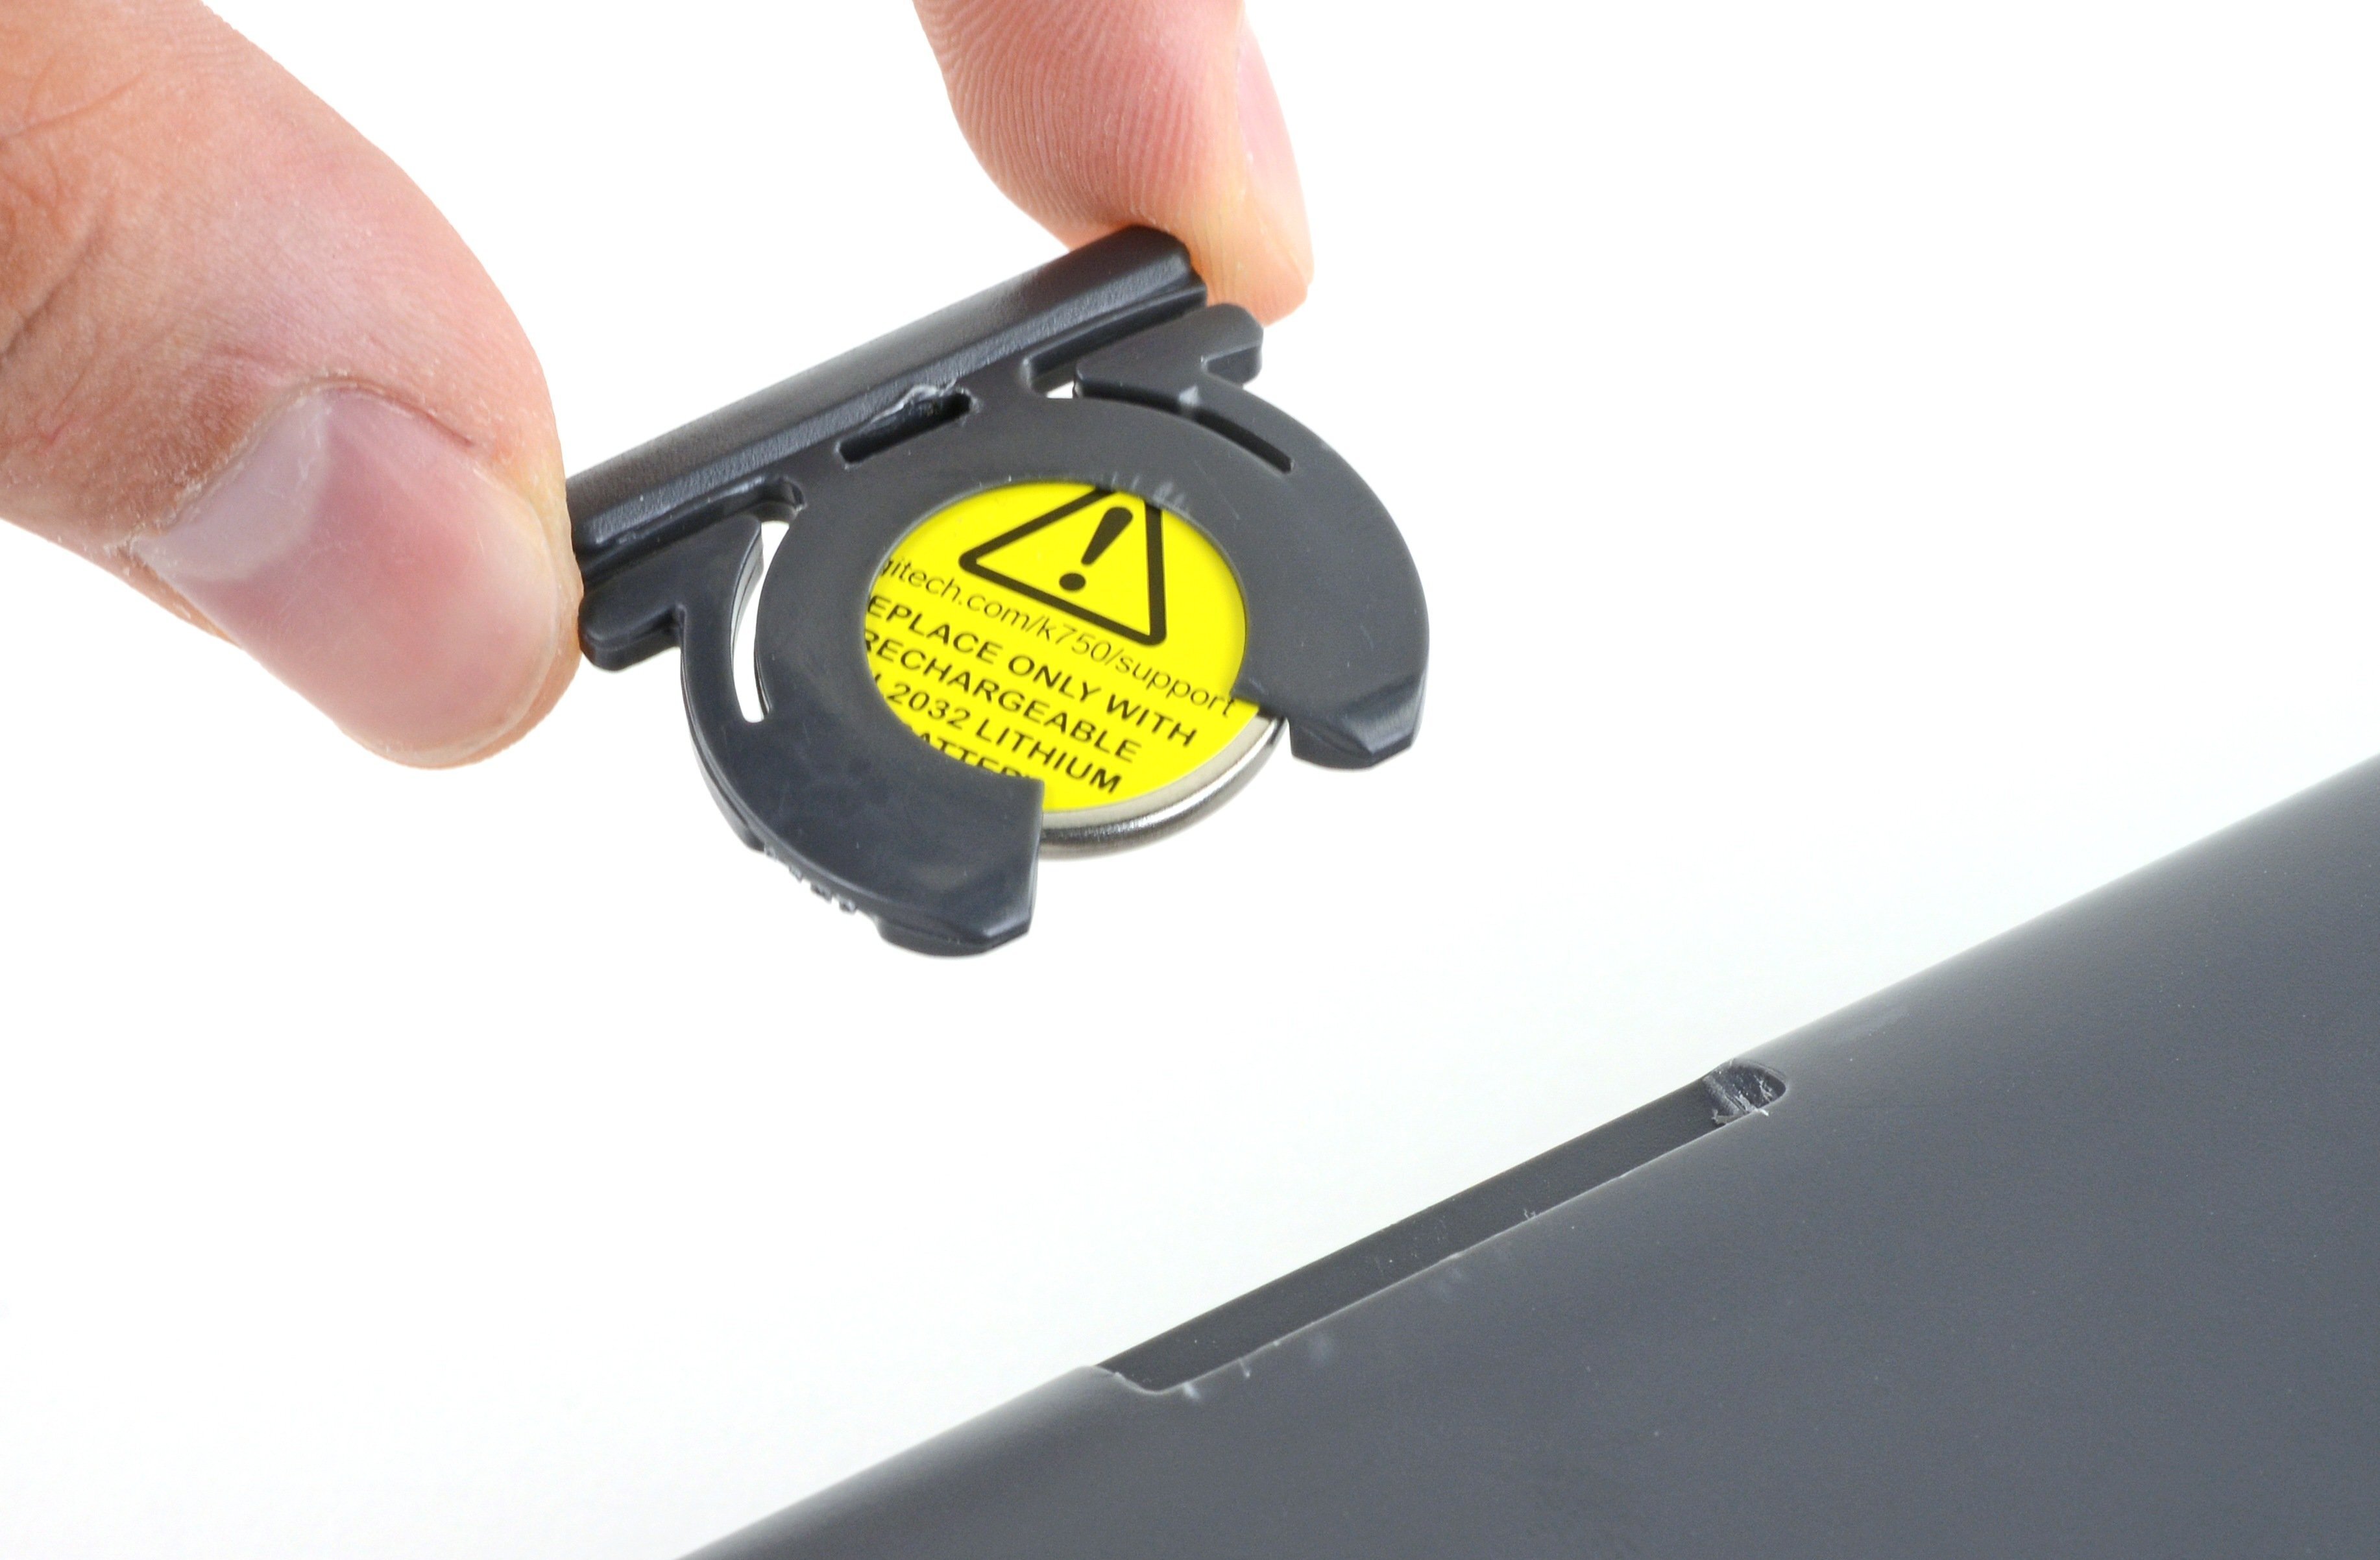
- Locate the micro USB port on the back of the keyboard. It is typically located near the center or at one end.
- Connect one end of the USB cable to the micro USB port on the keyboard.
- Connect the other end of the USB cable to a USB port on your computer or a USB wall charger.
- Ensure that the connection is secure on both ends.
- Allow the keyboard to charge for a few hours or until the battery is full. You can continue to use the keyboard while it is charging.
- Once the battery is fully charged, you can disconnect the USB cable and use the keyboard wirelessly.
Charging the Logitech K750 with a USB cable provides a convenient option when natural or artificial light is not readily available. It also allows you to use the keyboard while it is charging, ensuring uninterrupted work or gaming sessions.
Remember to keep an eye on the battery level indicator while charging via USB, as it will provide an indication of when the keyboard is fully charged.
Now that you know how to charge your Logitech K750 using natural or artificial light as well as a USB cable, let’s move on to maximizing the battery life to ensure long-lasting performance.
Step 6: Maximizing Battery Life
In order to get the most out of your Logitech K750 and ensure a long-lasting battery, it’s important to follow these tips for maximizing battery life:
- Keep the keyboard in a well-lit area: Ensuring that the keyboard is exposed to sufficient light sources will help maintain a consistent charge and prevent the battery from draining unnecessarily.
- Minimize backlight usage: The Logitech K750 features a built-in backlight for enhanced visibility in low-light conditions. However, excessive use of the backlight can drain the battery faster. Use the backlight only when needed to conserve power.
- Turn off the keyboard when not in use: If you won’t be using the keyboard for an extended period, it’s a good practice to turn it off. This helps conserve battery power and extends the overall battery life.
- Avoid extreme temperatures: Exposure to extremely high or low temperatures can affect the battery’s performance. Keep the keyboard in a temperature-controlled environment to maintain optimal battery health.
- Regularly clean the solar panel: Dust or debris on the solar panel can impede charging efficiency. Use a soft cloth or microfiber cloth to gently clean the panel and ensure maximum light absorption.
- Update keyboard firmware: Logitech occasionally releases firmware updates for their products, including the K750 keyboard. Stay up to date with the latest firmware version to benefit from performance improvements and potential battery optimizations.
By following these tips, you can significantly extend the battery life of your Logitech K750 keyboard and reduce the need for frequent charging.
Remember, the solar-powered battery technology makes the K750 keyboard a sustainable and environmentally-friendly choice. By taking care of the battery and implementing these practices, you can enjoy long-lasting performance while minimizing your environmental impact.
With these steps, you now have a comprehensive understanding of how to charge and maximize the battery life of your Logitech K750 keyboard. Follow these guidelines, and you’ll have a keyboard that is always ready for your tasks and adventures.
Conclusion
The Logitech K750 is a remarkable wireless keyboard that eliminates the need for traditional batteries by harnessing the power of light. By understanding how to effectively charge and maximize the battery life of your K750, you can enjoy uninterrupted typing and gaming experiences.
In this guide, we explored various steps to ensure optimal charging. We learned how to check the battery level using the LED indicator, connect the wireless receiver, place the keyboard in the right position for charging, utilize natural or artificial light sources, charge with a USB cable, and maximize battery life by following simple practices.
Remember, keeping your Logitech K750 keyboard in a well-lit area, minimizing backlight usage, turning off the keyboard when not in use, avoiding extreme temperatures, regularly cleaning the solar panel, and updating the firmware are key factors in prolonging its battery life.
Whether you are a current user of the Logitech K750 or considering purchasing one, following these guidelines will ensure that your keyboard is always ready for use whenever you need it. Embrace the convenience, sustainability, and environmental friendliness that the K750 offers.
So, charge up your Logitech K750, embrace the freedom of wireless typing, and enjoy a keyboard that not only enhances your productivity but also helps you reduce waste and contribute to a greener future.
With these steps and practices in mind, you have all the tools to make the most of your Logitech K750 keyboard. Ready to charge and go? Let the light power your typing adventures!