Introduction
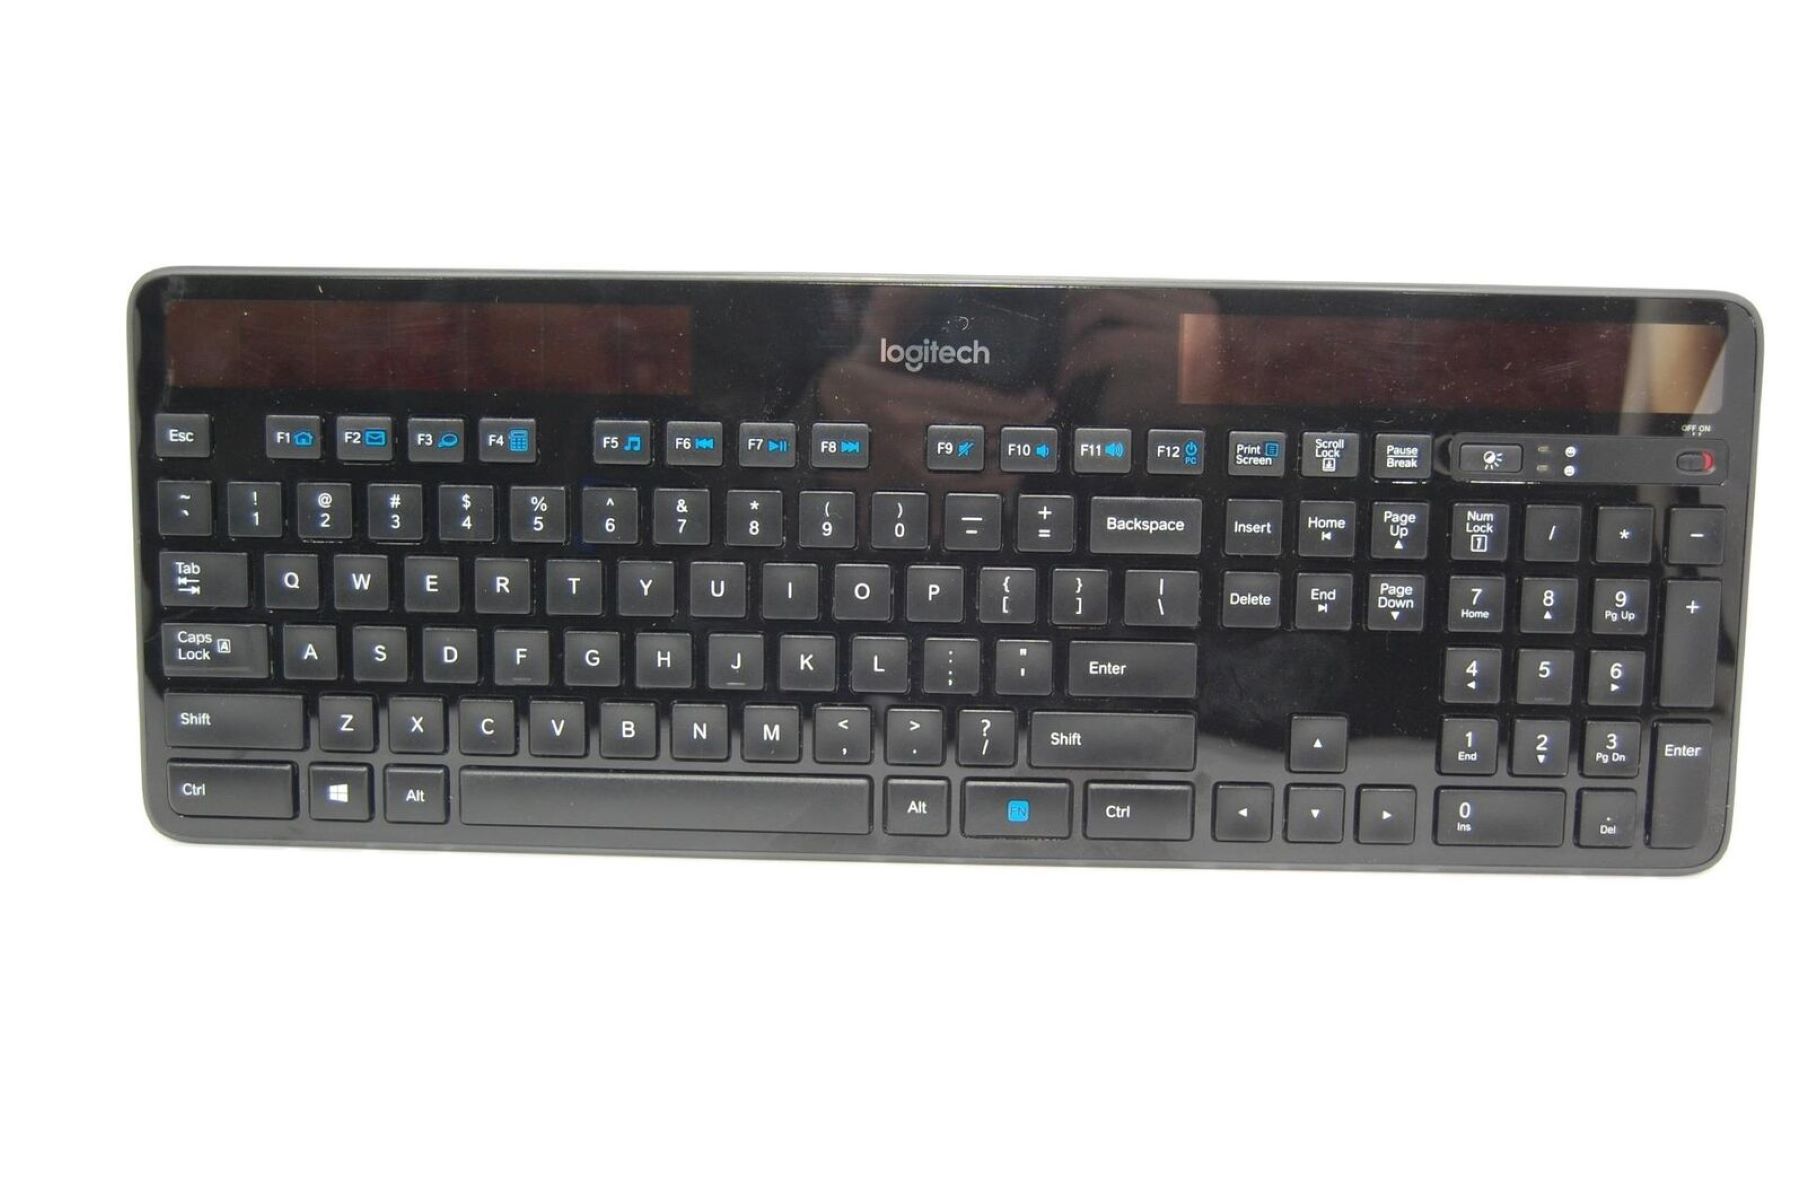
Welcome to our guide on how to change the battery on the Logitech K750 keyboard. If you’ve noticed that your keyboard is not functioning as efficiently as before or if it’s not working at all, chances are that the battery needs replacing. The Logitech K750 keyboard is known for its sleek design and compactness, making it a popular choice among many computer users.
In this article, we will provide you with a step-by-step guide on how to change the battery on your Logitech K750 keyboard. Whether you’re a beginner or an experienced user, this guide will help you easily replace the battery and have your keyboard up and running in no time.
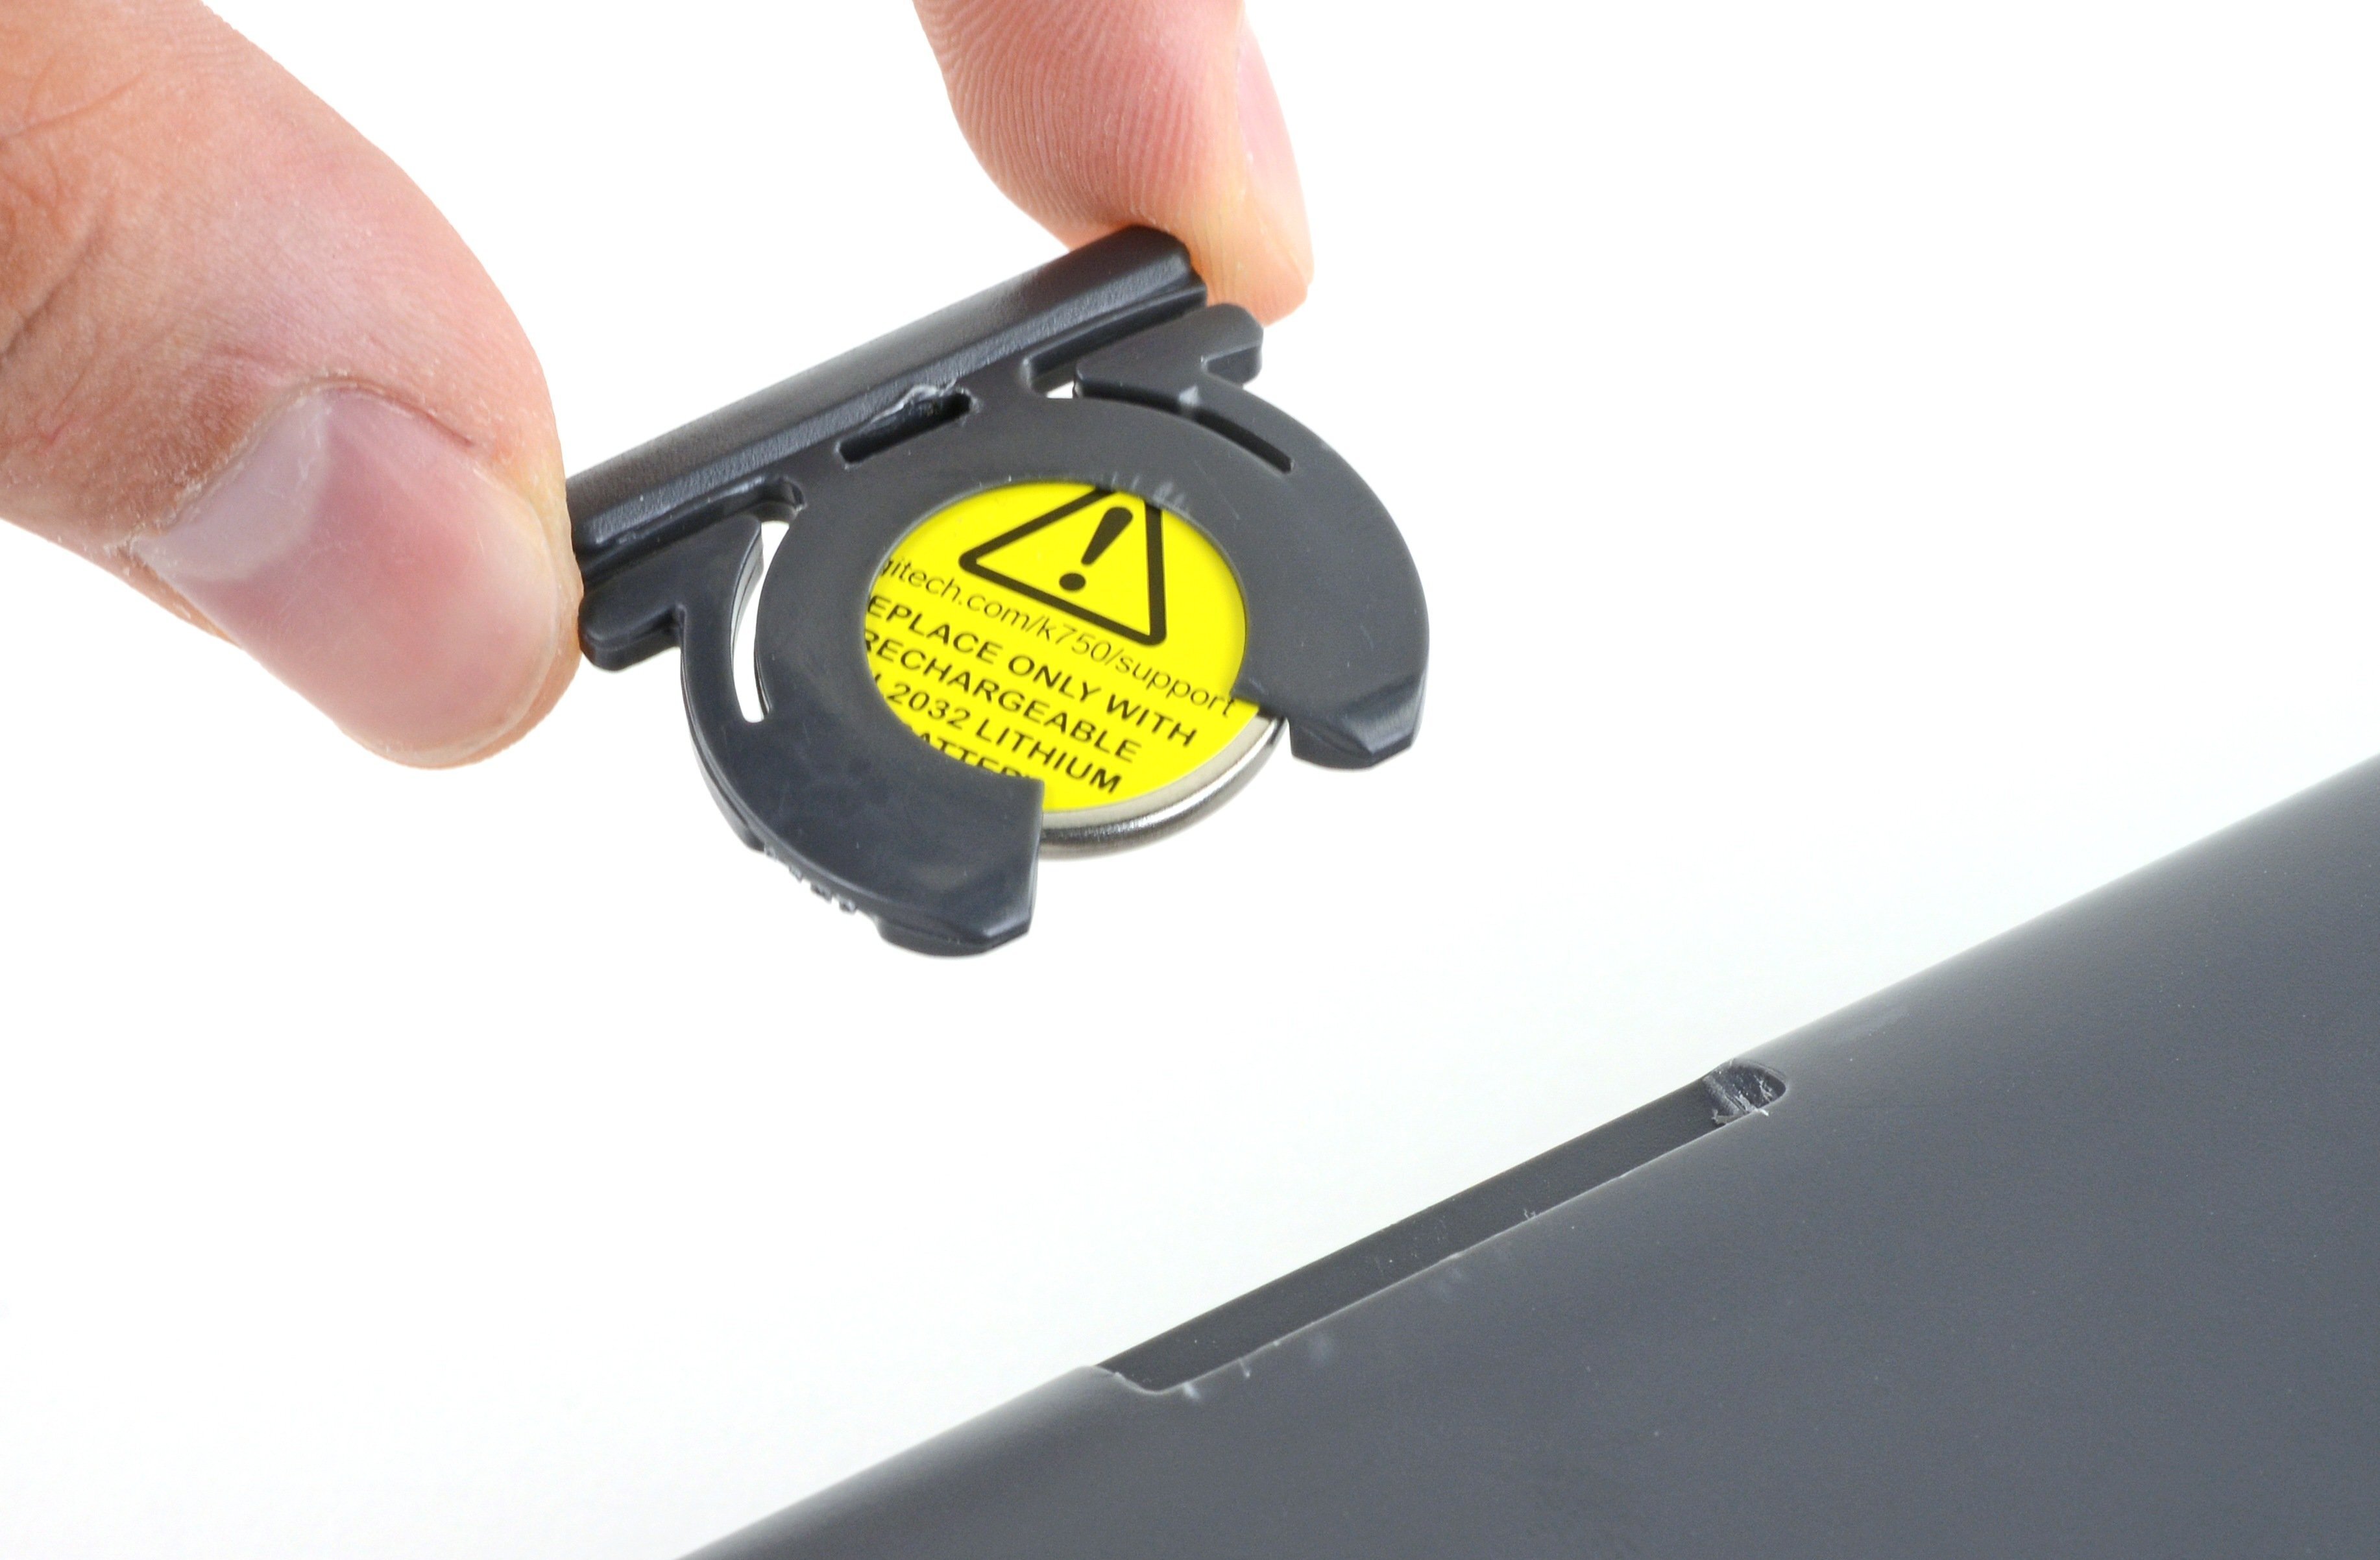
Before we get started, make sure you have a replacement battery for the Logitech K750 keyboard. It’s always a good idea to have a spare battery on hand to avoid any downtime in case the current battery runs out. The Logitech K750 keyboard uses a coin-cell battery, specifically a CR2032, commonly available in most electronic stores or online.
Changing the battery on your Logitech K750 keyboard is a simple process that requires minimal tools and can be done in a matter of minutes. So, let’s gather our materials and get started with the step-by-step instructions.
Step 1: Gather Your Materials
Before you begin the process of changing the battery on your Logitech K750 keyboard, it’s important to gather all the necessary materials. Having everything ready beforehand will save you time and make the process smoother. Here’s a list of materials you’ll need:
- A replacement coin-cell battery (CR2032)
- A small screwdriver (typically a Phillips head or flathead)
- A clean, soft cloth or tissue
Ensure that you have a compatible replacement battery. The CR2032 is a widely used coin-cell battery and can be easily found at most electronic stores or online retailers.
Having a small screwdriver on hand is essential as it will be required to remove the battery cover. The Logitech K750 keyboard typically uses screws to secure the battery cover in place. Depending on the version of the keyboard, you may need either a Phillips head or flathead screwdriver. Check the screws on your keyboard to determine the appropriate type of screwdriver.
Lastly, you’ll need a clean, soft cloth or tissue to handle the battery and keyboard. This is to ensure that no dirt, grime, or oils from your hands come into contact with the battery or keyboard. Keeping the components clean will help maintain the longevity and performance of your Logitech K750 keyboard.
Now that you have gathered all the necessary materials, you’re ready to proceed to the next step, where we will prepare your work area before changing the battery on your Logitech K750 keyboard.
Step 2: Prepare Your Work Area
Before you start the process of changing the battery on your Logitech K750 keyboard, it is essential to prepare your work area. By doing so, you can ensure a clean and organized space to work in. Follow these steps to prepare your work area:
- Find a well-lit and clean surface: Look for a table or desk where you have enough space to comfortably work on your Logitech K750 keyboard. Make sure the area is well-lit so that you can easily see the small parts and screws.
- Remove any obstructions: Clear your work area of any unnecessary items or clutter. This will give you ample space to work efficiently and minimize the risk of misplacing any components or screws.
- Place a soft cloth or mat: To protect your keyboard from any scratches or damage, place a soft cloth or mat on your work surface. This will provide a cushioning effect and prevent any accidental slips or scratches.
- Organize your tools: Lay out your screwdriver and replacement battery within reach. This will save you time and prevent any distractions while searching for the tools during the battery replacement process.
By following these steps, you can ensure that your work area is optimized for the battery replacement process. Having a clean and organized workspace will make it easier for you to handle the delicate components of the Logitech K750 keyboard and prevent any unnecessary mishaps.
Now that your work area is prepared, it’s time to move on to the next step, where we will learn how to remove the battery cover from the Logitech K750 keyboard.
Step 3: Remove the Battery Cover
Now that you have prepared your work area, it’s time to remove the battery cover from your Logitech K750 keyboard. Follow these steps to remove the battery cover:
- Flip your keyboard over: Turn your Logitech K750 keyboard upside down, so that the keys are facing downwards. This will allow you to access the battery compartment on the back of the keyboard.
- Identify the battery compartment: Look for a rectangular or oval-shaped panel on the backside of the keyboard. This is where the battery compartment is located. It is usually marked with a battery symbol or a label indicating the battery type.
- Remove the screws: Use the appropriate screwdriver (Phillips head or flathead) to unscrew the screws holding the battery cover in place. Make sure to keep the screws in a safe place, so they don’t get lost during the process.
- Gently lift the battery cover: After removing the screws, you can now carefully lift the battery cover. It should easily come off, revealing the battery compartment underneath.
- Set aside the battery cover: Place the battery cover in a secure location, where it won’t get damaged or misplaced. You will need it later to cover the battery compartment once you have replaced the battery.
By following these steps, you can successfully remove the battery cover from your Logitech K750 keyboard. Take your time and handle the screws and cover with care to avoid any damage. Once the battery cover is removed, you can proceed to the next step, where we will learn how to take out the old battery from the keyboard.
Step 4: Take out the Old Battery
With the battery cover removed, you are now ready to take out the old battery from your Logitech K750 keyboard. Follow these steps to safely remove the old battery:
- Locate the old battery: Inside the battery compartment, you will find the old battery. It will be a small, round coin-cell battery, typically labeled with its model number, CR2032.
- Inspect the battery: Before removing the old battery, take a moment to inspect it for any signs of damage or leakage. If you notice any abnormalities, such as corrosion or a swollen appearance, exercise caution and handle it with care.
- Remove the old battery: To remove the old battery, gently press down on one side and lift it out of the compartment. Use your fingers or a small tool, like a pair of tweezers, if needed. Dispose of the old battery properly according to your local recycling guidelines.
- Clean the battery compartment: After removing the old battery, take a clean, soft cloth or tissue and wipe the battery compartment to remove any dust or debris. Ensure that the compartment is dry and free from any residue before proceeding to the next step.
Remember to handle the old battery with care, as it may contain hazardous materials. Avoid touching the battery terminals with your bare hands, and dispose of it properly to protect the environment.
Now that you have successfully removed the old battery from your Logitech K750 keyboard, it’s time to proceed to the next step—inserting the new battery. we will show you how to properly insert the new battery in the upcoming step.
Step 5: Insert the New Battery
Now that you have removed the old battery, it’s time to insert the new battery into your Logitech K750 keyboard. Follow these steps to properly insert the new battery:
- Take the new battery out of its packaging: Ensure that you have the correct replacement battery for your Logitech K750 keyboard, which is typically a CR2032 coin-cell battery.
- Align the new battery: Look for the positive (+) and negative (-) symbols on the new battery. Align these symbols with the ones inside the battery compartment, ensuring that the battery is facing the correct way.
- Place the new battery into the compartment: Gently lower the new battery into the compartment, making sure it sits securely and snugly. Avoid using excessive force while inserting the battery as it may cause damage to the compartment or the battery itself.
- Double-check the battery placement: Once the new battery is inserted, double-check that it is properly aligned and in the correct position. This will ensure that the keyboard receives power and functions correctly.
It’s important to note that the Logitech K750 keyboard does not require any additional steps to activate the battery. As soon as the new battery is inserted, it should start providing power to the keyboard.
Now that you have successfully inserted the new battery, you can move on to the next step to test your keyboard and ensure that it is functioning properly.
Step 6: Test the Keyboard
After inserting the new battery, it’s important to test your Logitech K750 keyboard to ensure that it is functioning properly. Follow these steps to test your keyboard:
- Turn the keyboard right-side up: Flip your Logitech K750 keyboard back over so that the keys are facing upwards.
- Check for power indication: Look for the power indicator on the keyboard. It is usually located near the top right corner and will either be a small LED light or a battery icon. If the power indicator is not illuminated or showing a low battery status, it might indicate that the battery is not inserted correctly or there is an issue with the new battery.
- Press some keys: Press a few random keys on the keyboard to check if they register on your computer. Open a text document or a web browser and type a few words to see if the keyboard is working properly.
- Test additional functionalities: Test any additional functionalities or features on your Logitech K750 keyboard, such as multimedia keys or special function keys. Make sure they are responsive and perform their designated tasks.
- Observe battery life: Keep an eye on the battery life of your Logitech K750 keyboard. The new battery should provide optimal performance, and you should notice prolonged battery life compared to the old battery.
If you encounter any issues or the keyboard is not functioning as expected, double-check the battery placement and make sure it is securely inserted. If the problem persists, consider removing and reinserting the battery or contacting Logitech support for further assistance.
Once you have tested the keyboard and ensured that it is working correctly, you can move on to the final step of replacing the battery cover on your Logitech K750 keyboard.
Step 7: Replace the Battery Cover
Now that you have tested your Logitech K750 keyboard and confirmed that it’s functioning properly, it’s time to replace the battery cover. Follow these steps to securely fasten the battery cover back onto your keyboard:
- Retrieve the battery cover: Take the battery cover that you set aside earlier.
- Align the screw holes: Line up the screw holes on the battery cover with the corresponding holes on the back of the keyboard. Ensure that it is aligned properly to avoid any misalignment or damage to the screws and the cover.
- Secure the screws: Using the small screwdriver, start fastening the screws back into place. Tighten them securely, but be careful not to overtighten as it may cause damage to the cover or the keyboard.
- Check for proper fit: Once the screws are tightened, gently press down on the battery cover to ensure that it is snug and secure. Make sure there are no gaps or loose areas.
- Test the keyboard again: After replacing the battery cover, test your Logitech K750 keyboard one more time to ensure that it is still functioning properly. Press various keys and use different features to ensure everything is working as expected.
By following these steps, you have successfully replaced the battery cover on your Logitech K750 keyboard. The keyboard is now ready for use, and you can enjoy the renewed functionality and performance it provides.
Remember, if you ever need to replace the battery again in the future, simply follow these steps starting from removing the battery cover. It is recommended to use the same type of battery (CR2032) for optimal compatibility and performance.
With the battery cover securely in place, you have completed the process of changing the battery on your Logitech K750 keyboard. Enjoy using your refreshed and reliable keyboard!
Conclusion
Congratulations! You have successfully completed the process of changing the battery on your Logitech K750 keyboard. By following the step-by-step guide outlined in this article, you were able to gather the necessary materials, prepare your work area, remove the battery cover, replace the old battery, and test the keyboard for functionality.
Changing the battery on your Logitech K750 keyboard is a simple and straightforward task that can be done by anyone, regardless of their technical expertise. It only requires a few basic tools and minimal time investment.
By keeping your Logitech K750 keyboard’s battery in good condition, you can continue to enjoy its reliable performance and efficient functionality. Remember to replace the battery when needed, and always use the recommended battery type (CR2032) for optimal compatibility.
We hope this guide provided you with the knowledge and confidence to change the battery on your Logitech K750 keyboard. If you ever encounter any issues or have further questions, consult the Logitech support team for additional assistance.
Now that you have successfully changed the battery, you can continue to enjoy your Logitech K750 keyboard for many more hours of productive use. Happy typing!