Introduction
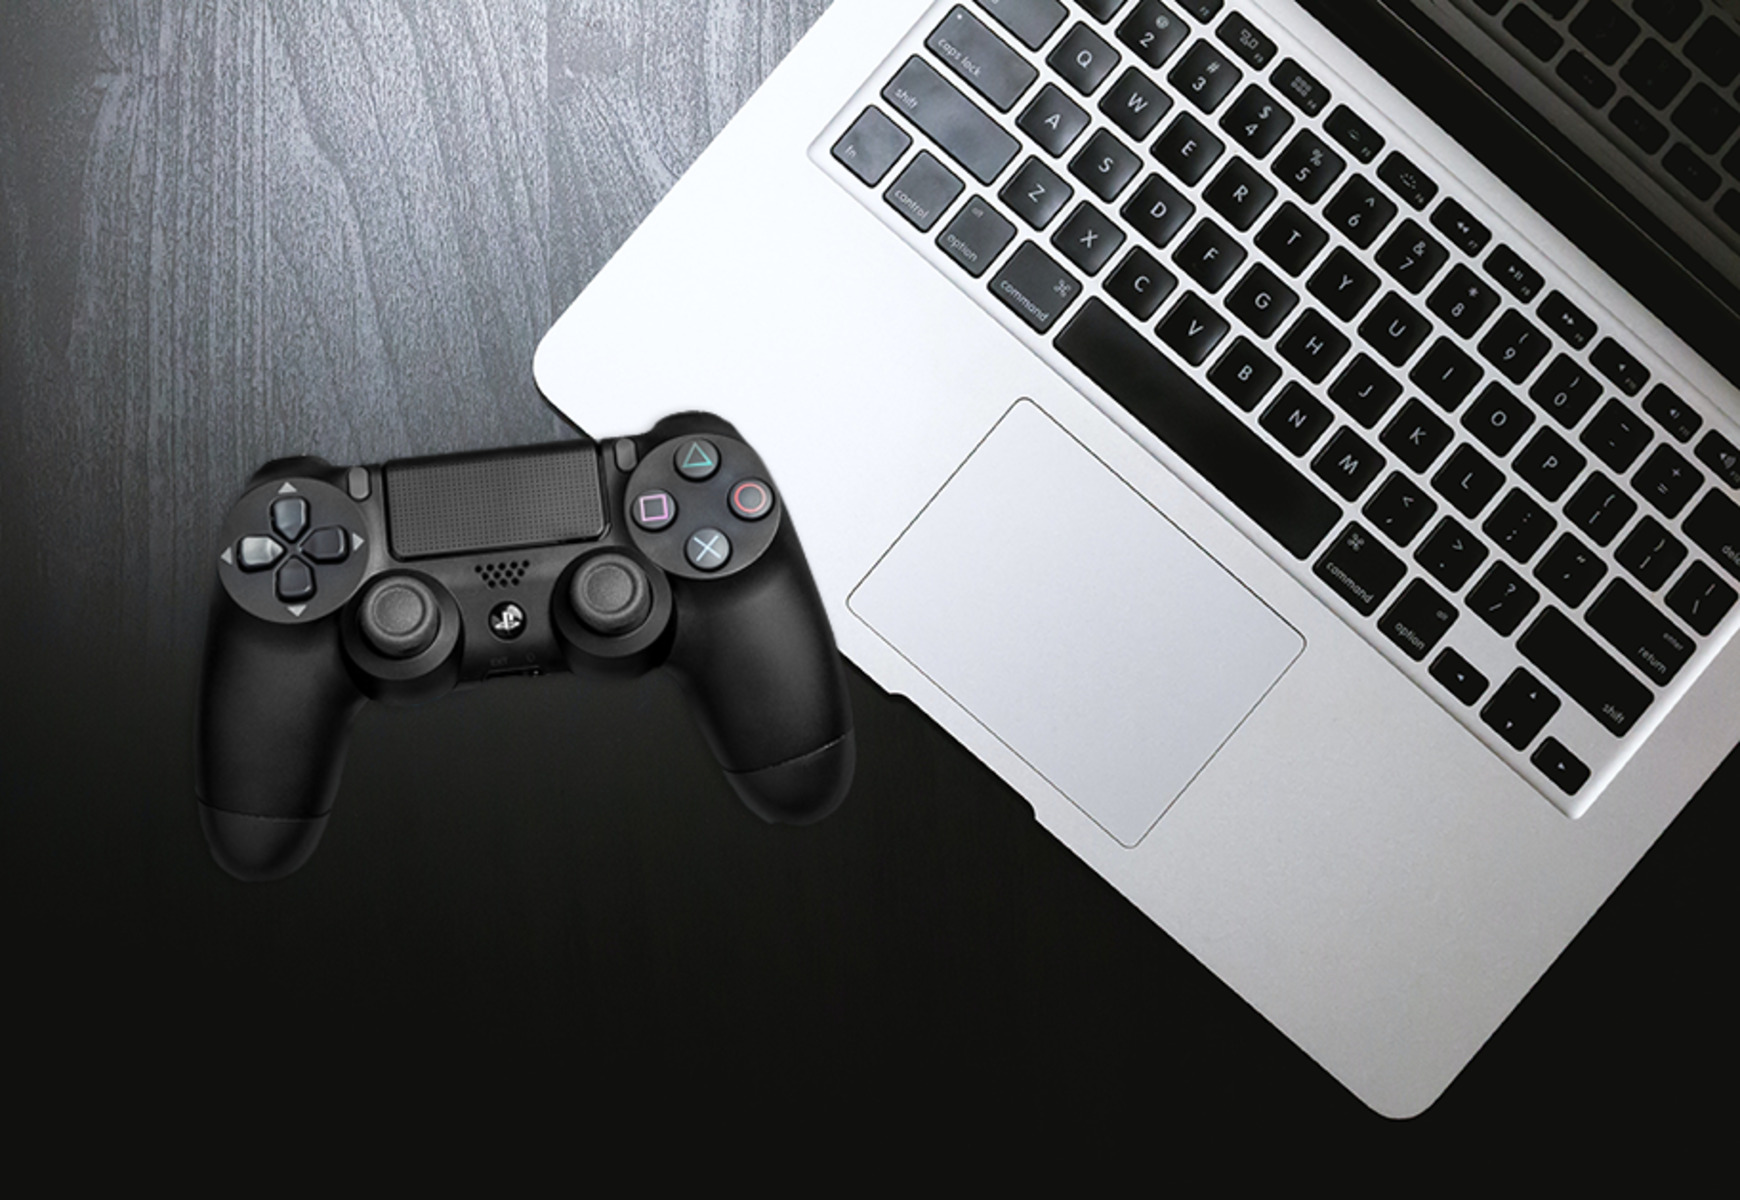
Gaming on Chromebooks has become more popular in recent years, offering users the opportunity to enjoy their favorite games on a lightweight and versatile device. For avid gamers, connecting a PS4 controller to a Chromebook brings a familiar and comfortable gaming experience. Not only does it provide better control and precision, but it also allows users to take advantage of the controller’s advanced features.
If you’re wondering how to connect a PS4 controller to a Chromebook, you’re in the right place. In this article, we will guide you through the step-by-step process to seamlessly pair your PS4 controller with your Chromebook and start gaming in no time.
Before we dive into the steps, it’s important to note that not all Chromebooks support Bluetooth connectivity for game controllers. Therefore, the first step is to ensure that your Chromebook is compatible with this feature. This way, you can guarantee the best gaming experience without any compatibility issues.
Connecting your PS4 controller wirelessly to your Chromebook eliminates the need for additional cables or adapters. Plus, it gives you the freedom to move around and play games comfortably. So, let’s get started with the step-by-step instructions to connect your PS4 controller to your Chromebook via Bluetooth.
Step 1: Check Compatibility
Before attempting to connect your PS4 controller to your Chromebook, you need to make sure that your device supports Bluetooth connectivity for game controllers. Not all Chromebooks have this feature, so it’s essential to check beforehand to avoid any frustration.
To check if your Chromebook is compatible, follow these simple steps:
- Go to the Settings menu on your Chromebook. You can access it by clicking on the gear icon located in the bottom-right corner of the screen.
- From the Settings menu, click on the “Devices” option.
- Look for the “Bluetooth & other devices” section. If you see this option, it means that your Chromebook supports Bluetooth connectivity.
- Click on the “Bluetooth & other devices” option, and if Bluetooth is listed there, it confirms that your Chromebook is compatible with Bluetooth-enabled game controllers.
If you’re unable to find the Bluetooth option in the settings or it’s not available, it means that your Chromebook does not support Bluetooth connectivity for game controllers. In this case, you won’t be able to connect your PS4 controller wirelessly. However, you can still explore other ways to connect it, such as using a USB cable or a third-party adapter.
Note: It’s worth mentioning that even if your Chromebook supports Bluetooth connectivity, some models may have limitations or issues when pairing with certain game controllers. In such cases, it’s advised to check the compatibility of your specific Chromebook model with PS4 controllers to ensure a seamless connection process.
Now that you’ve determined that your Chromebook is compatible with Bluetooth-enabled game controllers, you’re ready to move on to the next step: powering on your Chromebook and enabling Bluetooth.
Step 2: Power on your Chromebook and Enable Bluetooth
Once you’ve confirmed that your Chromebook supports Bluetooth connectivity for game controllers, it’s time to power on your Chromebook and enable Bluetooth. Here’s how you can do it:
- Press the power button to turn on your Chromebook. Wait for it to boot up completely and reach the desktop or home screen.
- On the bottom right corner of the screen, click on the system tray icon located next to the clock. This icon represents various settings and notifications.
- In the system tray menu, look for the Bluetooth icon. It typically appears as a stylized “B” with radiating waves. Click on this icon to access the Bluetooth settings on your Chromebook.
- If the Bluetooth icon is not visible in the system tray menu, click on the arrow icon to expand the menu and reveal additional icons. The Bluetooth icon should be visible now.
- Click on the Bluetooth icon to open the Bluetooth settings. This will allow you to enable or disable Bluetooth on your Chromebook.
- In the Bluetooth settings, make sure that the toggle switch is set to “On” or “Enabled” to activate Bluetooth functionality on your Chromebook.
Enabling Bluetooth on your Chromebook is crucial for establishing a wireless connection with your PS4 controller. Once Bluetooth is turned on, it’s time to put your PS4 controller into pairing mode, which we will cover in the next step.
Note: If you have previously paired your Chromebook with other Bluetooth devices, make sure to unpair them or turn off their Bluetooth functionality before proceeding. This will prevent any interference during the pairing process and ensure a smooth connection with your PS4 controller.
Step 3: Put your PS4 Controller into Pairing Mode
To connect your PS4 controller to your Chromebook, you need to put the controller into pairing mode. This allows your Chromebook to detect and establish a connection with the controller. Here’s how you can do it:
- Make sure your PS4 controller is turned off. If it’s currently connected to a PlayStation console, disconnect it from the console.
- Locate the small reset button on the back of the controller. It’s a tiny hole that you can press with a paperclip or a small pin.
- Using a paperclip or a small pin, press and hold the reset button for a few seconds.
- While still holding the reset button, press and hold the PlayStation button (the large button in the center of the controller).
- Continue holding both buttons until you see the light bar on the controller start flashing rapidly. This indicates that the controller is now in pairing mode.
By putting your PS4 controller into pairing mode, you’re allowing it to be discovered by your Chromebook during the Bluetooth scanning process. Now that your controller is in pairing mode, it’s time to proceed to the next step: connecting your PS4 controller to your Chromebook via Bluetooth.
Note: If you have already connected your PS4 controller to another device, make sure to unpair it or turn off the Bluetooth functionality on that device before proceeding. This ensures that the PS4 controller is available and actively searching for a new Bluetooth connection with your Chromebook.
Step 4: Connect your PS4 Controller to your Chromebook via Bluetooth
Now that your PS4 controller is in pairing mode, it’s time to connect it to your Chromebook using Bluetooth. Follow these steps to establish the wireless connection:
- On your Chromebook, go to the Bluetooth settings by clicking on the system tray icon located on the bottom right corner of the screen. If the Bluetooth icon is not visible, expand the menu by clicking on the arrow icon.
- In the Bluetooth settings, click on the “Add device” or “Pair device” button. This will initiate the scanning process to find nearby Bluetooth devices.
- Your Chromebook will start scanning for available Bluetooth devices, including your PS4 controller. Wait for a moment until it detects the controller.
- Once the PS4 controller is detected, you should see it listed under the “Available devices” or “Devices found” section. Click on the name of your PS4 controller to start the pairing process.
- Your Chromebook will now attempt to establish a connection with the PS4 controller. During the pairing process, you may be prompted to enter a pairing code or confirm the connection on both your Chromebook and the PS4 controller. Follow the on-screen instructions to complete the pairing.
- Once the pairing is successful, your PS4 controller will be connected to your Chromebook via Bluetooth. You should see the controller’s name displayed under the “Paired devices” or “Connected devices” section in the Bluetooth settings.
After successfully connecting your PS4 controller to your Chromebook via Bluetooth, you can start enjoying your favorite games using the controller’s familiar buttons and features. Remember, the PS4 controller may also work with certain Android apps and games on your Chromebook, enhancing your gaming experience even further.
Now that you’ve connected your PS4 controller, it’s time to test the connection and ensure that everything is working as expected, which we’ll cover in the next step.
Step 5: Test the Connection
After successfully connecting your PS4 controller to your Chromebook via Bluetooth, it’s important to test the connection to ensure that everything is working smoothly. Here’s how you can test the connection:
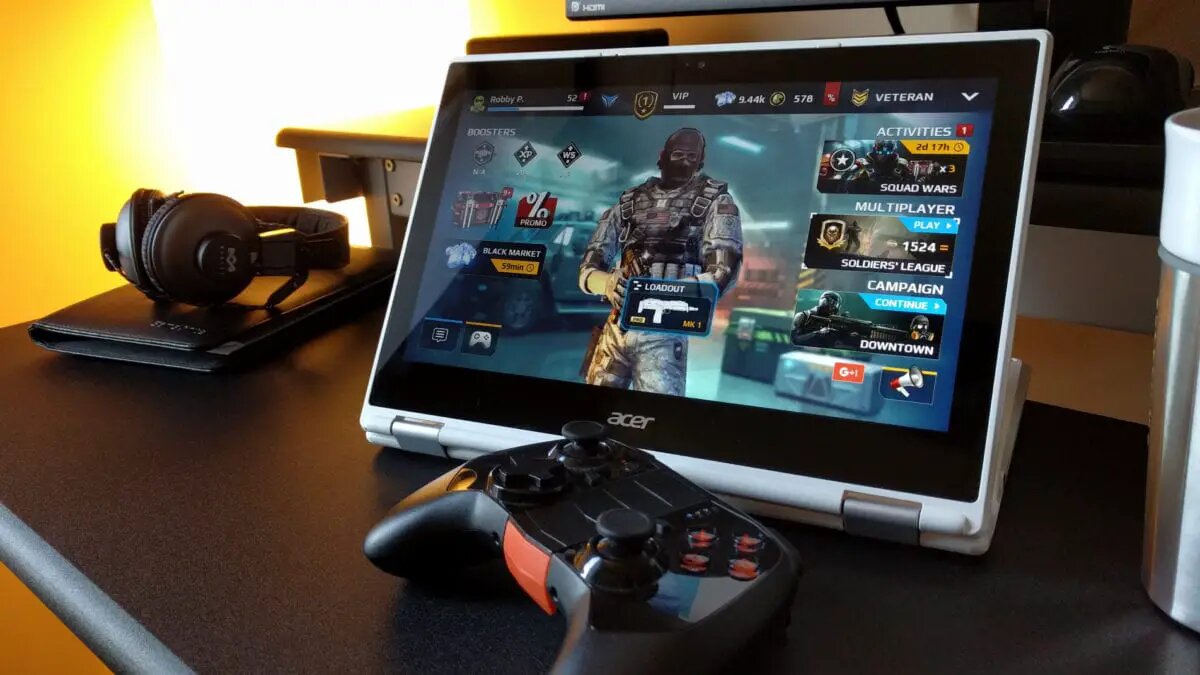
- Launch a game or an application on your Chromebook that supports gamepad input. This could be a web-based game, a game from the Chrome Web Store, or an Android app/game from the Google Play Store.
- In the game or application, navigate to the settings or control options. Look for a section where you can customize or configure the gamepad input.
- Ensure that the game or application recognizes the connected PS4 controller. It should display the controller’s name or indicate that a controller is connected.
- Test the controller’s buttons, sticks, and other input features to verify that they are functioning correctly within the game or application. Move the sticks, press the buttons, and check if the corresponding actions are registered.
- If any button inputs are not working as expected, you may need to remap or configure the controller within the game or application settings to match your preferences.
By testing the connection and ensuring that the PS4 controller functions properly in the game or application, you can confidently enjoy gaming on your Chromebook with enhanced control and precision.
If you encounter any issues during the testing process, such as unresponsive buttons or unrecognized inputs, you may need to troubleshoot the connection. Try disconnecting and reconnecting the controller, restarting your Chromebook, or updating the firmware/software of your PS4 controller.
Congratulations! You have successfully connected and tested your PS4 controller on your Chromebook. Now, you can immerse yourself in your favorite games and enjoy a seamless gaming experience with the comfort and familiarity of your PS4 controller.
Conclusion
Connecting a PS4 controller to your Chromebook via Bluetooth opens up a world of gaming possibilities, giving you better control and precision for an immersive gaming experience. In this article, we have provided a step-by-step guide to help you easily connect your PS4 controller to your Chromebook. By following these instructions, you can enjoy your favorite games on a larger screen and benefit from the advanced features of the PS4 controller.
Remember to check the compatibility of your Chromebook for Bluetooth connectivity before attempting to connect your PS4 controller. Ensuring that your device supports this feature is essential in order to establish a seamless connection. Additionally, make sure you enable Bluetooth on your Chromebook and put your PS4 controller into pairing mode. Then, follow the steps to connect your controller to your Chromebook via Bluetooth.
After successfully connecting the controller, test the connection by launching a game or application that supports gamepad input. Ensure that the controller is recognized and functioning correctly within the game or application. This way, you can customize the controls to your preferences and fully enjoy the gaming experience.
If you encounter any issues during the process, don’t hesitate to troubleshoot by disconnecting and reconnecting the controller, restarting your Chromebook, or updating the firmware/software of your PS4 controller. These steps can usually resolve most common connection problems.
Now that you know how to connect your PS4 controller to your Chromebook, you can take your gaming to the next level. Enjoy the convenience, comfort, and precision that the PS4 controller provides as you immerse yourself in the exciting world of gaming on your Chromebook.