Introduction
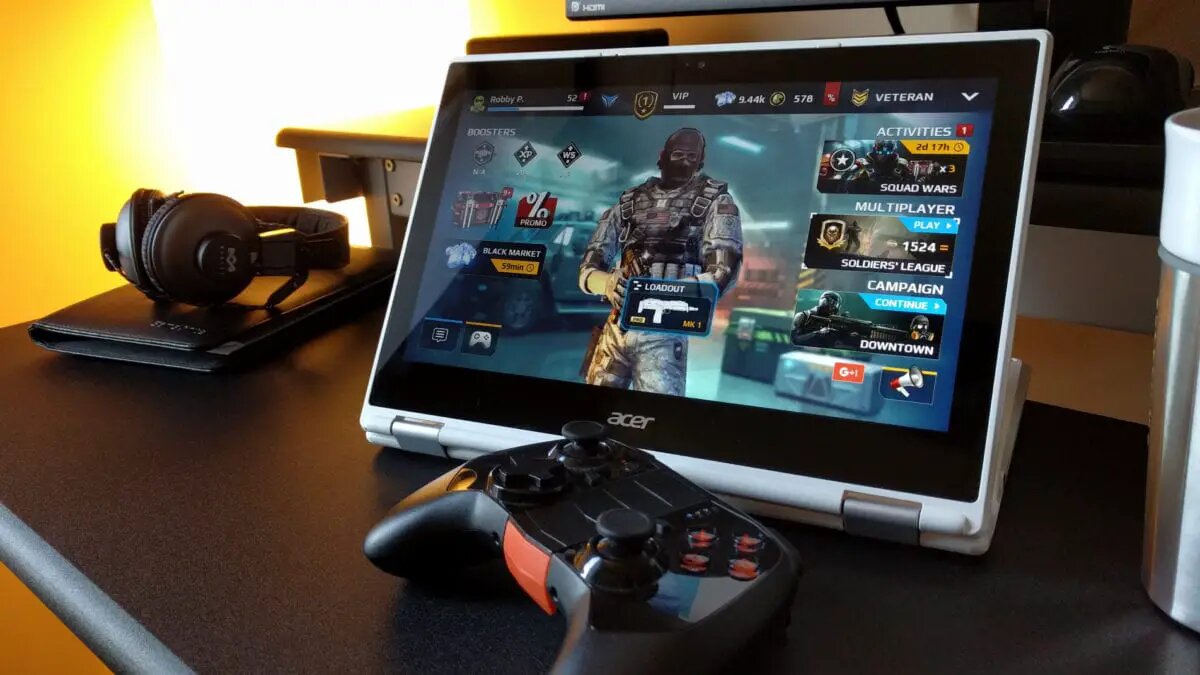
Welcome to the world of gaming! If you’re a proud owner of a PS4 and a Chromebook, you might be wondering if there’s a way to combine the two and play your favorite games on the bigger screen. Well, you’re in luck! In this guide, we’ll show you how to play PS4 on your Chromebook using HDMI.
Playing PS4 games on a Chromebook can be a game-changer. The large display and powerful hardware of your TV can enhance the gaming experience and allow you to fully immerse yourself in the virtual world. Plus, with the mobility of a Chromebook, you can easily move your setup to any room in the house.
While it may seem daunting at first, setting up your Chromebook to play PS4 games is actually quite straightforward. All you need is an HDMI cable and a TV with an HDMI input. Don’t worry if you’re not a tech expert – we’ll guide you through each step to ensure a smooth and hassle-free setup process.
So, whether you want to try out new games, compete with friends, or simply enjoy some quality gaming time, playing PS4 on your Chromebook is the way to go. Let’s dive in and discover the step-by-step process of making your gaming dreams a reality!
Getting Started
Before we jump into the exciting world of PS4 gaming on your Chromebook, there are a few things you’ll need to prepare. Here’s a quick checklist to ensure a smooth setup:
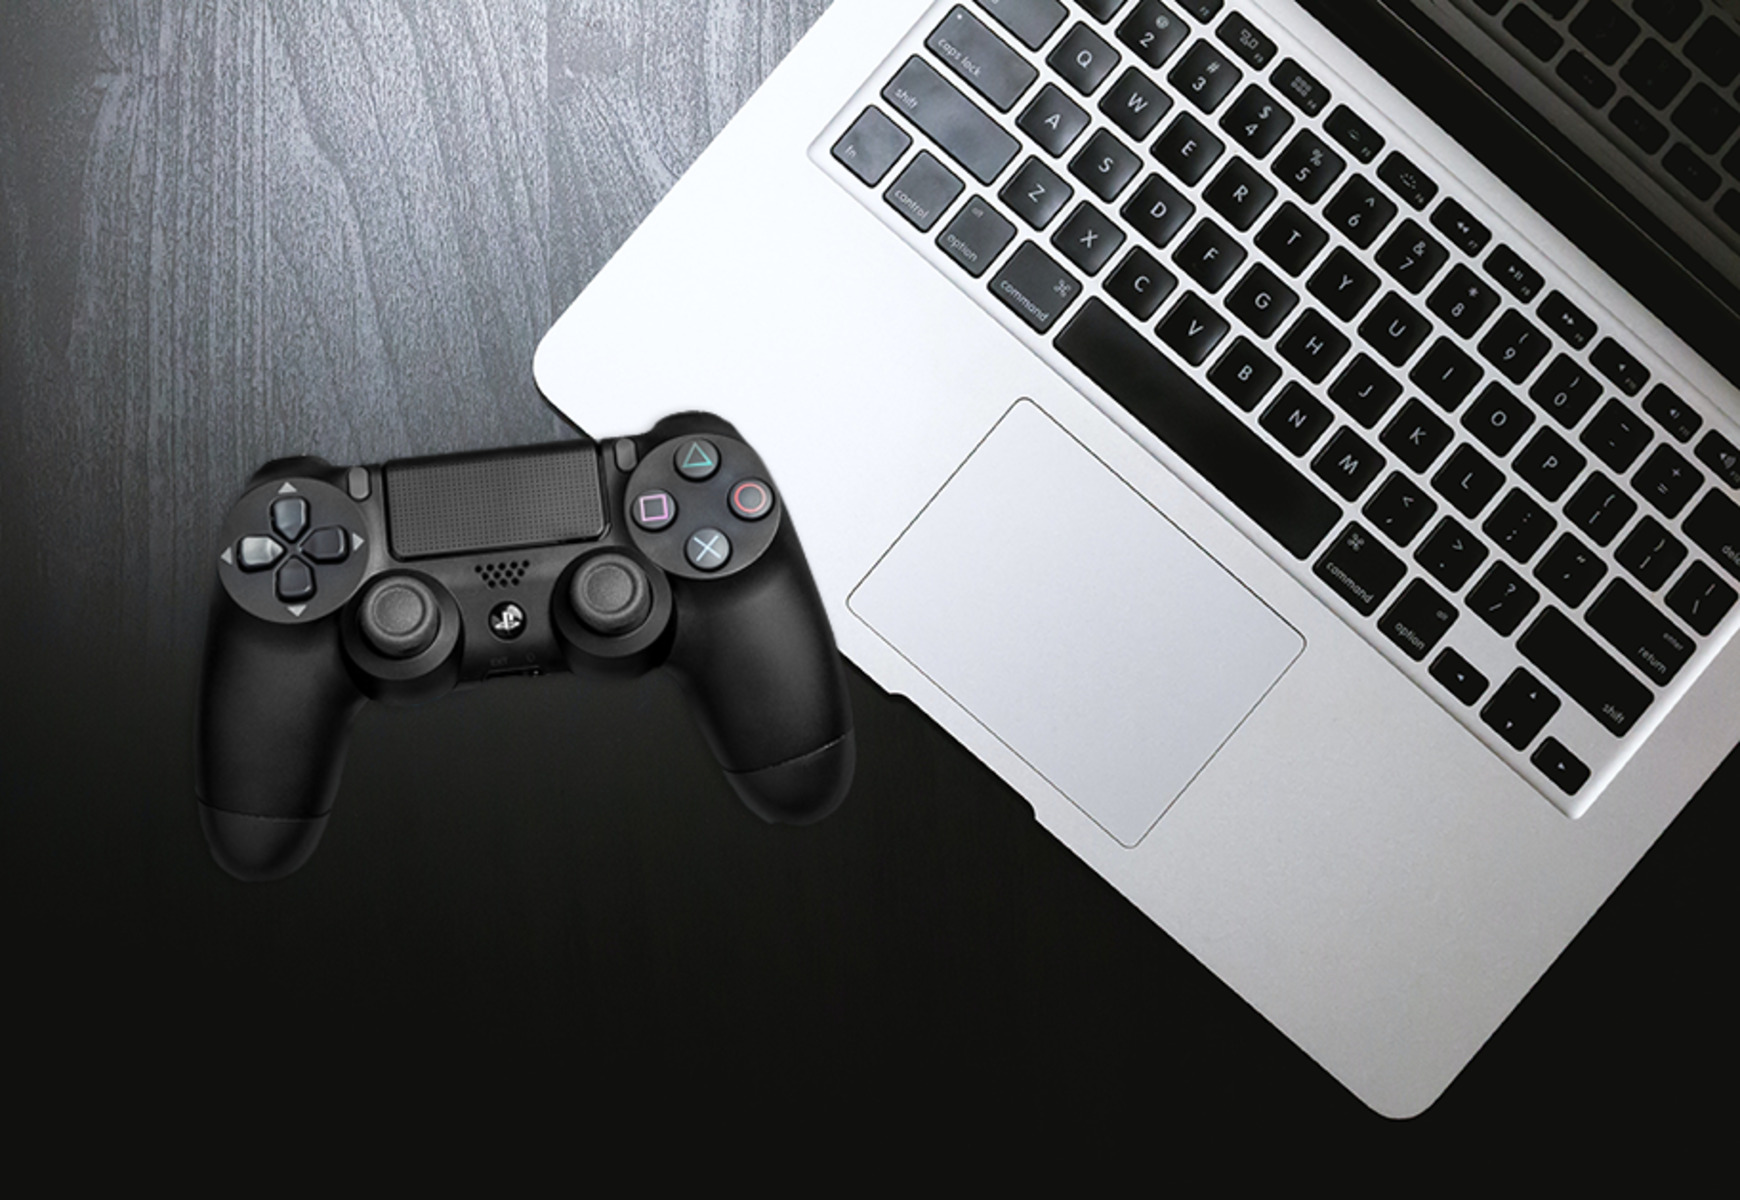
- A Chromebook: Make sure you have a Chromebook device that meets the system requirements for running PS4 games. Ideally, a more recent model will provide better performance.
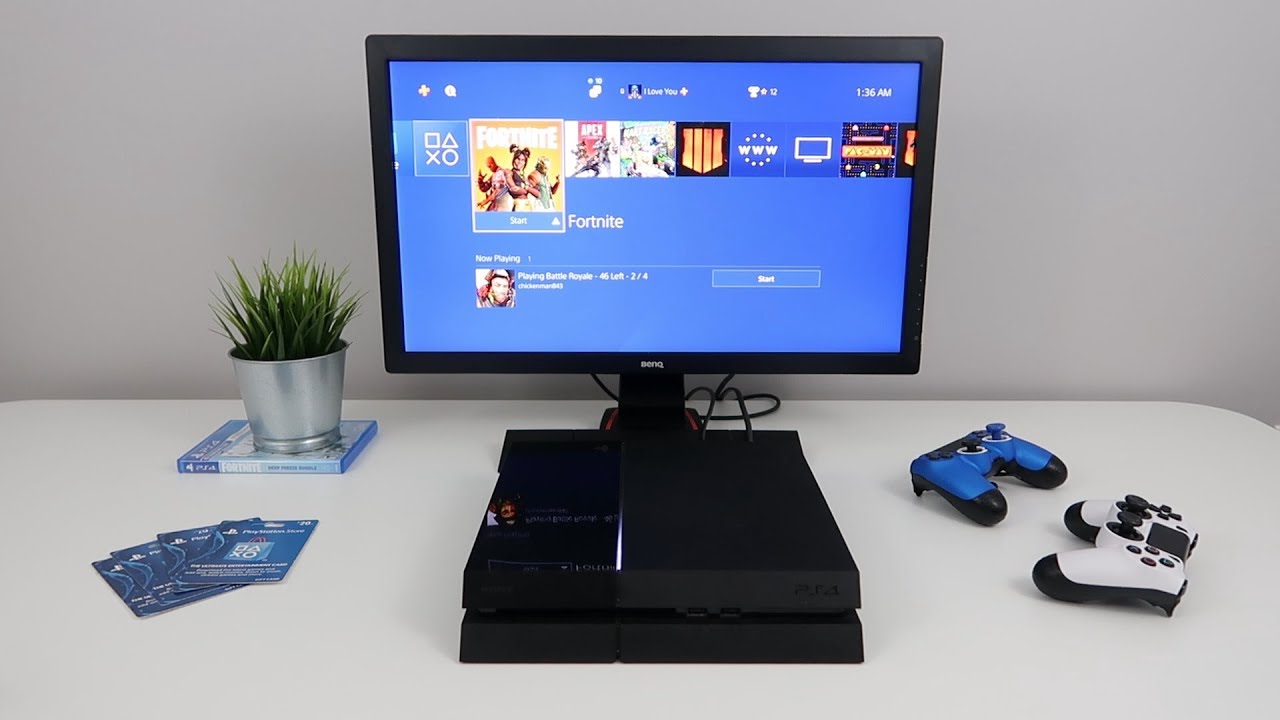
- A PS4 Console: Obviously, you’ll need a PS4 console to play your favorite games. Make sure it’s in working condition and connected to a power source.
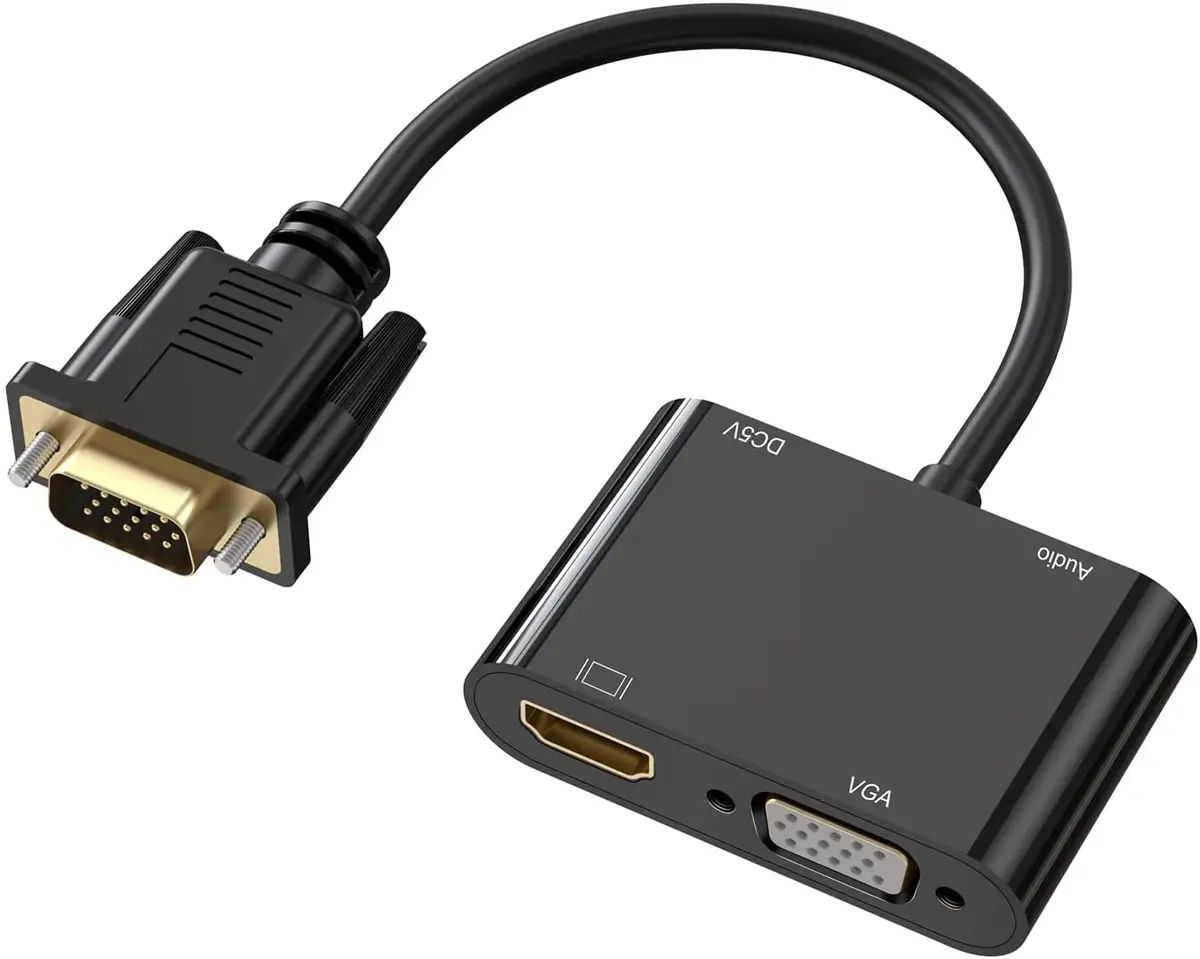
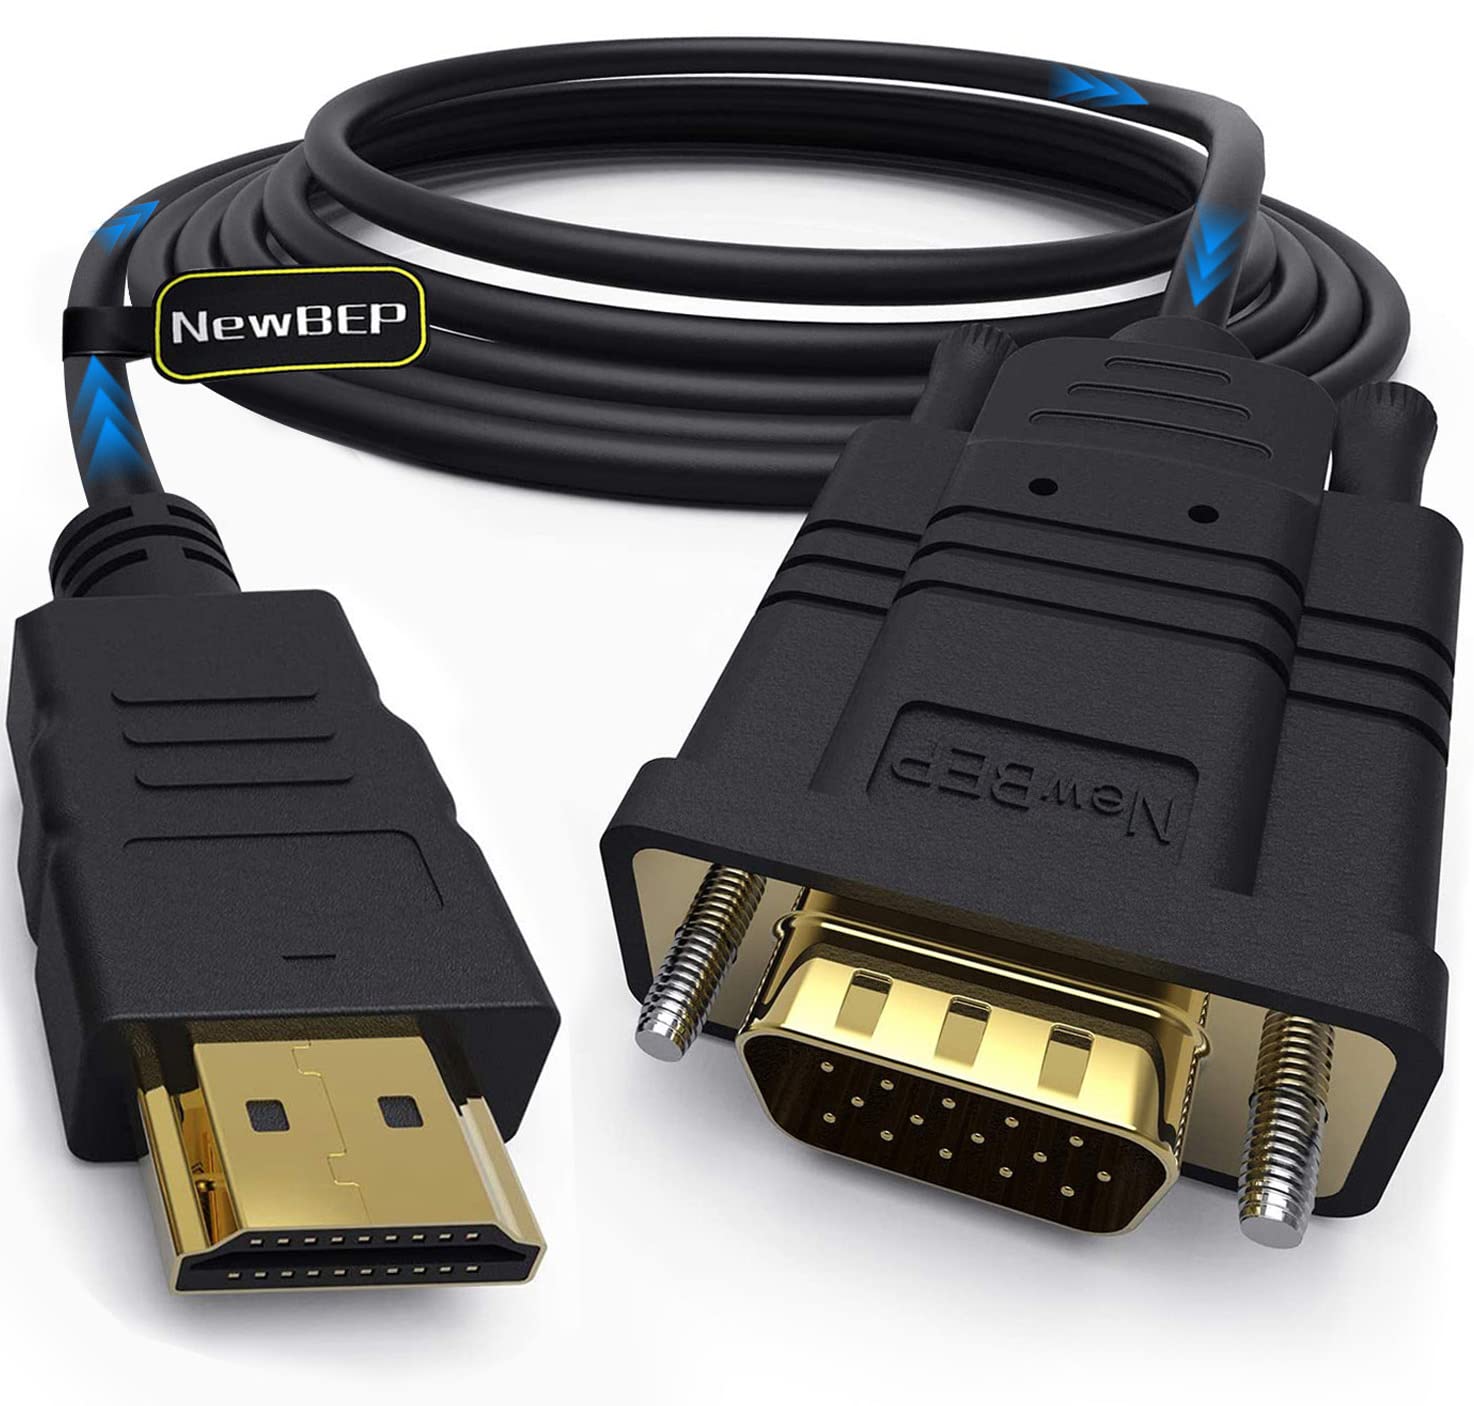
- An HDMI cable: This is the key component that will connect your Chromebook to the TV. Ensure you have a high-quality HDMI cable that is long enough to reach from your Chromebook to the TV.
- A TV with an HDMI input: Double-check that your TV has an available HDMI input port. Most modern TVs come with multiple HDMI ports, so you have the flexibility to connect other devices as well.
Once you have gathered all the necessary equipment, you’re ready to embark on your PS4 gaming journey on your Chromebook. Let’s move on to the step-by-step guide to set everything up!
Requirements
In order to successfully play PS4 on your Chromebook using HDMI, there are a few requirements you need to meet:
- Chromebook with HDMI Port: Ensure that your Chromebook has an HDMI port. This is necessary for connecting the Chromebook to the TV.
- PS4 Console: Of course, you’ll need a PS4 console to play your favorite games. Make sure it’s in good working condition and connected to a power source.
- HDMI Cable: Obtain a high-quality HDMI cable that is long enough to connect your Chromebook to the TV. This cable will transmit the audio and video signals from the PS4 to your Chromebook’s display.
- TV with HDMI Input: You’ll need a TV with an available HDMI input port. Most modern TVs come with multiple HDMI ports, so you’ll have the flexibility to connect other devices as well.
- Stable Internet Connection: To access online features and multiplayer games on your PS4, a stable internet connection is crucial. Ensure that your Chromebook is connected to a stable Wi-Fi network or use an Ethernet cable if available.
By meeting these requirements, you’ll have all the necessary components and connections to enjoy playing PS4 games on your Chromebook via HDMI. Now that we’ve covered the requirements, let’s move on to the step-by-step process of connecting and configuring your devices!
Step 1: Connect the Chromebook to the TV with HDMI
The first step in playing PS4 on your Chromebook is to establish a physical connection between your Chromebook and the TV using an HDMI cable. Follow these steps:
- Locate the HDMI port on your Chromebook. It is usually found on the side or back of the device. If your Chromebook has a USB-C port, you may need an HDMI adapter to connect the cable.
- Connect one end of the HDMI cable to the HDMI port on your Chromebook. Ensure it is securely inserted.
- Locate the HDMI input port on your TV. It is typically labeled as “HDMI” and indicated by a numbered input.
- Connect the other end of the HDMI cable to the HDMI input port on your TV.
- Turn on your TV and set it to the corresponding HDMI input channel. This can usually be done using the remote control or TV buttons.
Once the physical connection is established, your Chromebook screen should be mirrored on the TV. If not, check that the HDMI cable is securely connected and that the TV is set to the correct input channel.
Now that your Chromebook and TV are connected, it’s time to move on to the next step and enable HDMI input on the TV.
Step 2: Enable HDMI Input on the TV
After connecting your Chromebook to the TV via HDMI, you need to ensure that the HDMI input is enabled on your TV. Here’s how you can do it:
- Using the TV remote control, locate the “Input” or “Source” button. This button might be labeled differently depending on the TV brand/model.
- Press the “Input” or “Source” button on the remote to access the input selection menu.
- Scroll through the input options until you find the HDMI input that you connected your Chromebook to. Select it by pressing the corresponding button on the remote.
- Your TV should now display your Chromebook’s screen. If not, double-check the HDMI cable connections and ensure that the Chromebook is turned on.
Enabling the HDMI input on your TV allows it to receive signals from the connected Chromebook and display them on the screen. It’s an essential step in the setup process to ensure a seamless experience while playing PS4 games.
Now that you have successfully enabled the HDMI input on your TV, we can proceed to the next step, which involves configuring the PS4 settings.
Step 3: Configure the PS4 Settings
Once your Chromebook is connected to the TV and the HDMI input is enabled, you’ll need to configure some settings on your PS4 to ensure optimal gameplay. Follow the steps below:
- Power on your PS4 console and wait for it to boot up.
- Using the controller, navigate to the “Settings” menu on the PS4 home screen.
- Select “Sound and Screen” from the settings menu.
- In the “Sound and Screen” menu, locate and select “Video Output Settings.”
- Select “HDMI” as the preferred video output.
- Choose the resolution that is compatible with your TV, typically 1080p or 720p.
- Adjust any additional settings, such as screen size and aspect ratio, to fit your TV display correctly.
- Save the changes and exit the settings menu.
Configuring the PS4 settings ensures that the console outputs the video and audio signals through the HDMI connection to your Chromebook and subsequently to the TV. By selecting the appropriate video output and adjusting any necessary settings, you’ll be able to enjoy your games in the best possible quality.
With the PS4 settings configured, you’re almost ready to start playing PS4 games on your Chromebook. Let’s proceed to the final step.
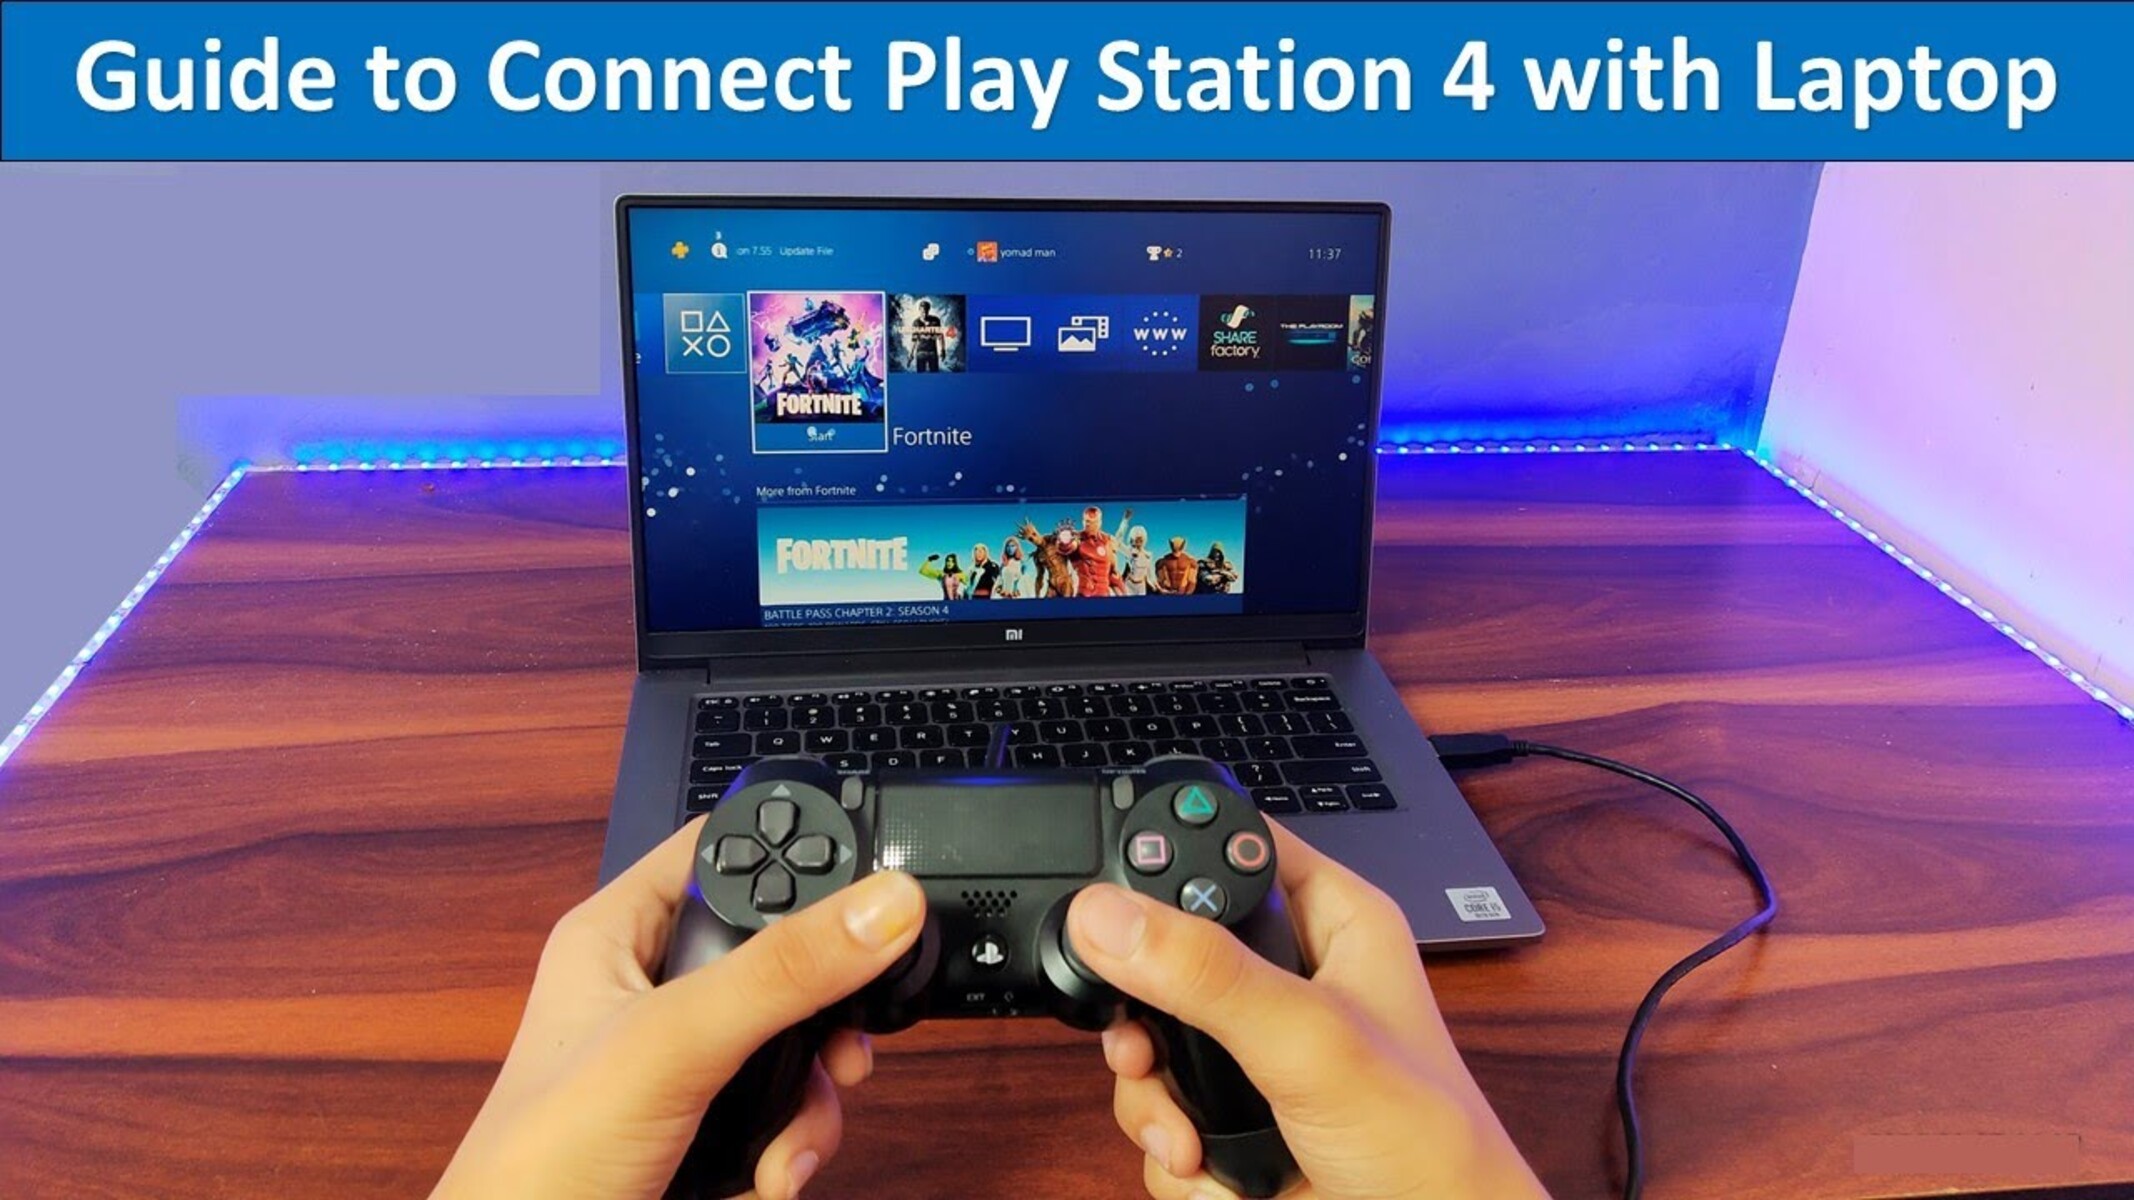
Step 4: Start Playing PS4 on Chromebook
Now that your Chromebook and PS4 are properly connected and configured, it’s time to start playing PS4 games on your Chromebook. Follow these steps:
- On your Chromebook, open the web browser of your choice (such as Google Chrome).
- Navigate to the official PlayStation Remote Play website (https://remoteplay.dl.playstation.net/remoteplay).
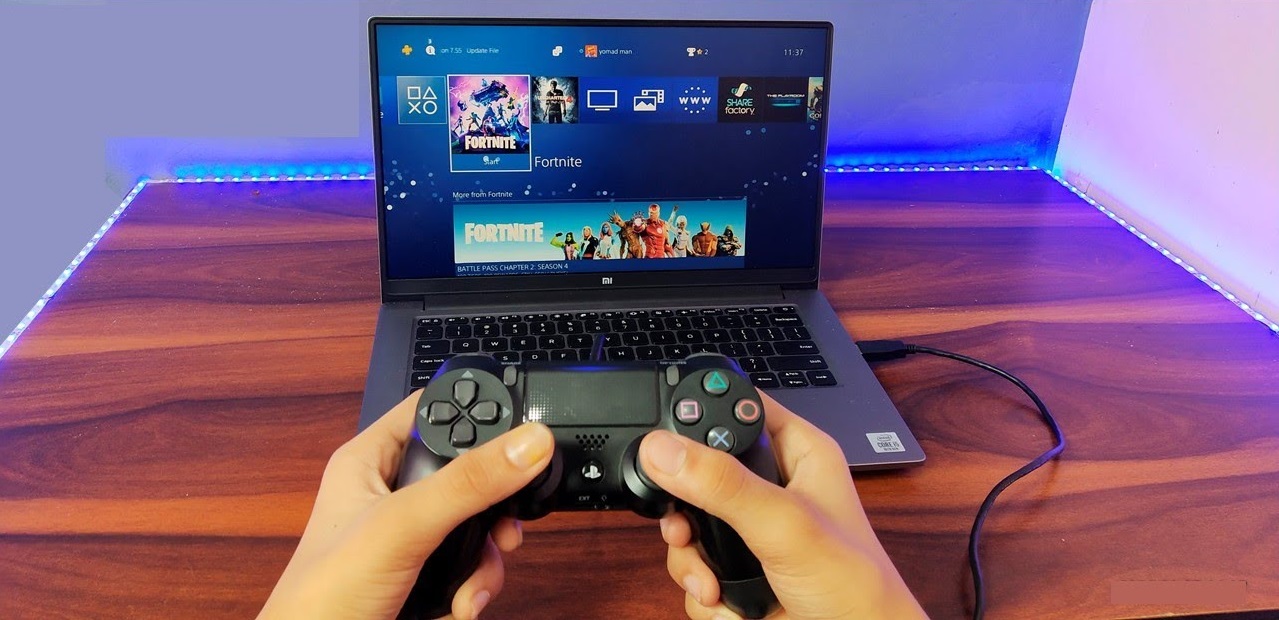
- Download and install the PlayStation Remote Play application for Chromebook.
- Once the installation is complete, open the PlayStation Remote Play app from the Chromebook’s app launcher.
- Sign in to your PlayStation Network (PSN) account when prompted.
- The app will search for your PS4 console. Once it finds it, select your PS4 to establish the connection.
- Your PS4 screen should now appear on your Chromebook’s display.
- Using the controller connected to your PS4, navigate through the PlayStation menu and select the game you want to play.
- Enjoy playing your favorite PS4 games directly on your Chromebook’s screen!
By using the PlayStation Remote Play app, you can stream the gameplay from your PS4 console to your Chromebook. This app allows you to play PS4 games on your Chromebook screen by mirroring the console’s display and transmitting the controller inputs over the network.
Make sure that your Chromebook and PS4 are connected to the same Wi-Fi network for a stable and smooth gaming experience.
Congratulations! You have successfully set up and started playing PS4 games on your Chromebook. Now you can enjoy the world of gaming on the bigger screen of your TV while taking advantage of the portability and convenience of your Chromebook.
Conclusion
Playing PS4 games on your Chromebook using HDMI is a fantastic way to elevate your gaming experience. By following the step-by-step guide outlined in this article, you now have the knowledge to set up and enjoy your favorite PS4 games on the larger screen of your TV, while still benefiting from the portability and convenience of your Chromebook.
Remember, it all starts with connecting your Chromebook to the TV using an HDMI cable and enabling the HDMI input on your TV. Then, configure the settings on your PS4 to ensure optimal video output. Finally, install the PlayStation Remote Play app on your Chromebook to stream the gameplay from your PS4 console.
With these steps completed, you’ll be immersed in the thrilling world of PS4 gaming on your Chromebook. Enjoy the improved visual experience, the powerful graphics, and the immersive gameplay. Whether you’re battling foes in a virtual world or exploring vast landscapes, this setup will bring your gaming sessions to new heights.
Now, gather your PS4 controller, fire up your Chromebook, and embark on epic gaming adventures right from the comfort of your living room. Grab your favorite game, sit back, and let the excitement begin!