Introduction
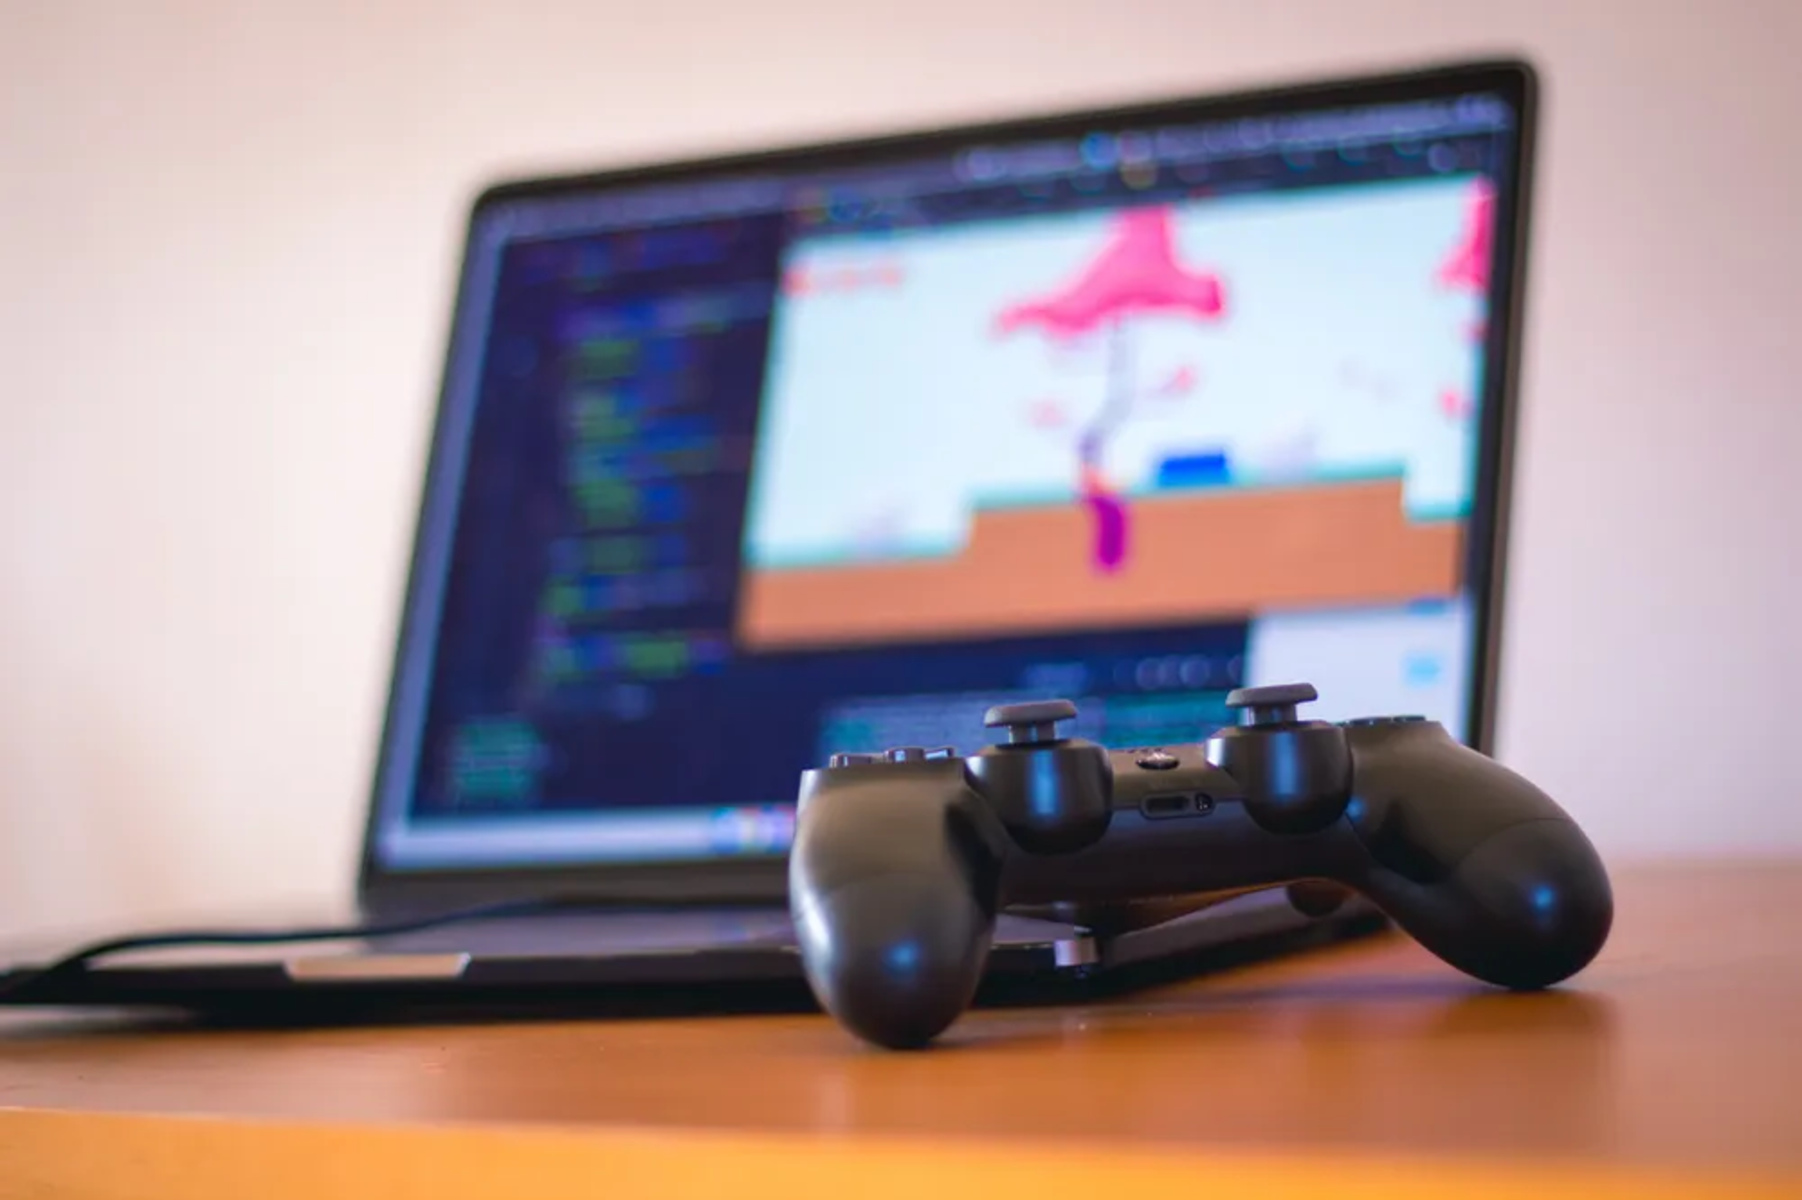
Welcome to our guide on how to connect a PS4 to a projector! Whether you’re a avid gamer or simply want to enjoy a larger display for your gaming console, connecting your PS4 to a projector can provide an immersive gaming experience. In this article, we will walk you through the step-by-step process of connecting your PS4 to a projector and configuring the necessary settings to ensure optimal performance and visual quality.
Projectors offer a convenient and versatile way to enjoy your favorite games on a bigger screen. They can deliver stunning visuals and create a theater-like experience in the comfort of your own home. However, it’s important to know the correct steps to connect your PS4 to a projector to avoid any potential issues.
Don’t worry if you’re not tech-savvy – we’ll break down the process into simple, easy-to-follow steps, ensuring that you can enjoy your gaming sessions on the big screen in no time.
Before we delve into the steps, make sure you have the necessary equipment ready. Here’s what you’ll need:
- A PS4 console
- A projector with HDMI input
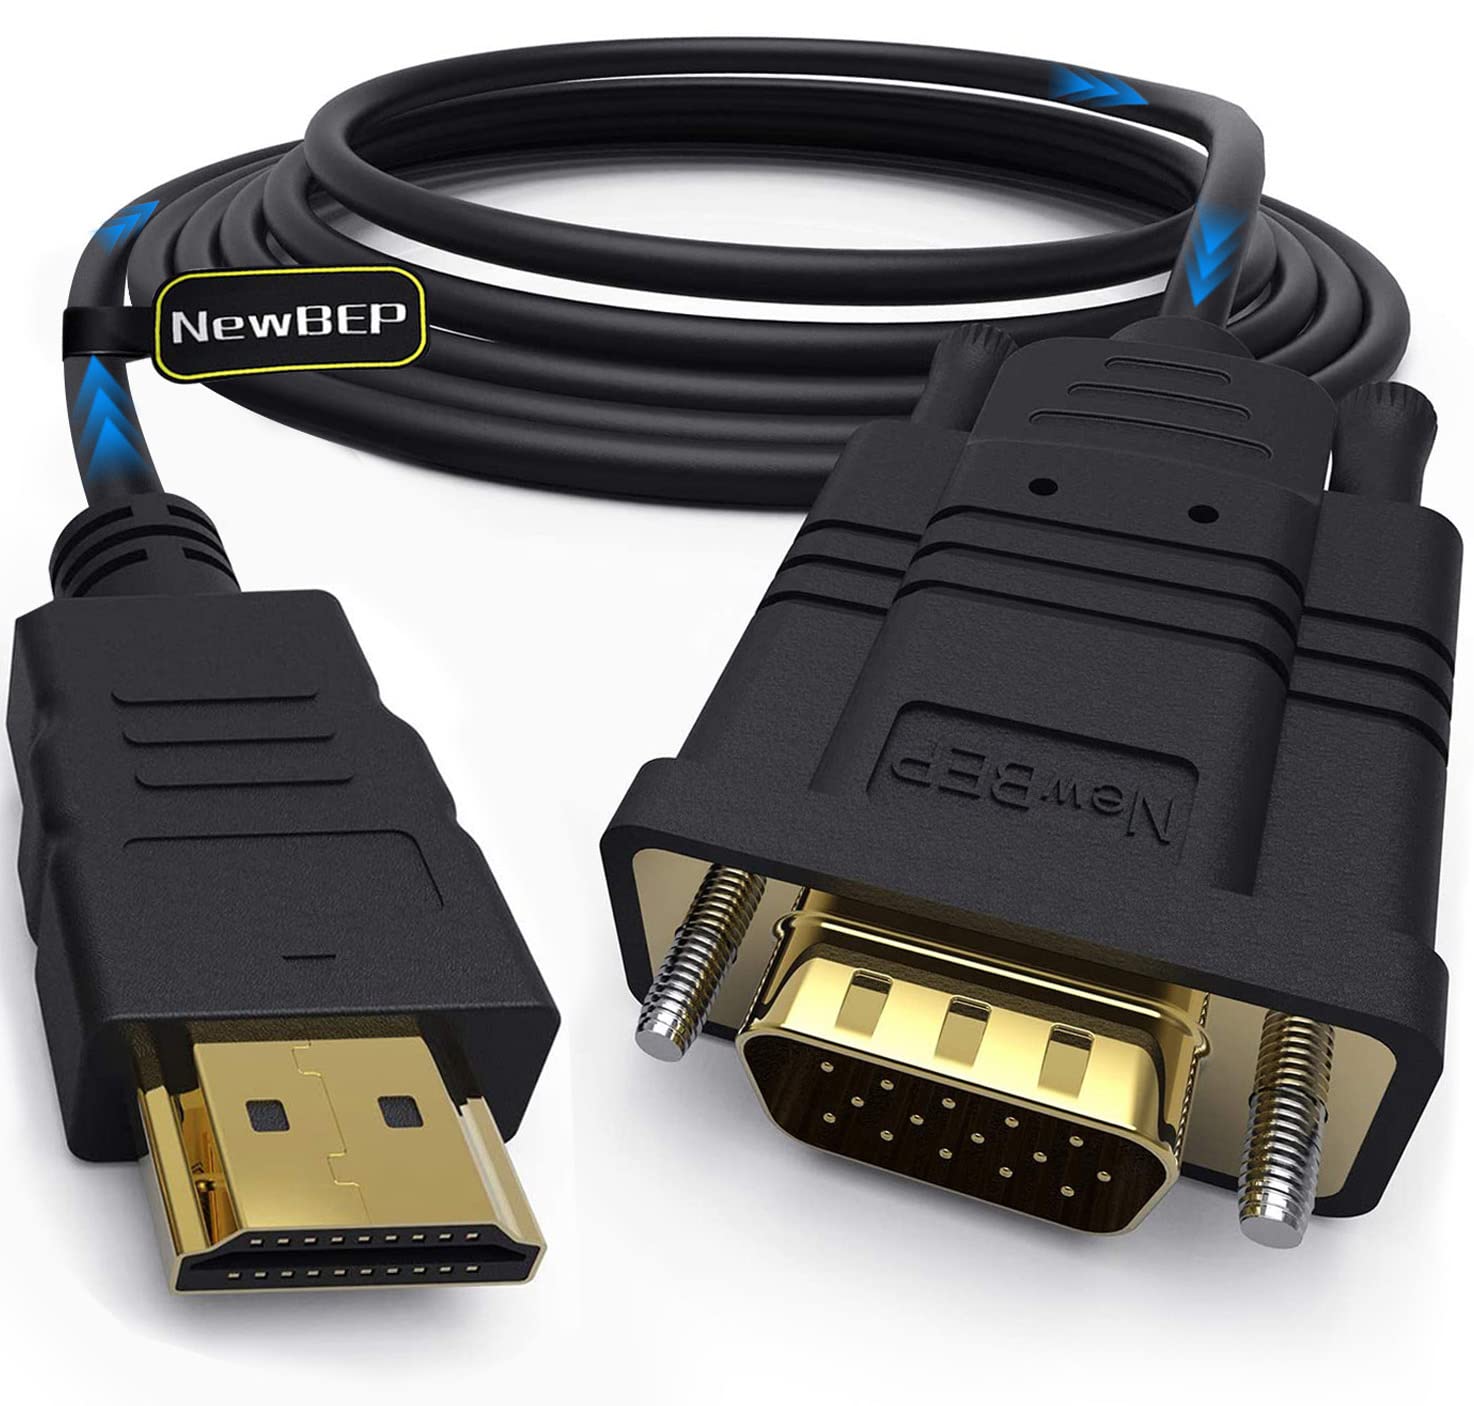
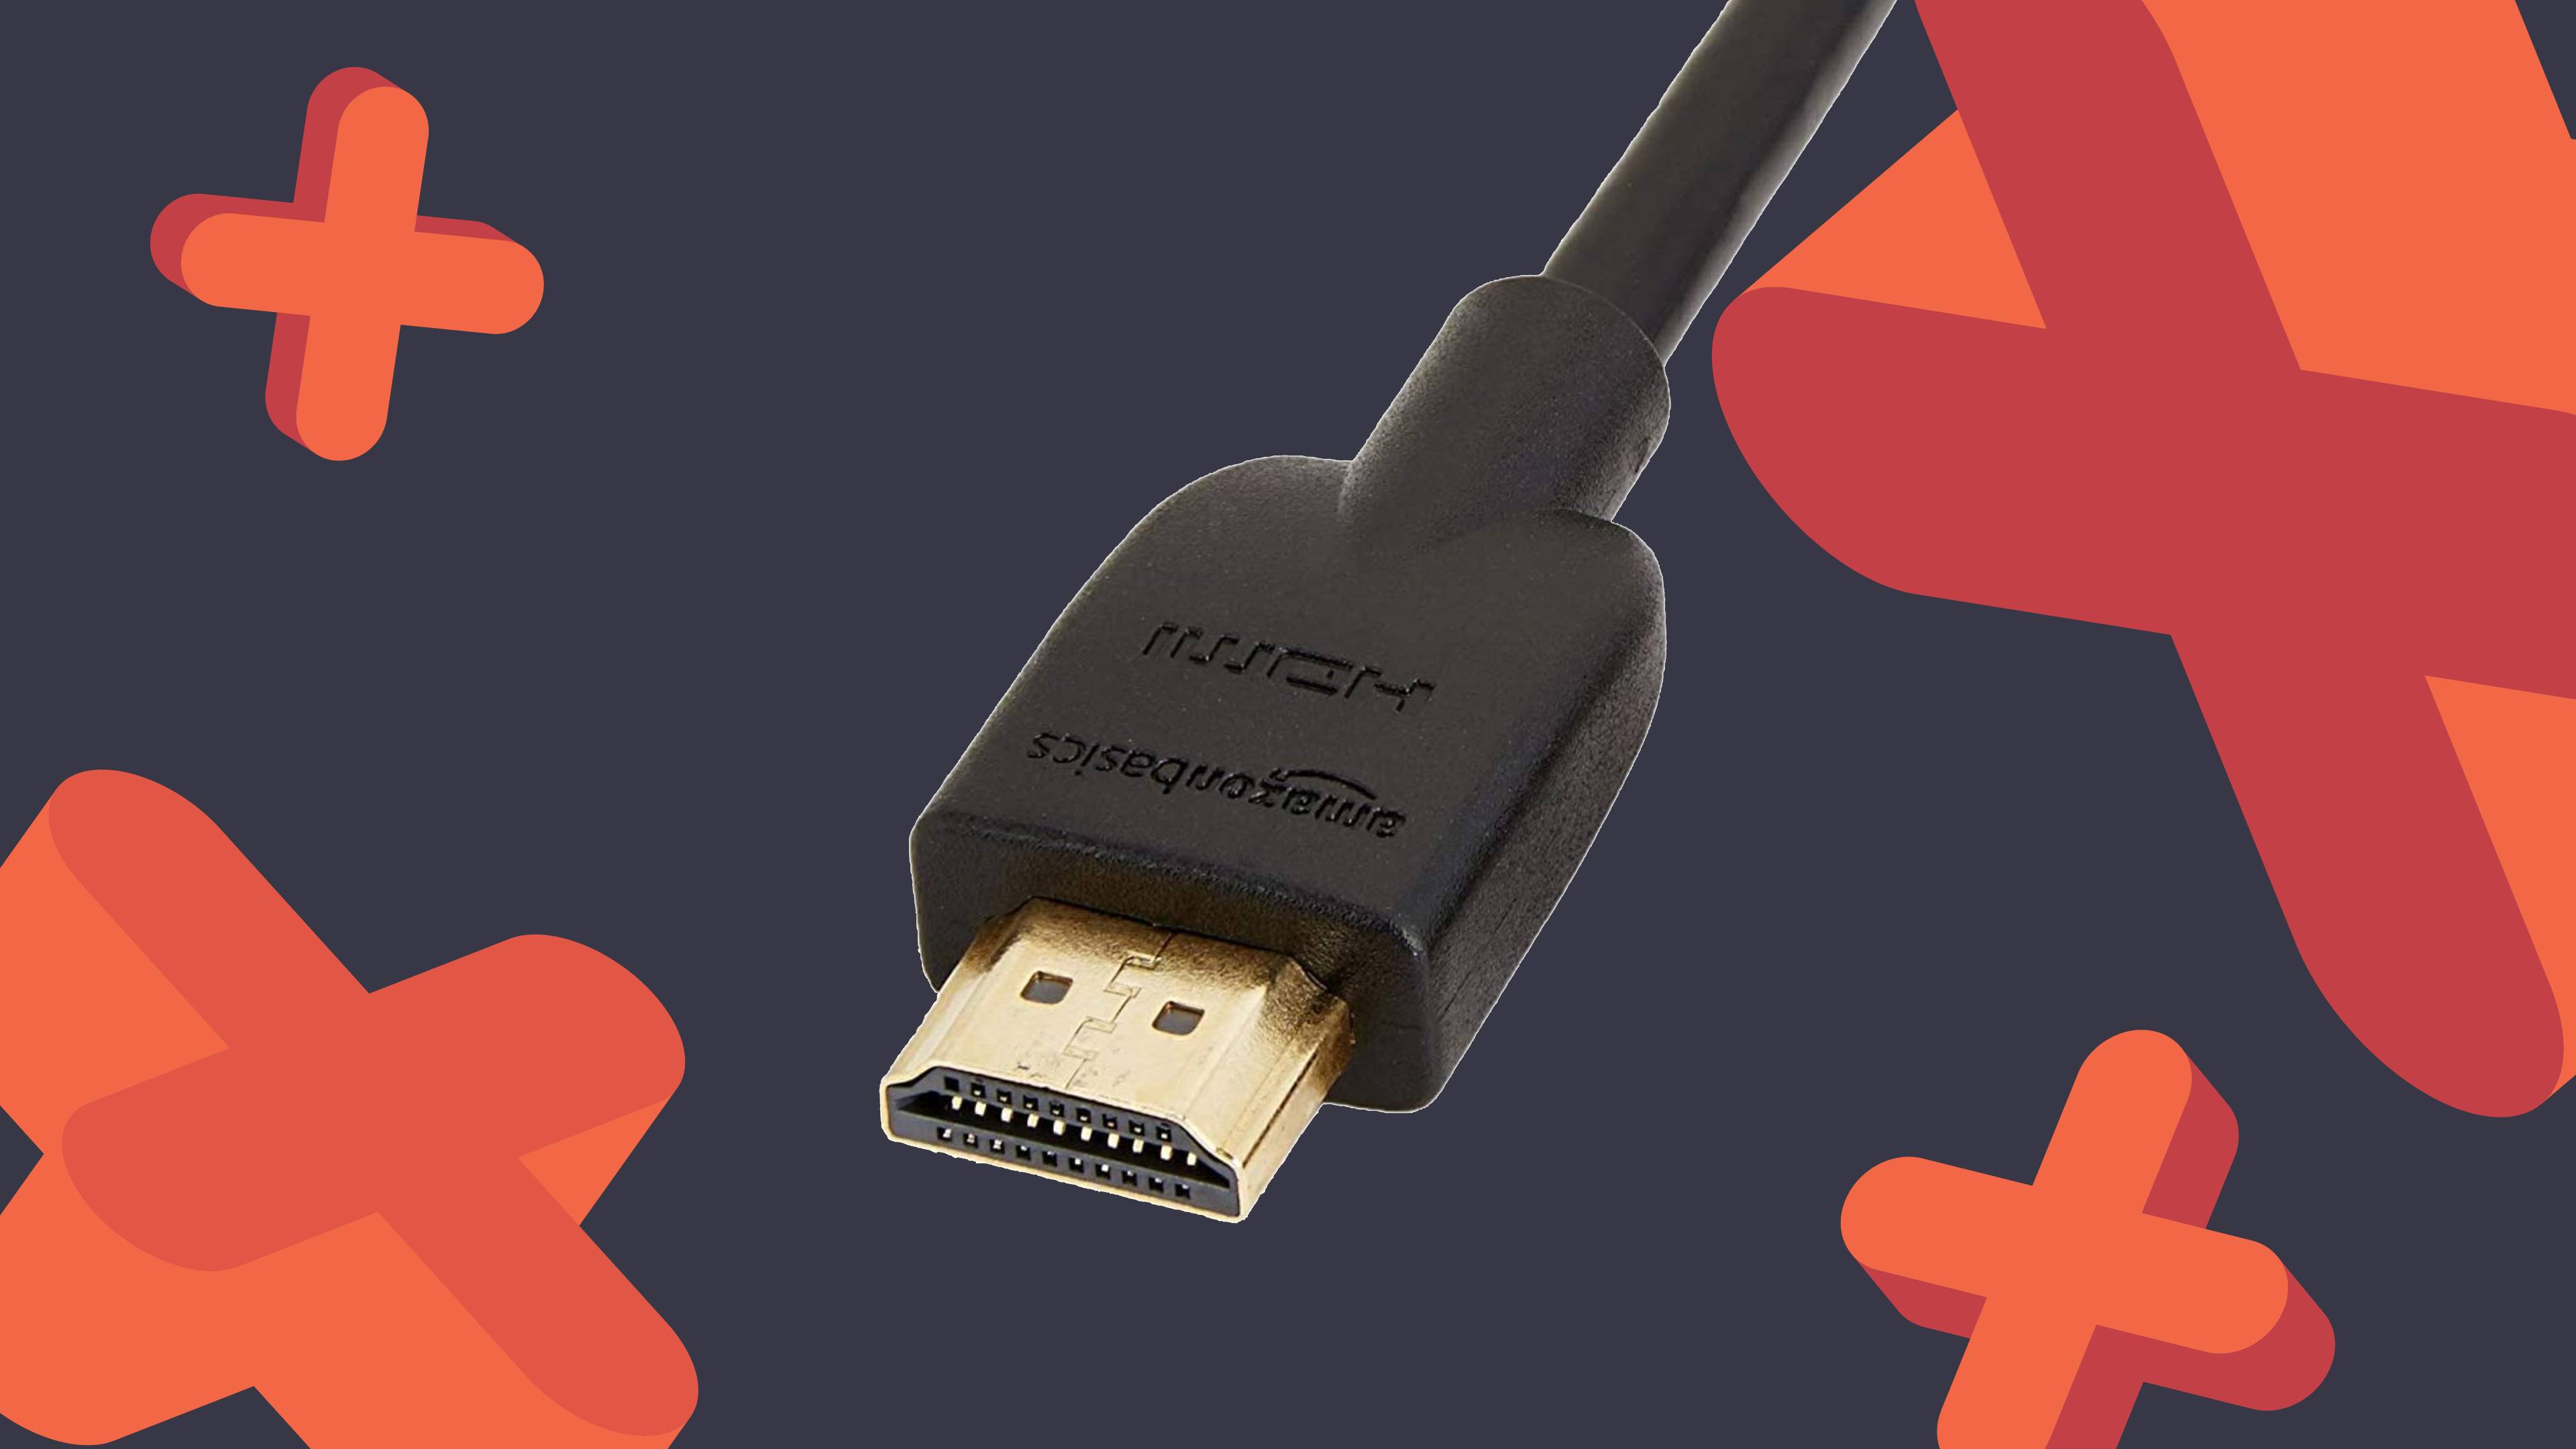
- An HDMI cable
- An audio setup (either through the projector’s built-in speakers or external speakers)
With everything prepared, let’s get started on connecting your PS4 to a projector!
Step 1: Connecting the PS4 to the projector
The first step in connecting your PS4 to a projector is to gather the necessary equipment. Make sure you have your PS4 console, a projector with HDMI input, and an HDMI cable. Additionally, if you plan to use external speakers, have those ready as well.
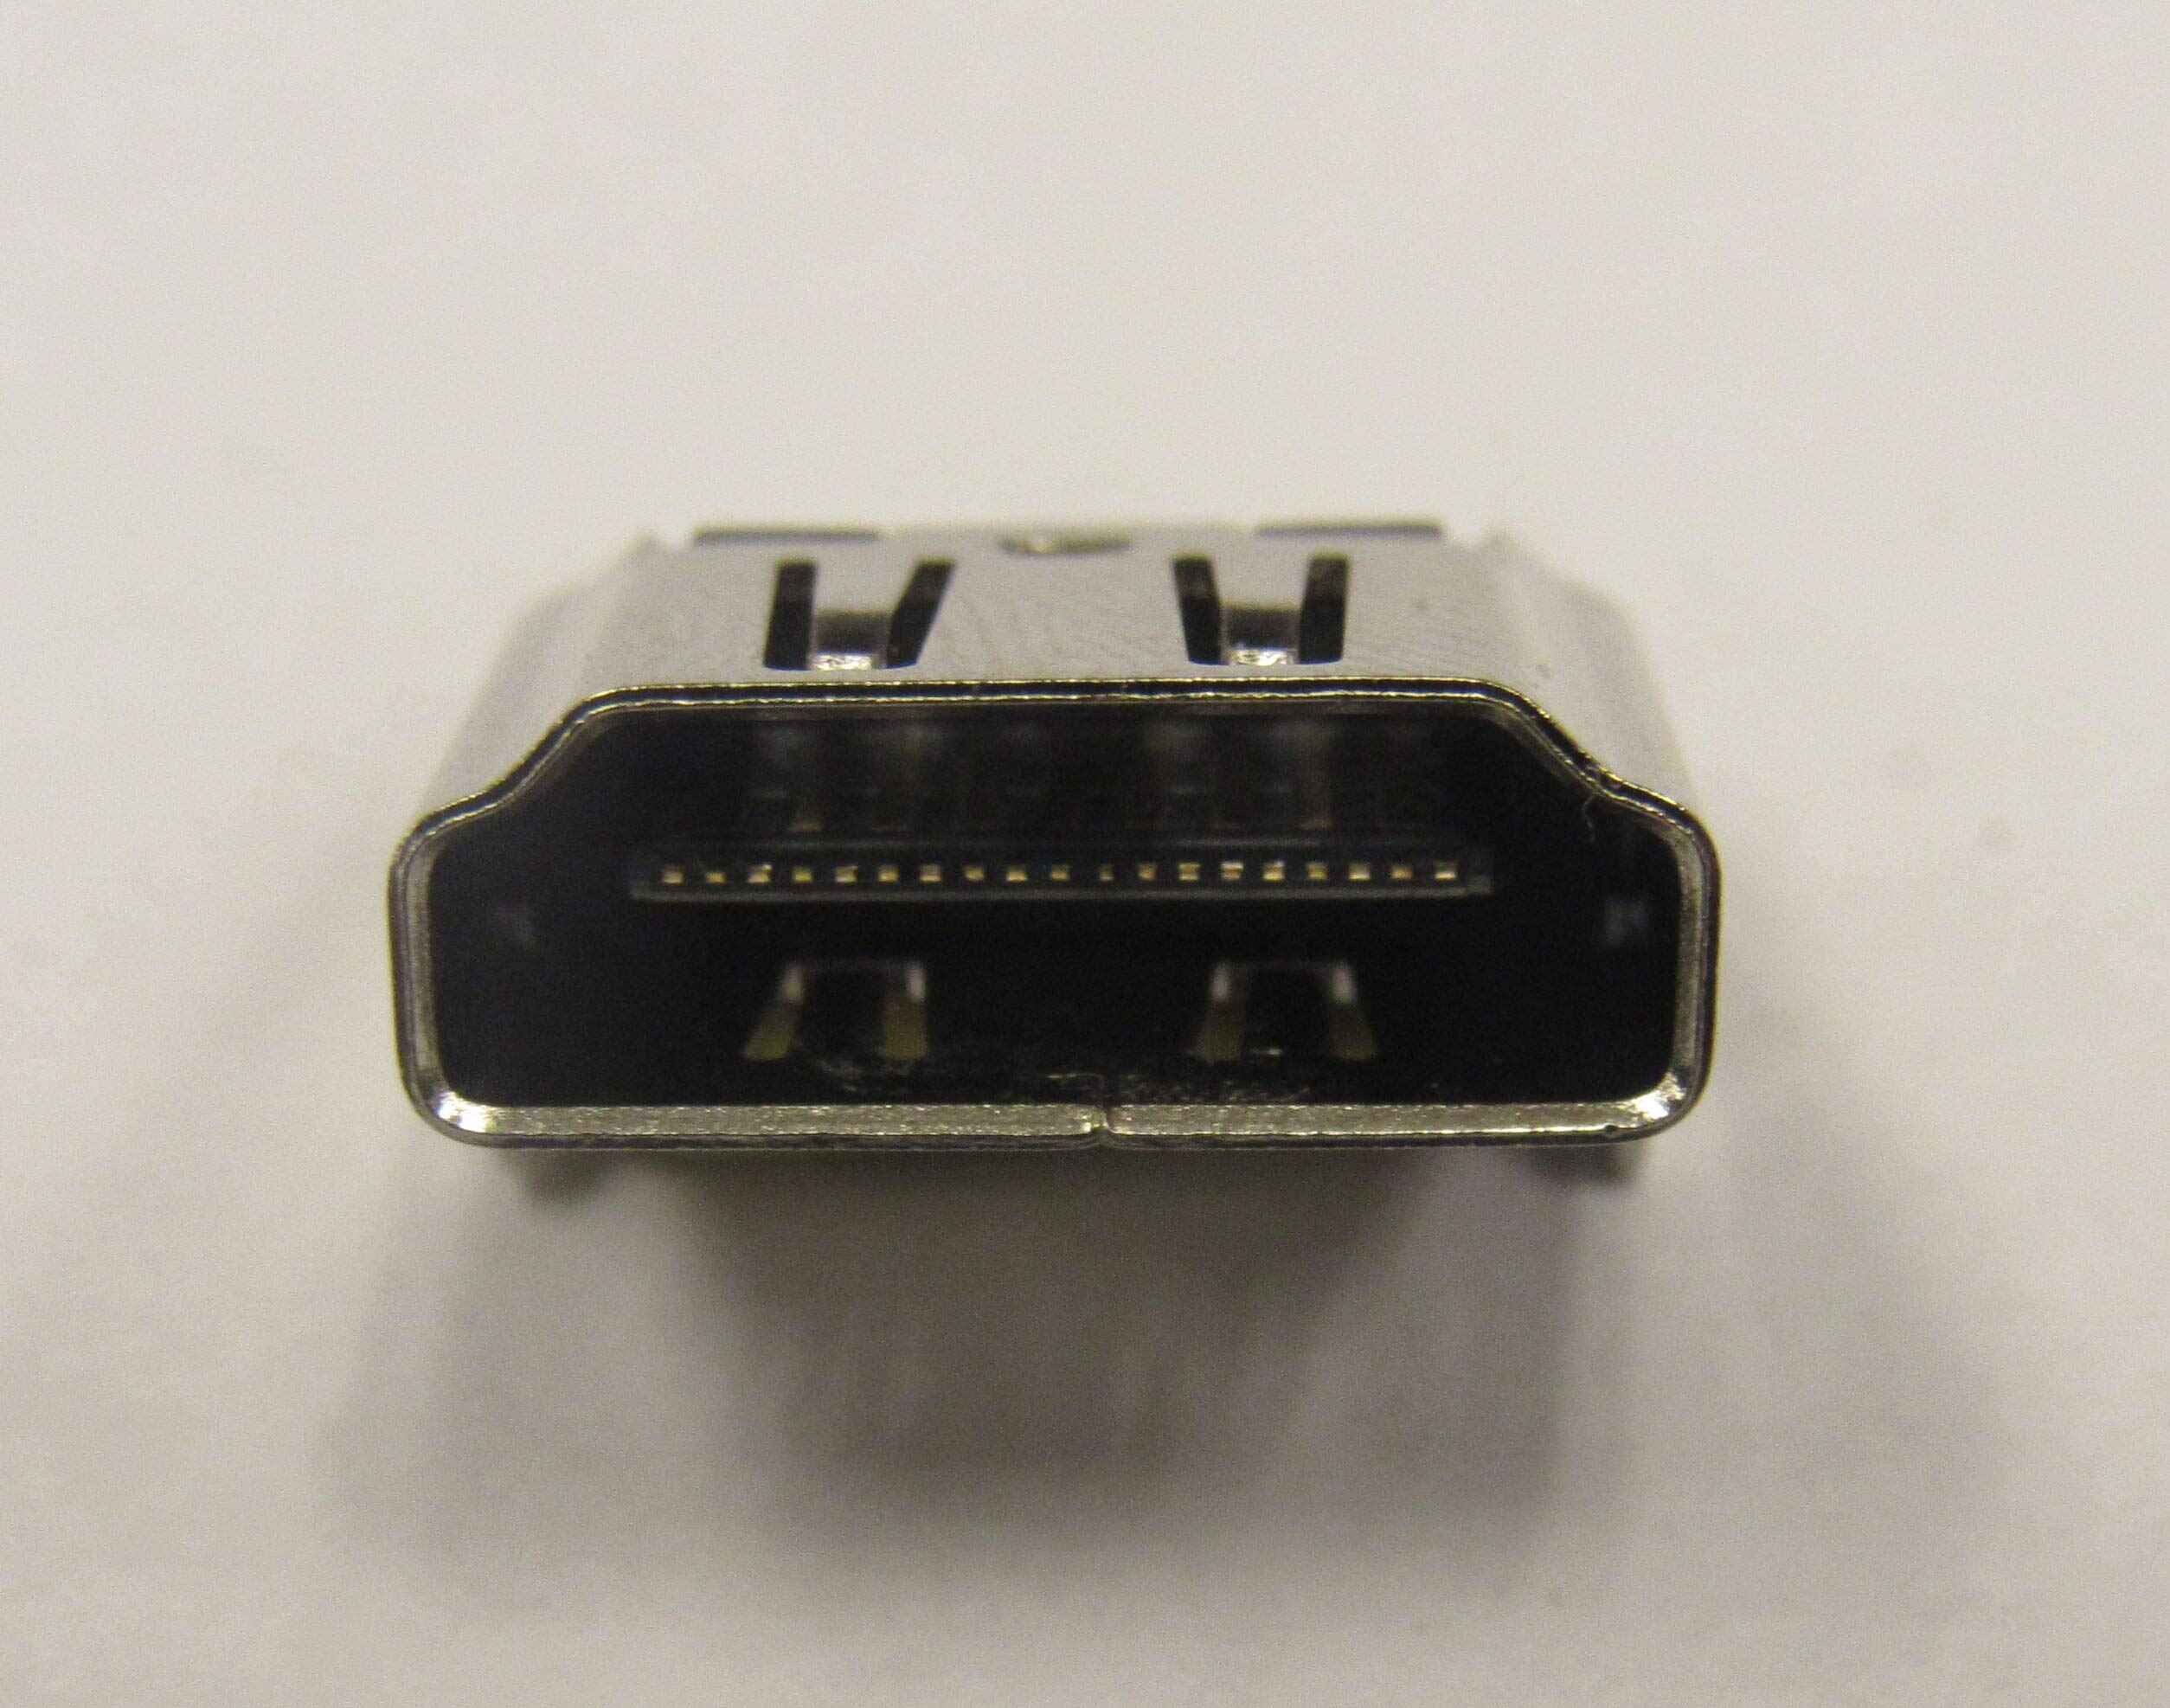
To begin, locate the HDMI port on your PS4. It is usually located on the back of the console. Take one end of the HDMI cable and insert it into the HDMI port of the PS4. Ensure that it is inserted securely.
Next, locate the HDMI input port on the projector and connect the other end of the HDMI cable to it. The HDMI input port on the projector is typically labeled as “HDMI 1” or “HDMI In.” Again, make sure the cable is firmly connected to the projector.
Once the PS4 and the projector are connected, power on both devices. Most projectors have a power button located on the top or side. Press the power button and wait for the projector to start up.
Now it’s time to switch the display input on the projector. Most projectors have a menu or input button that allows you to select the input source. Press the menu or input button on the projector’s remote control or use the buttons on the projector itself to access the input settings.
Using the menu or input settings, select the HDMI input that you connected your PS4 to. This will ensure that the projector is receiving the video signal from the PS4. You should see your PS4’s display appearing on the projector screen.
At this point, you have successfully connected your PS4 to the projector. However, you may need to adjust the display settings to optimize the visual quality. In the next step, we will explore how to do just that.
Step 2: Adjusting the display settings
Now that you have connected your PS4 to the projector, it’s important to adjust the display settings to ensure the best visual quality for your gaming experience.
Start by accessing the settings on your PS4. From the home screen, navigate to the top menu and select the “Settings” option. This will open up a new menu with various settings options.
Within the settings menu, look for the “Sound and Screen” option. Select it to access the display settings for your PS4.
One of the key settings to adjust is the screen resolution. Select the “Video Output Settings” option and then choose the “Resolution” option. Here, you can select the resolution that matches the capabilities of your projector. It’s recommended to select the highest resolution supported by both your PS4 and the projector for the best possible visual quality.
Additionally, you can also adjust other settings such as screen size, aspect ratio, and RGB range to further optimize the display. Experiment with these settings to find the configuration that suits your preferences and provides the best gaming experience.
Once you have adjusted the display settings on your PS4, it’s time to check the image alignment on the projector screen. Use the settings available on your projector to fine-tune the image position, size, and focus. Most projectors have options for adjusting keystone correction, zoom, and focus. Take your time to make the necessary adjustments and ensure that the image fills the entire projector screen with sharp and clear visuals.
Remember to refer to the user manual of your projector for specific instructions on adjusting the display settings. Each projector may have slightly different options and controls.
By correctly adjusting the display settings on both your PS4 and the projector, you can enhance the visual quality and overall gaming experience. Once you are satisfied with the settings, it’s time to move on to the next step: configuring the audio output.
Step 3: Configuring audio output
Now that you have connected your PS4 to the projector and adjusted the display settings, it’s important to configure the audio output to ensure a captivating and immersive gaming experience.
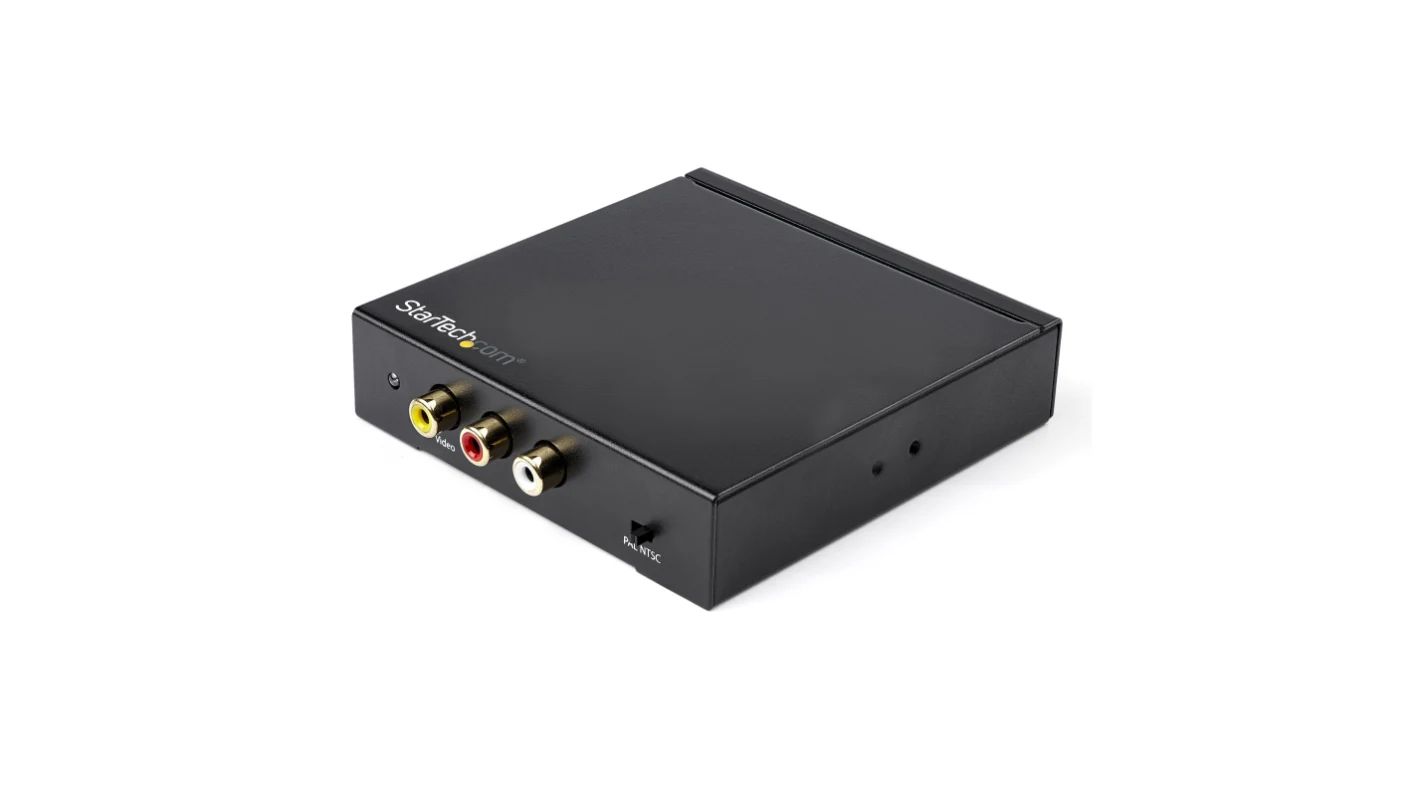
Start by considering the audio options available on your projector. Some projectors come with built-in speakers, while others may require you to connect external speakers for audio output. If your projector has built-in speakers and you’re satisfied with their quality, you can skip the next step.
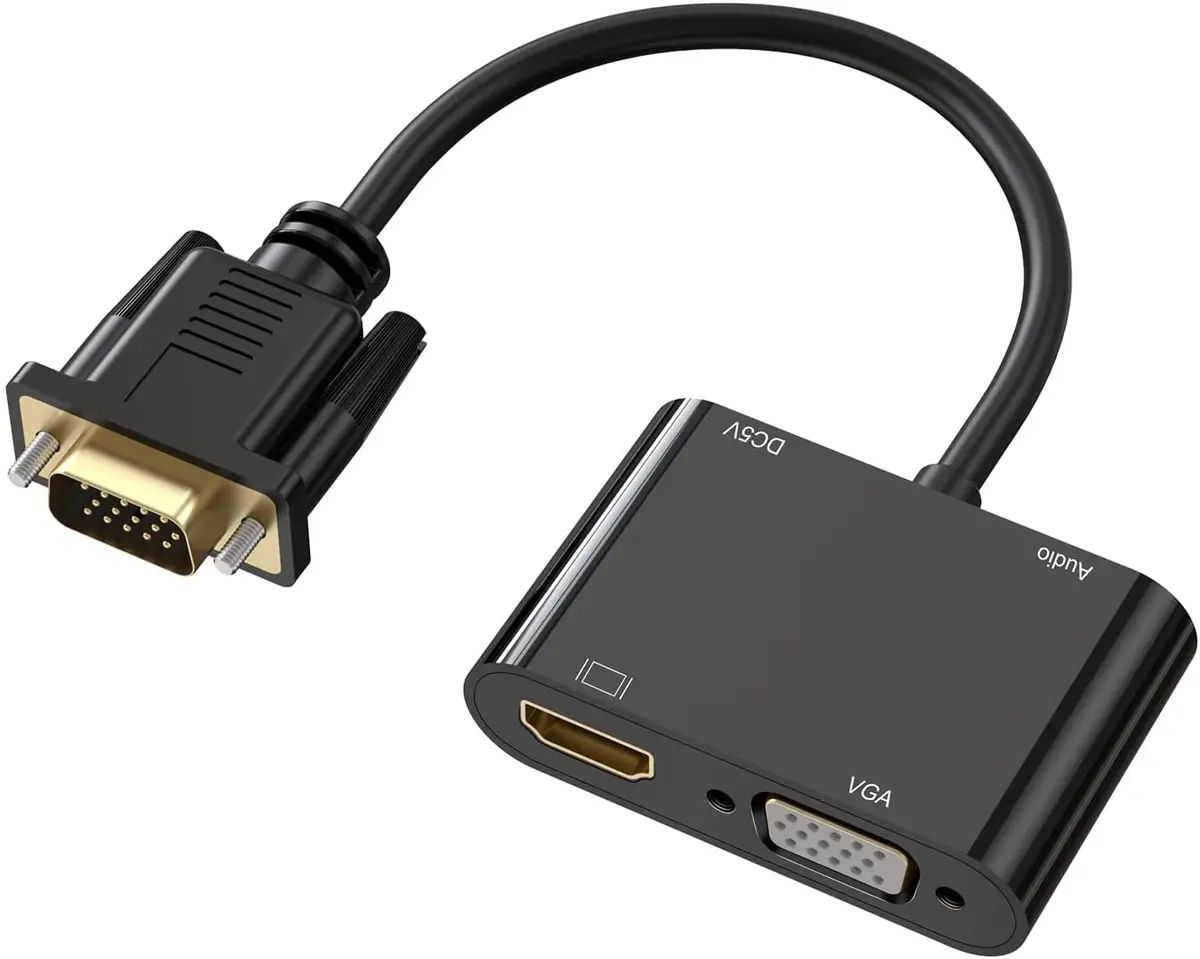
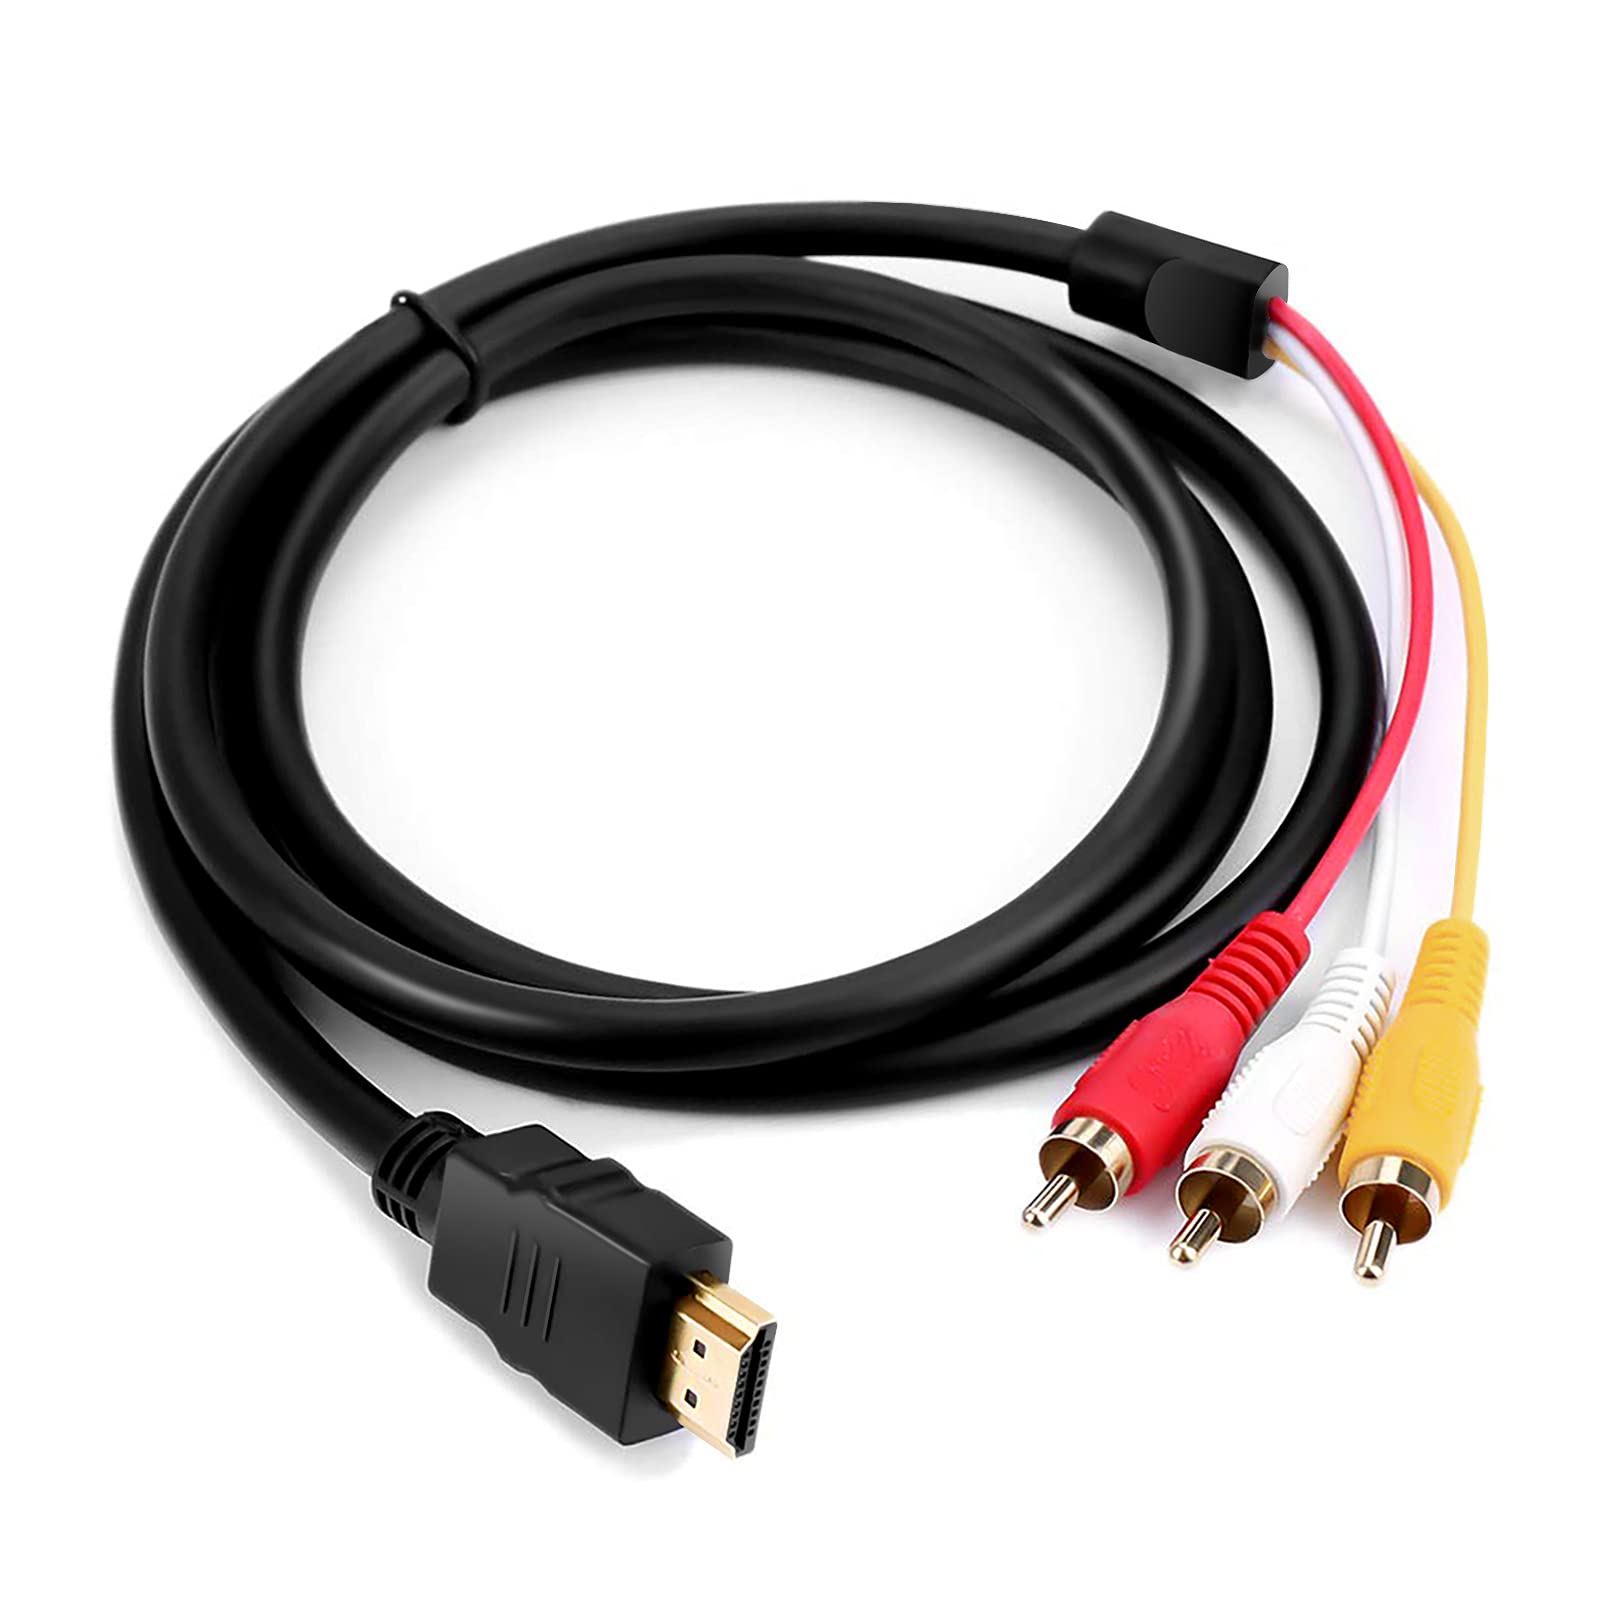
If you prefer to use external speakers or your projector doesn’t have built-in speakers, you will need to connect your desired audio setup to your PS4. The most common option is to use the HDMI cable to transmit both video and audio signals from the PS4 to the projector. However, this will require that your projector has an HDMI output port.
If your projector doesn’t have an HDMI output port, you can use alternative audio connection options. One option is to connect the audio output of the PS4 to external speakers using an audio cable, such as an aux cable or optical cable. This will allow you to enjoy high-quality audio while gaming.
To configure the audio output settings on your PS4, navigate to the “Sound and Screen” settings menu, similar to what we did in the previous step. From there, select the “Audio Output Settings” option.
Here, you can choose the audio output format that is compatible with your audio setup. If you are using HDMI for audio transmission, select the “HDMI” option. If you are using an audio cable, choose the corresponding audio output option, such as “Digital Out (Optical)” or “Audio Out (Aux)”.
Once you have selected the appropriate audio output format, test the audio by playing a game or a video with sound. Adjust the volume on your external speakers or the projector if necessary.
Take the time to fine-tune the audio settings to your liking. The PS4 offers additional audio settings that allow you to customize the audio experience. These settings include options for audio output devices, audio formats, and audio levels.
Remember to refer to the user manual of your projector and external audio devices for specific instructions on configuring the audio connection. Each device may have different settings and features.
With the audio output properly configured, you are ready to move on to the final step: testing the setup.
Step 4: Testing the setup
Now that you have connected your PS4 to the projector, adjusted the display settings, and configured the audio output, it’s time to test the setup to ensure everything is working smoothly before diving into your gaming session.
Start by turning on your PS4 and the projector. Allow them a few moments to power up and establish a connection.
Once both devices are powered on, check if the image from your PS4 is being projected onto the projector screen. Check the display for any issues such as incorrect aspect ratio, blurry image, or any distortion. If you notice any issues, go back to Step 2 and adjust the display settings accordingly. Fine-tune the image position, size, and focus using the projector’s settings.
Next, test the audio output by playing a game or a video that includes sound. Make sure the audio is coming through the desired output source, whether it be the projector’s built-in speakers or your external audio setup. Adjust the volume levels to your preference and ensure that the sound quality is satisfactory.
During the testing phase, it’s also a good idea to try different game genres and content types to see how the setup performs under various scenarios. This will help you identify any potential issues and make adjustments as needed.
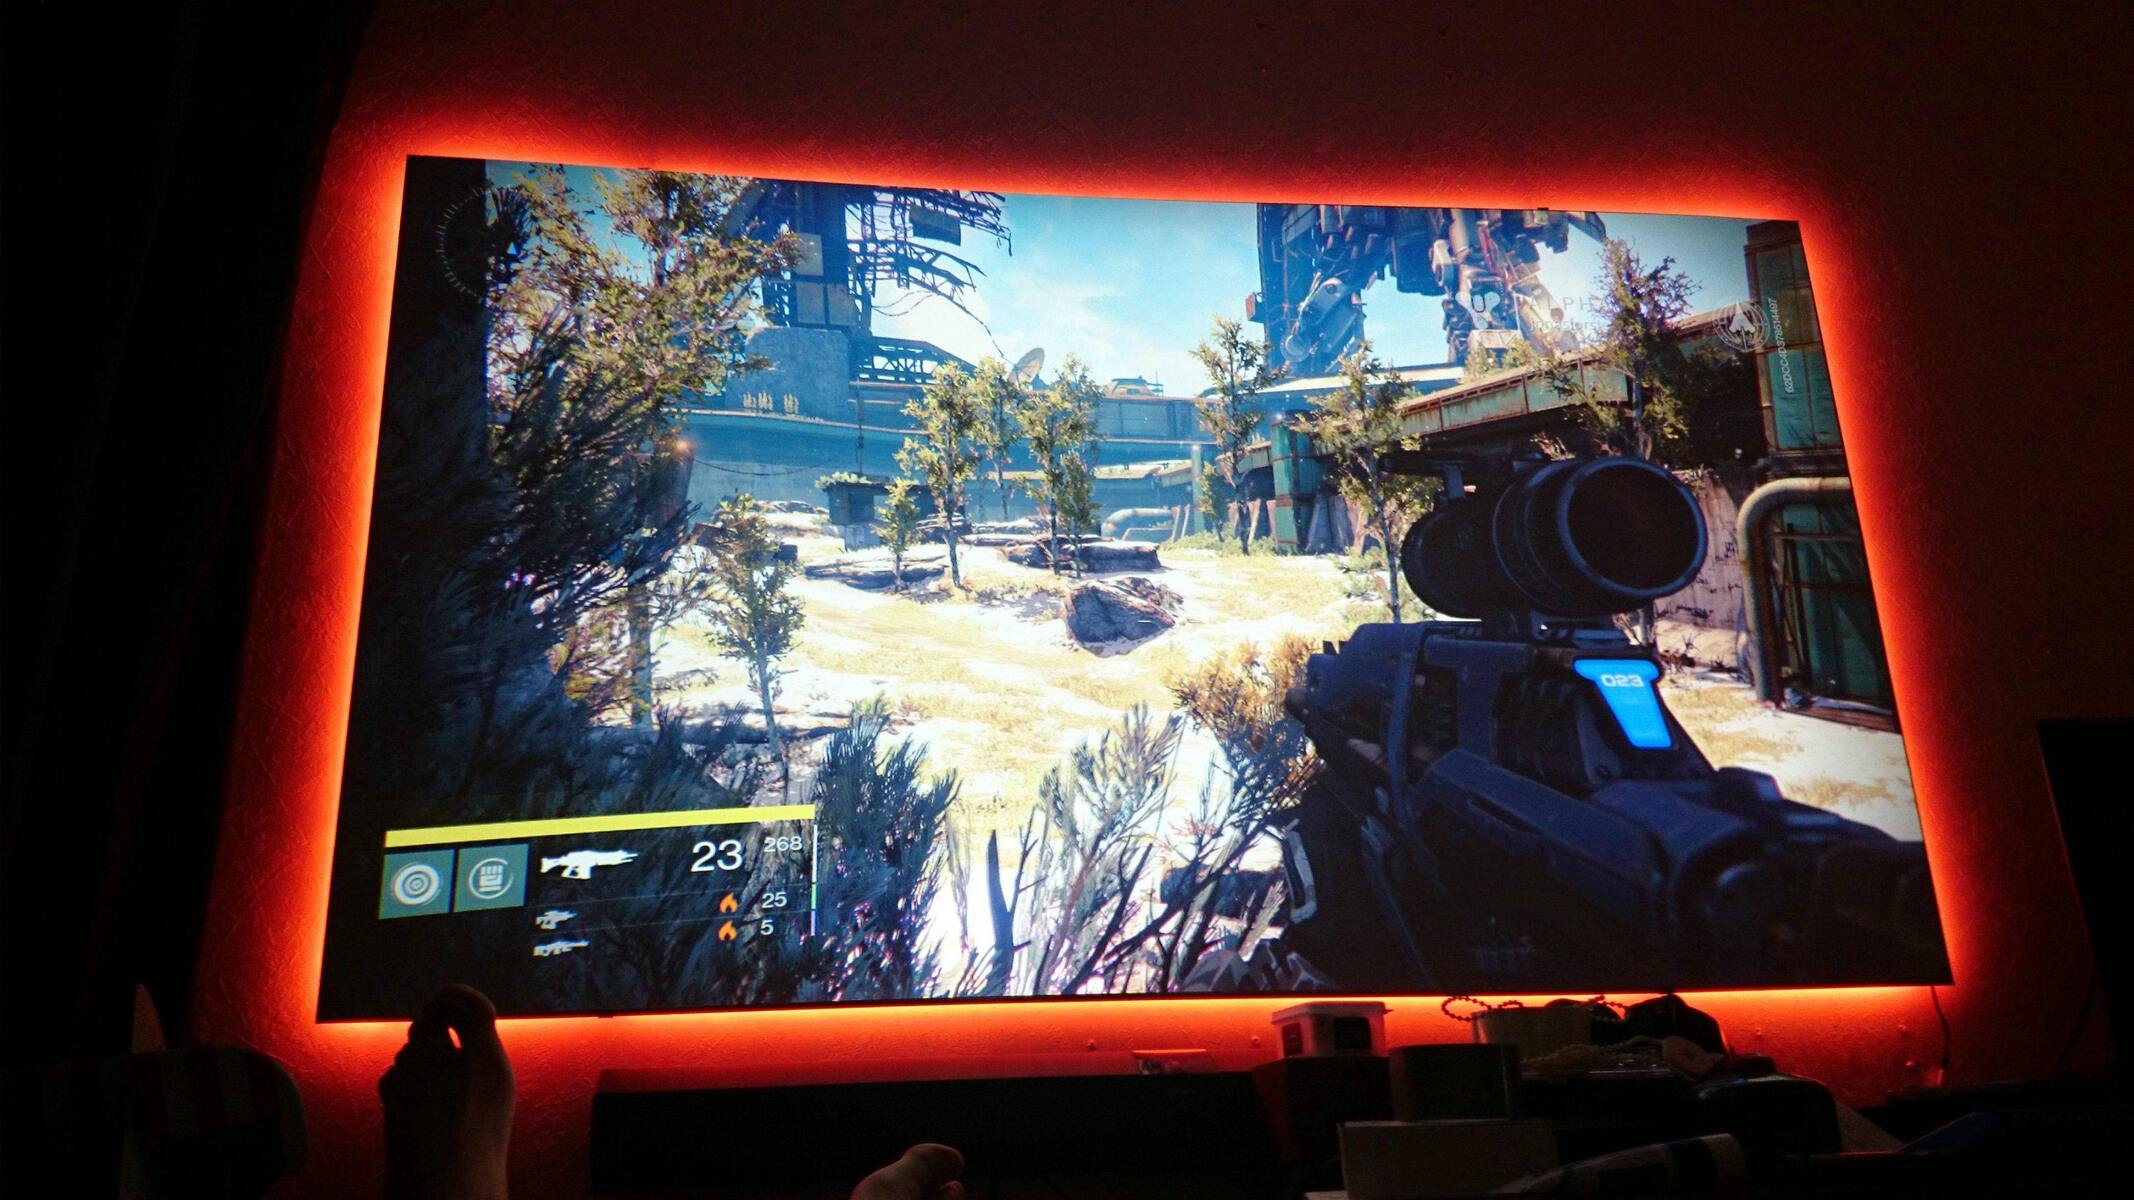
If everything is functioning correctly and to your satisfaction, congratulations! You have successfully connected your PS4 to the projector and can now enjoy gaming on a larger screen with immersive visuals and audio.
However, if you encounter any issues, don’t worry. Double-check all the connections, settings, and cables to ensure everything is in place. Troubleshoot any problems by consulting the user manuals for your PS4, projector, and audio devices. You can also seek assistance from customer support or online forums for further guidance.
Once you have resolved any issues and confirmed that the setup is working as intended, you’re ready to start your gaming session and enjoy an enhanced gaming experience on the big screen.
Remember to take breaks and maintain proper gaming habits to ensure a healthy and enjoyable gaming experience.
Now that you have successfully connected your PS4 to a projector, adjusted the display settings, configured the audio output, and tested the setup, you’re all set to embark on an immersive gaming journey. Enjoy the larger screen, stunning visuals, and captivating audio as you dive into your favorite games!
Conclusion
Connecting your PS4 to a projector opens up a whole new world of gaming possibilities, allowing you to indulge in an immersive and larger-than-life gaming experience. By following the step-by-step process outlined in this guide, you’ll be able to connect your PS4 to a projector with ease.
In this guide, we started by explaining the necessary equipment you would need, including a PS4 console, a projector with HDMI input, an HDMI cable, and audio setup such as built-in speakers or external speakers.
Then, we walked you through the process of connecting the PS4 to the projector by securely inserting one end of the HDMI cable into the HDMI port of the PS4 and the other end into the HDMI input port of the projector. We also discussed the importance of powering on both devices and selecting the correct HDMI input on the projector to ensure a proper connection.
We then moved on to adjusting the display settings on the PS4 to optimize the visual quality. From selecting the appropriate screen resolution to fine-tuning other display settings, we ensured that you would get the best possible gaming experience on the projector screen.
Next, we covered the configuration of audio output. Whether using built-in speakers or external speakers, we explained how to set up the audio output to deliver clear and immersive sound during your gaming sessions. We also explored the various audio settings available on the PS4 for customization.
Lastly, we emphasized the importance of testing the setup before diving into your gaming session. By powering on both the PS4 and the projector, checking the image alignment, and testing the audio output, you can ensure that everything is working properly and make any necessary adjustments.
With your PS4 successfully connected to the projector and all settings optimized, you’re now ready to enjoy a truly immersive gaming experience on the big screen. Indulge in the captivating visuals, crystal-clear audio, and larger-than-life gaming adventures that the combination of PS4 and projector can provide.
Remember to refer to the user manuals of your PS4, projector, and audio devices for additional guidance and troubleshooting, and always maintain healthy gaming habits. Now, go ahead and get ready to embark on an unforgettable gaming journey like never before!