Introduction
Gone are the days when you had to rely on complicated software or specialized tools to edit a PDF file. Thanks to the advancements in technology, you can now easily edit PDFs directly on your Chromebook. With the help of a few simple steps and the right tools, you can quickly make changes to text, images, and even add annotations to your PDFs.
Chromebooks have gained popularity for their ease of use and portability, making them a common choice for both work and personal use. Being able to edit PDFs directly on your Chromebook is a valuable feature, whether you need to make minor edits to a document or add important annotations to a contract.
In this guide, we will walk you through the process of editing a PDF file on your Chromebook. We will cover the steps to install a PDF editor extension, opening the PDF file in the Chrome browser, editing text and images, adding annotations and comments, merging or rearranging pages, and saving and exporting the edited PDF.
Whether you’re a student looking to mark up study materials, a professional needing to sign and edit documents, or simply someone who wants to make changes to a PDF file, this guide will provide you with the necessary information to accomplish your goals.
So, let’s dive in and explore how you can easily edit a PDF on your Chromebook!
Step 1: Install a PDF Editor Extension on Chromebook
To begin editing PDFs on your Chromebook, you will need to install a PDF editor extension from the Chrome Web Store. These extensions are specifically designed to provide the necessary tools and features for editing PDF files.
Here is a step-by-step guide to installing a PDF editor extension on your Chromebook:
- Open the Chrome browser on your Chromebook and go to the Chrome Web Store.
- In the search bar, type in “PDF editor” and press Enter.
- You will see a list of PDF editor extensions available. Browse through the options and read the descriptions and user reviews to find one that meets your needs.
- Click on the extension you want to install. This will take you to the extension’s page.
- On the extension’s page, click on the “Add to Chrome” button.
- A confirmation pop-up will appear. Click on “Add extension” to proceed with the installation.
- Wait for the extension to download and install. Once installed, you will see a notification confirming that the extension has been added to Chrome.
After installing the PDF editor extension, you will have the necessary tools to edit your PDF files directly in the Chrome browser on your Chromebook. These extensions often come with a range of features, including the ability to edit text, images, add annotations, merge or split pages, and more.
Take your time to explore the features and familiarize yourself with the PDF editor extension. Each extension may have a slightly different interface and set of tools, so it’s essential to understand how to use them effectively.
Now that you have successfully installed a PDF editor extension on your Chromebook, you’re ready to move on to the next step: opening the PDF file in the Chrome browser.
Step 2: Open the PDF File in the Chrome Browser
Once you have installed a PDF editor extension on your Chromebook, the next step is to open the PDF file you want to edit in the Chrome browser. Fortunately, Chrome OS provides several ways to open PDF files directly in the browser.
Here are a few methods to open a PDF file in the Chrome browser:
- Method 1: Drag and Drop
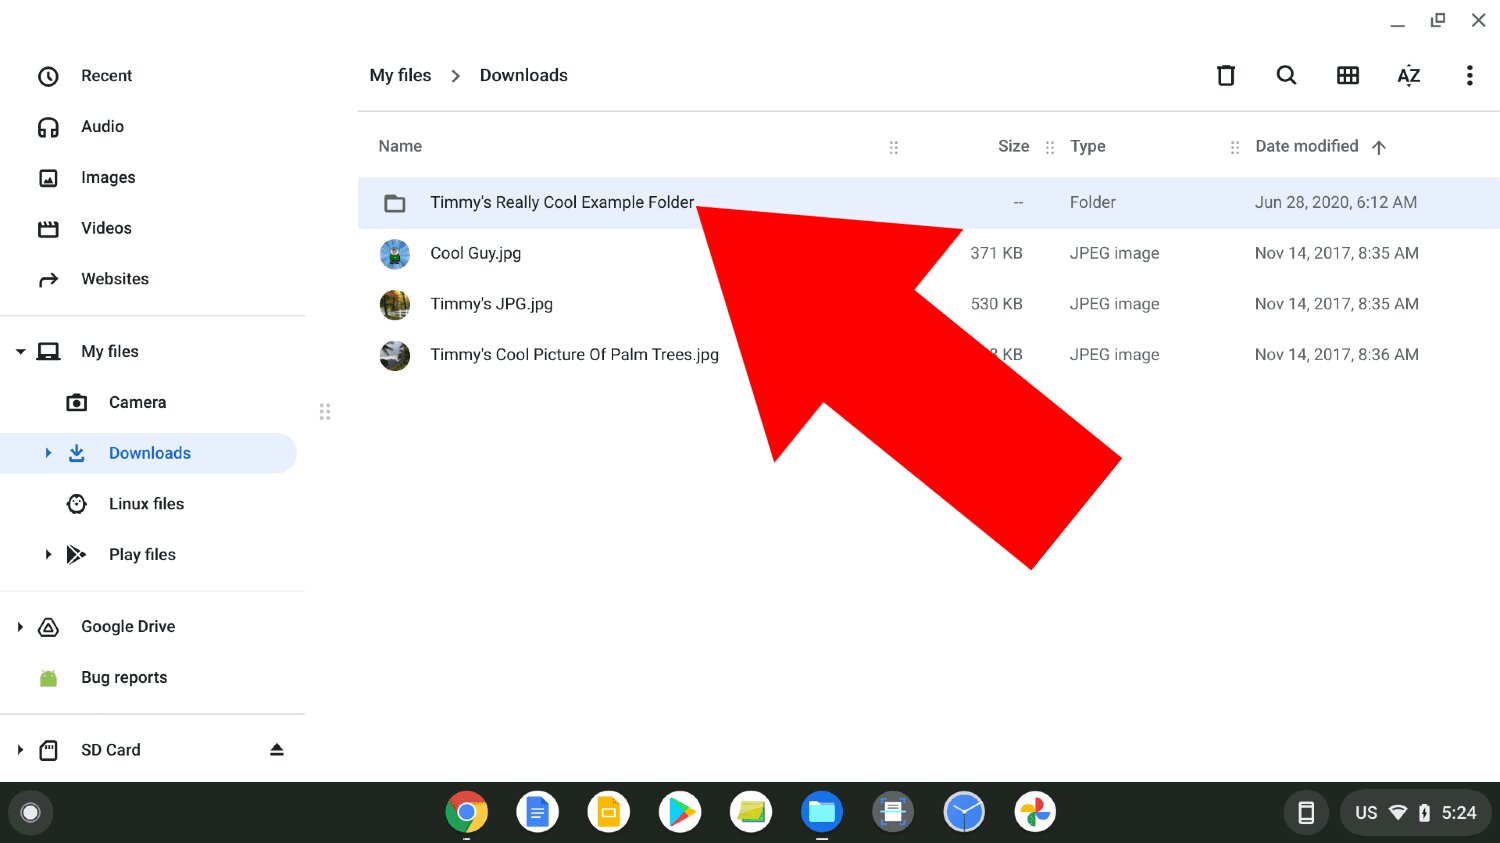
– Open the File app on your Chromebook.
– Locate the PDF file you want to open.
– Click and hold the file, then drag it onto the Chrome browser window. The PDF file will open in a new tab. - Method 2: Right-click and Open With
– Locate the PDF file on your Chromebook.
– Right-click on the file to open the context menu.
– Select “Open With” and choose “Chrome” from the list. The PDF file will open in a new tab. - Method 3: Chrome Browser’s File Menu
– Open the Chrome browser on your Chromebook.
– Click on the three dots in the top-right corner to open the Chrome menu.
– Hover over “File” and select “Open File” from the dropdown menu.
– Locate the PDF file on your Chromebook and click “Open”. The PDF file will open in a new tab.
Regardless of the method you choose, the PDF file will open in the Chrome browser as a tab, ready for editing. You can now proceed with making changes to the text, images, or adding annotations and comments using the PDF editor extension you installed in the previous step.
If you have multiple PDF files open in different tabs, you can switch between them by clicking on the corresponding tab at the top of the browser window. This makes it convenient to work with multiple PDF files simultaneously.
Now that you have successfully opened your PDF file in the Chrome browser, let’s move on to the next step: editing text and images in the PDF file.
Step 3: Edit Text and Images in the PDF File
With your PDF file open in the Chrome browser and the PDF editor extension installed, you are now ready to edit the text and images within the document. The PDF editor extension provides a range of tools and features to make these edits quickly and efficiently.
Here is how you can edit text and images in the PDF file using the PDF editor extension:
- Edit Text:
– Select the text you want to edit by clicking and dragging the cursor over it.
– Once selected, a text editing toolbar should appear, allowing you to change the font, size, color, and style of the selected text.
– Make the desired changes to the text by using the toolbar options.
– You can also add new text by selecting the “Text” tool from the toolbar and clicking on the area where you wish to insert the text. This will create a text box that you can type directly into. - Edit Images:
– Click on an image in the PDF file that you want to edit.
– An image editing toolbar should appear, providing options to resize, rotate, crop, or replace the selected image.
– Use the image editing tools to make the desired changes to the selected image.
– If you want to add new images, select the “Add Image” tool from the toolbar and choose the image file from your Chromebook’s storage.
It is important to note that not all PDF editor extensions offer the same range of editing capabilities. Some may only allow basic text edits, while others may offer more advanced features. Once again, familiarize yourself with the specific tools and options provided by the PDF editor extension you have installed.
As you make edits to the text and images in the PDF file, the changes should be updated in real-time, allowing you to see the modifications immediately. This provides you with the flexibility to refine and adjust the content until you are satisfied with the result.
Now that you have learned how to edit the text and images in the PDF file, let’s proceed to the next step: adding annotations and comments.
Step 4: Add Annotations and Comments
In addition to editing text and images, you can also add annotations and comments to the PDF file to provide additional context or feedback. Annotations and comments are useful for highlighting important information, clarifying details, or collaborating with others on the document.
Here are the steps to add annotations and comments using the PDF editor extension:
- Highlight Text:
– Select the text you want to highlight by clicking and dragging the cursor over it.
– Once selected, a toolbar should appear with different options.
– Click on the highlighter icon in the toolbar to apply the highlight color to the selected text. - Add Sticky Notes:
– Select the area in the PDF where you want to add the sticky note.
– Click on the “Sticky Note” tool in the toolbar.
– A sticky note will appear, allowing you to type in your comments or additional information. - Create Text Comments:
– Select the area in the PDF where you want to add the comment.
– Click on the “Comment” tool in the toolbar.
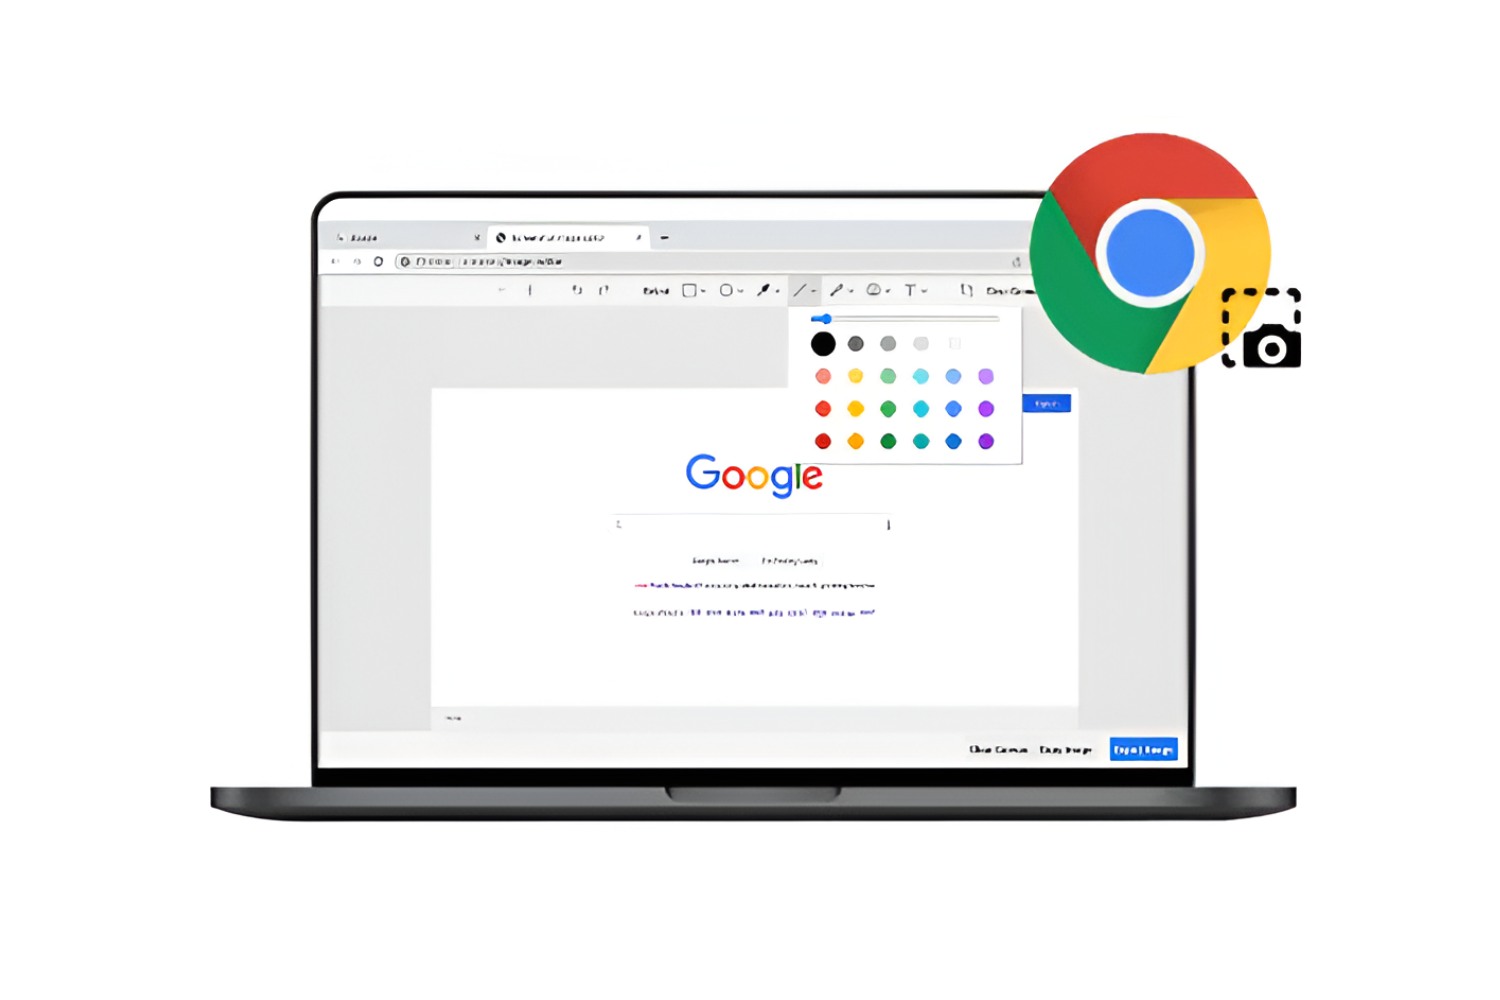
– A text box will appear, allowing you to enter your comments. - Draw Shapes and Lines:
– Click on the appropriate drawing tool (e.g., rectangle, circle, line) in the toolbar.
– Click and drag on the PDF to create the desired shape or line.
– You can also customize the color, size, and style of the shape or line using the toolbar options.
These annotation and commenting tools give you the flexibility to mark up the PDF file, provide feedback, or collaborate with others on specific sections or elements of the document. It can be particularly helpful in a collaborative work environment or when reviewing and proofreading documents.
Once you have added annotations and comments to the PDF file, they will be saved and displayed whenever the document is opened in the PDF editor extension or any other PDF viewer.
Now that you know how to add annotations and comments to the PDF file, let’s move on to the next step: merging, splitting, or rearranging pages in the PDF.
Step 5: Merge, Split, or Rearrange Pages in the PDF
Manipulating the pages of a PDF file is another essential aspect of editing. This step allows you to merge multiple PDF files, split a single PDF into separate pages, or rearrange the order of pages within the PDF. With the PDF editor extension, performing these tasks is a breeze.
To merge, split, or rearrange pages in the PDF file, follow these steps:
- Merge PDF Files:
– Open the PDF editor extension on your Chromebook.
– Click on the “Merge” or “Combine” option in the toolbar.
– Select the PDF files you want to merge from your Chromebook’s storage.
– Arrange the files in the desired order.
– Click on the “Merge” or “Combine” button to merge the files into a single PDF. - Split PDF into Separate Pages:
– Open the PDF editor extension on your Chromebook.
– Click on the “Split” or “Extract” option in the toolbar.
– Choose the page ranges or specific pages you want to extract.
– Click on the “Split” or “Extract” button to create separate PDF files for the selected pages. - Rearrange Pages in the PDF:
– Open the PDF editor extension on your Chromebook.
– Look for the “Page Thumbnails” or “Organize Pages” option.
– A panel displaying the thumbnail images of each page should appear.
– Drag and drop the pages to rearrange them in the desired order.
– Once you’re satisfied with the new page order, save the changes.
Whether you need to merge multiple PDF files into one cohesive document, extract specific pages from a PDF, or rearrange the page order for better organization, the PDF editor extension provides the necessary tools to accomplish these tasks efficiently.
It’s important to note that the availability of these features may vary depending on the specific PDF editor extension you have installed. Some extensions may offer additional functionality, such as rotating pages, inserting blank pages, or deleting pages.
Now that you have learned how to merge, split, and rearrange pages in the PDF file, let’s move on to the final step: saving and exporting the edited PDF.
Step 6: Save and Export the Edited PDF File
After making all the necessary edits to your PDF file, it’s essential to save and export the changes. By doing so, you will ensure that your edited PDF is preserved and can be accessed and shared with others as needed. The PDF editor extension provides convenient options for saving and exporting the edited PDF.
Follow these steps to save and export the edited PDF file:
- Save the Changes:
– Click on the “Save” or “Save Changes” button in the PDF editor toolbar.
– The edited PDF file will be saved, and any changes you made will be applied. - Export the Edited PDF File:
– Look for the “Export” or “Export as” option in the PDF editor toolbar.
– Choose the desired file format for exporting, such as PDF, Word, or image formats like JPEG or PNG.
– Specify the destination folder and filename for the exported file.
– Click on the “Export” or “Save” button to export the edited PDF in the chosen format.
When exporting the edited PDF as a different file format, such as Word or image formats, keep in mind that the formatting and layout of the original PDF may be adjusted or altered to some extent. It’s recommended to review the exported file and make any necessary adjustments or refinements if needed.
By saving and exporting the edited PDF file, you ensure that the changes you made are permanently applied to the document. You can now share or distribute the edited PDF with others, or use it for your own reference or documentation purposes.
Congratulations! You have successfully learned how to edit PDF files on your Chromebook using a PDF editor extension. By following these steps, you can now confidently make changes to PDFs, add annotations and comments, merge or split pages, and export the edited files for various purposes.
If you encounter any issues or difficulties during the process, refer to the documentation or support resources provided by the specific PDF editor extension you have installed. These resources will offer further guidance and solutions to help you overcome any challenges you may face.
With your newfound knowledge and skills, you can effectively edit PDF files on your Chromebook and streamline your workflow. Enjoy the convenience and flexibility of being able to make changes to PDF documents with ease!
Conclusion
Editing PDF files on your Chromebook has become easier than ever, thanks to the availability of PDF editor extensions in the Chrome Web Store. With these tools, you can edit text, images, add annotations and comments, merge or split pages, and export the edited PDF files as needed.
Throughout this guide, we have outlined the step-by-step process of editing a PDF on your Chromebook. From installing a PDF editor extension to opening the PDF file in the Chrome browser, editing text and images, adding annotations and comments, and merging, splitting, or rearranging pages, each step has been covered in detail.
By following these steps, you can confidently edit PDF files directly on your Chromebook, eliminating the need for complex software or specialized tools. This convenience allows you to make necessary changes, collaborate with others, and enhance the usability of your PDF documents.
It is important to note that the specific features and tools offered by PDF editor extensions may vary. Therefore, it’s recommended to explore and familiarize yourself with the capabilities of the PDF editor extension you choose to install.
With the ability to edit PDF files on your Chromebook, you can now streamline your workflow, whether you’re a student, professional, or simply someone who needs to make modifications to PDF documents. Take advantage of this feature to save time, increase productivity, and ensure accuracy in your PDF editing tasks.
Now that you possess the knowledge and skills to edit PDF files on your Chromebook, you can confidently tackle any PDF editing needs that come your way. Enjoy the convenience, flexibility, and efficiency of being able to make changes to PDF documents directly in your browser!