Introduction
So, you've got a Chromebook and you're looking to break free from the confines of the Chrome browser. Maybe you're a Firefox aficionado, or perhaps you're just curious about what the fuss is all about. Whatever your reason, you've come to the right place. In this guide, I'll walk you through the process of installing Firefox on your Chromebook, giving you access to a whole new world of browsing possibilities.
While Chromebooks are designed to primarily run Google Chrome, the introduction of Linux (Beta) support has opened up a whole new realm of possibilities. With this feature, you can now run Linux applications on your Chromebook, including the popular Mozilla Firefox browser. By following the steps outlined in this guide, you'll be able to seamlessly integrate Firefox into your Chromebook's ecosystem, allowing you to enjoy its robust features and customizable options.
Whether you're a student, a professional, or a casual user, having the ability to install Firefox on your Chromebook can significantly enhance your browsing experience. From its extensive library of extensions to its privacy-focused features, Firefox offers a compelling alternative to the default Chrome browser. By making the switch, you can explore a range of add-ons, personalize your browsing environment, and take advantage of Firefox's renowned security and privacy enhancements.
So, if you're ready to embark on this journey and expand your Chromebook's capabilities, let's dive into the step-by-step process of enabling Linux (Beta) and installing Firefox. It's time to unlock the full potential of your Chromebook and experience the freedom of browsing with Firefox.
Step 1: Enable Linux (Beta) on your Chromebook
Enabling Linux (Beta) on your Chromebook is the crucial first step towards installing Firefox. This feature empowers you to run Linux applications, including the Firefox browser, on your Chromebook, expanding its functionality and versatility.
To begin, ensure that your Chromebook is updated to the latest version of Chrome OS. Once this is confirmed, follow these steps to enable Linux (Beta):
-
Access Settings: Click on the system tray located in the bottom-right corner of the screen. From there, select the gear-shaped icon to access the Settings menu.
-
Navigate to Linux (Beta) Settings: Within the Settings menu, locate and click on the "Linux (Beta)" option in the left-hand navigation panel. This will open up the Linux settings page.
-
Enable Linux (Beta): On the Linux settings page, you will find a toggle switch to enable Linux (Beta). Click on the toggle switch to activate the feature. A dialog box will appear, prompting you to confirm the installation of the Linux development environment. Click on the "Install" button to proceed.
-
Wait for Installation: The system will now download and install the necessary components for Linux (Beta). This process may take a few minutes, so it's important to be patient as the installation progresses.
-
Launch Terminal: Once the installation is complete, a terminal window will appear. This signifies that Linux (Beta) is now enabled on your Chromebook, allowing you to run Linux applications, including Firefox.
By following these steps, you have successfully enabled Linux (Beta) on your Chromebook, paving the way for the installation of Firefox. With Linux (Beta) up and running, you are now ready to proceed to the next step and bring the Firefox browser to your Chromebook.
Enabling Linux (Beta) on your Chromebook not only expands its capabilities but also demonstrates the evolving nature of Chrome OS, which continues to embrace new functionalities and provide users with a more diverse and customizable computing experience.
Step 2: Download and install Firefox
Now that Linux (Beta) is up and running on your Chromebook, it's time to proceed with the installation of the Firefox browser. This step will allow you to access the full suite of features and functionalities that Firefox has to offer, bringing a new dimension to your browsing experience.
To download and install Firefox on your Chromebook, follow these straightforward steps:
-
Open the Terminal: Launch the Terminal application on your Chromebook. This is where you will enter the commands to download and install Firefox. The Terminal serves as the gateway to accessing and managing Linux applications on your Chromebook.
-
Update the Package List: Before proceeding with the installation, it's essential to ensure that the package list is up to date. Enter the following command in the Terminal to accomplish this:
sudo apt update
-
Install Firefox: With the package list updated, you can now proceed to install the Firefox browser. Enter the following command in the Terminal to initiate the installation process:
sudo apt install firefox-esr
This command will prompt the system to download and install the Firefox Extended Support Release (ESR) version, which is well-suited for stability and long-term support.
-
Confirm the Installation: Once the installation process is complete, you can verify that Firefox has been successfully installed by searching for it in the app launcher or application menu. Alternatively, you can launch Firefox from the Terminal by entering the command:
firefox-esr
This will open the Firefox browser, indicating that the installation was successful.
By following these steps, you have effectively downloaded and installed the Firefox browser on your Chromebook. With Firefox now integrated into your browsing environment, you can explore its extensive collection of extensions, customize your browsing experience, and benefit from its privacy-focused features.
Installing Firefox on your Chromebook not only expands your browser options but also showcases the flexibility and adaptability of Chrome OS. With Linux (Beta) support, Chromebook users can seamlessly incorporate Linux applications into their workflow, enhancing productivity and personalization.
Now that Firefox is at your fingertips, you can delve into its array of features and discover a new realm of browsing possibilities on your Chromebook.
Step 3: Launch Firefox and set it as the default browser
With Firefox successfully installed on your Chromebook, the final step involves launching the browser and setting it as the default option for your browsing needs. This ensures that whenever you click on a link or open a web page, it will automatically open in Firefox, providing a seamless and consistent browsing experience.
To launch Firefox and set it as the default browser, follow these steps:
-
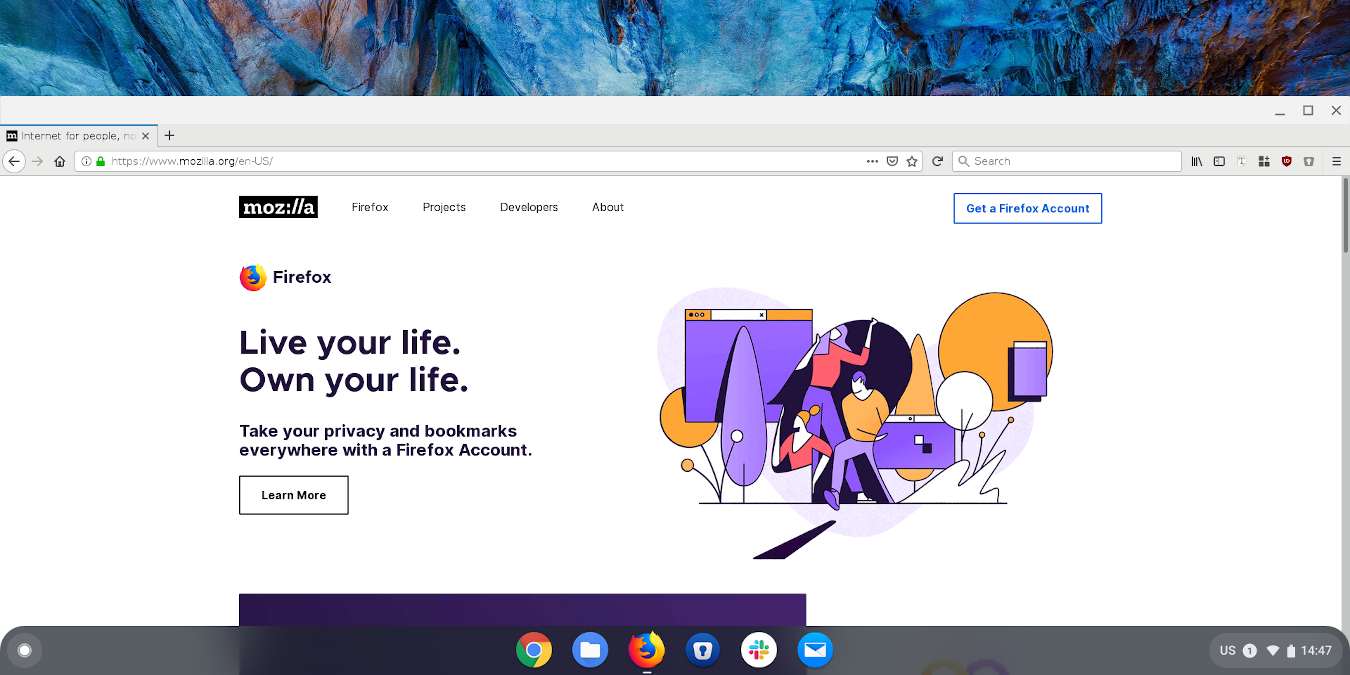
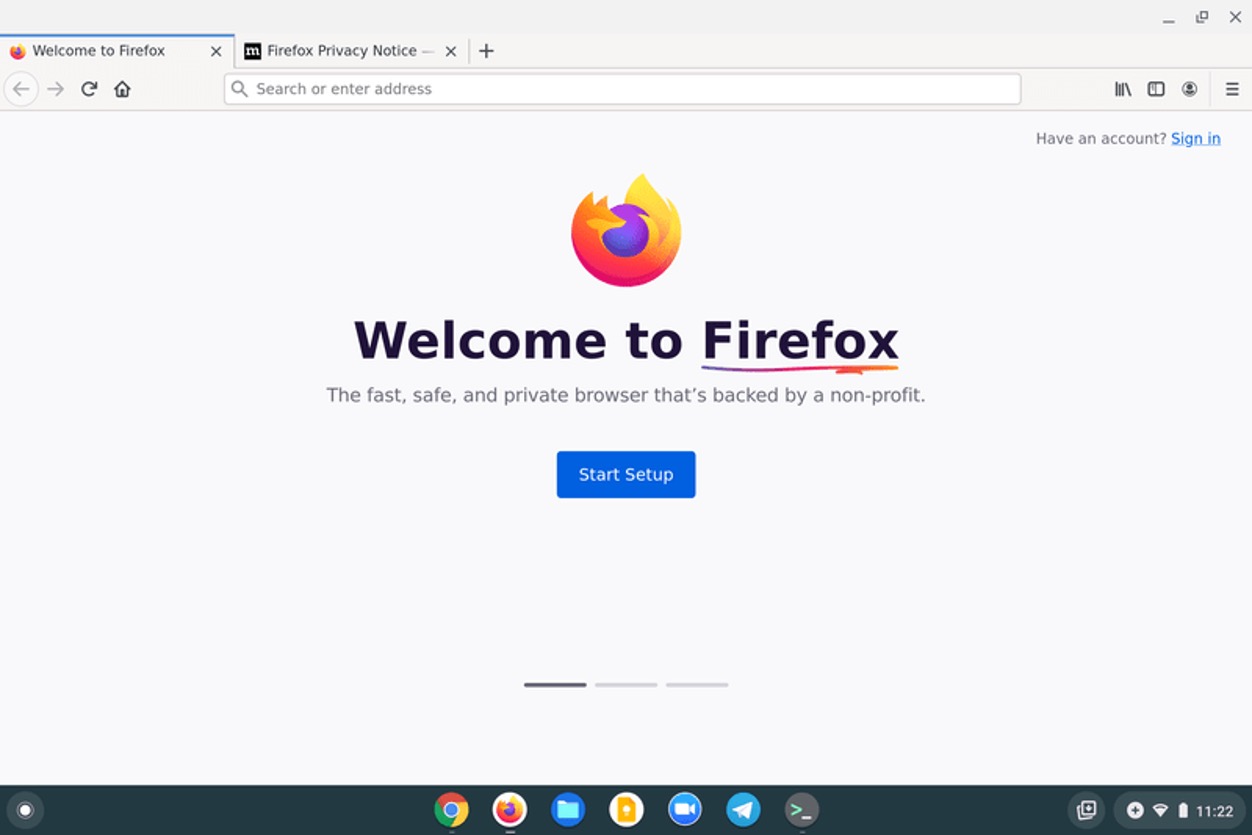
Open Firefox: Locate the Firefox browser in your app launcher or application menu. Click on the Firefox icon to launch the browser. As Firefox opens, you will be greeted by its familiar interface, signaling that the installation process was successful.
-
Navigate to Settings: Once Firefox is open, click on the three horizontal lines in the upper-right corner of the browser window to access the main menu. From the menu, select "Preferences" to enter the settings interface.
-
Set Firefox as the Default Browser: Within the Preferences menu, navigate to the "General" tab. Here, you will find the option to set Firefox as your default browser. Click on the "Make Default" button to designate Firefox as the primary browser on your Chromebook.
-
Confirm Default Browser Status: After setting Firefox as the default browser, you can verify its status by ensuring that the "Default Browser" indicator reflects Firefox. This ensures that any web links or URLs you access will automatically open in Firefox, streamlining your browsing experience.
By following these steps, you have successfully launched Firefox and set it as the default browser on your Chromebook. This means that whenever you click on a link or open a web page, Firefox will be the go-to browser, providing you with a consistent and personalized browsing environment.
Setting Firefox as the default browser not only enhances your browsing experience but also underscores the flexibility and customization options available on Chromebooks. With the ability to choose your preferred browser, you can tailor your Chromebook to suit your individual preferences and workflow, ensuring a seamless and personalized computing experience.
Now that Firefox is set as your default browser, you can fully immerse yourself in its features, extensions, and privacy enhancements, making the most of your browsing sessions on your Chromebook. Whether you're a fan of Firefox's extensive add-ons or its privacy-focused approach, having it as your default browser opens up a world of possibilities for your browsing needs.
Conclusion
Congratulations! By following the steps outlined in this guide, you have successfully installed Firefox on your Chromebook, expanding your browsing horizons and unlocking a wealth of features and customization options. The journey from enabling Linux (Beta) to setting Firefox as your default browser has empowered you to harness the full potential of your Chromebook, transforming it into a versatile platform for browsing and productivity.
With Firefox now seamlessly integrated into your Chromebook's ecosystem, you have gained access to a myriad of benefits. From its extensive library of extensions to its privacy-focused features, Firefox offers a compelling alternative to the default Chrome browser. By making the switch, you can explore a range of add-ons, personalize your browsing environment, and take advantage of Firefox's renowned security and privacy enhancements.
The introduction of Linux (Beta) support on Chromebooks has ushered in a new era of possibilities, allowing users to run Linux applications, including the popular Mozilla Firefox browser. This evolution demonstrates the adaptability and flexibility of Chrome OS, catering to diverse user preferences and expanding the capabilities of Chromebooks beyond their traditional boundaries.
By embracing Firefox on your Chromebook, you have embraced a new level of control and personalization. Whether you're a student, a professional, or a casual user, having the ability to install Firefox on your Chromebook can significantly enhance your browsing experience. From its robust customization options to its emphasis on user privacy, Firefox empowers you to tailor your browsing environment to suit your individual needs and preferences.
As you navigate the digital landscape with Firefox as your trusted companion, you can explore its array of features, delve into its extensive collection of extensions, and benefit from its privacy-focused approach. Whether you're streamlining your workflow with productivity-enhancing add-ons or safeguarding your online activities with enhanced privacy measures, Firefox offers a wealth of possibilities for optimizing your browsing experience on your Chromebook.
In conclusion, the installation of Firefox on your Chromebook marks a significant milestone in your journey towards a more personalized and versatile browsing experience. By leveraging the power of Linux (Beta) and integrating Firefox into your workflow, you have unlocked a world of possibilities, allowing you to explore, create, and connect with confidence and convenience. Embrace the freedom of browsing with Firefox on your Chromebook and make the most of its rich features and customizable options.