Introduction
Welcome to the ultimate guide on how to powerwash a Chromebook! Over time, your trusty Chromebook may accumulate dirt, smudges, and grime, which can affect its performance and make it look less than pristine. Powerwashing your Chromebook not only removes any buildup but also restores its functionality and gives it a fresh start.
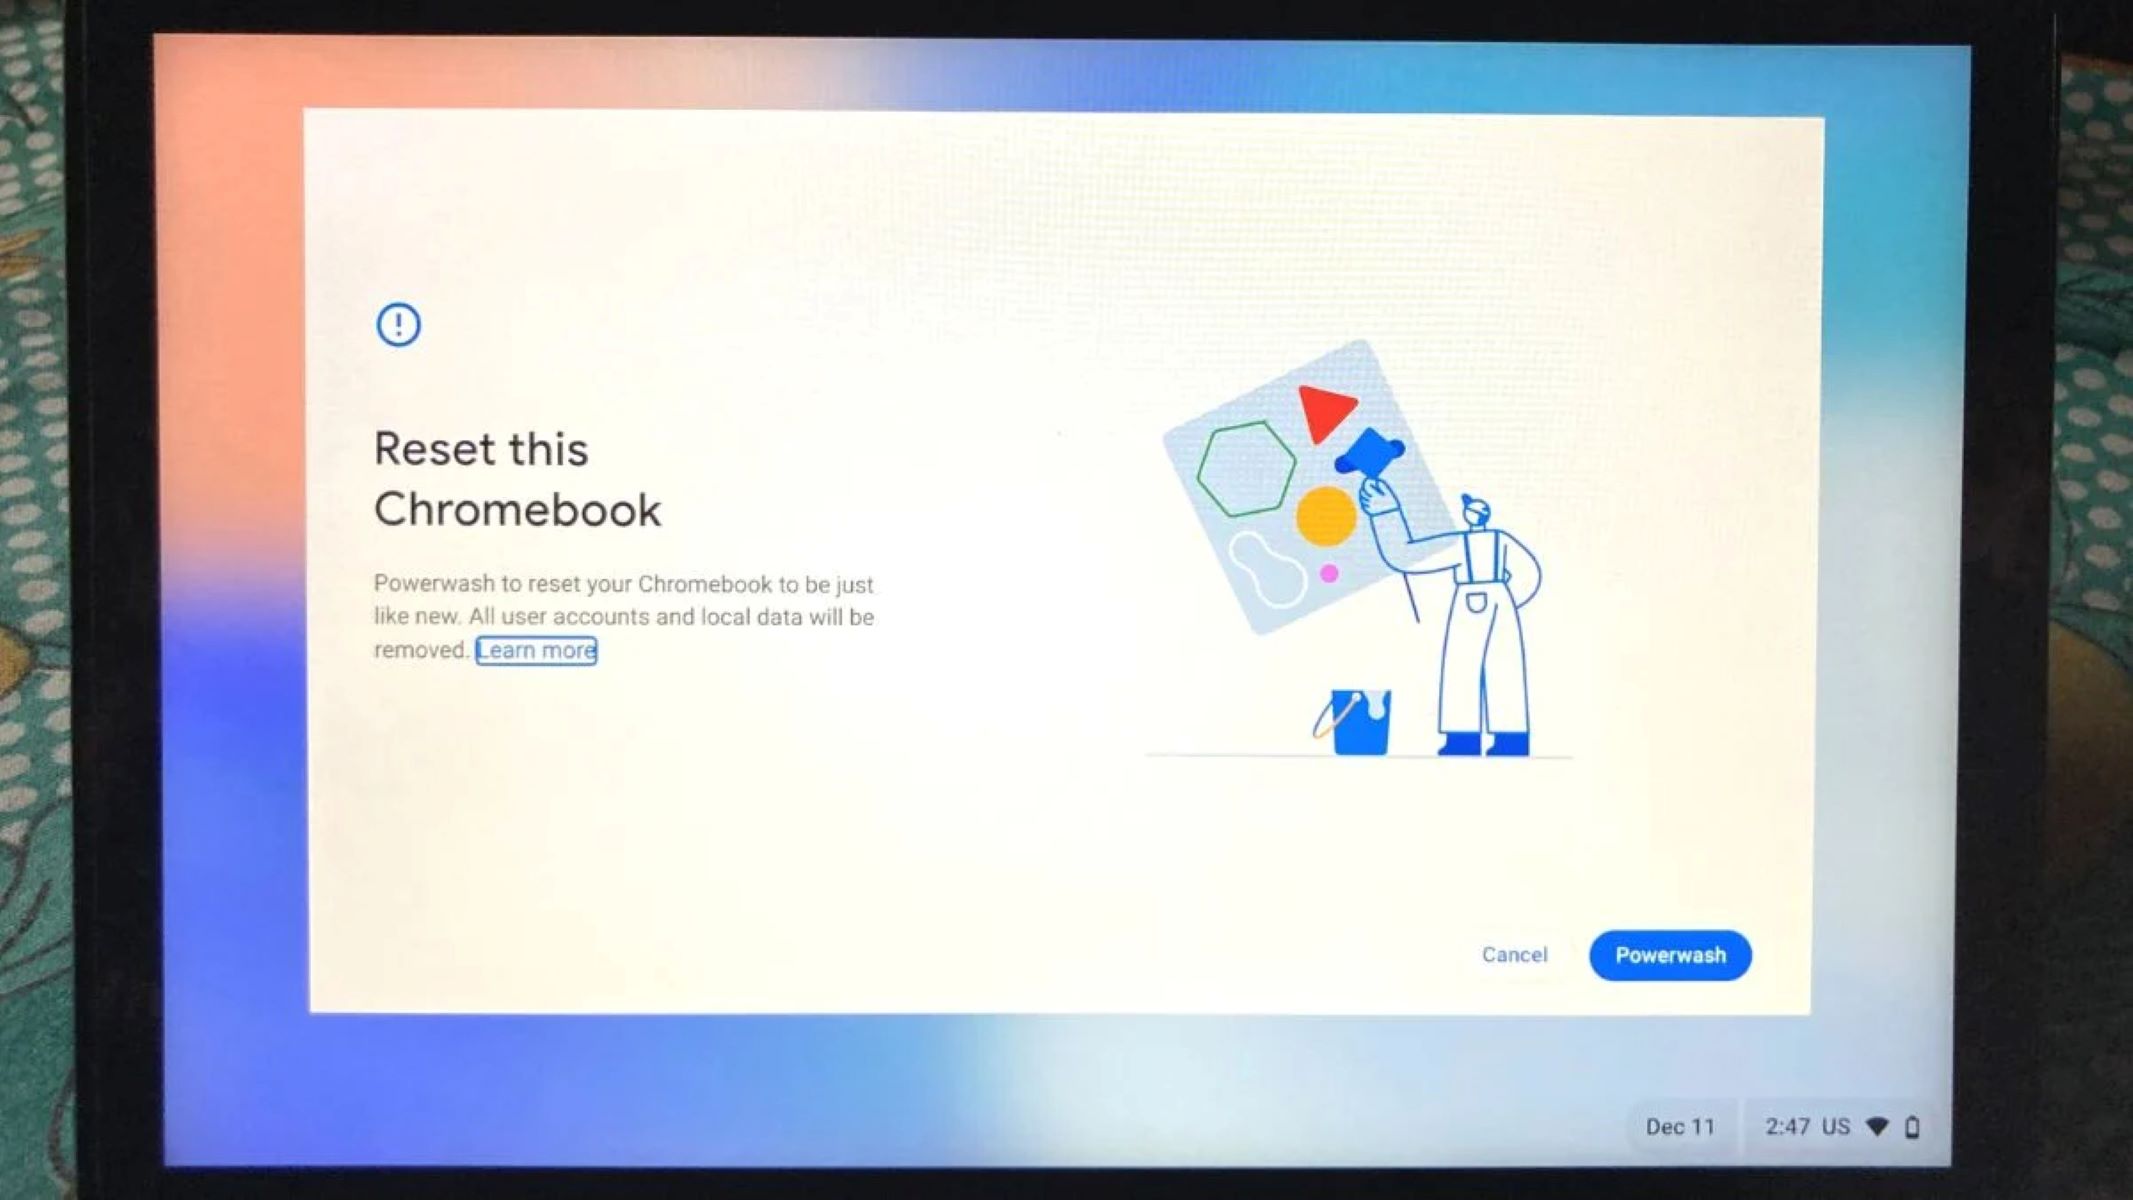
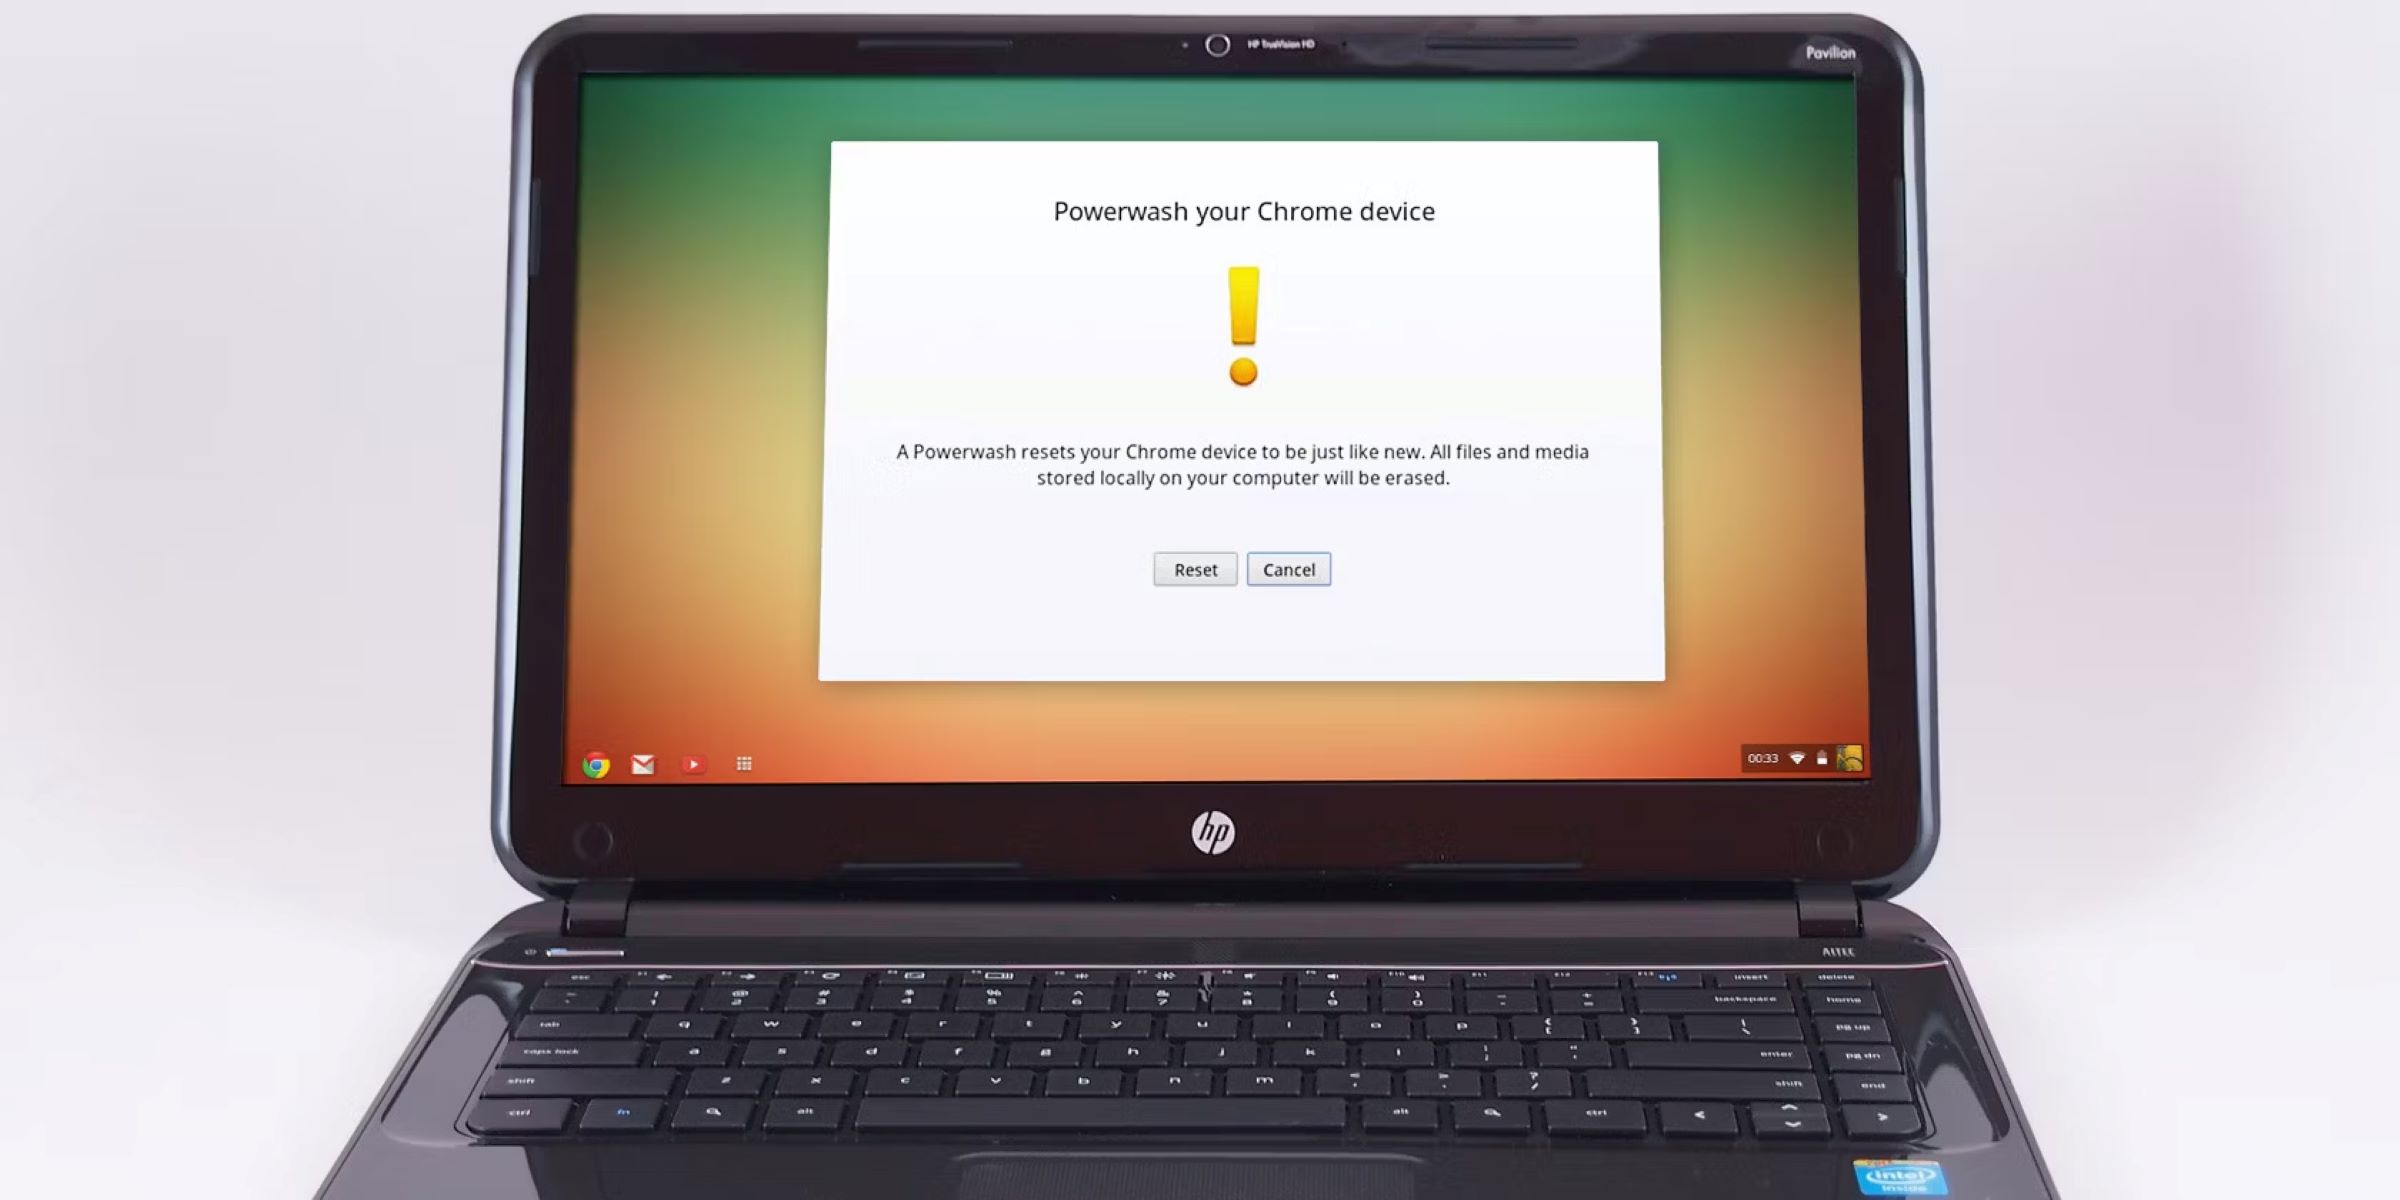
Powerwashing refers to the process of resetting your Chromebook to its factory settings, essentially wiping it clean and erasing all data. This is an effective way to resolve software issues, remove unwanted files, and rejuvenate your Chromebook’s performance.
Whether you’re experiencing sluggishness, encountering software glitches, or simply want to give your Chromebook a deep clean, following the right steps will ensure a successful powerwash without any hassle.
In this comprehensive guide, we’ll walk you through the step-by-step process of powerwashing a Chromebook. We’ll cover everything from shutting down the device to cleaning its exterior, keyboard, touchpad, screen, and ports. By the end of this guide, your Chromebook will be refreshed and ready to perform at its best.
Before we dive into the cleaning process, it’s important to note that powerwashing will erase all data on your Chromebook. Therefore, it’s crucial to back up any files or documents that you want to keep before proceeding with the powerwash. Once the powerwash is complete, you can restore your data from the backup or start with a clean slate.
Now that you understand the importance of powerwashing and the precautions to take, let’s get started with the step-by-step process of restoring your Chromebook to its factory settings and giving it a well-deserved cleaning!
Step 1: Shutting down your Chromebook
The first step in powerwashing your Chromebook is to ensure that it is properly shut down. This will prevent any data loss or damage during the process. Here’s how to shut down your Chromebook:
- Save your work and close any open applications or files.
- Click on the system tray located in the bottom-right corner of the screen. It looks like a clock or battery icon.
- In the pop-up menu that appears, click on the power icon.
- Select “Shut down” from the options presented.
Alternatively, you can press and hold the power button until the screen goes completely black.
It’s important to wait a few moments after shutting down your Chromebook to ensure that it has completely powered off. This will ensure that the powerwash process is successful.
Once your Chromebook is shut down, you’re ready to move on to the next step in the powerwashing process.
Step 2: Disconnect all external devices
Before you proceed with powerwashing your Chromebook, it is essential to disconnect all external devices that may be connected to it. This includes peripherals such as mice, keyboards, external hard drives, and USB devices. Disconnecting these devices will prevent any potential interference during the powerwash process.
Follow these steps to disconnect external devices from your Chromebook:
- Ensure that your Chromebook is still powered off.
- Gently unplug any USB devices or peripherals that are connected to your Chromebook.
- If you are using an external monitor or other display devices, disconnect them from your Chromebook.
- In the case of a wired network connection, unplug the Ethernet cable from your Chromebook.
- Remove any memory cards or SD cards that are inserted into your Chromebook.
By disconnecting all external devices, you eliminate the risk of any conflicts or data loss during the powerwash process. It also allows you to focus solely on cleaning your Chromebook without any distractions.
Once you have successfully disconnected all external devices, you can proceed to the next step in the powerwashing process.
Step 3: Cleaning the exterior of the Chromebook
Now that your Chromebook is powered off and all external devices are disconnected, it’s time to give the exterior of your device a thorough cleaning. This step will help remove dust, fingerprints, and any other debris that may have accumulated on the surface. Here’s how to clean the exterior of your Chromebook:
- Take a soft, lint-free cloth and dampen it with water. Avoid using harsh cleaning agents or abrasive materials as they can damage the surface of your Chromebook.
- Gently wipe the cloth over the entire exterior of your Chromebook, including the lid, bottom, and sides. Pay special attention to areas that come into contact with your hands, such as the palm rest and keyboard area.
- If there are stubborn stains or marks on the surface, you can use a mild cleaning solution specifically designed for electronics. Apply a small amount of the solution to the cloth and gently rub the affected area until the stain is removed. Be careful not to get any liquid inside the device.
- For the keyboard and touchpad, you can use a soft brush or compressed air to remove any crumbs or debris. Gently brush or blow away the particles, making sure not to apply excessive force.
- Once you’ve cleaned the exterior surface, take a dry cloth and wipe away any excess moisture. Ensure that the Chromebook is completely dry before proceeding to the next step.
By regularly cleaning the exterior of your Chromebook, you can maintain its appearance and prolong its lifespan. It’s important to avoid using abrasive materials or harsh chemicals, as they can damage the finish and affect the overall performance of your device.
With the exterior of your Chromebook now clean and dry, you can move on to the next step of the powerwashing process.
Step 4: Cleaning the keyboard and touchpad
The keyboard and touchpad are two areas of your Chromebook that can easily accumulate dirt, dust, and debris. Regular cleaning of these components is essential to maintain their functionality and keep them in optimal condition. Here’s a step-by-step guide on how to clean the keyboard and touchpad of your Chromebook:
- Ensure that your Chromebook is still powered off and disconnected from any external devices.
- Use a soft brush or compressed air to remove any loose particles or crumbs from the keyboard and touchpad. Gently brush or blow away the debris, being careful not to apply too much pressure.
- Dampen a lint-free cloth or sponge with a small amount of water or a mild cleaning solution specifically designed for electronics. Do not pour any liquid directly onto the keyboard or touchpad.
- Gently wipe the cloth or sponge over the keys and touchpad, paying close attention to areas that are frequently touched. Use gentle, circular motions to remove any dirt or stains.
- If there are stubborn stains or residue on the keys, you can use a cotton swab lightly dipped in isopropyl alcohol to gently clean the affected areas. Avoid using excessive liquid and ensure that the keyboard is completely dry before using your Chromebook again.
- Once you’ve cleaned the keyboard and touchpad, take a dry cloth and wipe away any excess moisture. Allow the keyboard and touchpad to air dry completely before moving on to the next step.
Regularly cleaning the keyboard and touchpad will not only keep them hygienic but also ensure smooth and accurate input on your Chromebook. It’s important to be cautious when using any cleaning solutions, as excessive moisture or harsh chemicals can damage the keyboard and touchpad.
With the keyboard and touchpad of your Chromebook now clean and dry, you’re ready to proceed to the next step in the powerwashing process.
Step 5: Cleaning the screen
The screen of your Chromebook is the primary interface through which you interact with the device. Keeping it clean and free from smudges and dirt is essential for a clear and enjoyable viewing experience. Here’s how you can effectively clean the screen of your Chromebook:
- Ensure that your Chromebook is still powered off to avoid any accidental commands or screen movements during the cleaning process.
- Take a soft, lint-free cloth and gently wipe the screen in a circular motion to remove any dust or loose particles. It’s important to avoid applying too much pressure to prevent damaging the screen.
- If there are smudges or fingerprints on the screen, dampen a corner of the cloth with water and gently wipe the affected area. Alternatively, you can use a screen cleaning solution designed specifically for electronics. Apply a small amount of the solution to the cloth and wipe the screen in a gentle manner.
- Be cautious not to spray any cleaning solution directly onto the screen or use excessive amounts of liquid, as it can seep into the device and cause damage.
- Once you’ve cleaned the screen, use a dry, lint-free cloth to wipe away any residual moisture and ensure that the screen is completely dry.
Regularly cleaning the screen of your Chromebook will not only enhance your viewing experience but also help prolong the life of the device. Avoid using paper towels or rough cloths, as they can scratch the screen and impair its functionality.
With the screen of your Chromebook now clean and dry, you’re ready to proceed to the next step in the powerwashing process.
Step 6: Cleaning the ports and connectors
The ports and connectors on your Chromebook, such as USB ports, headphone jacks, and charging ports, can accumulate dust, lint, and debris over time. Cleaning these areas is important to ensure proper connectivity and prevent any issues with your devices. Here’s how you can effectively clean the ports and connectors of your Chromebook:
- Ensure that your Chromebook is still powered off and disconnected from any external devices.
- Inspect each port carefully and use a soft brush or compressed air to remove any visible debris or dust. Gently brush or blow away the particles, being careful not to damage the connectors.
- If there is stubborn dirt or debris in the ports, you can use a cotton swab lightly dipped in isopropyl alcohol. Gently clean the inside of the ports, making sure not to leave any excess liquid behind.
- For the charging port, it’s essential to ensure that it is completely dry before attempting to charge your Chromebook.
Cleaning the ports and connectors regularly will help maintain proper functionality and prevent any issues with connecting external devices. It’s important to be gentle and avoid using excessive force when cleaning, as it can cause damage to the ports and connectors.
With the ports and connectors of your Chromebook now clean, you’re ready to move on to the final step in the powerwashing process.
Step 7: Allowing the Chromebook to dry
After thoroughly cleaning your Chromebook, it’s important to allow it to dry completely before turning it back on or connecting any external devices. This step is crucial to prevent any potential damage or malfunction caused by residual moisture. Here’s what you need to do:
- Ensure that all areas of your Chromebook, including the exterior, keyboard, touchpad, screen, and ports, are clean and free from any moisture.
- Leave your Chromebook in a well-ventilated area and allow it to air dry naturally. Avoid using any heat sources or hairdryers, as excessive heat can damage the internal components of the device.
- Be patient and give your Chromebook sufficient time to dry. The exact drying time will depend on the ambient conditions, but it’s generally recommended to wait at least a couple of hours.
- During the drying period, avoid touching or using the Chromebook to prevent any accidental water transfer or damage to the cleaned areas.
Patience is key when allowing your Chromebook to dry. Rushing the process or turning on the device too soon can lead to moisture-related issues, such as short circuits or damage to internal components.
Once you are confident that your Chromebook is completely dry, you can proceed to power it back on and reconnect any external devices (if necessary). Your Chromebook is now refreshed, clean, and ready to be used!
Conclusion
Congratulations! You have successfully completed the powerwashing process for your Chromebook. By following the step-by-step guide and taking the necessary precautions, you have restored your Chromebook to its factory settings and given it a thorough cleaning. Now, your device is fresh, rejuvenated, and ready for optimal performance.
Throughout the powerwashing process, you have learned how to shut down your Chromebook, disconnect external devices, clean the exterior, keyboard, touchpad, screen, and ports, and allow it to dry properly. These steps are essential for maintaining the functionality, appearance, and longevity of your Chromebook.
Remember, powerwashing your Chromebook erases all data, so it’s crucial to back up any files or documents you want to keep before performing the powerwash. Once the powerwash is complete, you can restore your data from the backup or start with a clean slate.
Regular cleaning and maintenance of your Chromebook are necessary to ensure optimal performance and longevity. By following these steps periodically, you can keep your device in top-notch condition and enhance your overall user experience.
We hope this guide has been helpful in guiding you through the powerwashing process for your Chromebook. Now, enjoy the clean, refreshed, and high-performing device that you have worked hard to achieve!