Introduction
Welcome to this guide on how to unenroll a school Chromebook without using developer mode. Chromebooks have become a popular choice for educational institutions due to their affordability, ease of use, and integration with Google’s suite of educational tools. However, there may come a time when you need to remove a Chromebook from the school’s management system and regain control over its settings and features.
Unenrolling a school Chromebook allows you to use it in a personal capacity, customize its settings, and install applications of your choice. Typically, unenrolling is done through the device’s developer mode, which involves complex steps and may void the warranty. However, in this guide, we will explore alternative methods that do not require developer mode, allowing you to unenroll your Chromebook hassle-free.
Whether you are a student transitioning to a different school, a parent who wants to regain control over their child’s device during non-school hours, or an educator returning a loaned Chromebook, this guide will provide you with the necessary steps to unenroll a school Chromebook without developer mode.
So, let’s dive in and discover the various methods you can use to unenroll your school Chromebook hassle-free.
Why would you need to unenroll a school Chromebook?
There are several reasons why you may need to unenroll a school Chromebook. Understanding these reasons will help you determine if unenrolling is the right course of action for your situation. Let’s explore some common scenarios:
- You are a student graduating or transferring schools: When you leave a school or graduate, you may no longer have access to the school’s management system. Unenrolling the Chromebook allows you to regain control over your device and continue using it for personal purposes.
- You are a parent and want to use the Chromebook outside of school hours: School-issued Chromebooks are often set up with restrictions and management settings to ensure a safe and focused learning environment. However, you may want to use the Chromebook for personal tasks or entertainment during non-school hours. Unenrolling the device gives you the flexibility to customize its settings and use it according to your needs.
- You are an educator returning a loaned Chromebook: Teachers or educators who were loaned Chromebooks from the school may need to unenroll the devices before returning them. This ensures that their personal information and settings are removed from the Chromebooks and restored to the default state.
- You want to install applications not available in the school’s app store: School Chromebooks often have restricted access to the Google Play Store or limited app installation capabilities. By unenrolling the device, you can gain full control over the Chromebook’s settings and install applications from outside the school’s app store.
Unenrolling a school Chromebook allows you to customize the device to suit your individual needs, whether you are a student, parent, or educator. It gives you the freedom to use the Chromebook in a personal capacity and make changes to the settings as desired.
Steps to unenroll a school Chromebook without developer mode
If you don’t want to go through the complicated process of using developer mode to unenroll your school Chromebook, don’t worry. There are alternative methods that allow you to achieve the same result without voiding the warranty or risking any technical issues. Follow these steps to unenroll your school Chromebook:
- Step 1: Back up your data (if necessary)
- Step 2: Powerwash your Chromebook
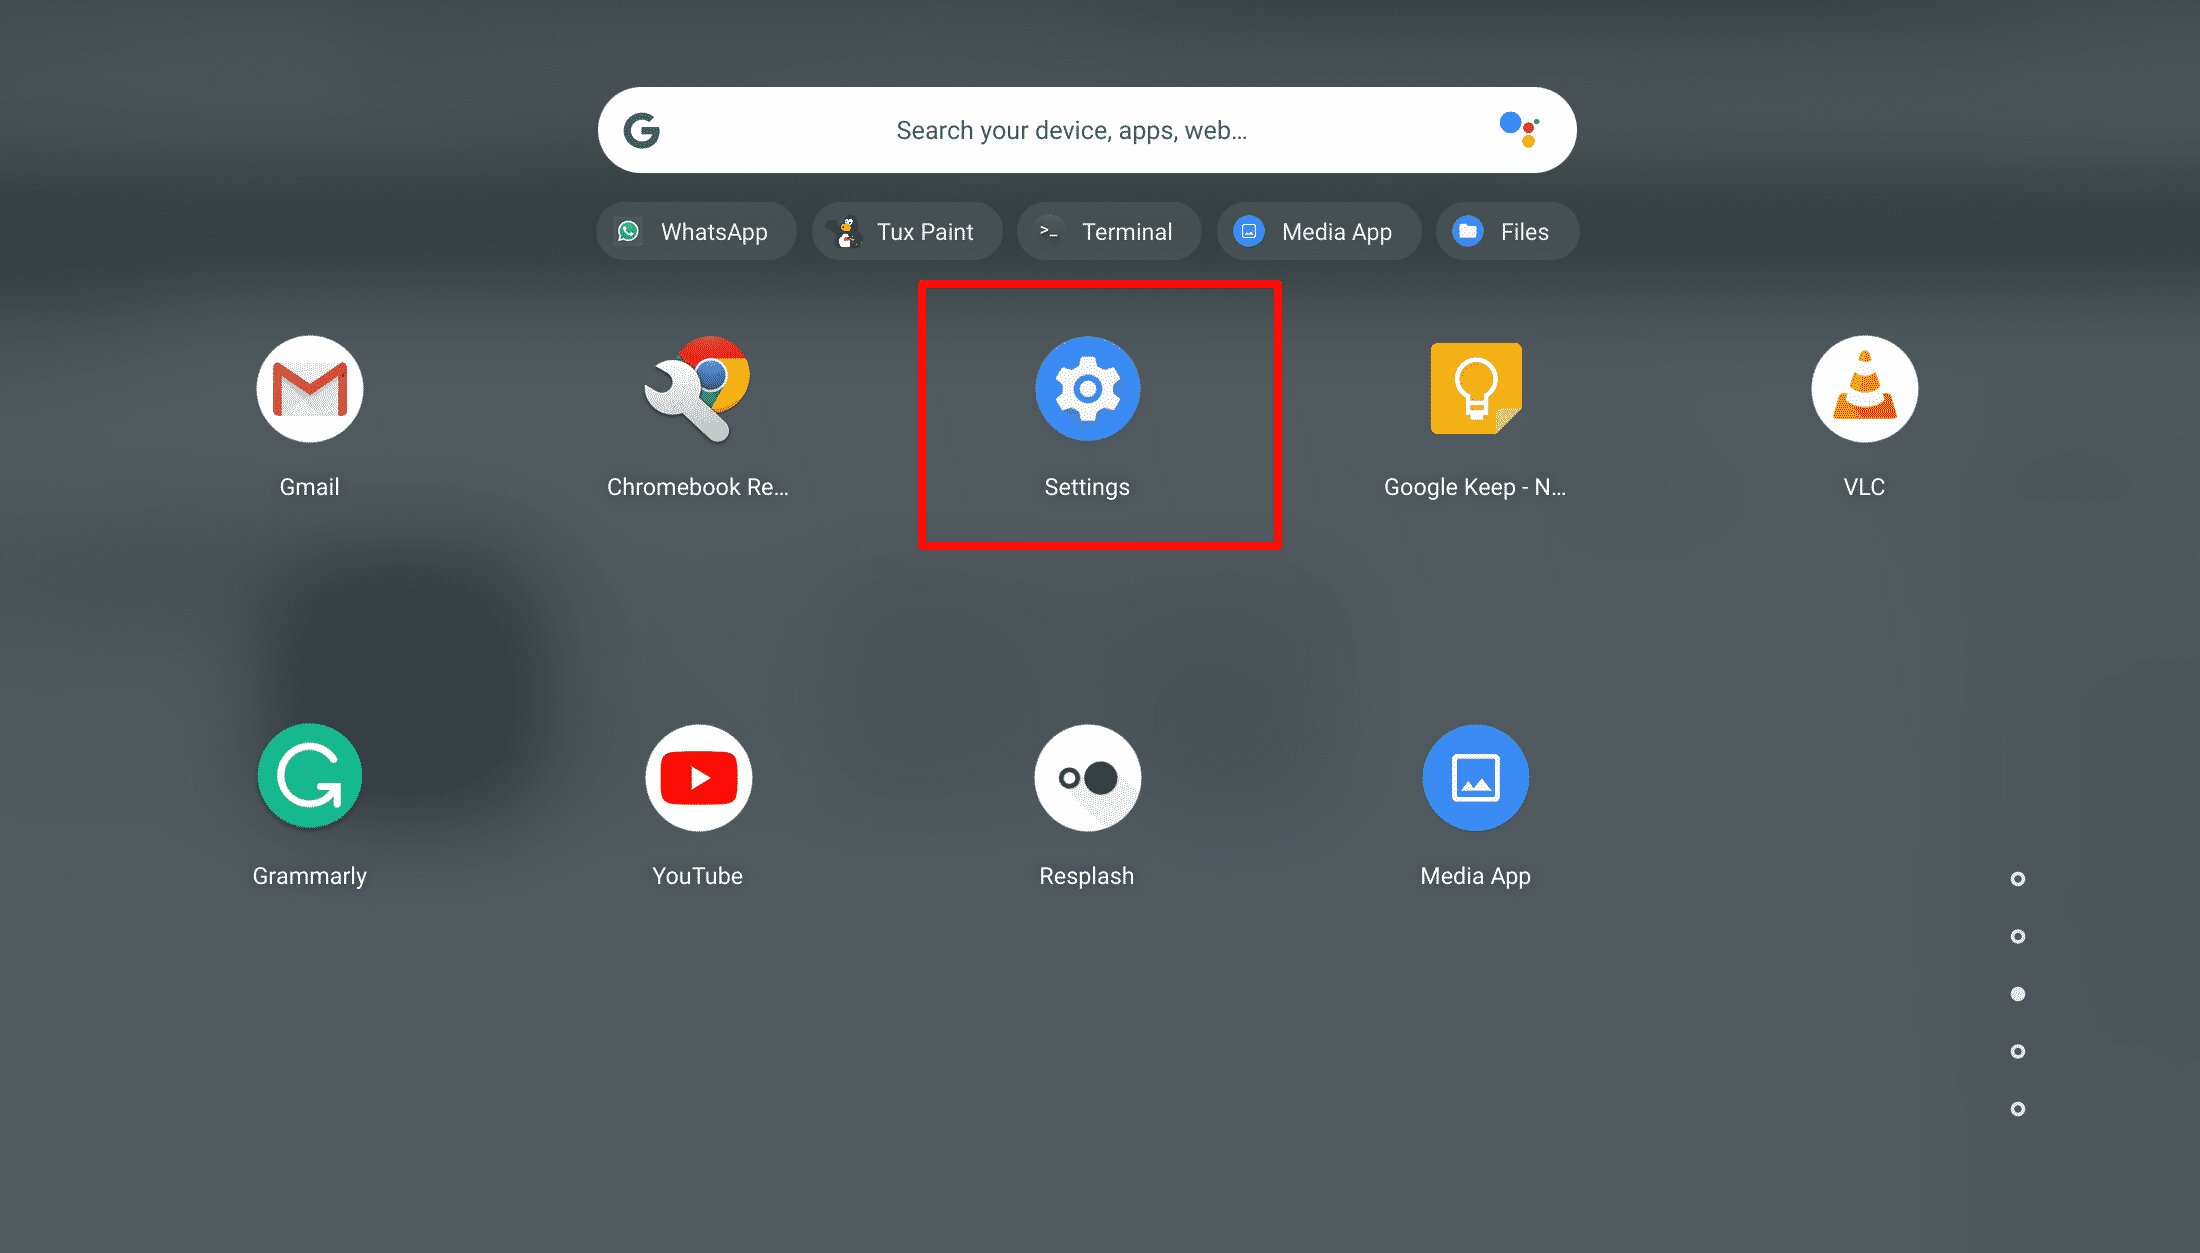
- Click on the clock in the bottom-right corner of the screen.
- Select the gear icon to open the settings menu.
- Scroll down and click on “Advanced” to reveal more options.
- Under the “Powerwash” section, click on “Powerwash” and confirm by clicking on “Restart”.
- Step 3: Remove the Chromebook from the school’s management system
- Step 4: Customize your Chromebook settings
Before proceeding with unenrolling your Chromebook, it’s essential to back up any important data or files you may have on the device. This includes documents, photos, bookmarks, and any other data you want to keep. You can either save them to an external storage device or upload them to cloud storage services like Google Drive.
The first method to unenroll a school Chromebook without developer mode is to perform a powerwash. A powerwash will reset the device to its factory settings, removing all user accounts and data. To do this, follow these steps:
This will initiate the powerwash process, and the Chromebook will restart once completed. Follow the on-screen instructions to set up the device as a new user.
After performing a powerwash, the Chromebook is no longer associated with the school’s management system. However, it’s important to verify with the school’s IT department or administration that the device is unenrolled. They may need to remove it from their system to ensure a smooth transition.
Now that your Chromebook is unenrolled, you can personalize the device’s settings to suit your preferences. Customize the wallpaper, manage user accounts, and explore the various options available in the settings menu. You can also install applications from the Google Play Store or external sources as desired.
By following these steps, you can successfully unenroll your school Chromebook without the need for developer mode. Remember to back up your data before performing a powerwash, and reach out to the school’s IT department if necessary to ensure a smooth unenrollment process.
Method 1: Resetting the Chromebook
One of the simplest and most effective methods to unenroll a school Chromebook without developer mode is by resetting the device. This process, often referred to as a powerwash, will restore the Chromebook to its original factory settings and remove any school-related management configurations. Follow these steps to reset your Chromebook:
- Step 1: Back up your data (if necessary)
- Step 2: Access the Chromebook settings
- Step 3: Open the advanced settings
- Step 4: Perform the powerwash
- Step 5: Set up the Chromebook
- Step 6: Customize your settings
Before proceeding with the reset, it is important to back up any important data or files you have on the Chromebook. You can save them to an external storage device or upload them to cloud storage services such as Google Drive.
To begin the reset process, click on the clock icon located in the bottom-right corner of the Chromebook screen. Then, select the gear icon to open the settings menu.
In the settings menu, scroll down and click on the “Advanced” option. This will expand the menu and reveal additional settings.
Under the “Powerwash” section, click on the “Powerwash” button. A confirmation prompt will appear, asking if you want to continue with the reset. Click on “Restart” to proceed.
The Chromebook will restart and begin the powerwash process. Follow the on-screen instructions to set up the device as a new user. You will be prompted to sign in with your Google account or create a new one.
After the powerwash is complete and you have set up the Chromebook, take the opportunity to customize the device to your preferences. You can personalize the wallpaper, manage user accounts, and explore the various options available in the settings menu.
By following these steps, you can easily reset your school Chromebook, effectively unenrolling it without the need for developer mode. Keep in mind that performing a reset will remove all user accounts and data from the device, so be sure to back up any important information beforehand. Enjoy utilizing your Chromebook in a personalized manner after the unenrollment process!
Method 2: Contacting the IT department
If you are unsure about unenrolling a school Chromebook on your own or if the reset method is not available or suitable for your situation, contacting the school’s IT department is another viable option. By reaching out to the IT department, you can seek their assistance in unenrolling the Chromebook without going through the complex process of developer mode. Follow these steps to get in touch with the IT department:
- Step 1: Gather necessary information
- Step 2: Locate contact information
- Step 3: Reach out to the IT department
- Step 4: Follow their instructions
- Step 5: Confirm unenrollment
- Step 6: Customize your Chromebook
Before contacting the IT department, gather all relevant information regarding your Chromebook. This includes the device’s serial number, your school identification number, and any other details that may be required for verification.
Find the contact information for the school’s IT department, which may be available on the school’s website, in student handbooks, or by asking a teacher or administrator. Note down their phone number or email address for easy communication.
Contact the IT department via phone or email. Introduce yourself and explain your reason for wanting to unenroll the Chromebook. Be polite and provide them with the necessary information they may require to identify your device.
Once you have communicated your request to the IT department, they will guide you through the unenrollment process. They may require you to bring the Chromebook to them or provide them with certain details to remove it from the school’s management system. Follow their instructions carefully to ensure a smooth unenrollment.
After the IT department has processed your request, confirm with them that the Chromebook has been successfully unenrolled. This will ensure that it is no longer associated with any school-related management configurations.
Once the unenrollment is confirmed, you can proceed to customize the Chromebook to your preferences. Modify the settings, install applications, and personalize the device according to your needs.
By following these steps and reaching out to the school’s IT department, you can unenroll your Chromebook without the need for developer mode. Their expertise and guidance will help ensure a smooth and successful unenrollment process. Remember to provide them with the necessary information and carefully follow their instructions throughout the process.
Method 3: Using the Recovery tool
If resetting the Chromebook or contacting the IT department is not feasible, another method to unenroll a school Chromebook without developer mode is by using the Chromebook Recovery tool. This method allows you to restore the Chromebook to its factory settings, removing any school-related management configurations. Follow these steps to unenroll your Chromebook using the Recovery tool:
- Step 1: Prepare a recovery USB drive
- Step 2: Enter Recovery mode
- Step 3: Start the Recovery process
- Step 4: Set up the Chromebook
- Step 5: Personalize your settings
Create a recovery USB drive using a separate computer. Visit Google’s Chromebook Recovery website and follow the instructions to create a recovery image for your specific Chromebook model. This will require a USB drive with sufficient storage capacity.
With the recovery USB drive prepared, turn off the Chromebook completely. Press and hold the Esc key and the Refresh key (circular arrow or F3 key) simultaneously, then press the Power button to turn on the Chromebook. Release the keys once a yellow exclamation mark appears on the screen.
Insert the recovery USB drive into the Chromebook. Press Ctrl + D on the keyboard when prompted. Follow the on-screen instructions to start the Recovery process. Note that this will erase all data on the Chromebook.
After the Recovery process completes, the Chromebook will restart. Follow the on-screen instructions to set up the device as a new user. Sign in with your Google account or create a new one.
Once the Chromebook is set up, take the opportunity to customize its settings according to your preferences. Modify the wallpaper, manage user accounts, and explore the different options available in the settings menu.
By following these steps and utilizing the Chromebook Recovery tool, you can unenroll your school Chromebook without developer mode. The Recovery tool allows you to restore the Chromebook to its factory settings, removing any school-related management configurations effectively. Remember to create the recovery USB drive and carefully follow the on-screen instructions during the Recovery process. Enjoy using your unenrolled Chromebook in a personalized manner!
Conclusion
Unenrolling a school Chromebook without using developer mode is a practical and straightforward process that allows you to regain control over your device and customize its settings according to your needs. In this guide, we have explored three alternative methods for unenrolling a school Chromebook: resetting the Chromebook, contacting the IT department, and using the Chromebook Recovery tool.
Firstly, resetting the Chromebook through a powerwash can effectively remove all user accounts and data, restoring the device to its factory settings. This method is simple to follow and requires no technical expertise.
Alternatively, reaching out to the school’s IT department is another viable option. By contacting them, you can seek their assistance in unenrolling the Chromebook, ensuring a smooth transition and expert guidance throughout the process.
Lastly, the Chromebook Recovery tool provides a comprehensive solution for unenrollment. By creating a recovery USB drive and following the step-by-step instructions for the Recovery process, you can restore the Chromebook to its factory settings without developer mode.
Remember to back up any important data before proceeding with any of these methods. Additionally, always ensure open communication with the school’s IT department to ensure a smooth unenrollment process.
By employing these alternative methods, you can unenroll your school Chromebook and personalize it to your liking. Whether you are a student, parent, or educator, regaining control allows you to utilize the device beyond the confines of the school’s management system. Enjoy the flexibility and customization options that come with an unenrolled Chromebook!