Introduction
Welcome to this guide on how to download an image on a Chromebook. Chromebooks are popular lightweight laptops that run on Google’s Chrome OS. While they provide a smooth and efficient browsing experience, you may find yourself wondering how to download images from the internet for personal use or to use in your projects. In this article, we will walk you through the simple steps to download an image on a Chromebook.
Chromebooks offer a user-friendly interface, making it easy for both beginners and seasoned users to navigate through the various features. With just a few clicks, you can quickly download and save any image you come across while browsing the web. Whether it’s a photo, a graphic, or any other type of image, the steps to download remain the same.
By the end of this guide, you will have a clear understanding of how to save images on your Chromebook. So, without further ado, let’s dive into the step-by-step process to download an image on your Chromebook.
Step 1: Open the image you want to download
The first step in downloading an image on a Chromebook is to locate and open the image you wish to download. This can be done by visiting a website that contains the image or by clicking on an image thumbnail within a search result. Whether the image is embedded in a webpage, displayed in a social media post, or part of a Google Image search, you’ll want to ensure it is fully visible on your screen before proceeding with the download.
To effectively open the desired image, follow these steps:
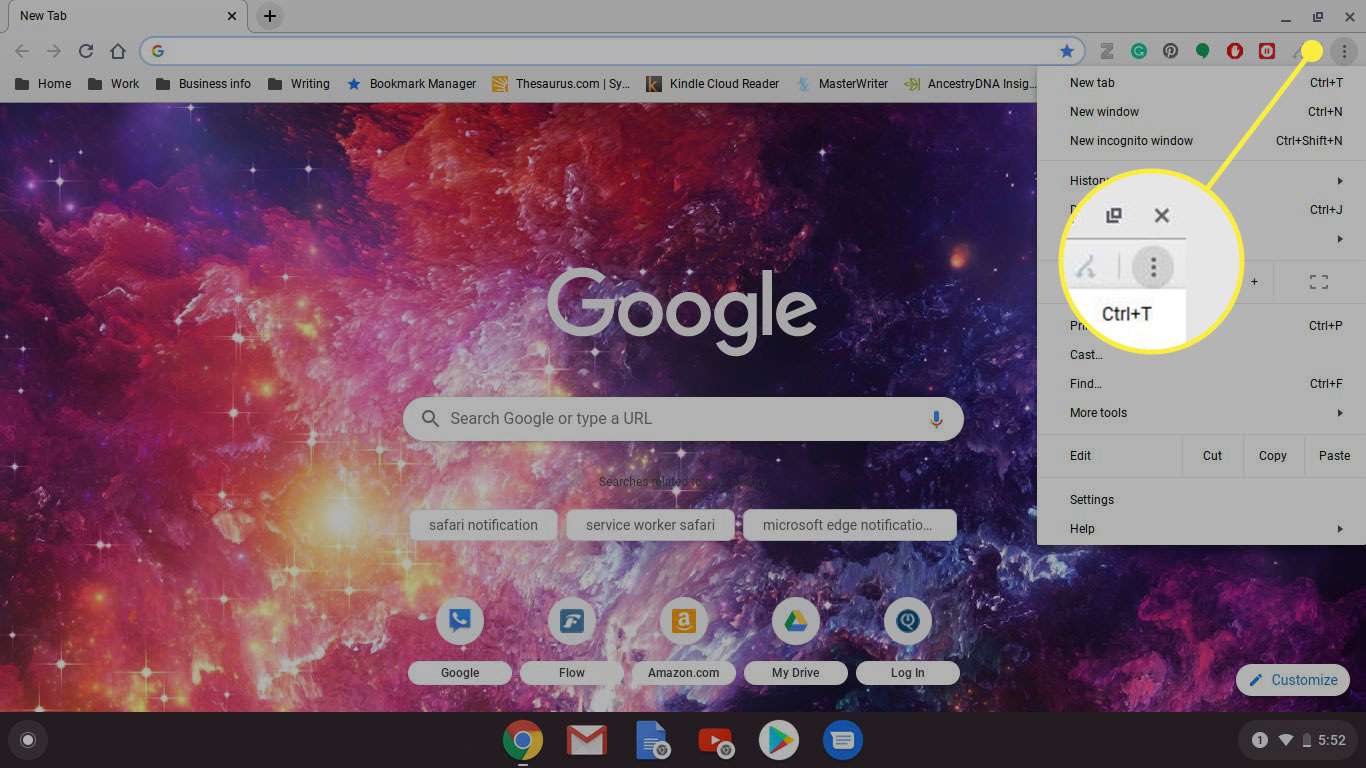
- Launch the Google Chrome browser on your Chromebook by clicking on the Chrome icon located on the taskbar.
- Type the URL of the website containing the image in the address bar and press Enter.
- Navigate to the page or post on the website where the image is located.
- Once you have located the image, click on it to open a larger view.
- Ensure that the image is fully loaded and visible on your screen. You may need to wait for the webpage to finish loading or zoom in on the image for better visibility.
Now that you have successfully opened the image on your Chromebook, you’re ready to proceed to the next step to download it. Please continue reading to learn how to save the image on your device.
Step 2: Right-click on the image
Once you have opened the image you want to download on your Chromebook, the next step is to right-click on the image. This will open a context menu that provides various options for interacting with the image, including the ability to save it to your device.
To right-click on the image, follow these steps:
- Place your cursor or stylus on the image you want to download.
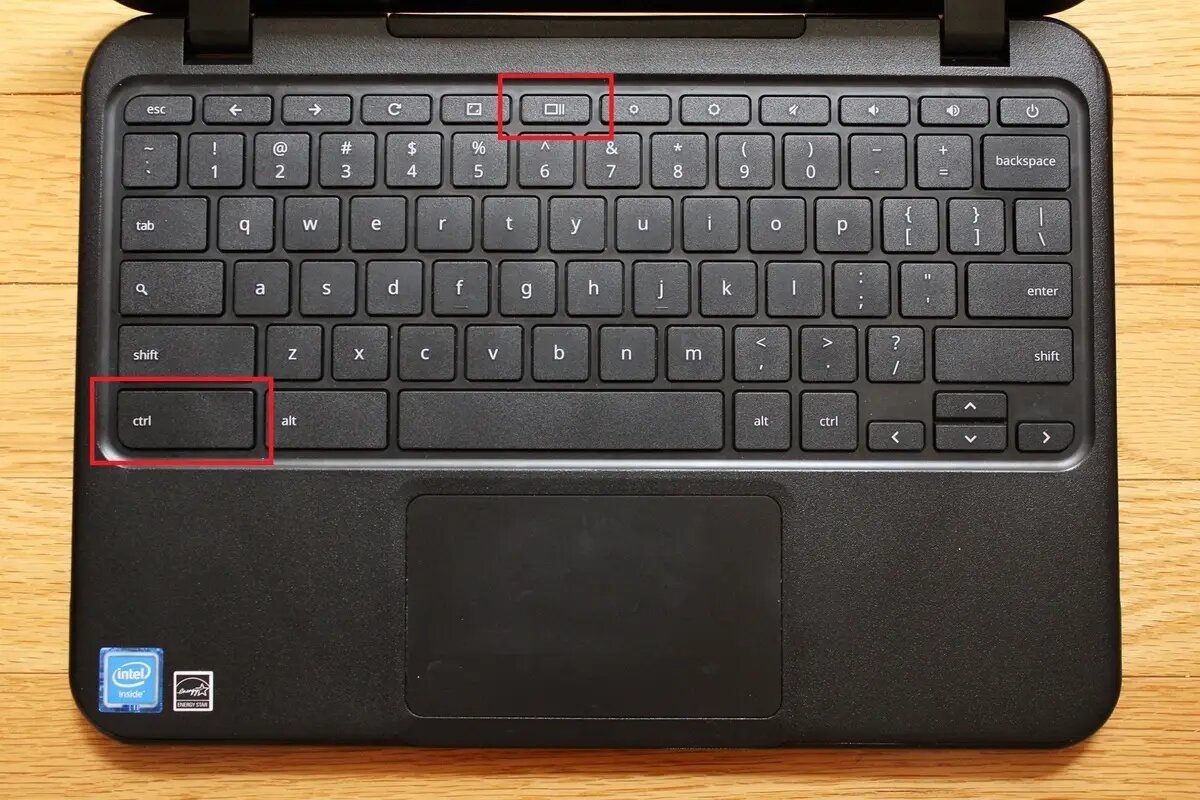
- Press and hold the Alt key on your Chromebook’s keyboard.
- While holding the Alt key, click the touchpad with one finger or press the primary button (usually the left button) on an external mouse.
Alternatively, if you are using a touch-enabled Chromebook, you can perform a long-press gesture on the image to simulate a right-click.
By right-clicking on the image, you have accessed the context menu that displays various options, one of which is the ability to save the image to your Chromebook. In the next step, we will explore how to proceed with saving the image
Step 3: Click on “Save image as”
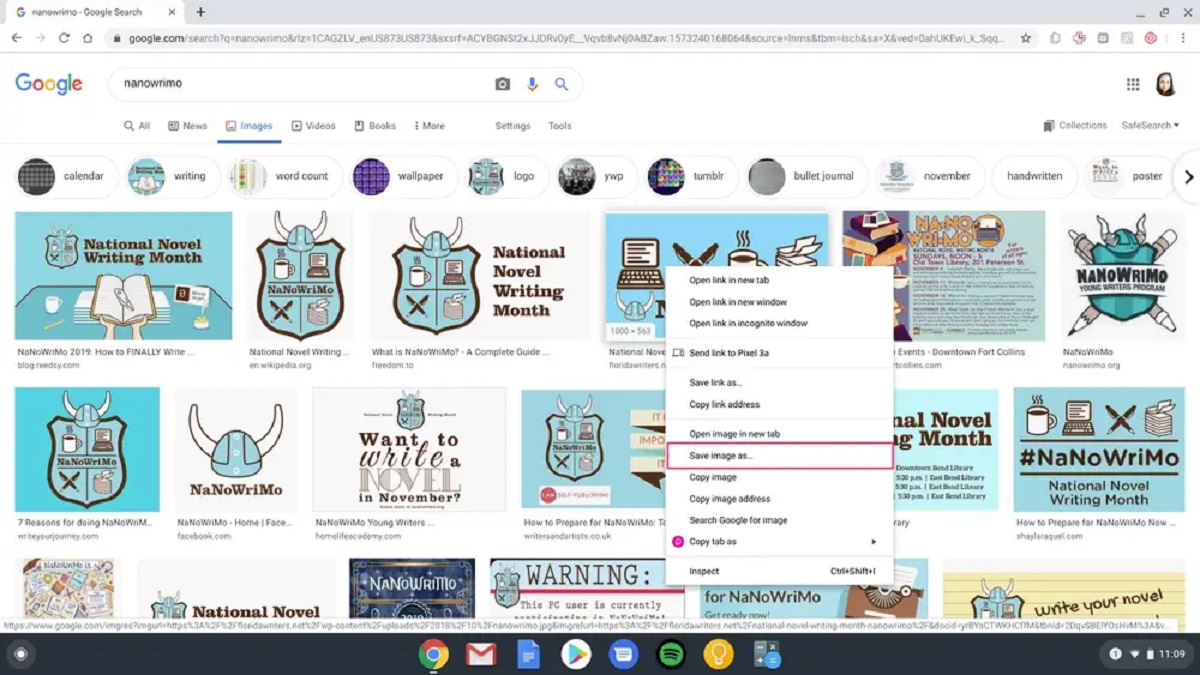
After right-clicking on the image, a context menu will appear on your Chromebook screen with several options. The next step is to click on the “Save image as” option. This will prompt the Chromebook to open the file saving dialog, where you can specify the location and name for the downloaded image.
To click on “Save image as”, follow these steps:
- Position your cursor or stylus on the “Save image as” option in the context menu.
- While the option is highlighted, release the Alt key to proceed with the click.
By clicking on “Save image as”, you are instructing your Chromebook to initiate the image downloading process.
It’s important to note that the wording and placement of the “Save image as” option may vary slightly depending on the version of Chrome OS you are using. However, the option will always be available in the context menu after right-clicking on an image.
Now that you have successfully clicked on “Save image as”, the file saving dialog will appear on your screen. Continue reading to learn how to proceed with the next step of choosing where to save the image on your Chromebook.
Step 4: Choose the location to save the image
After clicking on “Save image as”, the file saving dialog will appear on your Chromebook screen. This dialog allows you to select the location on your device where you want to save the downloaded image. You can choose to save it to a specific folder or directory, or you can opt to save it in the default Downloads folder.
To choose the location to save the image, follow these steps:
- Review the information displayed in the file saving dialog, such as the suggested file name and file type. You can edit the file name if desired.
- Click on the dropdown arrow next to the “Save as” field to see the save location options.
- If you want to save the image in the default Downloads folder, simply leave the “Save as” field as it is.
- If you prefer to save the image in a specific location, select the desired folder or directory from the list displayed in the dropdown menu.
Choosing the location to save the image gives you control over organizing your files and ensures easy access to them when needed. If you have a specific folder structure or project-related directories, it may be beneficial to save the image accordingly.
Once you have selected the location to save the image, you are ready to move on to the next step, which is the final confirmation to save the file on your Chromebook.
Step 5: Click on “Save”
With the location for saving the image chosen, the next step is to click on the “Save” button. This action will confirm and initiate the download process, saving the image to the specified location on your Chromebook.
To click on “Save”, follow these steps:
- Ensure that the desired location is selected in the file saving dialog.
- Position your cursor or stylus on the “Save” button.
- Click the touchpad with one finger, press the primary button on an external mouse, or tap the screen if you are using a touch-enabled Chromebook.
By clicking on “Save”, you are finalizing the image download and instructing your Chromebook to save the file to the chosen location. The download process may vary in duration depending on the size of the image and the speed of your internet connection.
It’s important to remain patient during the download process and avoid interrupting it to ensure a successful image download. Once the download is complete, you can proceed to the next step to access the downloaded image on your Chromebook.
Step 6: Access the downloaded image from the Downloads folder
After successfully saving the image on your Chromebook, the final step is to access the downloaded image from the Downloads folder. By default, all files downloaded on your Chromebook are stored in the Downloads folder, making it easy to locate and manage your downloaded content.
To access the downloaded image from the Downloads folder, follow these steps:
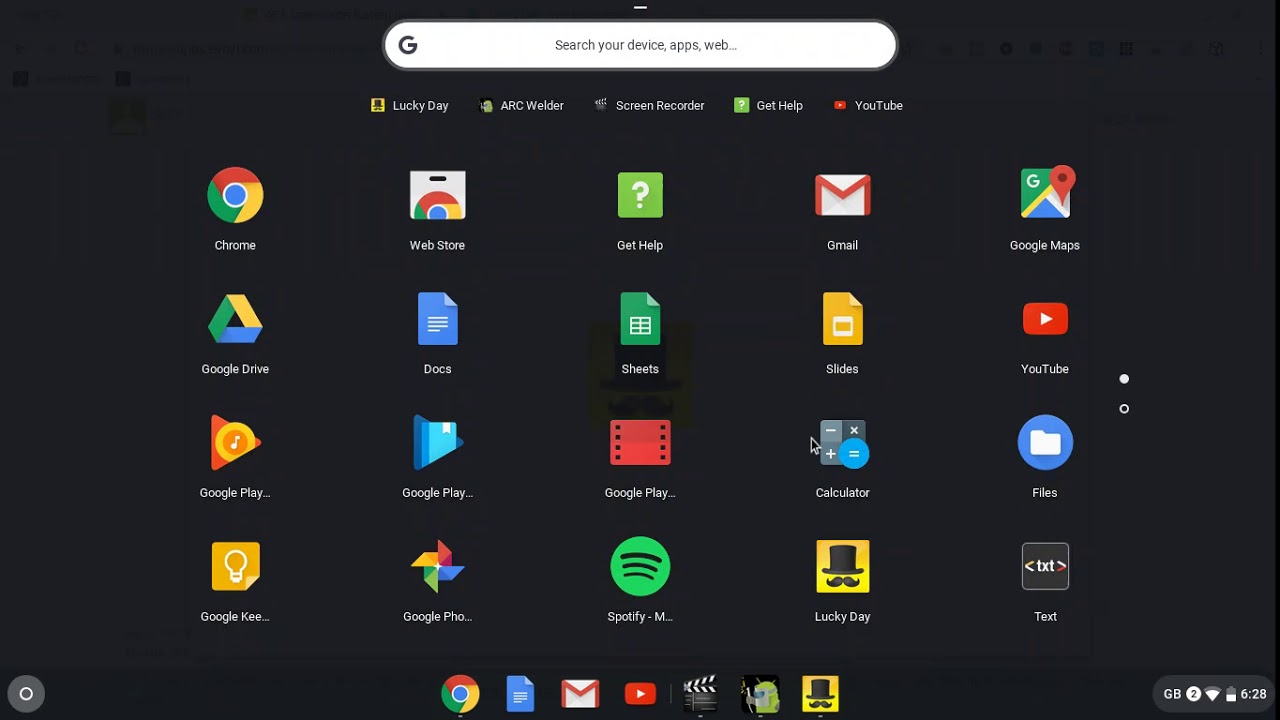
- Click on the “Launcher” button located in the bottom-left corner of your Chromebook’s screen. It is represented by a circular icon with a dot in the center.
- In the Launcher window, click on the “Files” app. This app is represented by a blue folder icon.
- In the Files app, you will see different options on the left-hand side. Click on “Downloads”.
- All your downloaded files, including the image you just saved, will be displayed in the main section of the Files app.
- Scroll through the list of files to locate the downloaded image. You can use the search bar at the top of the window to quickly find the image by typing its name or a keyword related to it.
- Once you find the downloaded image, you can open it to view or use it as needed. You can double click on the image file to open it with the default image viewer on your Chromebook.
By following these steps, you can easily access the image you downloaded from the Downloads folder on your Chromebook. From there, you can manipulate, edit, or share the image depending on your needs.
Conclusion
Downloading an image on a Chromebook is a simple and straightforward process that allows you to save images from the internet for personal use or to incorporate them into your projects. By following the step-by-step guide outlined in this article, you can easily navigate the process and have your desired image saved on your Chromebook in no time.
Starting with opening the image you want to download, right-clicking on the image, clicking on “Save image as”, choosing the location to save the image, and finally clicking on “Save”, you have successfully completed each step involved in the image downloading process. The image is saved in the Downloads folder, which can be easily accessed through the Files app.
Remember that the file saving dialog and options may slightly vary depending on your Chromebook’s version, but the underlying concepts remain the same. Although the steps are straightforward, it’s essential to remain patient during the download process to ensure a successful outcome.
Now armed with the knowledge of how to download images on your Chromebook, you can confidently explore the web, save images of interest, and utilize them for various purposes. Whether you’re a student, professional, or simply an enthusiast, being able to download images on your Chromebook can enhance your creativity and productivity.
So go ahead and start downloading those captivating images to make your Chromebook experience even more enjoyable! Happy image downloading!