Introduction
Welcome to this guide on how to download a photo from the Photos app on your Mac! Whether you want to save a cherished memory, share it with someone, or use it for a creative project, being able to download photos from the Photos app is a handy skill to have.
Mac users are fortunate to have the built-in Photos app, which provides a user-friendly interface for managing and organizing their photo collection. Not only does it store your precious moments in a centralized location, but it also offers several tools for editing and enhancing your photos.
While the Photos app is primarily designed for viewing and organizing your pictures, it also allows you to export and download photos to your Mac. This comes in handy when you want to create backups, edit photos with third-party software, or simply have a local copy of your images.
In this guide, we will walk you through the step-by-step process of downloading a photo from the Photos app on your Mac. Whether you are a beginner or have been using your Mac for years, this tutorial will help you efficiently save photos to your local storage.
So, without further ado, let’s dive into the instructions and learn how to download a photo from the Photos app on your Mac!
Step 1: Open the Photos app
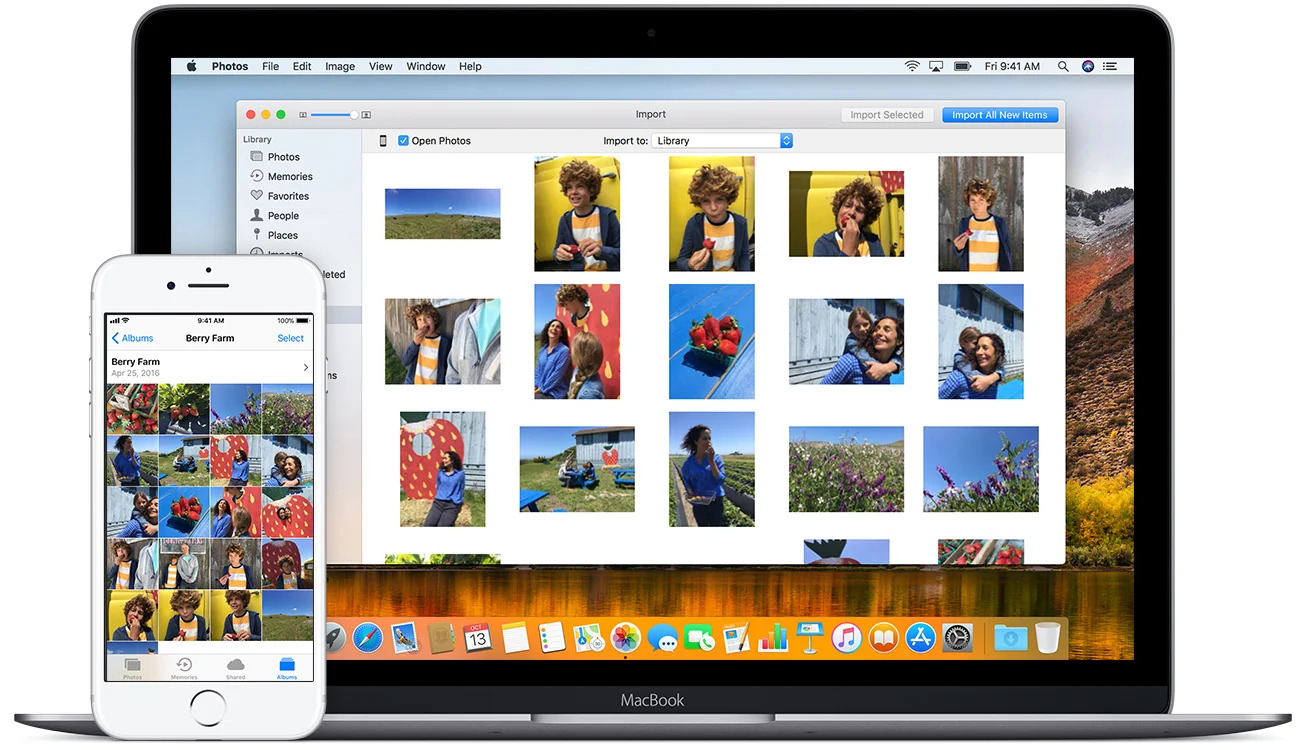
The first step to download a photo from the Photos app is to open the app itself. You can easily find the Photos app in your Mac’s Applications folder or by using the Finder search function.
Once you locate the Photos app, click on its icon to launch the application. The Photos app will open, and you’ll be greeted with a stunning visual display of your photo library.
If you have a large photo library, it may take a moment for the app to load and display all your photos. But don’t worry, once it’s loaded, you’ll have speedy access to all your precious memories.
After opening the Photos app, you can explore and navigate your photo library using the various features and options available. The app offers a user-friendly interface with easy-to-use controls, making it effortless to find the photo you want to download.
Whether your photos are organized in albums, categorized by date, or automatically sorted into Moments, you can browse through your collection using the sidebar on the left-hand side of the app.
To make it even easier, you can take advantage of the search bar at the top-right corner of the app. Simply type in keywords or even people’s names to quickly find the specific photo you’re looking for.
Now that you have successfully opened the Photos app and have a clear view of your photo library, let’s move on to the next step and learn how to select the photo you want to download.
Step 2: Select the photo you want to download
Once you have opened the Photos app on your Mac, the next step is to select the photo you want to download. The Photos app provides various methods to navigate and choose the specific photo you have in mind.
If you have organized your photos into albums, you can click on the desired album in the sidebar to view its contents. This allows for easy browsing and selection of photos within a specific category or theme.
Alternatively, you can use the Moments feature to view photos grouped by date and location. This can be particularly handy if you’re trying to locate a specific photo from a particular occasion or trip.
Once you locate the photo you want to download, simply click on it to select it. You will notice that the selected photo will be highlighted or bordered, indicating that it is ready for further actions.
If you’re not sure which photo to choose, you can use the zoom feature to get a closer look at the images within the Photos app. Simply use the pinch-to-zoom gesture on your trackpad or mouse scroll wheel to zoom in on the photo and examine it in more detail.
Additionally, the Photos app offers a convenient thumbnail grid view that allows you to see multiple photos at once. This can help you quickly scan through your collection and make the selection process easier.
Once you have selected the photo you want to download, you are one step closer to saving it to your Mac. In the next step, we will explore how to access the export options in the Photos app.
Step 3: Click the File menu
After selecting the photo you want to download in the Photos app, the next step is to access the export options. To do this, you need to click on the File menu located at the top-left corner of your Mac’s screen.
The File menu contains a range of useful commands and functions for interacting with files and performing actions within applications, including the Photos app. By clicking on the File menu, you can access the export feature that allows you to download the selected photo.
Once you click on the File menu, a dropdown menu will appear with a list of options. You will notice that the options available may vary depending on the context or application you are using.
In the case of the Photos app, you will find several useful commands in the File menu, including Import, Export, Create, and more. For now, we’re interested in the Export option as it will enable us to download the selected photo.
To proceed with exporting the photo, move your cursor to the File menu, and click on it. The dropdown menu will appear, revealing the available options. Now, let’s move on to the next step to learn how to choose the Export option from the File menu.
Step 4: Choose “Export”
After clicking on the File menu in the Photos app, a dropdown menu will appear with various options. To proceed with downloading the selected photo, you need to choose the “Export” option from the menu.
Locate and hover your cursor over the “Export” option in the dropdown menu. This will reveal a secondary menu that provides additional export-related choices.
The secondary menu will present you with different export formats, such as Export Unmodified Original, Export [number] Photos, and Export [number] [photo format]. The specific options may vary based on your current selection and the settings you have configured in the Photos app.
If you wish to download the photo as it is, without any modifications or enhancements, you can select the “Export Unmodified Original” option from the secondary menu. This will preserve the photo in its original format without any alterations.
On the other hand, if you have edited the selected photo and want to download it with your modifications intact, choose the “Export [number] Photos” option from the secondary menu. This will export the edited version of the photo, including any adjustments or enhancements you have made using the Photos app’s editing tools.
Furthermore, if you prefer to export the photo in a specific file format, such as JPEG or PNG, select the “Export [number] [photo format]” option from the secondary menu. This allows you to specify the desired format for the exported photo.
Once you have decided on the appropriate export option, click on it to proceed. This will initiate the export process and prepare the selected photo for downloading to your Mac.
In the next step, we will explore how to customize the export settings to suit your preferences before finalizing the download of the photo.
Step 5: Select the desired options for the exported photo
After choosing the “Export” option from the File menu in the Photos app, you will be presented with a window where you can customize the export settings for the selected photo. This step allows you to specify the desired options for the exported photo.
The export settings window provides several options to tailor the exported photo according to your preferences. These options include:
- File Format: You can choose the file format for the exported photo, such as JPEG, PNG, or TIFF. Consider the intended use of the photo and the level of quality and compression you desire when selecting the file format.
- Quality: If you opt for a format like JPEG, you can adjust the quality level of the exported photo. Higher quality results in a larger file size, while lower quality reduces the file size but may compromise image details.
- Size: You have the option to resize the photo during the export process. This can be useful if you want to reduce the dimensions of the photo or make it suitable for a specific purpose, such as online sharing or printing.
- Metadata: The export settings window also allows you to choose whether to include the metadata associated with the photo, such as the date, location, and camera information. Enabling this option can be helpful for organizing and categorizing the exported photo.
Take your time to go through these options and adjust them according to your preferences. Consider how you plan to use the exported photo and choose the settings that best suit your needs.
Once you have configured the desired options, click on the “Export” button in the bottom-right corner of the window to proceed to the next step.
In the next step, we will explore how to choose the destination folder on your Mac where the photo will be downloaded.
Step 6: Choose the destination folder
After customizing the export settings for the photo you want to download from the Photos app, the next step is to choose the destination folder where the photo will be saved on your Mac.
When you click the “Export” button in the export settings window, a new window will appear, allowing you to specify the location where you want to save the exported photo.
In this window, you have several options for choosing the destination folder:
- Choose Existing Folder: If you already have a specific folder on your Mac where you want to save the exported photo, you can navigate to it by clicking on the “Choose” button. This opens the standard file navigation dialog, allowing you to select the desired folder.
- Create New Folder: If you prefer to create a new folder specifically for the exported photo, you can click on the “New Folder” button in the destination folder window. This prompts you to enter a name for the new folder, which will be created within the selected location.
- Use Last Export Location: The Photos app also provides an option to use the last export location. This is useful if you want to save the exported photo in the same folder where you previously saved another photo.
Once you have chosen the destination folder or created a new one, click on the “Export” button in the bottom-right corner of the window to initiate the download of the photo to your specified location.
Keep in mind that it might take a moment for the photo to be exported, especially if it is a large file or you have chosen high-quality settings. The export progress will be displayed, and you can monitor the status in the Photos app.
In the next step, we will conclude the process and finalize the download of the photo to your Mac.
Step 7: Click “Export” to download the photo to your Mac
After selecting the destination folder for the exported photo in the Photos app, the final step is to click the “Export” button. This will initiate the download process and save the photo to your Mac.
Once you have confirmed the destination folder and reviewed the export settings, click on the “Export” button located in the bottom-right corner of the window.
The Photos app will start exporting the selected photo according to the specified settings. You will see a progress indicator to track the export process, and depending on the size of the photo and your Mac’s performance, it may take a few seconds to complete.
Once the export process is finished, you can navigate to the destination folder on your Mac to find the downloaded photo. Open the folder you selected, and you should find the photo waiting for you.
Congratulations! You have successfully downloaded the photo from the Photos app to your Mac. From here, you can further use the photo for various purposes, such as sharing it with others, editing it with different software, or simply having a local copy for safekeeping.
It is important to note that the original photo within the Photos app remains unaffected by the export process. The exported photo is a separate copy, which allows you to preserve your original photo library intact.
Now that you have learned how to download a photo from the Photos app on your Mac, you can confidently manage and store your photos with ease. Feel free to repeat the steps for downloading more photos whenever you need to!
Thank you for following along with this tutorial. We hope it has been helpful in mastering the process of downloading photos from the Photos app on your Mac.
Conclusion
Downloading a photo from the Photos app on your Mac is a straightforward task that allows you to save and access your precious memories with ease. By following the step-by-step guide outlined in this tutorial, you have learned the process of downloading photos from the Photos app, from opening the app to choosing the destination folder.
The Photos app provides a user-friendly interface, making it simple to navigate and select the desired photo for download. With the ability to customize export settings, you can choose the file format, quality, size, and metadata options that best suit your needs.
Remember to choose the appropriate destination folder for the exported photo, whether it is an existing folder, a newly created folder, or the last export location. This ensures that you can easily locate and access the downloaded photo on your Mac.
By downloading photos from the Photos app, you can create backups, edit them using various software, or simply have a local copy for safekeeping. It gives you the flexibility to use your photos in different ways and share them with others effortlessly.
We hope this guide has equipped you with the necessary knowledge and confidence to download photos from the Photos app on your Mac. With these skills, you can unlock the full potential of your photo library and enjoy the convenience of having your cherished memories at your fingertips.
So, the next time you want to download a photo, remember the steps: open the Photos app, select the photo, click the File menu, choose “Export,” select the desired options, choose the destination folder, and click “Export” to download the photo.
Thank you for following along, and happy downloading!