Introduction
Chromebook is a popular choice for many users due to its simplicity, speed, and security. However, one common question that arises among Chromebook users is how to download images. Whether you need to save an image for a project, use it as a wallpaper, or simply want to collect pictures, knowing the different methods to download images on a Chromebook can be quite useful.
In this article, we will walk you through various methods that you can use to download images on your Chromebook. Whether you prefer a direct approach or utilizing third-party tools, we have got you covered. So, let’s dive in and explore the different ways to save images on your Chromebook.
Before we begin, it’s important to note that the methods mentioned in this article apply to Chromebooks running Chrome OS. While some methods may also work on other platforms, it’s best to refer to the specific instructions provided for your device.
Now, let’s get started with the first method.
Method 1: Saving Images Directly
The simplest and most straightforward method to download images on a Chromebook is by saving them directly from the web page. Follow these steps:
- Navigate to the web page containing the image you want to download. You can use any web browser on your Chromebook, such as Google Chrome.
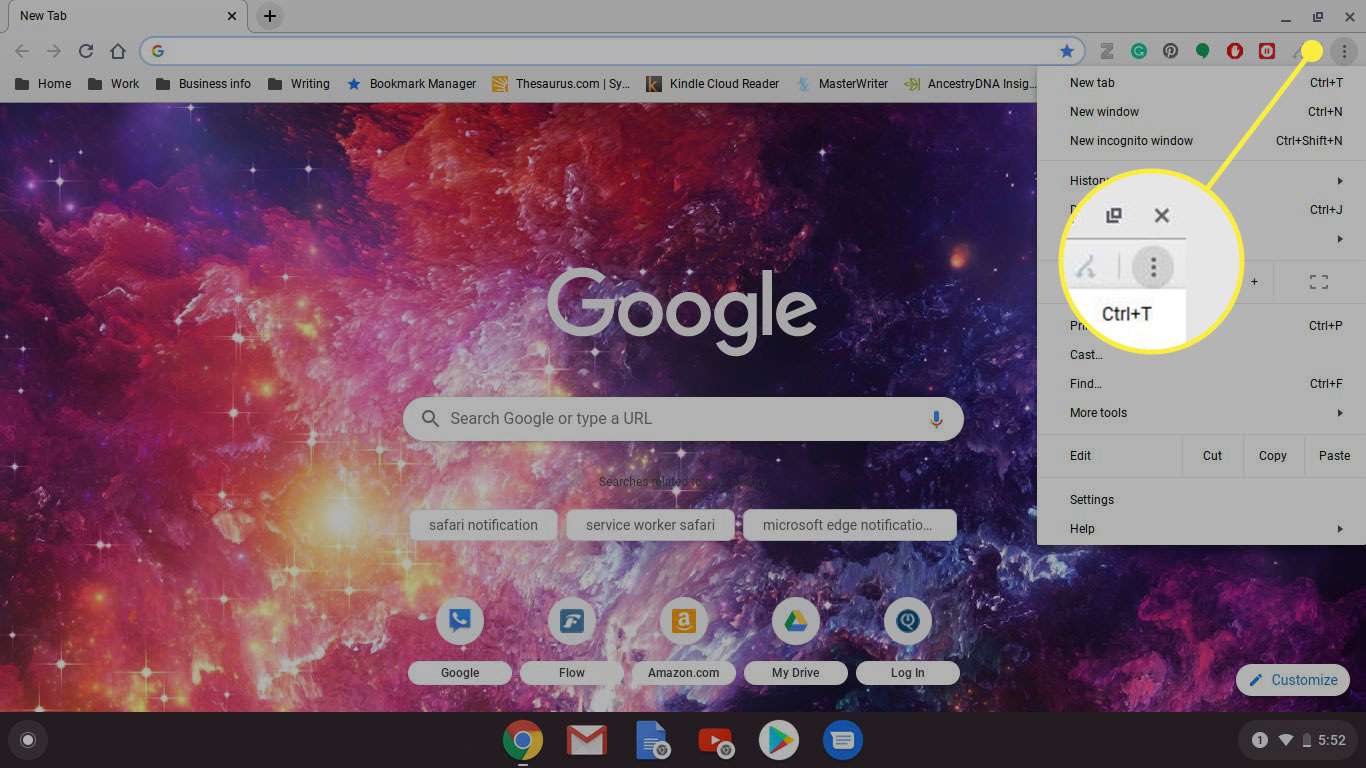
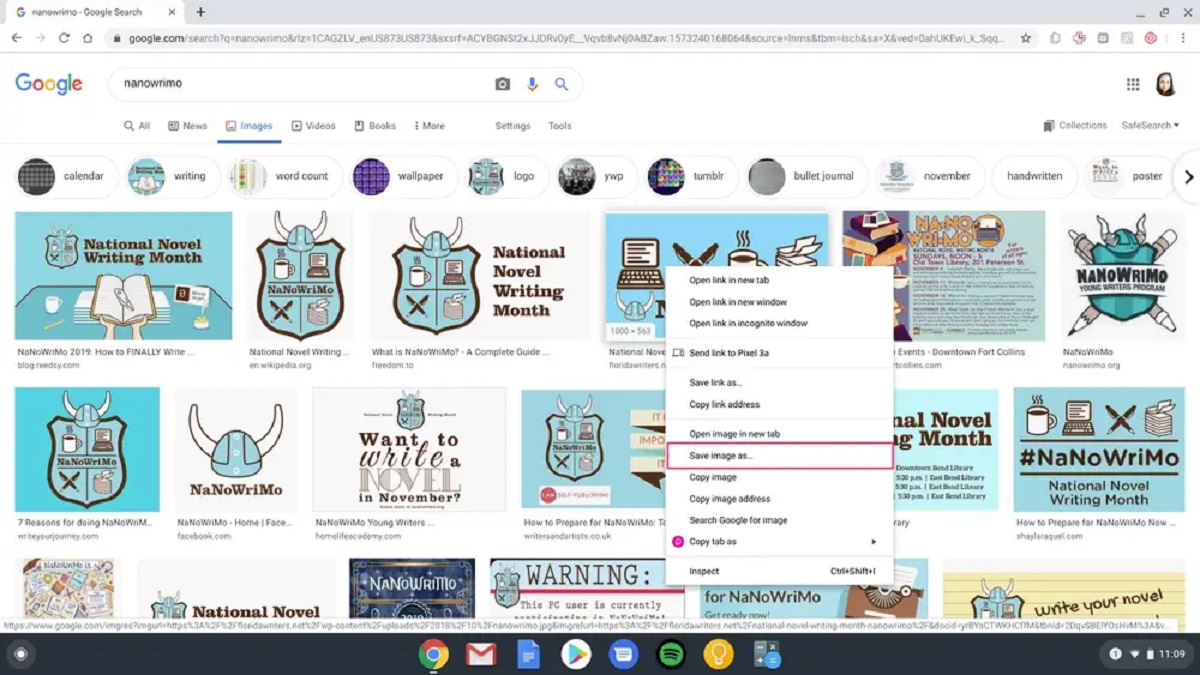
- Once you have located the image, right-click on it. A context menu will appear.
- From the context menu, select the “Save image as” option. This will open a file browser window.
- In the file browser window, choose the location where you want to save the image. You can select the default “Downloads” folder or choose a specific folder of your choice.
- Finally, click on the “Save” button to download the image to your selected location.
That’s it! You have successfully downloaded the image directly to your Chromebook. You can now access the image from the folder you saved it in, such as the “Downloads” folder.
This method allows you to quickly save images without the need for any additional tools or extensions. It’s a convenient option for downloading single images from web pages.
Note: Keep in mind that this method may not work for images that are protected or have restricted access. In such cases, you may need to explore alternative methods or contact the website owner for permission.
Method 2: Using the “Save Image As” Option
Another way to download images on a Chromebook is by using the “Save Image As” option. This method is especially useful if you want more control over the file name and the location where the image is saved. Here’s how to do it:
- Visit the webpage that contains the image you want to download.
- Right-click on the image to bring up the context menu.
- From the context menu, click on the “Save image as” option. This will open a dialog box.
- In the dialog box, you can choose the destination folder where you would like to save the image. You can also change the file name to your preference.
- Click on the “Save” button to save the image to your selected folder.
By using the “Save Image As” option, you have the flexibility to specify the folder and customize the file name according to your preferences. This method is ideal when you want to organize your saved images in a specific way or if you need to rename the image before saving it.
Keep in mind that the steps may vary slightly depending on the web browser you are using on your Chromebook. However, the general process remains the same across most browsers.
Now that you know how to use the “Save Image As” option, you can easily download and save images with greater control over the file location and name.
Method 3: Using the Right-Click Context Menu
On a Chromebook, you can also use the right-click context menu to download images quickly. This method is especially convenient when you want to save multiple images from a webpage. Here’s how you can do it:
- Open the web page that contains the images you wish to download.
- Position your cursor over the image and right-click on it. A context menu will appear.
- From the context menu, select the “Save image” or “Save image as” option. The wording may differ depending on your Chromebook’s setup.
- The image will be automatically saved to the “Downloads” folder or the default location for file downloads on your device.
Using the right-click context menu to save images is a time-saving method that allows you to quickly download multiple images without the need to open each image individually. It’s particularly useful when browsing image galleries or when you need to download several images for a project.
Remember to check the “Downloads” folder or the location where your files are saved to access the downloaded images.
This method works well for most web pages, but it may not be applicable for websites that have disabled the right-click option for image protection or copyright reasons. In such cases, you can try alternative methods or seek permission from the website owner before downloading the images.
Now that you know how to use the right-click context menu to download images, you can easily save multiple images with just a few clicks.
Method 4: Using a Third-Party Image Downloader Extension
If you frequently download images on your Chromebook and require advanced features and functionality, using a third-party image downloader extension can be a great option. These extensions offer additional features, such as bulk image downloading, image filtering, and customization options. Here’s how you can use a third-party image downloader extension:
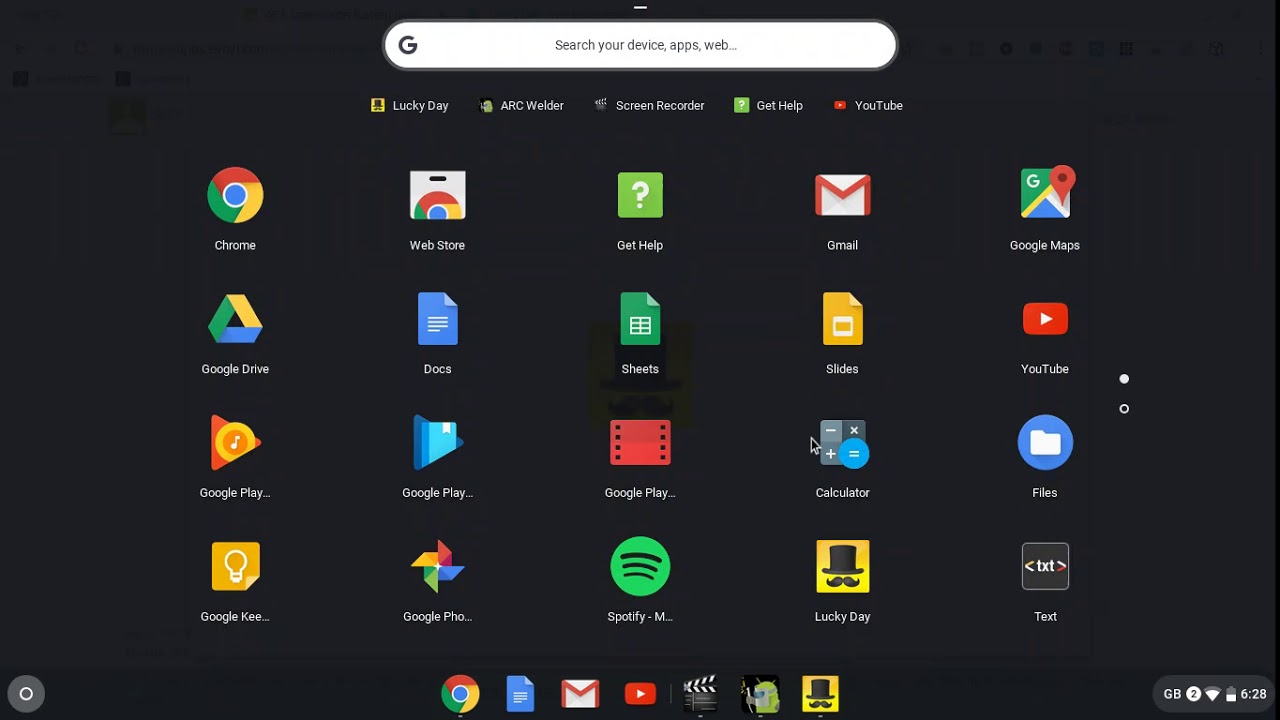
- Open the Chrome Web Store on your Chromebook.
- Search for an image downloader extension of your choice. Some popular options include “Image Downloader”, “Bulk Image Downloader”, and “Download All Images”.
- Choose the extension that suits your needs and click on the “Add to Chrome” button to install it.
- Once the extension is installed, you will see its icon added to the Chrome toolbar.
- Visit the webpage that contains the images you want to download.
- Click on the image downloader extension’s icon in the Chrome toolbar to open the extension’s interface.
- Follow the instructions provided by the extension to download the images. This may include selecting specific images, choosing download options, or applying filters.
- Once you have configured the settings, click on the “Download” or similar button to start the image downloading process.
Using a third-party image downloader extension offers a more robust and feature-rich solution for downloading images on your Chromebook. These tools provide enhanced functionality, making it easier to save multiple images, filter results, and tailor the download process according to your preferences.
Keep in mind that while third-party image downloader extensions can be useful, it’s important to research and choose reliable extensions from trusted sources. Also, note that some extensions may require additional permissions to access and download images from web pages.
Now that you are aware of using a third-party image downloader extension, you can explore the diverse range of capabilities that these extensions offer to simplify and optimize your image downloading process.
Conclusion
Downloading images on a Chromebook is a simple and effective process. By utilizing different methods, you can easily save images from web pages for various purposes such as presentations, projects, or personal use.
In this article, we discussed four methods for downloading images on a Chromebook. First, the direct method allows you to save images directly from the web page by using the “Save Image As” option or the right-click context menu. These methods are convenient for quickly saving individual images.
We then explored using a third-party image downloader extension, which offers advanced features like bulk downloading, image filtering, and customization options. These extensions provide a more comprehensive solution for users who frequently download images or require additional functionalities.
Remember that some websites may have restrictions in place, preventing you from directly saving images or using the right-click context menu. In such cases, you can explore alternative methods or seek permission from the website owner to download the images.
Overall, having a variety of methods at your disposal allows you to choose the most suitable approach based on your specific needs. Whether it’s a single image or multiple images, Chromebook users can effortlessly download and save images to enhance their browsing experience.
Now that you are familiar with the different methods, you can confidently download images on your Chromebook and make the most out of the visual content available on the web.