Introduction
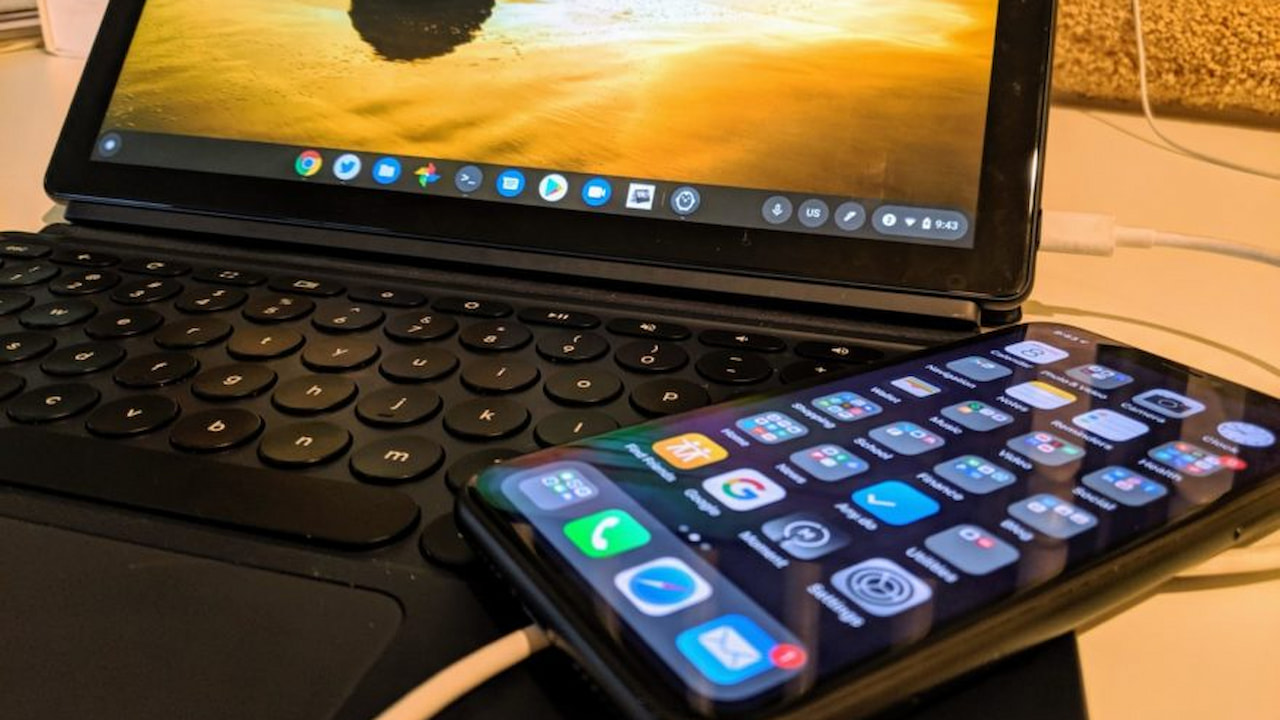
Welcome to this guide on how to download pictures from your iPhone to a Chromebook! If you own both an iPhone and a Chromebook, you may have wondered how to transfer your photos from your iPhone to your Chromebook for editing, archiving, or simply for safekeeping. While it may seem like a daunting task at first, there are various methods you can use to accomplish this seamlessly.
Due to the different operating systems of iOS and Chrome OS, transferring files between an iPhone and a Chromebook can be a bit of a challenge. However, with the right approach, you can easily transfer your photos and enjoy them on your Chromebook.
In this guide, we will explore three different methods that you can use to download pictures from your iPhone to your Chromebook. The first method involves using Google Drive, a popular cloud storage service. The second method utilizes the Google Photos app, which allows for seamless syncing and backup of your photos. Lastly, we will cover the traditional method of using a USB cable and the built-in file manager on your Chromebook. Regardless of your preferred method, you’ll be able to transfer your photos and access them on your Chromebook in no time.
Before we dive into the methods, it’s important to note that each method has its own advantages and limitations. Therefore, it is recommended to choose the method that best suits your needs and preferences.
Method 1: Using Google Drive
Google Drive is a cloud storage service offered by Google that allows users to store and share files online. It also provides a convenient way to transfer photos from your iPhone to your Chromebook. To use Google Drive for this purpose, follow the steps below:
- On your iPhone, open the App Store and search for the Google Drive app. Download and install the app on your device.
- After installing the Google Drive app, open it and sign in with your Google account. If you don’t have a Google account, you can create one for free.
- In the Google Drive app, tap the “+” button to create a new folder where you will store your photos. Give the folder a meaningful name, such as “iPhone Photos.”
- Next, go to your iPhone’s Photos app and select the photos you want to transfer. Tap the share button and choose the option to save the photos to Google Drive.
- The selected photos will now be uploaded to the folder you created on Google Drive. Wait for the upload to complete.
- Once the upload is finished, grab your Chromebook and open the Google Drive website. Sign in with the same Google account you used on your iPhone.
- Navigate to the folder where you uploaded your photos. You should now see all the transferred photos listed in the folder.
- To download the photos to your Chromebook, select the desired photos and click on the download button. The photos will be saved to your Chromebook’s local storage.
Using Google Drive to transfer photos from your iPhone to your Chromebook offers the advantage of cloud storage, making your photos accessible from any device with an internet connection. However, keep in mind that the amount of free storage on Google Drive is limited, so you may need to upgrade to a paid plan if you have a large number of photos to transfer.
Method 2: Using Google Photos App
The Google Photos app is another convenient way to transfer photos from your iPhone to your Chromebook. Google Photos allows for seamless syncing and backup of your photos across devices. Here’s how you can use the Google Photos app to transfer your iPhone photos:
- On your iPhone, go to the App Store and search for the Google Photos app. Download and install the app on your device.
- Open the Google Photos app and sign in with your Google account. If you don’t have a Google account, create one for free.
- Once you’re signed in, the app will prompt you to enable automatic backup of your iPhone photos to Google Photos. Enable this option to ensure that your photos are backed up and synced to your Google account.
- Wait for the initial backup to complete. Depending on the number of photos you have, this may take some time.
- On your Chromebook, open a web browser and go to the Google Photos website. Sign in with the same Google account you used on your iPhone.
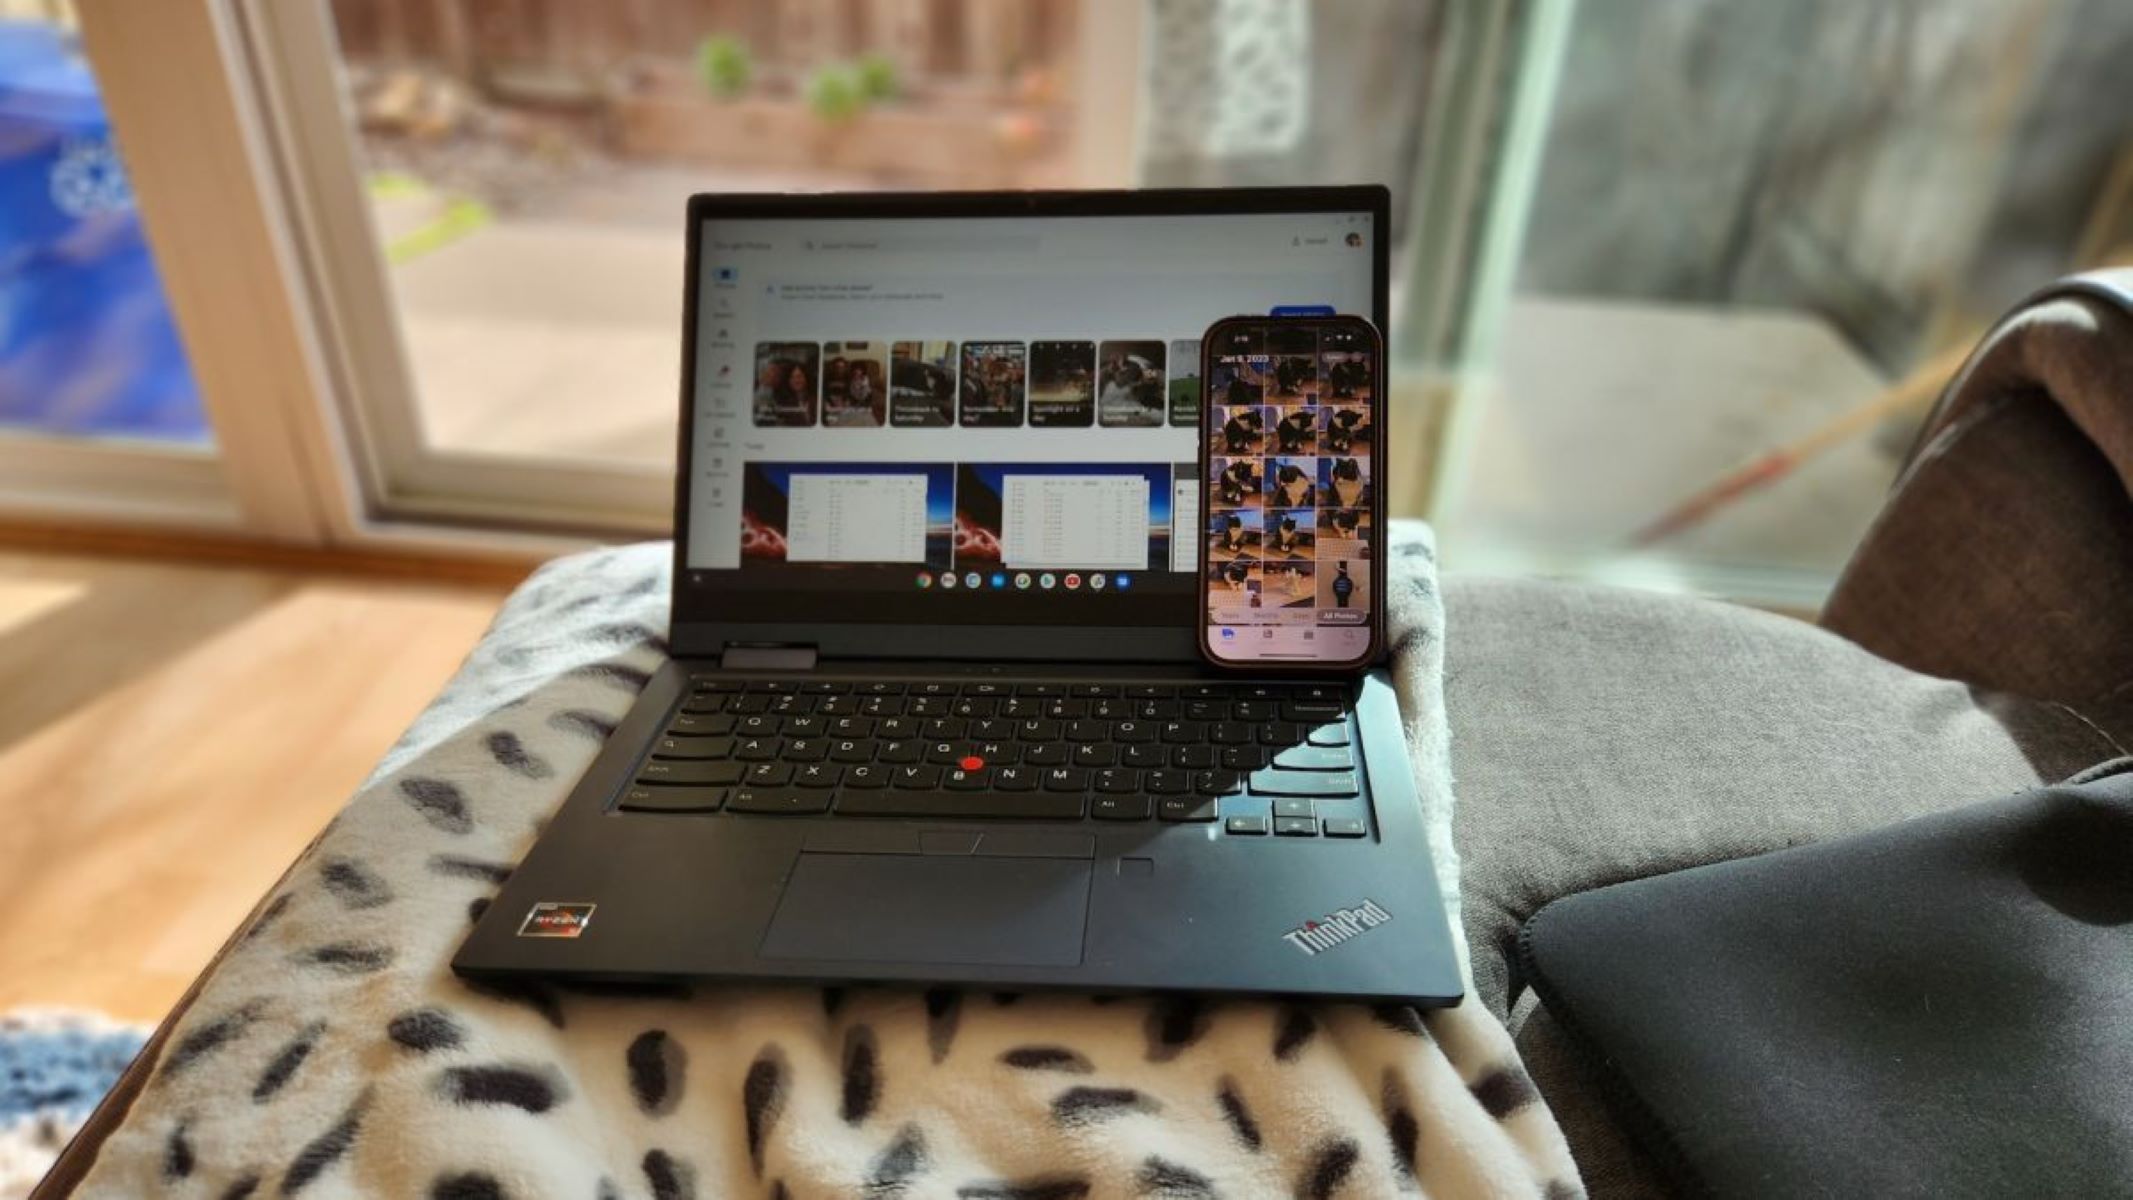
- You should now see all your iPhone photos listed in the Google Photos web interface. You can browse through your photos and even edit them using the built-in editing tools.
- To download your photos to your Chromebook, select the photos you want to download and click on the download button. The selected photos will be saved to your Chromebook’s local storage.
Using the Google Photos app provides a seamless and automatic way to transfer and access your iPhone photos on your Chromebook. It eliminates the need for manual transfers and ensures that your photos are safely backed up and accessible across all your devices. However, keep in mind that the free storage provided by Google Photos is limited. If you have a large number of photos, you may need to upgrade to a paid plan to accommodate your storage needs.
Method 3: Using USB Cable and File Manager
If you prefer a more traditional method, you can transfer photos from your iPhone to your Chromebook using a USB cable and the built-in file manager. Here’s how you can do it:
- Connect your iPhone to your Chromebook using a USB cable.
- On your iPhone, you may see a prompt asking if you trust the computer. Tap “Trust” to establish a connection between your devices.
- On your Chromebook, open the Files app. You can usually find it in your app launcher or the taskbar.
- In the Files app, you should see your iPhone listed under “Devices” or “External Media.” Click on your iPhone to access its contents.
- Navigate to the “DCIM” folder on your iPhone. This is where your photos are stored.
- Select the photos you want to transfer to your Chromebook. You can do this by holding down the “Ctrl” key and clicking on each photo.
- Once you’ve selected the photos, right-click on one of them and choose the “Copy” option.
- Navigate to the location on your Chromebook where you want to save the photos. Right-click and choose the “Paste” option to transfer the photos from your iPhone to your Chromebook.
Using a USB cable and the file manager on your Chromebook provides a direct and reliable method to transfer photos from your iPhone. It allows for manual control over the transfer process, and you can choose exactly which photos to transfer. However, keep in mind that this method may be slower compared to using cloud-based services, and it requires a physical connection between your devices.
Conclusion
Transferring pictures from your iPhone to your Chromebook doesn’t have to be a complicated task. With the methods mentioned in this guide, you can easily download and access your photos on your Chromebook. Whether you choose to use Google Drive, the Google Photos app, or a USB cable and the file manager, each method offers its own advantages and limitations.
If you prefer the convenience of cloud storage, using Google Drive or the Google Photos app is the way to go. These methods allow for seamless syncing and accessibility across devices, ensuring that your photos are safely backed up in the cloud. However, keep in mind that the free storage has limitations, and you may need to upgrade to a paid plan if you have a large number of photos.
On the other hand, if you prefer a more traditional approach or want more control over the transfer process, using a USB cable and the file manager on your Chromebook is a reliable option. This method allows for manual selection of photos and direct transfer without relying on an internet connection. However, it may be slower compared to cloud-based solutions.
Ultimately, the choice of method depends on your preferences, requirements, and the number of photos you need to transfer. Feel free to explore and experiment with different methods to find the one that works best for you. Now that you have learned how to download pictures from your iPhone to your Chromebook, you can easily enjoy and edit your photos on the larger screen of your Chromebook.


