Introduction
So, you have a Chromebook and you’re wondering how to download Microsoft Office on it. While Chromebooks are known for their simplicity, versatility, and cloud-based nature, downloading and using Microsoft Office applications might seem like a challenge. Thankfully, there is a straightforward method to get Microsoft Office up and running on your Chromebook.
Microsoft Office is a popular suite of productivity applications that includes Word, Excel, PowerPoint, and more. These apps are widely used for creating documents, working on spreadsheets, designing presentations, and other essential tasks. While Chromebooks come with their own suite of productivity tools, accessing Microsoft Office can provide you with additional features and compatibility with files created in the Microsoft Office ecosystem.
In this guide, we will walk you through the steps to download Microsoft Office on your Chromebook. Whether you need to use Word for typing up documents, Excel for managing budgets, or PowerPoint for creating engaging presentations, we’ve got you covered. With a few simple steps, you’ll be able to install and start using Microsoft Office on your Chromebook in no time.
It’s important to note that to download Microsoft Office on your Chromebook, you will need a compatible device and an active Microsoft account. Once you have those in place, you’ll be ready to follow the steps outlined in this guide. So, let’s dive in and get started with the process of downloading and installing Microsoft Office on your Chromebook.
Step 1: Check Your Chromebook Compatibility
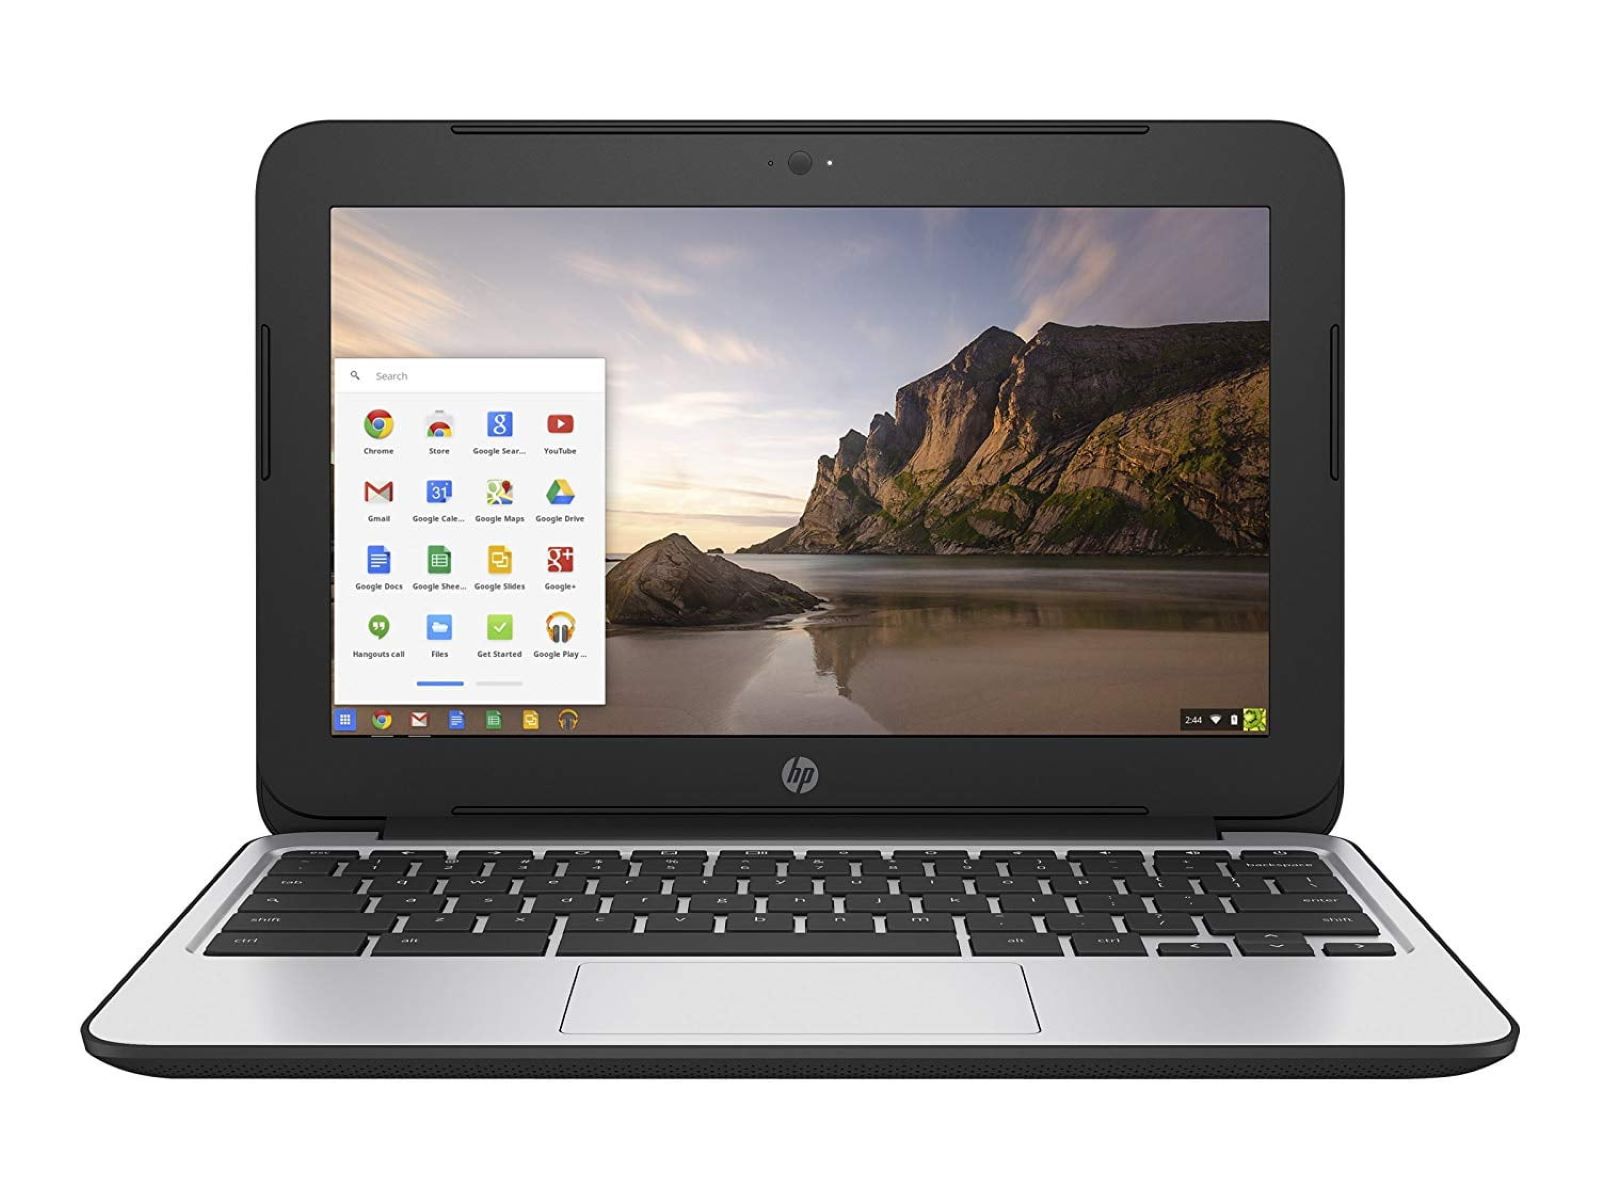
Before you proceed with downloading Microsoft Office on your Chromebook, it’s essential to ensure that your device is compatible. While most modern Chromebooks support the installation of Android apps, including Microsoft Office, there are a few models that may not be able to run these applications.
To check if your Chromebook is compatible, follow these simple steps:
- Open your Chromebook and click on the account picture located in the bottom-right corner of the screen.
- A menu will appear, displaying various options. Click on the “Settings” option.
- In the Settings menu, scroll down and click on “Apps.”
- Look for the section titled “Google Play Store” and click on the “Turn on” button if it’s not already enabled.
- If your device is compatible with the Google Play Store, you should see a message stating “Google Play Store is enabled.”
If your Chromebook does not support the Google Play Store, it means that you won’t be able to directly download Microsoft Office applications from the Play Store. However, you can still access Microsoft Office web apps through the web browser on your Chromebook. These web apps provide similar functionality to the desktop versions of Microsoft Office, and you can use them to create, edit, and view documents.
If your Chromebook is compatible with the Google Play Store, you can proceed to the next step to enable it and start the process of installing Microsoft Office apps on your device.
Step 2: Enable Google Play Store
Before you can download Microsoft Office applications on your Chromebook, you need to enable the Google Play Store. The Google Play Store is the official app store for Android devices, and it allows you to download and install a wide range of applications, including Microsoft Office.
To enable the Google Play Store on your Chromebook, follow these steps:
- Click on the account picture located in the bottom-right corner of the screen.
- From the menu that appears, select “Settings.”
- In the Settings menu, scroll down and click on “Apps.”
- Look for the section titled “Google Play Store” and click on “Manage Android preferences.”
- This will open the Android settings menu. In the Android settings, click on “Apps & Notifications.”
- In the Apps & Notifications menu, click on “Google Play Store.”
- Click on the “Enable” button to enable the Google Play Store on your Chromebook.
- You may be prompted to agree to the terms and conditions. Read through them and click on “Accept” if you agree.
Once you have successfully enabled the Google Play Store on your Chromebook, you will have access to a vast library of Android apps, including Microsoft Office. This step is crucial as it allows you to download and install the Microsoft Office suite directly on your device.
Now that the Google Play Store is enabled on your Chromebook, let’s move on to the next step and start installing the Microsoft Office applications you need.
Step 3: Install Microsoft Office Apps
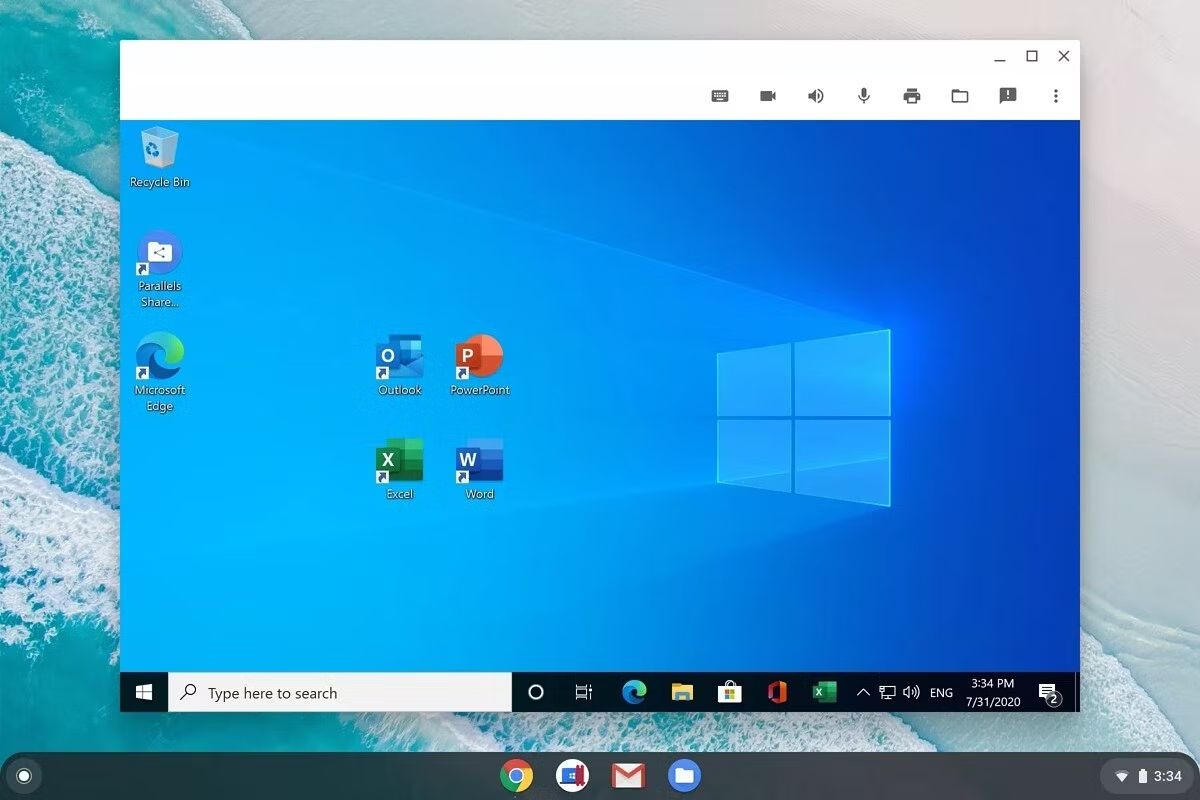
With the Google Play Store enabled on your Chromebook, you can now proceed to install Microsoft Office apps. The Microsoft Office suite includes popular applications such as Word, Excel, PowerPoint, and more. Follow the steps below to install the Microsoft Office apps on your Chromebook:
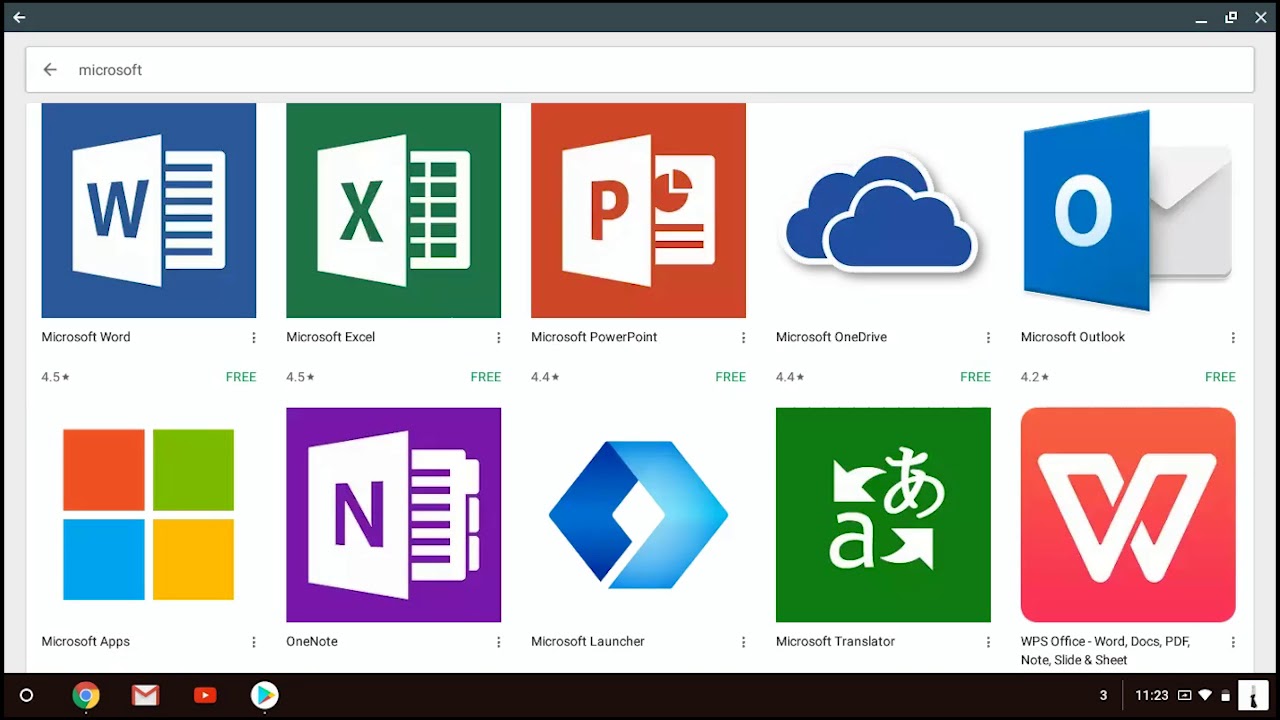
- Open the Google Play Store from your Chromebook’s app drawer or by clicking on the Play Store icon on the shelf.
- In the search bar at the top of the Play Store, type in the name of the Microsoft Office app you want to install (e.g., “Word,” “Excel,” “PowerPoint”).
- From the search results, click on the app you want to install.
- Click on the “Install” button to begin the installation process.
- Wait for the app to download and install on your Chromebook. The installation time may vary depending on your internet connection speed.
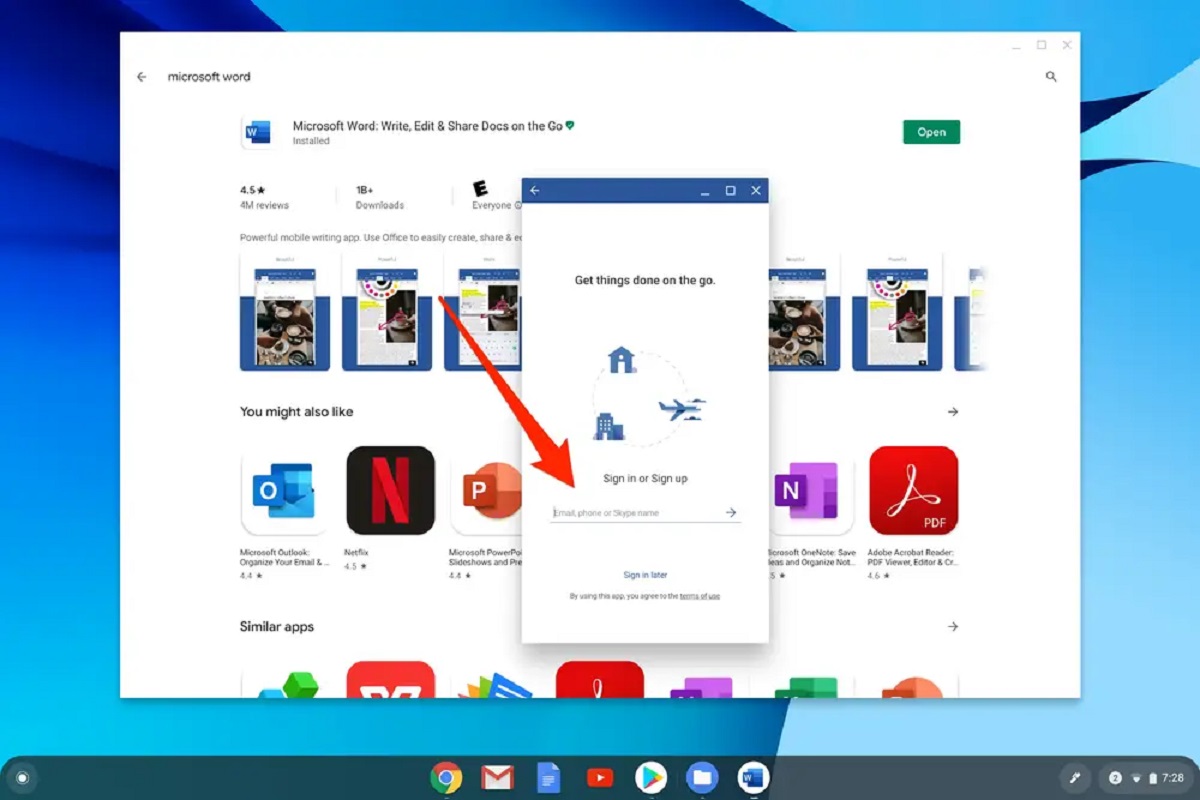
- Once the installation is complete, you will see an “Open” button. Click on it to launch the Microsoft Office app.
- Follow the setup prompts if prompted, and sign in with your Microsoft account to activate and access all the features of the app.
Repeat these steps for each Microsoft Office app you want to install on your Chromebook. Whether you need to write a document in Word, create a spreadsheet in Excel, or design a presentation in PowerPoint, having these apps installed on your Chromebook will allow you to do so with ease.
It’s important to note that while the basic functionalities of Microsoft Office apps are available for free on Chromebooks, certain advanced features and functionalities may require a subscription to Microsoft 365. If you already have a Microsoft 365 subscription, you can sign in with your account during the setup process to access all the premium features.
Now that you have successfully installed the Microsoft Office apps on your Chromebook, let’s move on to the next step and learn how to sign in with your Microsoft account.
Step 4: Sign in with Microsoft Account
To fully utilize the features and capabilities of Microsoft Office on your Chromebook, it’s important to sign in with your Microsoft account. Signing in allows you to access cloud storage, sync settings and preferences, and collaborate with others in real-time. Follow these steps to sign in with your Microsoft account:
- Open any of the Microsoft Office apps you installed on your Chromebook (e.g., Word, Excel, PowerPoint).
- You will be prompted with a welcome screen. Click on the “Sign In” button.
- Enter your Microsoft account email address and click “Next.”
- Enter your password and click “Sign In.”
- If you have two-factor authentication enabled, you may be prompted to enter a verification code sent to your registered email or phone number.
- Once signed in, you will have access to your saved files, personalized settings, and other Microsoft Office features tied to your account.
By signing in with your Microsoft account, you can take advantage of features like auto-saving your documents, accessing your files across devices, and collaborating with others in real-time. Your documents will be stored securely in the cloud, allowing you to pick up where you left off on any device.
If you don’t have a Microsoft account, you can create one by visiting the Microsoft account creation page. Simply follow the instructions to set up your account, and then use that account to sign in to the Microsoft Office apps on your Chromebook.
Now that you have successfully signed in with your Microsoft account, you are ready to start using Microsoft Office on your Chromebook. Let’s move on to the final step and explore how to make the most of Microsoft Office on your Chromebook.
Step 5: Start Using Microsoft Office on Chromebook
Now that you have successfully installed and signed in with your Microsoft account, you can start using Microsoft Office on your Chromebook. Whether you want to create documents, crunch numbers in spreadsheets, or make visually captivating presentations, here’s how you can make the most of Microsoft Office on your Chromebook:
- Create and Edit Documents: With Microsoft Word, you can easily create and edit documents. Use the familiar interface and powerful features to format text, add images, create tables, and more. Save your documents to the cloud or locally on your Chromebook.
- Work with Spreadsheets: Excel on your Chromebook allows you to handle data and perform calculations. Use formulas, create charts, and organize data in a visually appealing way. Excel also offers collaboration features, making it easy to work with others on the same spreadsheet.
- Create Presentations: PowerPoint enables you to design professional presentations with ease. Add slides, apply templates, insert multimedia elements, and deliver engaging presentations. You can even rehearse timings and use presenter view to enhance your delivery.
- Collaborate in Real-time: Take advantage of the collaboration features in Microsoft Office to work with others simultaneously on documents, spreadsheets, and presentations. Share files, leave comments, and track changes to keep everyone on the same page.
- Access Files Anywhere: With your Microsoft account, your files are stored in the cloud. This means you can access them from any device with an internet connection. Start working on a document on your Chromebook and continue seamlessly on your phone or tablet.
- Utilize Additional Tools: Explore other Microsoft Office apps available for Chromebooks, such as OneNote for note-taking, Outlook for email and calendar management, and more. These apps offer a cohesive productivity experience across devices.
Remember to save your work periodically and take advantage of the auto-save feature to prevent any potential loss of data. Additionally, regularly update your Microsoft Office apps to access new features, improvements, and security updates.
With Microsoft Office on your Chromebook, you can unleash your productivity potential and accomplish more. Whether you’re a student, professional, or anyone in need of powerful productivity tools, Microsoft Office provides the tools you need to get the job done.
Congratulations! You are now equipped with the knowledge to download, install, and use Microsoft Office applications on your Chromebook. Start exploring the endless possibilities that Microsoft Office offers and elevate your productivity to new heights.
Conclusion
In this guide, we have walked you through the process of downloading, installing, and using Microsoft Office on your Chromebook. By following the steps outlined, you can now enjoy the full range of features and capabilities that Microsoft Office offers on your Chromebook.
We first checked the compatibility of your Chromebook and ensured that the Google Play Store was enabled. Then, we proceeded to install the Microsoft Office apps of your choice. After that, we guided you on signing in with your Microsoft account to unlock additional features and cloud storage capabilities.
With Microsoft Office on your Chromebook, you can create and edit documents in Word, perform calculations in Excel, and create engaging presentations in PowerPoint. The collaboration features make it easy to work with others in real-time, and the ability to access files from anywhere ensures you can work seamlessly across devices.
Remember that while basic functionality is available for free, some advanced features may require a Microsoft 365 subscription. Additionally, don’t forget to regularly update your Microsoft Office apps to access the latest features and security improvements.
Now, armed with Microsoft Office on your Chromebook, you can boost your productivity and accomplish more in your personal and professional endeavors. Whether you’re a student, professional, or someone who needs the power and versatility of Microsoft Office, you can now tackle your tasks with confidence.
We hope this guide has been helpful in assisting you in downloading, installing, and using Microsoft Office on your Chromebook. Embrace the tools, unleash your creativity, and turn your ideas into reality with the powerful suite of applications that Microsoft Office provides. Get started today and take your productivity to new heights on your Chromebook!