Introduction
Welcome to our guide on how to download Microsoft Word on your Mac. Microsoft Word is a widely-used word processing software that allows you to create, edit, and format documents with ease. Whether you need to write a letter, prepare a report, or draft an essay, Microsoft Word provides all the necessary tools and features to help you get the job done smoothly.
Having Microsoft Word installed on your Mac ensures compatibility with other Microsoft Office applications, such as Excel and PowerPoint, and allows you to seamlessly collaborate with colleagues or peers who use the software. In this article, we will walk you through the steps required to download and install Microsoft Word on your Mac, so you can start creating professional-looking documents in no time.
Before we get started, it’s important to note that Microsoft Word is not available for free on Mac. However, you can download the software from the official Apple App Store. In order to complete the download, you will need to have an Apple ID. If you don’t have one, you can create an Apple ID for free on the Apple website or directly on your Mac.
Additionally, make sure that your Mac is running on the latest version of macOS to ensure compatibility with Microsoft Word. Updating your operating system is important for the smooth functioning of the software and to take advantage of the latest features and security updates.
Now that we have covered the basic prerequisites, let’s dive into the step-by-step process of downloading Microsoft Word on your Mac.
Step 1: Open the App Store on your Mac
The first step to download Microsoft Word on your Mac is to open the App Store. The App Store is the official platform for downloading and installing applications on your Mac. You can access it directly from your Dock or by clicking on the “Launchpad” icon in your Mac’s dock and searching for the App Store icon.
Once you have located the App Store icon, simply click on it to launch the application. The App Store interface will open, displaying a variety of featured applications and categories.
If you can’t find the App Store icon on your dock or in the Launchpad, you can use the Spotlight search to locate it. Simply press the “Command” + “Space” keys on your keyboard to open Spotlight, type in “App Store,” and hit Enter. The App Store application should be listed in the search results.
When you have successfully opened the App Store, you will be able to proceed to the next step to search for Microsoft Word and begin the download process. Make sure you are connected to the internet to ensure a successful download and installation.
Step 2: Search for Microsoft Word
Now that you have opened the App Store on your Mac, the next step is to search for Microsoft Word. The App Store has a search bar located at the top right corner of the interface, where you can enter keywords to find specific applications.
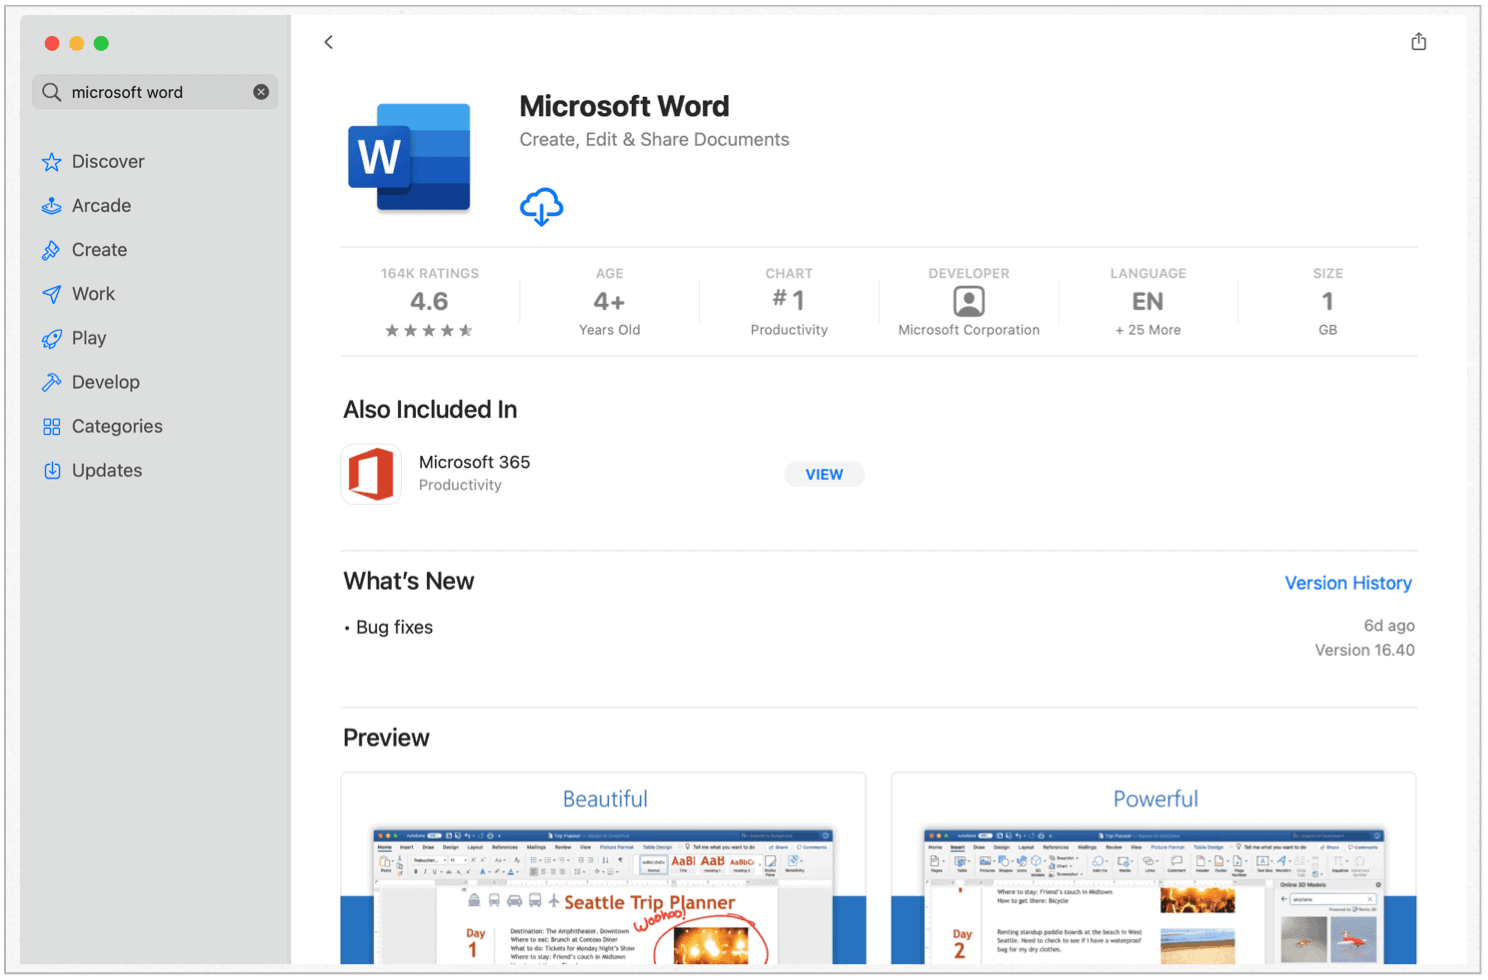
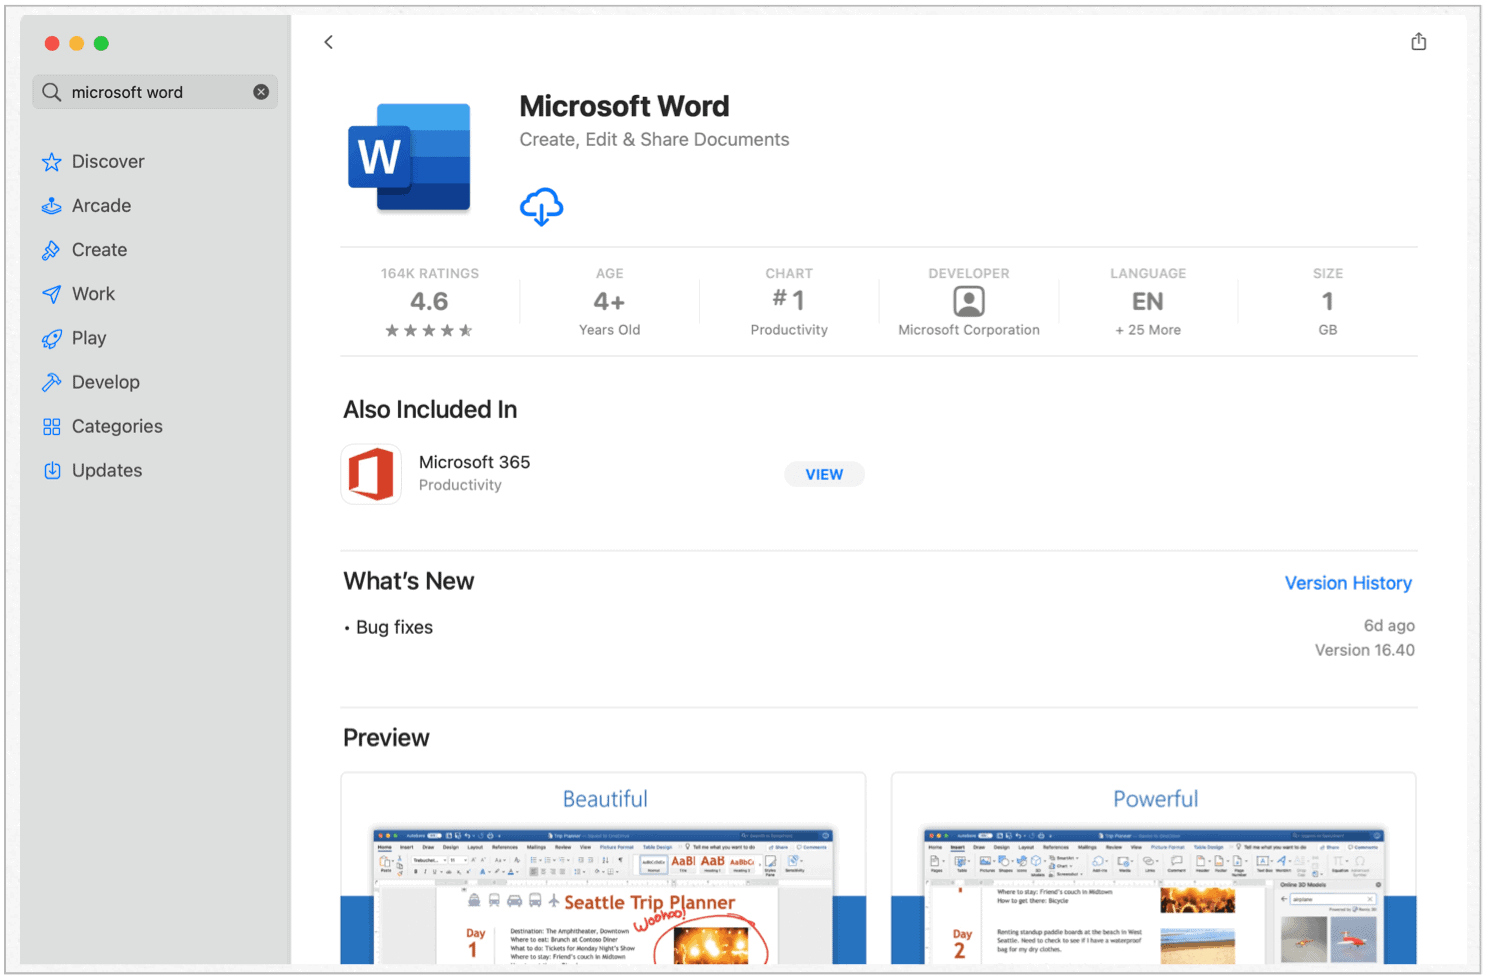
To search for Microsoft Word, click on the search bar and type in “Microsoft Word” or simply “Word”. As you type, the App Store will start displaying suggestions based on what you entered. Look for the Microsoft Word application icon in the search results.
Once you have found the Microsoft Word application, click on it to view more details about the software, such as the description, ratings, and reviews. You can read through this information to learn more about the features and functionalities of Microsoft Word on Mac.
If you are specifically looking for the latest version of Microsoft Word, make sure to check the version number mentioned in the description. This will ensure that you download the most recent and updated version of the software.
Keep in mind that there may be other applications listed in the search results that are related to Microsoft Word, such as add-ons or plugins. Make sure to select the official Microsoft Word application developed by Microsoft Corporation.
Once you are confident that you have selected the correct application, you can proceed to the next step to initiate the download process.
Step 3: Click on the “Get” button
After you have found the official Microsoft Word application in the App Store search results, it’s time to proceed with the download process. To initiate the download, you need to click on the “Get” button, which is usually located next to the application icon and its price (if applicable).
When you click on the “Get” button, the button will change to “Install” or display a cloud icon with an arrow. This indicates that the download process has started. The App Store will prompt you to enter your Apple ID and password to authenticate the download. If you are already signed in with your Apple ID, it may not ask for your credentials again.
Enter your Apple ID and password in the respective fields and click on the “Sign In” button. This step is crucial as it ensures that the application is associated with your Apple ID, allowing you to manage and update it through the App Store in the future.
Once you have signed in, the download of Microsoft Word will start. The download time may vary depending on your internet connection speed and the size of the application. It’s recommended to have a stable internet connection to ensure a smooth and uninterrupted download process.
You can monitor the progress of the download by looking at the progress bar that appears under the application icon. Once the download is complete, the icon will change to say “Open.” At this point, you can move on to the next step to launch Microsoft Word on your Mac.
It’s worth noting that if you have Microsoft Word already installed on your Mac and an update is available, the “Get” or “Install” button will be replaced with an “Update” button. Clicking on the “Update” button will download and install the latest version of Microsoft Word.
Step 4: Sign in with your Apple ID
After initiating the download process for Microsoft Word in the previous step, you will be prompted to sign in with your Apple ID. Signing in with your Apple ID is a necessary step to authenticate your download and ensure that the application is associated with your account.
When prompted to sign in, enter your Apple ID and password in the provided fields. The Apple ID is the email address you used to create your Apple account. If you’re not sure which email address is associated with your Apple ID, you can visit the Apple ID website and click on the “Forgot Apple ID or password?” link for assistance.
If you don’t have an Apple ID, you can create one for free by clicking on the “Create Apple ID” or “Sign up” option. Follow the on-screen instructions to set up your Apple ID by providing the necessary information, such as your name, email address, and creating a password.
Once you have successfully signed in with your Apple ID, the download of Microsoft Word will resume. The App Store will verify your account details and initiate the download process. Depending on your internet connection speed and the size of the application, it may take some time to complete the download. It’s important to have a stable internet connection to ensure a successful download.
During the sign-in process, you may also be prompted to enter your Apple ID password again to authenticate the download. This is a security measure to protect your account information and ensure that only authorized users can download applications associated with their Apple ID.
Once the download is complete, you can proceed to the next step and launch Microsoft Word on your Mac. Signing in with your Apple ID allows you to manage and update the application through the App Store, ensuring that you have the latest version and access to any future updates or improvements.
Step 5: Wait for the download to complete
After signing in with your Apple ID and initiating the download of Microsoft Word, you will need to wait for the download process to complete. The time it takes for the download to finish will depend on various factors, such as your internet connection speed, the size of the application, and the overall traffic on the App Store.
While the download is in progress, it’s important to ensure that you have a stable internet connection. Any interruptions or fluctuations in your connectivity may slow down the download or cause it to fail. It’s recommended to avoid streaming or downloading other large files during this time to optimize the download speed.
You can monitor the progress of the download by looking at the progress bar that appears under the Microsoft Word application icon in the App Store. The progress bar will display the percentage of the download completed and may also provide an estimated time remaining for the download to finish.
It’s important to be patient and allow the download process to run its course. Avoid interrupting or canceling the download, as this may result in an incomplete or corrupted installation of Microsoft Word.
Once the download is complete, the App Store icon will change from an “Open” button to display the Microsoft Word icon. At this point, you can proceed to launch Microsoft Word on your Mac and start using the application to create, edit, and format your documents.
It’s worth noting that if you have multiple applications being downloaded or updated in the App Store, you can prioritize the download of Microsoft Word by pausing or canceling other downloads. This can help speed up the download process and allow you to start using Microsoft Word sooner.
Now that the download is complete, you are ready to move on to the next step and explore the features and functionalities of Microsoft Word on your Mac. We will guide you through launching the application in the next step.
Step 6: Launch Microsoft Word
Now that the download of Microsoft Word on your Mac is complete, it’s time to launch the application and start using it for all your word processing needs.
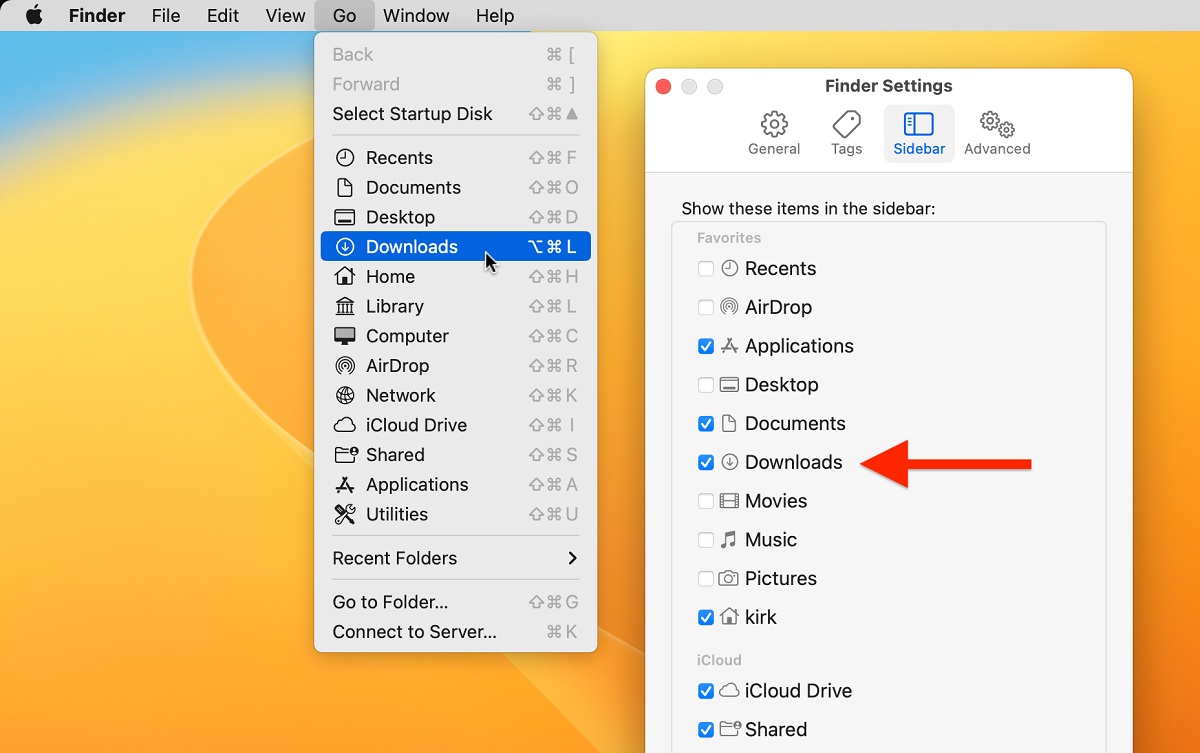
To launch Microsoft Word, go to your Applications folder. You can access the Applications folder by clicking on the Finder icon in your Dock, or by pressing “Command + Shift + A” on your keyboard.
Once the Finder window opens, scroll through the list of applications until you find the Microsoft Word icon. The icon will have a blue “W” on a white background, representing the familiar Microsoft Word logo.
Once you have located the Microsoft Word icon, double-click on it to launch the application. Alternatively, you can also highlight the application icon and press “Command + O” on your keyboard to open it.
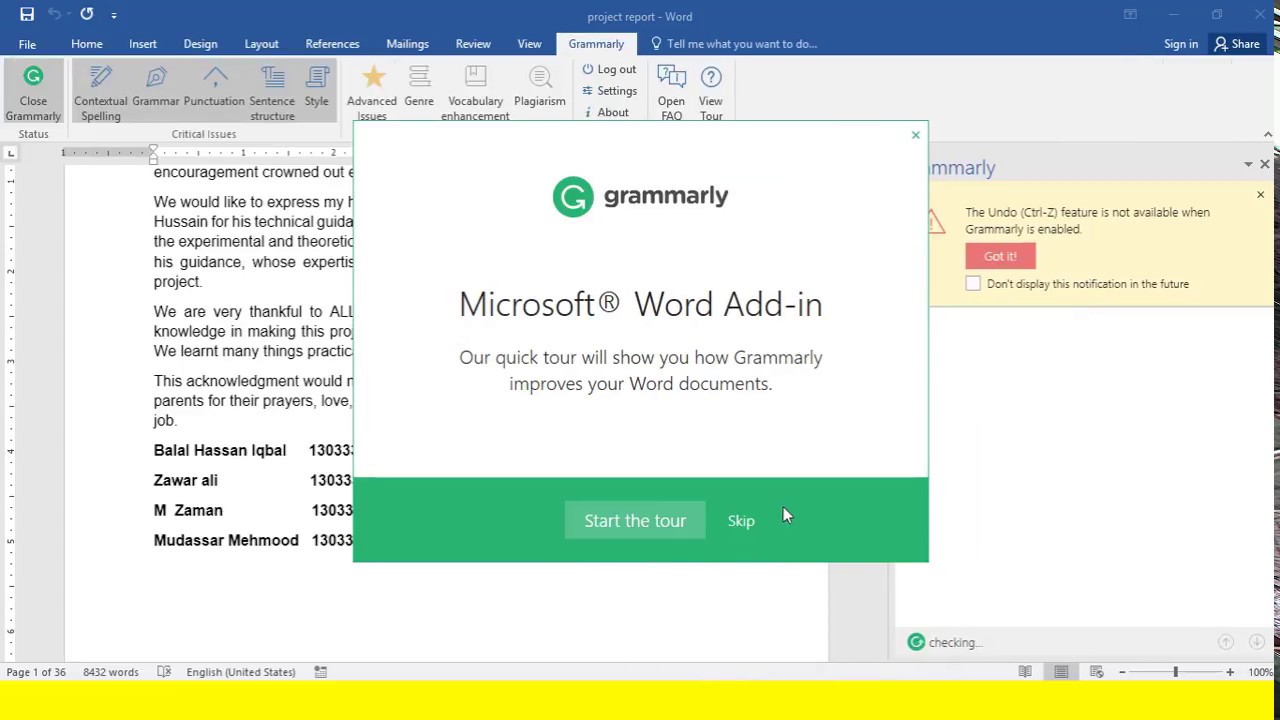
After launching Microsoft Word, you may be prompted to sign in with your Microsoft or Office 365 account. This step is necessary to activate the software and gain access to all the features and benefits of using a registered copy of Microsoft Word.
If you don’t have a Microsoft or Office 365 account, you can choose to create one by following the on-screen instructions. This will allow you to use additional features and cloud-based services provided by Microsoft Word, such as saving and syncing your documents to the cloud.
Once you have signed in or completed the account setup, you will have full access to Microsoft Word and can start creating, editing, and formatting your documents. The user interface of Microsoft Word is designed to be intuitive and user-friendly, with a familiar layout that includes toolbars, ribbons, and menu options.
Explore the various features of Microsoft Word, such as formatting text, creating tables, inserting images, and applying styles to enhance the look and feel of your documents. Take advantage of the auto-save feature to ensure your work is saved regularly, and consider using cloud storage options to access your documents from multiple devices.
Congratulations! You have successfully downloaded and launched Microsoft Word on your Mac. Now, you can unleash your creativity and productivity by utilizing the powerful tools and capabilities of Microsoft Word to create professional and polished documents.
Conclusion
Downloading and installing Microsoft Word on your Mac is a straightforward process that allows you to access a powerful word processing software for creating, editing, and formatting your documents. By following the step-by-step guide outlined in this article, you can easily get Microsoft Word up and running on your Mac.
Throughout the process, it’s important to ensure that you have an active internet connection, a valid Apple ID, and sufficient storage space on your Mac. These prerequisites will help ensure a smooth installation and a seamless user experience while using Microsoft Word.
Remember, the App Store is the designated platform for downloading Microsoft Word on your Mac. It provides a secure and verified source, ensuring that you download the official Microsoft Word application developed by Microsoft Corporation.
Once you have successfully downloaded and launched Microsoft Word, take advantage of its extensive features and functionalities to create professional-looking documents. Whether you need to write a letter, compile a report, or draft an essay, Microsoft Word offers a wide range of tools to help you achieve your goals.
Stay updated with the latest version of Microsoft Word by regularly checking for updates in the App Store. This ensures that you have access to the newest features, improvements, and security patches that Microsoft releases.
So, start exploring Microsoft Word on your Mac and unlock a world of possibilities for document creation and collaboration. From formatting options to spell-checking and grammar correction, Microsoft Word provides a comprehensive set of tools to help you produce polished and error-free documents.
Thank you for following this guide on how to download Microsoft Word on your Mac. We hope you find it helpful and enjoy using Microsoft Word to enhance your productivity and creativity in your personal and professional endeavors.