Introduction
Microsoft Word is a popular word processing software that allows users to create and edit documents with ease. Whether you’re a student, professional, or just someone who needs to write an important document, having Microsoft Word installed on your device is essential. While Microsoft 365 offers a cloud-based subscription service, it also provides the option to download and install Word directly on your computer.
In this article, we will guide you through the steps to download Word from Microsoft 365. Whether you’re using a Windows PC or a Mac, the process is simple and straightforward. By following these steps, you’ll have Word up and running on your device in no time.
Before we get started, it’s important to note that downloading Word from Microsoft 365 requires an active subscription to the service. If you haven’t subscribed to Microsoft 365 yet, make sure to do so before proceeding with the download. With that said, let’s dive into the process and get you set up with Microsoft Word.
Step 1: Sign in to your Microsoft 365 account
The first step to downloading Word from Microsoft 365 is to sign in to your Microsoft 365 account. To do this, open your web browser and navigate to the Microsoft 365 login page. If you don’t already have an account, you’ll need to create one before proceeding.
Once you’re on the login page, enter your Microsoft 365 email address and password in the respective fields. If you have multiple Microsoft accounts, make sure to select the one associated with your Microsoft 365 subscription. After entering your credentials, click on the “Sign in” button.
If you’ve forgotten your password or are having trouble signing in, you can click on the “Forgot password?” link to reset your password or seek additional help.
After successfully signing in, you’ll be redirected to your Microsoft 365 account dashboard, where you can access various Microsoft services and applications, including Word.
It’s important to note that if you have a Microsoft 365 subscription through your work or school, you may need to sign in using your organizational account. In this case, you’ll need to enter your work or school email address and password.
Now that you’ve signed in to your Microsoft 365 account, you’re ready to proceed to the next step and access the Microsoft 365 homepage.
Step 2: Access the Microsoft 365 homepage
After signing in to your Microsoft 365 account, the next step is to access the Microsoft 365 homepage. This is where you’ll find all the available Microsoft apps, including Word.
To access the Microsoft 365 homepage, look for the app launcher icon in the upper-left corner of the page. It typically consists of a square grid of smaller squares. Click on this icon to open the app launcher menu.
In the app launcher menu, you’ll see a list of Microsoft apps. Scroll through the list or use the search bar to find the “Office” or “Office 365” app. Click on the app icon to open it.
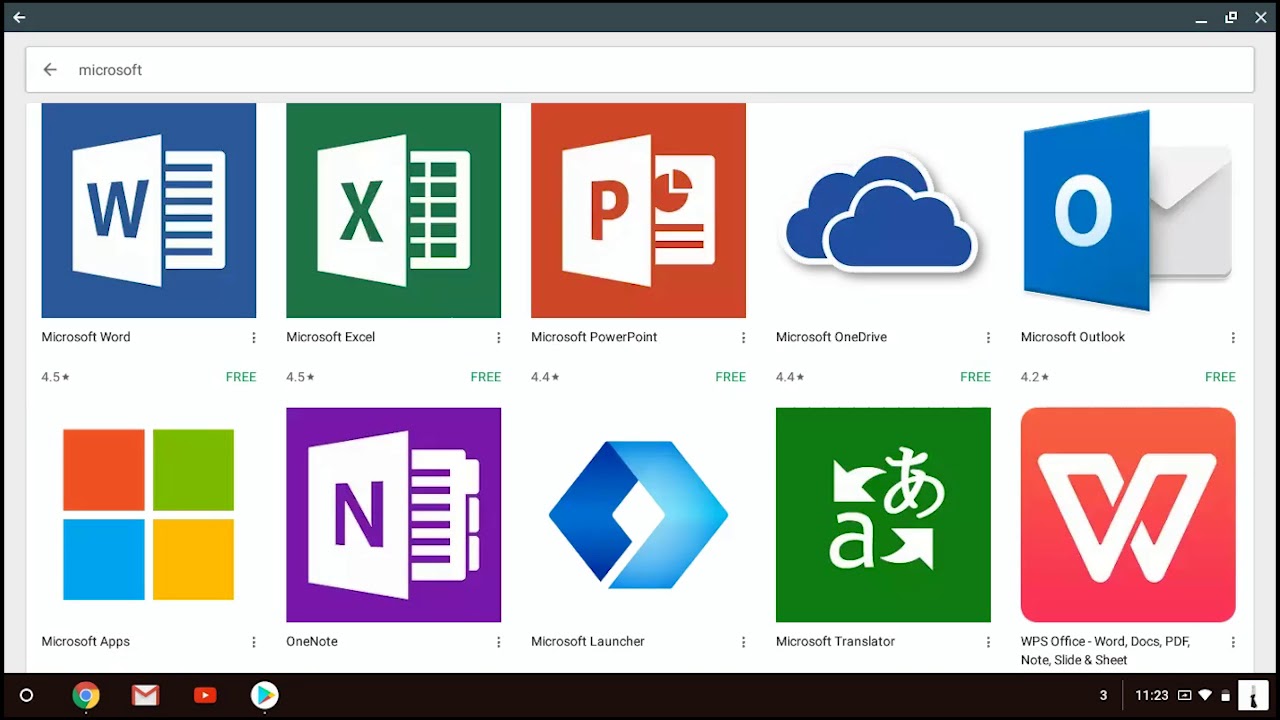
Upon opening the Office app, you’ll be taken to the Microsoft 365 homepage. Here, you’ll find a range of Microsoft applications, including Word, Excel, PowerPoint, and more.
Additionally, you may also find shortcuts to frequently used documents or recent files on the Microsoft 365 homepage. This makes it easy for you to quickly access your important documents without having to search for them manually.
The Microsoft 365 homepage provides a centralized location for managing your Microsoft applications and files. It serves as a dashboard where you can navigate to the different apps and access the tools you need for your work or personal projects.
Now that you’re on the Microsoft 365 homepage, you’re one step closer to downloading Word. In the next step, we’ll guide you on how to locate the Office apps and select Word for installation.
Step 3: Locate the Office apps and select Word
Once you’re on the Microsoft 365 homepage, it’s time to locate the Office apps and select Word for installation. Microsoft 365 provides a wide range of applications, so finding Word may require a little navigation.
Look for the “All apps” or “Apps” option on the Microsoft 365 homepage. It’s usually located at the top or left-hand side of the page. Click on this option to access the complete list of available applications.
In the list of apps, you will find various Microsoft applications such as Excel, PowerPoint, Outlook, and of course, Word. Scroll through the list or use the search bar to quickly find the Word application.
Once you locate the Word application, click on its icon to select it. This will usually open a new window or a drop-down menu with additional options related to Word.
It’s important to note that some versions of Microsoft 365 might slightly vary in their user interface. In such cases, you may find Word listed under different categories or sections. However, with a bit of exploration, you should be able to find Word among the available applications.
After selecting Word, you’re now ready to proceed to the next step and choose your installation options. In the following step, we’ll guide you through the process of customizing your Word installation according to your preferences.
Step 4: Choose your installation options
Once you have selected Word, the next step is to choose your installation options. Microsoft 365 offers different installation options to cater to your specific needs and preferences.
When you click on the Word icon, a menu or dialogue box will appear with installation options. These options may include the choice to install Word on your computer, install it on other devices, or install specific additional features.
If you only need Word on the device you are currently using, select the option to install it on your computer. This will download and install Word directly on your device, allowing you to access and use it offline.
If you want to install Word on multiple devices or access it from different locations, select the option to install it on other devices. This will provide you with the flexibility to use Word on other computers or mobile devices by signing in to your Microsoft 365 account.
Additionally, you may have the option to choose additional features or add-ons during the installation process. These features can enhance your Word experience by providing additional functionality or specialized tools.
Take a moment to review the installation options and select the ones that align with your needs. Ensure that your device meets the system requirements for Word before proceeding with the installation.
Once you have chosen your installation options and are ready to proceed, click on the appropriate button to confirm your selection. The Word installation process will then begin, and the necessary files will be downloaded and installed on your device.
Now that you have chosen your installation options, you’re one step closer to having Word installed on your device. In the next step, we’ll guide you through the process of starting the Word download.
Step 5: Start the Word download
After selecting your installation options, it’s time to start the Word download process. This step will initiate the downloading of the necessary files for Word to be installed on your device.
Depending on the Microsoft 365 version you’re using, the process for starting the Word download may vary slightly. In most cases, you will see a button or link labeled “Download” or “Install” next to the installation options you selected in the previous step.
Click on the “Download” or “Install” button to begin the Word download. This action will prompt the browser to start downloading the Word installation files onto your computer.
The download time will depend on the size of the installation files and the speed of your internet connection. It’s recommended to have a stable and high-speed internet connection to ensure a faster and smoother download process.
While the download is in progress, it’s best to avoid closing the browser or navigating away from the download page to prevent any interruption in the process.
Once the download is complete, you’ll be ready to proceed to the next step, which involves installing Word on your device. In the following step, we’ll guide you through the installation process, allowing you to start using Word for your document creation and editing needs.
Step 6: Install Word on your device
Now that you have downloaded the Word installation files, it’s time to install Word on your device. The installation process will vary depending on your operating system, whether it’s Windows or macOS.
If you’re using a Windows computer, locate the downloaded Word installation file in your Downloads folder or the location where your browser saves downloaded files. Double-click on the file to start the installation process. Follow the on-screen instructions and prompts to complete the installation. Once the installation is finished, Word will be installed on your Windows computer.
If you’re using a macOS device, open the downloaded Word installation file. This will typically launch an installer package. Follow the instructions provided by the installer to install Word on your Mac. Once the installation is complete, Word will be ready to use on your macOS device.
During the installation process, you may be asked to review and accept the Microsoft software license terms. Take the time to read through the terms and, if you agree, proceed with the installation by accepting the license agreement.
It’s important to note that the installation process may take several minutes, depending on the speed of your computer and the system resources available. Be patient and allow the installation to complete without interruption.
Once the installation is finished, you can proceed to the final step, which involves launching and activating Word on your device. In the following step, we’ll guide you through the process of launching Word for the first time and activating it with your Microsoft 365 account.
Step 7: Launch and activate Word
After successfully installing Word on your device, it’s time to launch and activate the application. Launching Word will allow you to start using it for all your document creation and editing needs.
Depending on your operating system, there are different ways to launch Word. On Windows, you can typically find Word in the Start Menu or on the desktop if you chose to create a shortcut during installation. On macOS, you can find Word in the Applications folder or in the Dock if you added it there.
Locate and open Word on your device. The first time you launch Word, you’ll be prompted to activate it with your Microsoft 365 account. This is crucial for accessing all the features and benefits of Word.
Enter your Microsoft 365 email address and password in the provided fields on the activation screen. Once you have entered your credentials, click on the “Sign in” or “Activate” button.
If you have multiple Microsoft accounts, ensure that you sign in with the account associated with your Microsoft 365 subscription to activate Word successfully.
After signing in or activating Word, you should see the Word interface, ready for you to start creating or editing documents. Take a moment to familiarize yourself with the various features and tools available in Word to make the most out of your Word experience.
It’s important to ensure that your device is connected to the internet when activating Word. The activation process verifies your subscription status and ensures that you have the necessary licensing to use Word.
Now that Word is launched and activated, you’re all set to start using it for your document needs. Happy writing!
Conclusion
Downloading and installing Microsoft Word from Microsoft 365 is a straightforward process that allows you to have this powerful word processing software at your fingertips. By following the steps outlined in this guide, you can easily install Word on your device and start creating professional documents with ease.
Throughout the process, it is essential to ensure that you have an active subscription to Microsoft 365. Signing in to your Microsoft 365 account, accessing the Microsoft 365 homepage, selecting Word, choosing the appropriate installation options, starting the Word download, and installing Word on your device are the key steps to follow.
Remember to activate Word with your Microsoft 365 account after installing it to unlock all the features and benefits of the software. With Word, you can create, edit, and format documents, use various templates, collaborate with others, and enhance your productivity.
Whether you’re a student working on assignments, a professional writing reports, or someone who simply needs a reliable word processing software, Microsoft Word provides a user-friendly and feature-rich platform to meet your needs.
Now that you have successfully downloaded and installed Word, it’s time to unleash your creativity and get writing! Enjoy the seamless experience of Microsoft Word and stay productive with your document creation and editing tasks. Happy writing!