Overview
Microsoft Project is a powerful project management tool that allows users to plan, track, and collaborate on projects effectively. While traditionally designed for Windows users, Microsoft now offers a Mac-compatible version of Project, enabling Mac users to benefit from its extensive features and functionality.
In this guide, we will walk you through the step-by-step process of downloading Microsoft Project on your Mac. Whether you are a project manager, team member, or simply someone who needs to work with Project files, this tutorial will help you get started.
Before we dive into the installation process, it’s important to note that Microsoft Project for Mac is only available through the online subscription formats. You have two options: you can either purchase Microsoft Project Online or subscribe to Office 365, which includes access to Microsoft Project. Both options give you the ability to download and install Microsoft Project on your Mac.
Now, let’s get started with the installation process so you can start using Microsoft Project on your Mac.
Step 1: Check System Requirements
Before downloading Microsoft Project on your Mac, it is essential to ensure that your system meets the minimum requirements. This will ensure that the installation and usage of the software are seamless and will prevent any compatibility issues. Here are the system requirements for Microsoft Project on Mac:
- Operating System: macOS Mojave (10.14) or later
- Processor: Intel processor, 64-bit
- RAM: 4GB (recommended 8GB or higher for optimal performance)
- Storage Space: 10 GB of available disk space
- Display: 1280 x 768 screen resolution
- Internet Connection: An internet connection is required for installation, activation, and regular software updates
- Browser: The latest version of Safari, Chrome, Firefox, or Microsoft Edge
It is crucial to make sure that your Mac meets these requirements to ensure a smooth and efficient experience when using Microsoft Project on your device. If your computer does not meet these requirements, you may encounter performance issues or even be unable to install the software. Therefore, it’s important to upgrade your system if necessary before proceeding.
Once you have verified that your Mac meets the necessary system requirements, you can confidently move on to the next step: purchasing Microsoft Project or subscribing to Office 365, which includes access to Microsoft Project Online.
Step 2: Purchase Microsoft Project Online or Office 365 Subscription
To download and install Microsoft Project on your Mac, you will need to purchase a Microsoft Project Online subscription or subscribe to Office 365, which includes access to Microsoft Project. Both options provide you with the necessary license to use the software on your Mac.
If you only require Microsoft Project and do not need access to other Office applications like Word, Excel, and PowerPoint, purchasing Microsoft Project Online is the recommended option. It offers a standalone subscription specifically for Microsoft Project, giving you access to all the features and functionalities of the software.
Alternatively, if you want to have access to a comprehensive suite of Microsoft Office applications, including Microsoft Project, Word, Excel, PowerPoint, and more, subscribing to Office 365 is the ideal choice. Office 365 provides you with a cloud-based subscription that allows you to use a wide range of Microsoft applications on multiple devices, including your Mac.
To purchase Microsoft Project Online or subscribe to Office 365, follow these steps:
- Go to the Microsoft website or visit the Microsoft 365 page.
- Select the suitable subscription plan for your needs.
- Click on the “Buy” or “Subscribe” button to proceed.
- Follow the on-screen instructions to complete the purchase or subscription process.
Once you have successfully purchased Microsoft Project Online or subscribed to Office 365, you are ready to move on to the next step: signing in to your Office account.
Step 3: Sign in to Office Account
Before you can download and install Microsoft Project on your Mac, you need to sign in to your Office account. Whether you have purchased Microsoft Project Online or subscribed to Office 365, signing in allows you to access your subscription and manage your software downloads.
Follow these steps to sign in to your Office account:
- Open a web browser on your Mac and visit the official Microsoft website.
- Click on the “Sign in” or “Account” option located at the top-right corner of the page.
- Enter your Microsoft account email address and password associated with your Microsoft Project Online subscription or Office 365 subscription.
- Click on the “Sign In” button.
After signing in, you will have access to your Office account dashboard, where you can manage your subscriptions, download software, and activate licenses.
Make sure to double-check that you are signed in to the correct account that is associated with your Microsoft Project Online or Office 365 subscription. If you have multiple Microsoft accounts, it’s important to use the one linked to your subscription to ensure a smooth installation process.
Once you are signed in to your Office account, you are ready to move on to the next step: downloading Microsoft Project on your Mac.
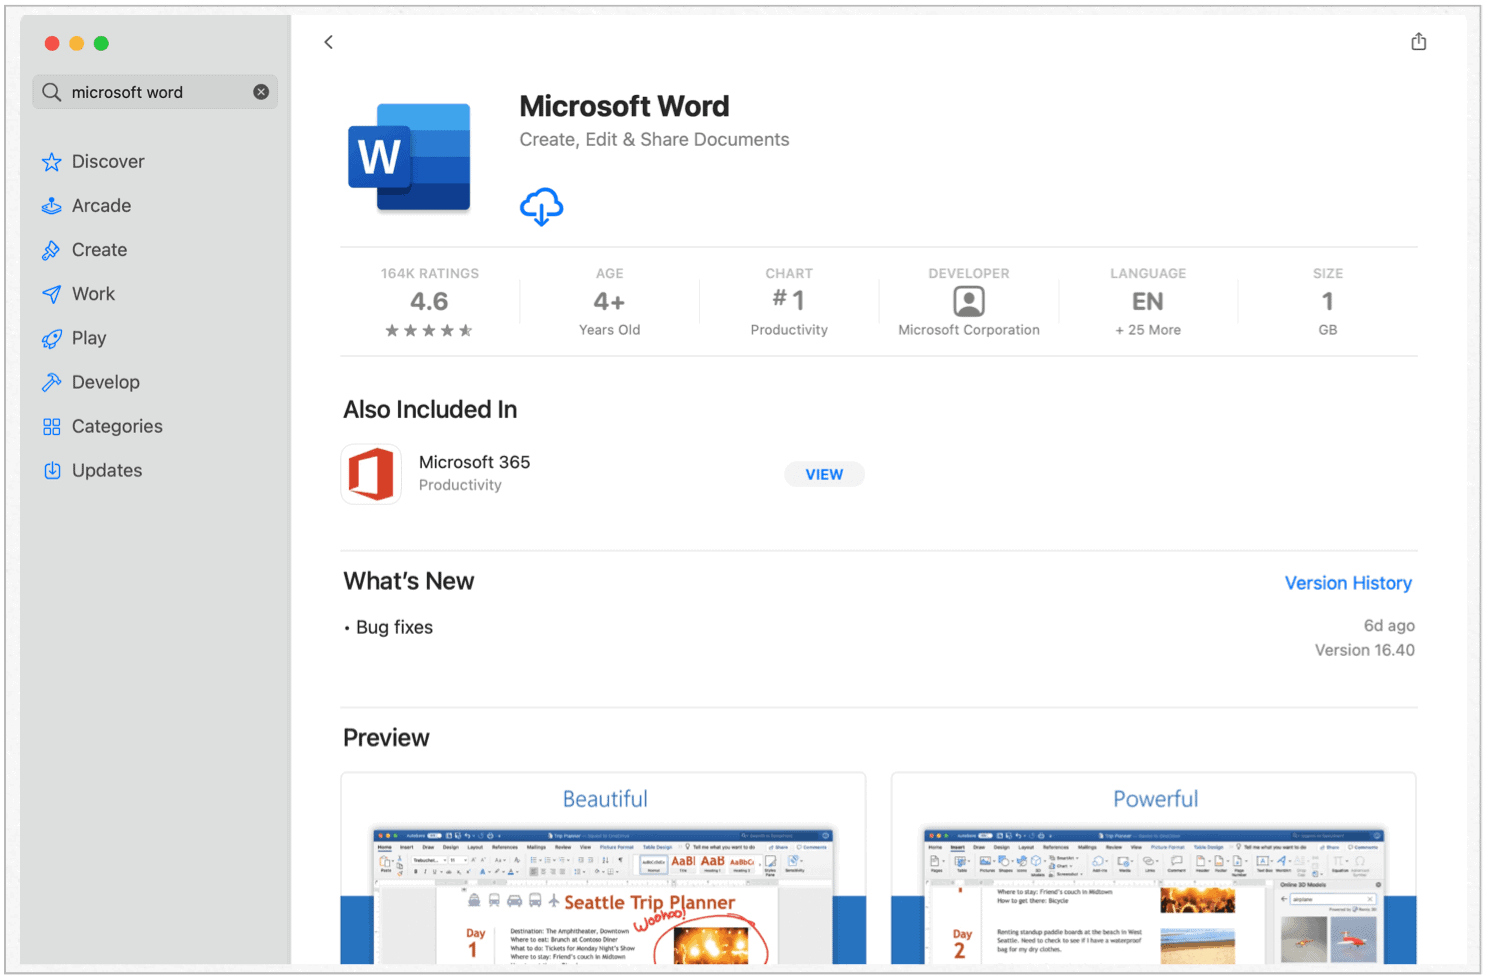
Step 4: Download Microsoft Project
Now that you have signed in to your Office account, you can proceed with downloading Microsoft Project on your Mac. Here’s how you can download the software:
- While still signed in to your Office account, navigate to the software download page or look for the “Download” button on the Office account dashboard.
- Click on the “Download” button or link related to Microsoft Project.
- Depending on your browser settings, you may be prompted to save the installation file or it may start downloading automatically.
- Once the download is complete, locate the downloaded file on your Mac. It is usually saved in the “Downloads” folder or the location you specified.
It is important to note that the download size may vary depending on your internet speed and the specific version of Microsoft Project you are downloading.
During the download process, it is recommended to not interrupt or cancel the download to avoid any potential issues with the installation. It may take some time, so be patient and let the download complete before proceeding to the next step.
Once the Microsoft Project installation file is successfully downloaded, you are ready to move on to the next step: installing Microsoft Project on your Mac.
Step 5: Install Microsoft Project on Mac
With the Microsoft Project installation file downloaded on your Mac, you can now proceed to install the software. Follow these steps to install Microsoft Project:
- Locate the downloaded installation file on your Mac.
- Double-click on the installation file to initiate the installation process.
- A pop-up window will appear, prompting you to confirm the installation. Click on the “Continue” or “Install” button to proceed.
- Read and accept the terms and conditions of the software by selecting the checkbox or clicking on the “Agree” button.
- Choose the installation location for Microsoft Project on your Mac. The default location is usually the “Applications” folder.
- Click on the “Install” or “Continue” button to start the installation.
- The installation progress will be displayed, and it may take some time to complete depending on your Mac’s performance.
- Once the installation is finished, you will see a confirmation message indicating that Microsoft Project has been successfully installed on your Mac.
After the installation is complete, the Microsoft Project application will be ready to use on your Mac. You can access it from your Applications folder or by searching for it in Spotlight.
It is recommended to keep your Mac connected to a stable internet connection during the installation process to ensure a smooth installation and activation of Microsoft Project.
Congratulations! You have successfully installed Microsoft Project on your Mac. Now it’s time to move on to the next step: activating Microsoft Project.
Step 6: Activate Microsoft Project
After installing Microsoft Project on your Mac, the next step is to activate the software. Activation is necessary to validate your license and enable full access to all the features and functionalities of Microsoft Project. Follow these steps to activate Microsoft Project:
- Open Microsoft Project from your Applications folder or by selecting it from Spotlight.
- A pop-up window will appear, asking you to sign in with your Microsoft account. Enter the email address and password associated with your Microsoft Project Online or Office 365 subscription.
- Click on the “Sign In” button to proceed.
- Microsoft Project will connect to the internet and verify your license. This process may take a few moments.
- Once the activation is successful, you will see a confirmation message indicating that Microsoft Project is activated and ready to use.
Note that you need to be connected to the internet during the activation process. If there are any issues with the activation, double-check that you are signed in with the correct Microsoft account and that you have an active subscription for Microsoft Project Online or Office 365.
It is important to ensure that your subscription or license is current and valid to continue using Microsoft Project without any interruptions. In case of any activation errors or issues, consult the Microsoft support documentation or reach out to their customer support for assistance.
Once Microsoft Project is successfully activated on your Mac, you are all set to launch and start using the software.
Now that you have installed and activated Microsoft Project on your Mac, it’s time for the final step: launching the application.
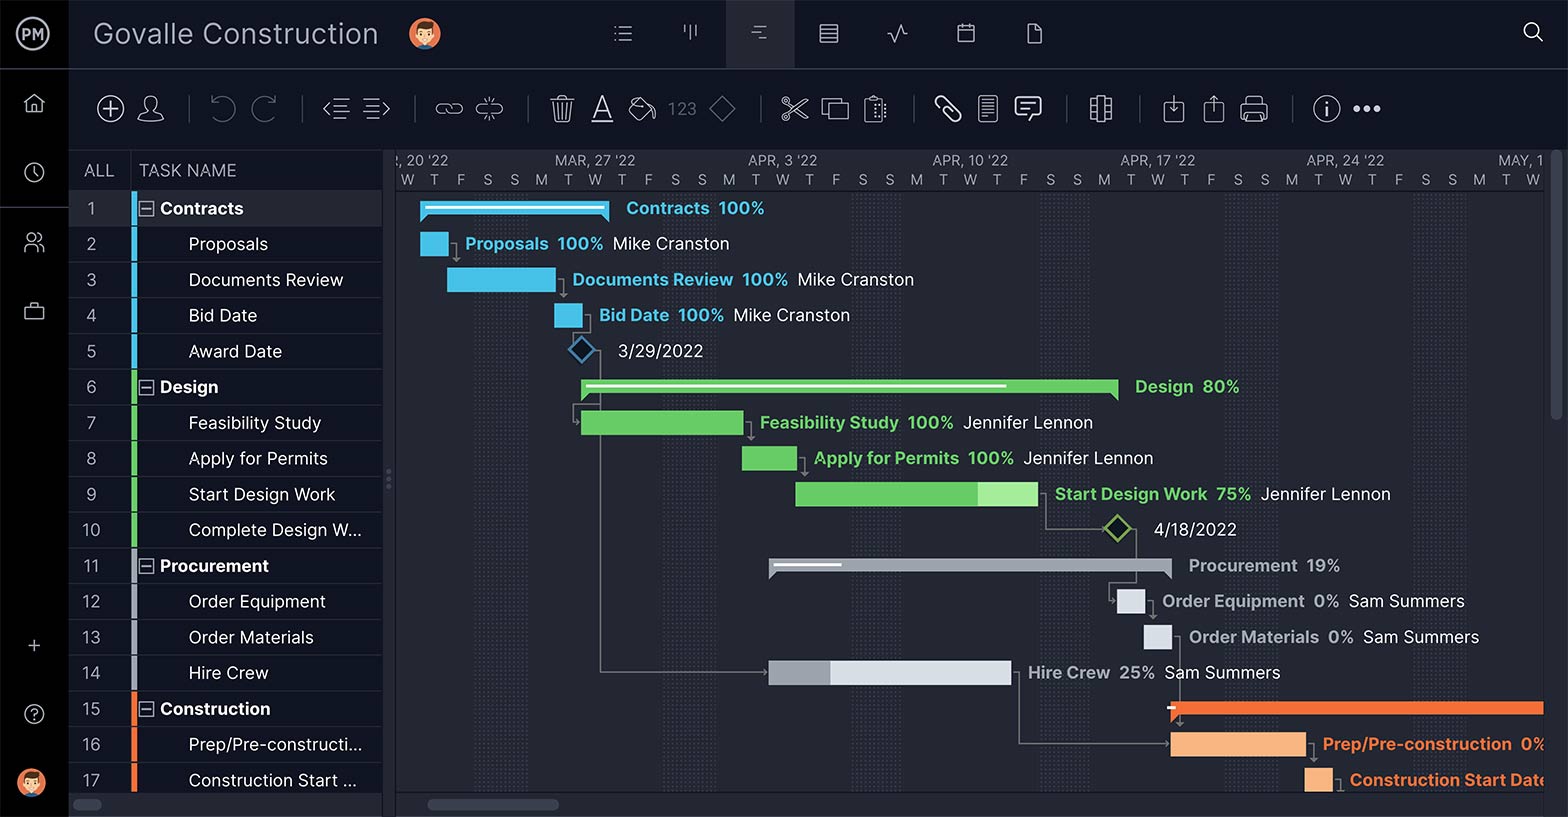
Step 7: Launch Microsoft Project on Mac
With Microsoft Project installed and activated on your Mac, it’s time to launch the application and start using it to manage your projects. Follow these steps to launch Microsoft Project:
- Locate the Microsoft Project icon in your Applications folder or search for it in Spotlight.
- Double-click on the Microsoft Project icon to launch the application.
- Once the application opens, you will be greeted by the Microsoft Project welcome screen.
- From the welcome screen, you can choose to either create a new project or open an existing project.
- If you want to create a new project, click on the “Blank Project” option, and you will be taken to the project management interface.
- If you have an existing Microsoft Project file, click on the “Open” option in the welcome screen to browse and select the file from your Mac.
- Once the project is open, you can start working on it by adding tasks, setting dependencies, assigning resources, and creating a timeline.
Microsoft Project offers a wide range of features and tools to help you effectively plan, track, and manage your projects. Take some time to explore the various options and functionalities available within the application to make the most of it.
It is recommended to save your project in a secure location on your Mac or in a cloud storage service to ensure that your work is backed up and easily accessible from multiple devices.
Congratulations! You have successfully launched Microsoft Project on your Mac and are now ready to manage your projects efficiently.
Remember to regularly save your work and take advantage of the various project management features to stay organized and meet your project goals.
That concludes our step-by-step guide for downloading, installing, and launching Microsoft Project on your Mac. We hope this tutorial has been helpful in getting you started with this powerful project management tool.
Conclusion
In this guide, we have walked you through the step-by-step process of downloading, installing, and launching Microsoft Project on your Mac. By following these steps, you can now take advantage of the powerful features and capabilities of Microsoft Project to effectively manage your projects.
We started by checking the system requirements to ensure that your Mac meets the necessary specifications for running Microsoft Project smoothly. Then, we discussed the options of purchasing Microsoft Project Online or subscribing to Office 365, both of which grant you access to download and use Microsoft Project on your Mac.
Next, we guided you through signing in to your Office account, which is essential for managing your subscriptions, downloading software, and activating licenses.
We then covered the steps for downloading Microsoft Project on your Mac, installing the software, and activating it using your Microsoft account. We emphasized the importance of a stable internet connection during the installation and activation process.
Finally, we explained how to launch Microsoft Project on your Mac, whether you want to create a new project or open an existing one. We encouraged you to explore the wide range of features and tools offered by Microsoft Project to effectively manage your projects and meet your goals.
Now that you have successfully installed and launched Microsoft Project on your Mac, you can utilize its powerful project management capabilities to organize your tasks, track progress, and collaborate with your team more efficiently.
Remember to keep your Microsoft Project subscription or license up to date to enjoy uninterrupted access to the software and take advantage of regular updates and improvements.
Thank you for following along with this guide. We hope it has been helpful in enabling you to download, install, and launch Microsoft Project on your Mac. Happy project managing!