Introduction
Are you a student looking to download Word from Office 365? Look no further, as this comprehensive guide will walk you through the steps to easily obtain Word – a powerful word processing software in the Office suite – from Office 365 Student.
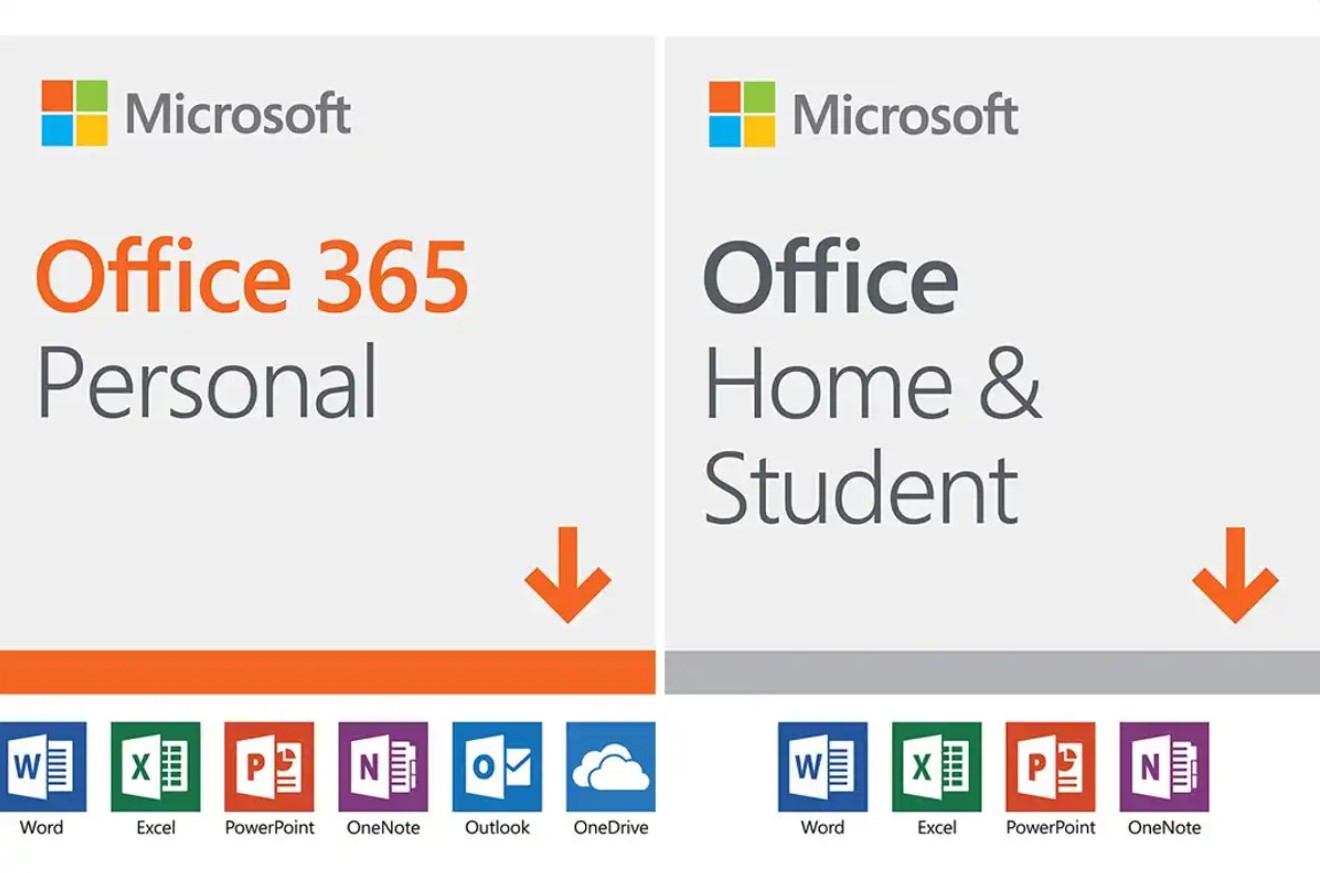
Microsoft Office 365 provides a range of applications for students, including Word, Excel, PowerPoint, and more. With a subscription to Office 365 Student, you can access these essential tools to help you with your academic journey.
Whether you need to write essays, create presentations, or collaborate with classmates on group projects, Word offers a variety of features to make your document creation process smooth and efficient. From spellcheck and grammar suggestions to advanced formatting options, Word has everything you need to produce professional-looking documents.
In this guide, we will take you through the step-by-step process of downloading Word from Office 365 Student, so you can start unleashing your creativity and productivity. Let’s get started!
Step 1: Sign in to Office 365
The first step to downloading Word from Office 365 Student is to sign in to your Office 365 account. Here’s how you can do it:
- Open your preferred web browser and navigate to the Office 365 login page.
- Enter your email address associated with your Office 365 Student account in the provided field.
- Next, enter your password in the designated password field. Make sure to double-check for any typos or errors.
- Once you have entered your login credentials, click on the “Sign In” button to proceed.
If you have successfully entered the correct login information, you will be redirected to your Office 365 account dashboard. This dashboard provides access to all the Office 365 applications, including Word.
It’s important to note that you will need a valid Office 365 Student subscription and login credentials to proceed with the download process. If you haven’t created an account or activated your subscription, make sure to do so before proceeding to the next steps.
Step 2: Access the Office 365 Homepage
Once you have signed in to your Office 365 account, the next step is to access the Office 365 homepage. Follow these simple instructions to reach the homepage:
- After signing in, you will be directed to your Office 365 account dashboard. Look for the navigation menu or toolbar located at the top of the page.
- Locate and click on the “Apps” or “Applications” section in the navigation menu. This will open a drop-down menu with a list of all the available Office 365 applications.
- Scroll through the list and find the “Word” app. It is typically represented by the familiar Word icon featuring a blue “W”.
- Click on the “Word” app icon to access the Word homepage.
Alternatively, some Office 365 account dashboards may have a search bar at the top of the page. You can simply type in “Word” and select the appropriate search result to access the Word homepage.
Once you have successfully accessed the Office 365 homepage, you will have various options and features available to enhance your Word experience. From here, you can explore different templates, fonts, and formatting tools to create impressive documents for your academic projects.
Now that you are on the Office 365 homepage, you are one step closer to downloading Word from Office 365 Student. Let’s proceed to the next step!
Step 3: Click on “Install Office” or “Install Office apps”
Once you have reached the Office 365 homepage, the next step is to find and click on the “Install Office” or “Install Office apps” option. Follow these steps to proceed:
- On the Office 365 homepage, look for a menu or toolbar that contains options related to installing Office applications.
- Depending on the layout and version of Office 365, you may find either an “Install Office” or “Install Office apps” button. Click on the appropriate option.
If you have trouble locating the “Install Office” or “Install Office apps” option, you can try the following alternative methods:
- Look for a “+ Install Office” or “+ Add Office” button. Clicking on this button will lead you to the installation options.
- Search for a “Get Office” or “Download Office” option in the navigation menu or search bar.
By clicking on “Install Office” or “Install Office apps”, you will be directed to a page that provides various installation options and versions of Office.
It’s worth noting that the specific steps and options may vary slightly depending on the version of Office 365 you are using. However, the goal remains the same – to find the option that allows you to install Office applications such as Word.
Now that you have located the installation options, you can move on to the next step and choose the installation option that suits your needs.
Step 4: Select “Office 365 Apps” or “Other install options”
After clicking on the “Install Office” or “Install Office apps” option, you will be presented with different installation options. Choose between “Office 365 Apps” or “Other install options” based on your requirements. Follow the steps below to proceed:
- On the installation options page, you may see a default option such as “Office 365 Apps”. This option allows you to install the complete suite of Office applications, including Word.
- If you wish to install the full suite of Office applications, including Word, Excel, PowerPoint, and more, simply select the “Office 365 Apps” option.
- Alternatively, you might also have the option to select “Other install options”. Click on this option if you only want to install specific Office applications, such as Word.
Keep in mind that the specific options may vary depending on your Office 365 subscription and the version that you are using. The main goal is to select the installation option that best suits your needs.
Once you have made your selection, you can proceed to the next step and choose the language and version of Office that you prefer.
Now that you have chosen your desired installation option, you are one step closer to downloading Word from Office 365 Student. Let’s move on to the next step and complete the download process.
Step 5: Choose your preferred language and version
After selecting the installation option in the previous step, the next step is to choose your preferred language and version of Office. Here’s how you can proceed:
- On the installation page, you will be presented with a list of available languages. Look through the options and select your preferred language from the dropdown menu.
- Next, you will need to choose the version of Office that you want to install. Depending on your subscription and the options available, you may see different versions such as Office 2019, Office 365, or Office 2021. Select the version that best meets your needs.
Choosing the right language and version is important as it ensures that you can work comfortably in your preferred language and utilize the features provided by the specific Office version you select.
Additionally, some versions of Office may have additional features or updates compared to others. Take the time to review the available options and select the version that best aligns with your requirements.
Once you have made your selections, you are ready to proceed with the download process. Click on the relevant button or link to continue.
Now that you have chosen your preferred language and version, let’s move on to the next step and begin the download process.
Step 6: Begin the download process
Now that you have selected your preferred language and version of Office, it’s time to begin the download process. Follow these steps to get started:
- After selecting the appropriate language and version, you will be prompted to start the download. Look for a button or link that says “Download” or “Install” and click on it.
- Depending on your web browser and Office 365 configuration, a dialog box may appear asking you to confirm the download. Review the information and click “Yes” or “Allow” to proceed.
- The download process will begin, and you may see a progress bar indicating the status of the download. The speed of the download will depend on your internet connection.
- Once the download is complete, the installer file will be saved to your computer. Locate the file and double-click on it to initiate the installation process.
During the installation process, you may be asked to confirm certain settings or agree to the software’s terms and conditions. Follow the on-screen instructions and provide any necessary information to complete the installation.
It’s important to note that the exact steps and prompts may vary depending on your operating system and Office 365 version. However, the overall process generally remains the same.
Now that you have begun the download process, your computer is on its way to being equipped with Word from Office 365 Student. Let’s move on to the final step and install Word!
Step 7: Install Word from Office 365 Student
Congratulations, you’re on the final step to install Word from Office 365 Student! Follow these instructions to complete the installation:
- After initiating the installation process in the previous step, the Office installer will launch. It will guide you through the installation and setup of Word and other Office applications.
- Read and review the information presented during the installation process, such as the software license agreement, privacy settings, and any additional options or features you can customize.
- Make any necessary adjustments to the installation preferences, such as selecting the destination folder for the installation or customizing the installation options.
- Once you have reviewed the settings and preferences, click on the “Install” or “Next” button to begin the installation of Word.
- The installation process may take some time, depending on your computer’s performance and the size of the Office installation files. A progress bar will indicate the status of the installation.
- Once the installation is complete, you will see a notification or confirmation message indicating that Word and other Office applications have been successfully installed.
Once Word is installed, you can launch the application and start exploring its features. Locate the Word application icon in your computer’s programs or applications list, or look for a desktop shortcut if one was created during the installation process.
Now that Word is installed, you can start using it to create, edit, and format your documents for all of your academic needs. Don’t forget to explore the various features and settings available within Word to enhance your productivity and workflow.
With Word from Office 365 Student, you have a powerful tool at your disposal to help you excel in your academic endeavors. Enjoy leveraging its capabilities to produce impressive documents and unleash your creativity!
Conclusion
In this guide, we have walked through the step-by-step process of downloading Word from Office 365 Student. By following these instructions, you can easily access this powerful word processing software and unleash your creativity in your academic pursuits.
From signing in to your Office 365 account and accessing the Office 365 homepage to selecting the installation options, choosing your preferred language and version, and finally installing Word, each step has been outlined to ensure a seamless and successful installation process.
Word from Office 365 Student offers a range of features and tools to help you create professional-looking documents, collaborate with classmates, and excel in your academic assignments. With its spellcheck, grammar suggestions, and advanced formatting options, you can produce high-quality work that stands out.
Remember to regularly update your Office 365 subscription to access the latest features and enhancements for Word and other Office applications. This will ensure that you stay up to date with the latest tools and improvements that Microsoft offers.
Now that you have successfully installed Word from Office 365 Student, you can begin exploring its capabilities and leveraging its features to enhance your productivity. Whether you need to write essays, create presentations, or collaborate with classmates, Word has everything you need to succeed.
Thank you for following this guide, and we hope that Word from Office 365 Student becomes an invaluable tool in your academic journey. Happy document creation!