Introduction
Welcome to the world of custom fonts! Adding a new font to Microsoft Word can greatly enhance your creative projects, giving them a unique and personalized touch. Whether you’re a graphic designer, a writer, or just someone looking to spice up your Word documents, this guide will walk you through the process of downloading and installing new fonts.
Microsoft Word comes preloaded with a variety of fonts, but sometimes you need something more specific or unconventional. Luckily, there are countless reputable font websites that offer an extensive collection of fonts to choose from. In just a few simple steps, you can have your freshly downloaded font ready to use in Word.
In this guide, we will explain how to find a reputable font website, search for the font you desire, download the font file, and install it on your computer. Finally, we will cover how to select the downloaded font in Microsoft Word. So, let’s dive in and discover the exciting world of custom fonts!
Before we begin, it’s important to note that the process may vary slightly depending on your operating system and version of Microsoft Word. However, the general steps provided in this guide should apply regardless of these differences.
Step 1: Find a reputable font website
The first step towards downloading a new font for Word is to find a reputable font website. There are numerous websites available, but it’s crucial to choose a reliable source to ensure the fonts you download are legitimate and of high quality.
When searching for a reputable font website, consider factors such as user reviews, the website’s design and functionality, and the variety and quality of the fonts offered. Look for well-known font websites that have been operating for a considerable amount of time and have a positive reputation in the design community.
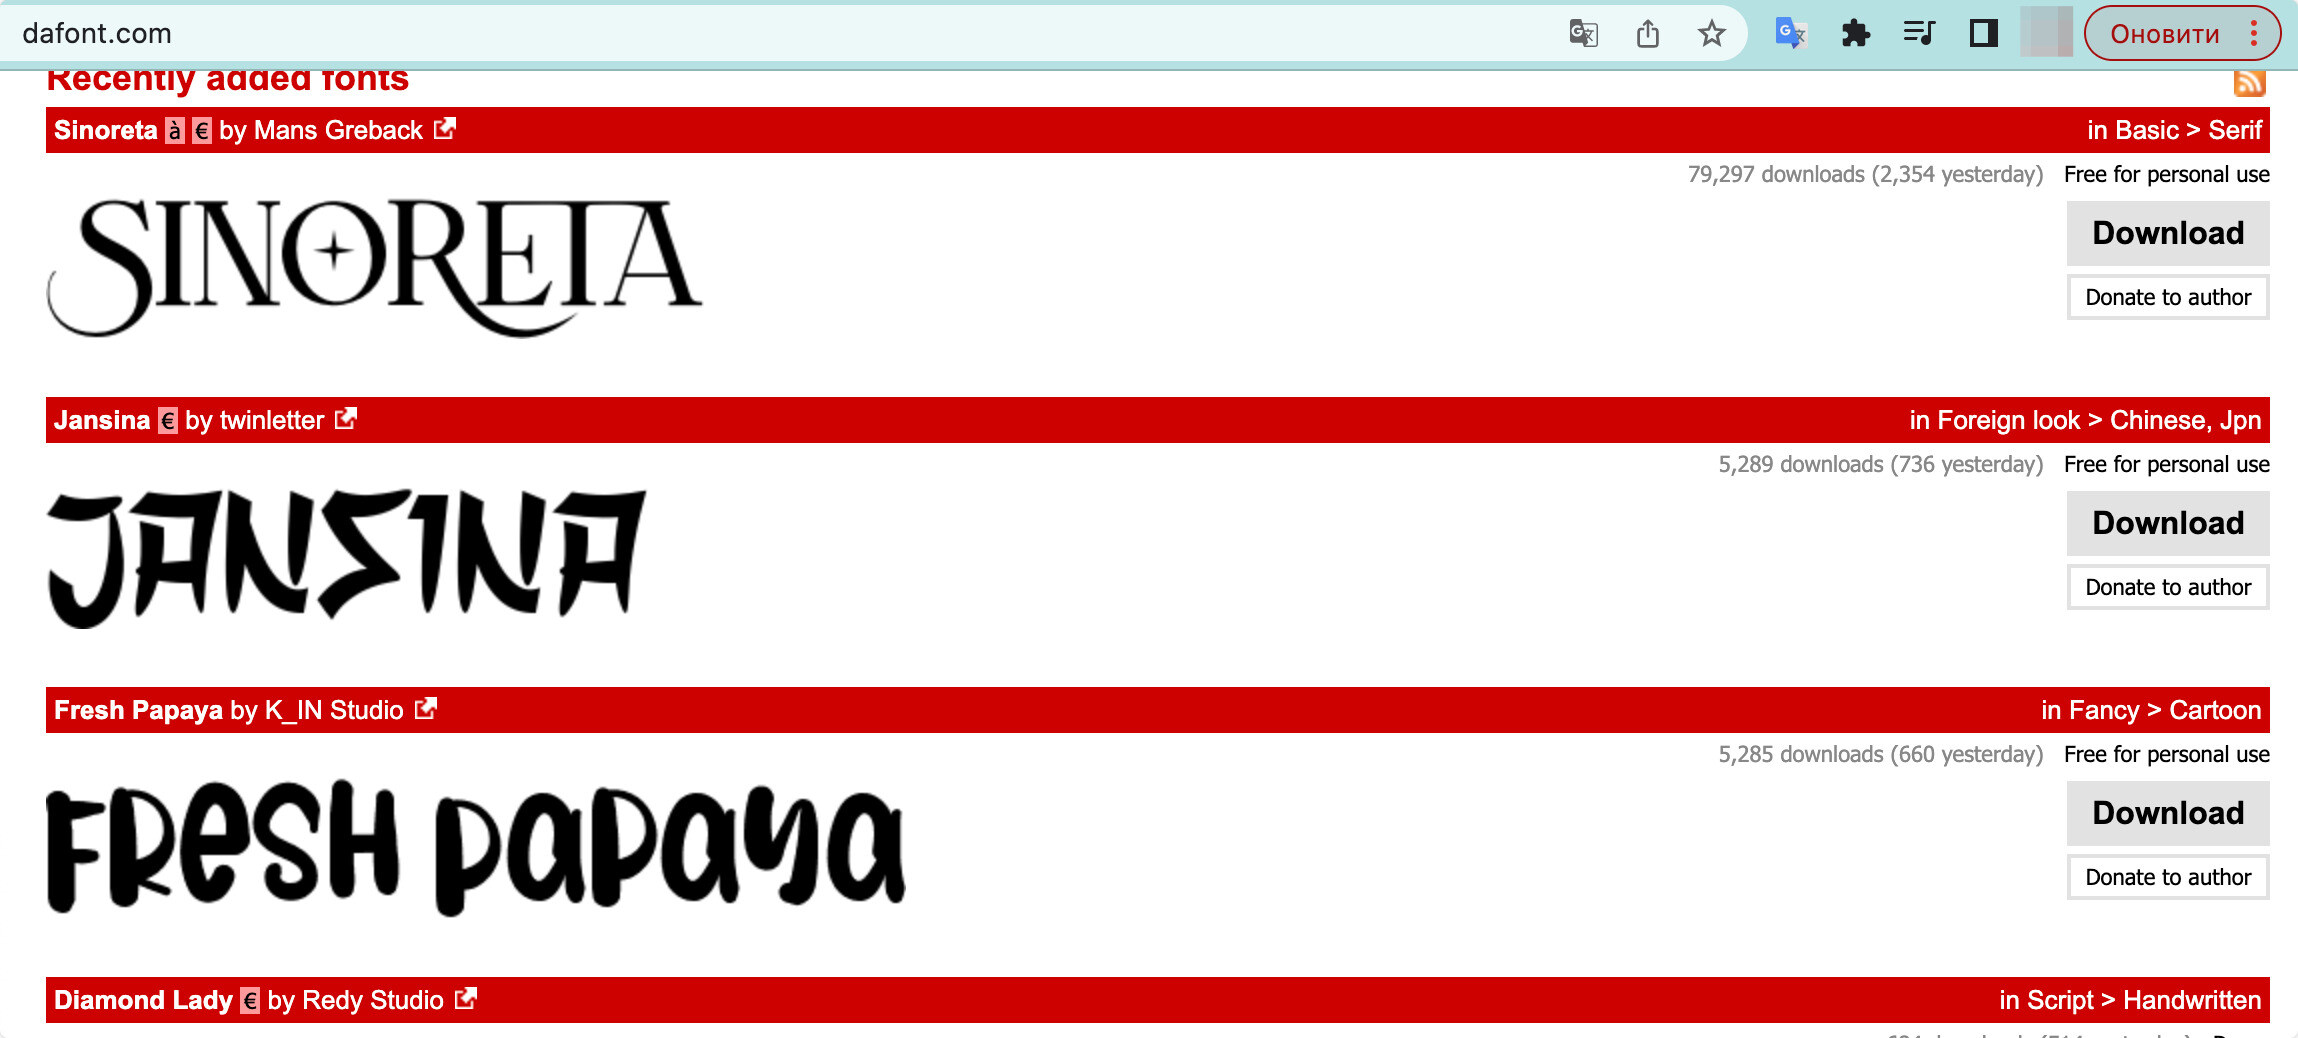
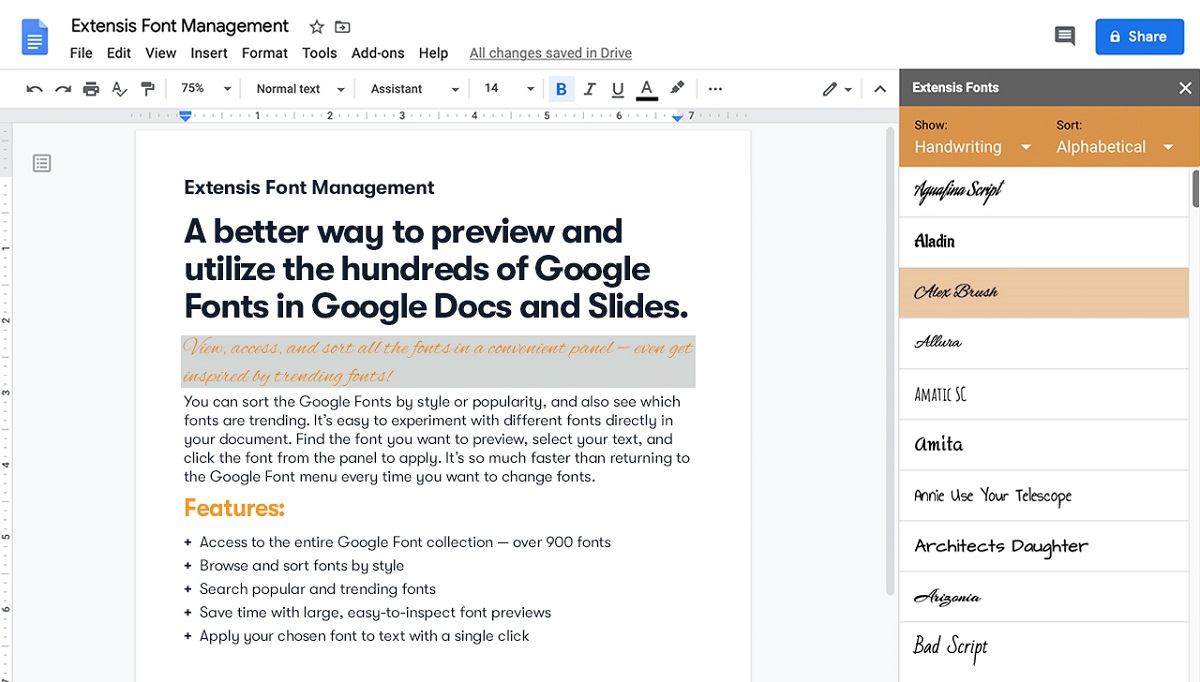
Some popular font websites that are trusted by designers and offer a wide selection of fonts include Google Fonts, DaFont, Font Squirrel, and Adobe Fonts. These websites are renowned for their extensive collections, easy-to-navigate interfaces, and high standards for font quality.
While it’s tempting to explore smaller, lesser-known font websites, exercise caution and do your research before downloading fonts from them. These websites may not have the same level of quality control, which could result in less reliable or poorly designed fonts.
Once you have identified a reputable font website, take some time to explore their offerings and search for the style of font you have in mind. Many font websites provide helpful filters and categories to make the search process easier. You can narrow down your search based on font styles, such as serif, sans-serif, script, or decorative fonts, ensuring you find the perfect font to suit your needs.
Keep in mind that some font websites offer both free and paid fonts. Free fonts are a great way to start, but if you require more exclusive or premium options, consider purchasing a font pack or subscribing to a premium font service.
Once you have found the font you want to download, make note of its name or download button location. With this information in hand, you are ready to move on to the next step: downloading the font file.
Step 2: Search for your desired font
Now that you have chosen a reputable font website, it’s time to search for the font that best suits your needs. The search process may vary slightly depending on the website you’re using, but the general steps remain the same.
First, take a moment to think about the type of font you’re looking for. Consider the purpose of your document or project and the message you want to convey. Are you looking for a formal and elegant font for a wedding invitation, or a bold and playful font for a children’s book? Determining your preferences will help streamline your search.
On the font website, you will typically find a search bar or a font library where you can browse through different categories and styles. Using the search bar, enter keywords related to the font you’re looking for. For example, if you want a handwritten-style font, try using the keywords “handwritten,” “script,” or “calligraphy.”
Some font websites offer additional filters to narrow down your search further. These filters may include options to sort fonts by popularity, date added, or even specific font characteristics like weight, slant, or language support. Utilize these filters to refine your search and find the perfect font.
As you browse through the search results, take note of the fonts that catch your eye. Many font websites provide helpful previews of the fonts, allowing you to see how they will look in different sizes and styles. Consider creating a shortlist of potential fonts that you can compare and evaluate later.
During the search, keep in mind any licensing and usage requirements. Some fonts may come with specific licenses that restrict their use for commercial purposes or on certain platforms. Make sure to read the font’s description or licensing information to ensure it fits your needs and complies with your intended usage.
Once you have found the perfect font that aligns with your vision, it’s time to move on to the next step: downloading the font file.
Step 3: Download the font file
After finding the desired font on the reputable font website, the next step is to download the font file to your computer. This file contains all the necessary information for installing the font and making it accessible in Microsoft Word.
On most font websites, the download process is straightforward. Look for a button or link that is labeled “Download” or “Download font.” It is usually located near the font preview or description on the webpage.
Clicking on the download button will initiate the download process. Depending on your browser settings, you may be prompted to choose a location on your computer where you want to save the font file. Choose a familiar location such as your Downloads folder to make it easier to locate the file later.
Once the download is complete, you will have the font file saved on your computer. The font file typically has a file extension like .ttf (TrueType Font) or .otf (OpenType Font). These file formats are widely compatible and can be used in Microsoft Word and other applications.
It’s important to note that some font websites may compress the font file into a .zip or .rar archive to reduce file size. In such cases, you will need to extract the font files from the compressed archive before continuing with the installation process. Right-click on the compressed file and select “Extract” or use third-party software to extract the font files to a location on your computer.
Once you have the font file (or files) ready, you can proceed to the next step: installing the font on your computer.
Step 4: Extract the font files (if necessary)
If you have downloaded a font file that is compressed into a .zip or .rar archive, you will need to extract the font files before you can install them. Extraction is a simple process that allows you to access the individual font files that are contained within the compressed archive.
To begin the extraction process, locate the compressed font file on your computer. Right-click on the file and select “Extract” or “Extract here” from the context menu. This will initiate the extraction process, and the font files will be extracted to a chosen location on your computer.
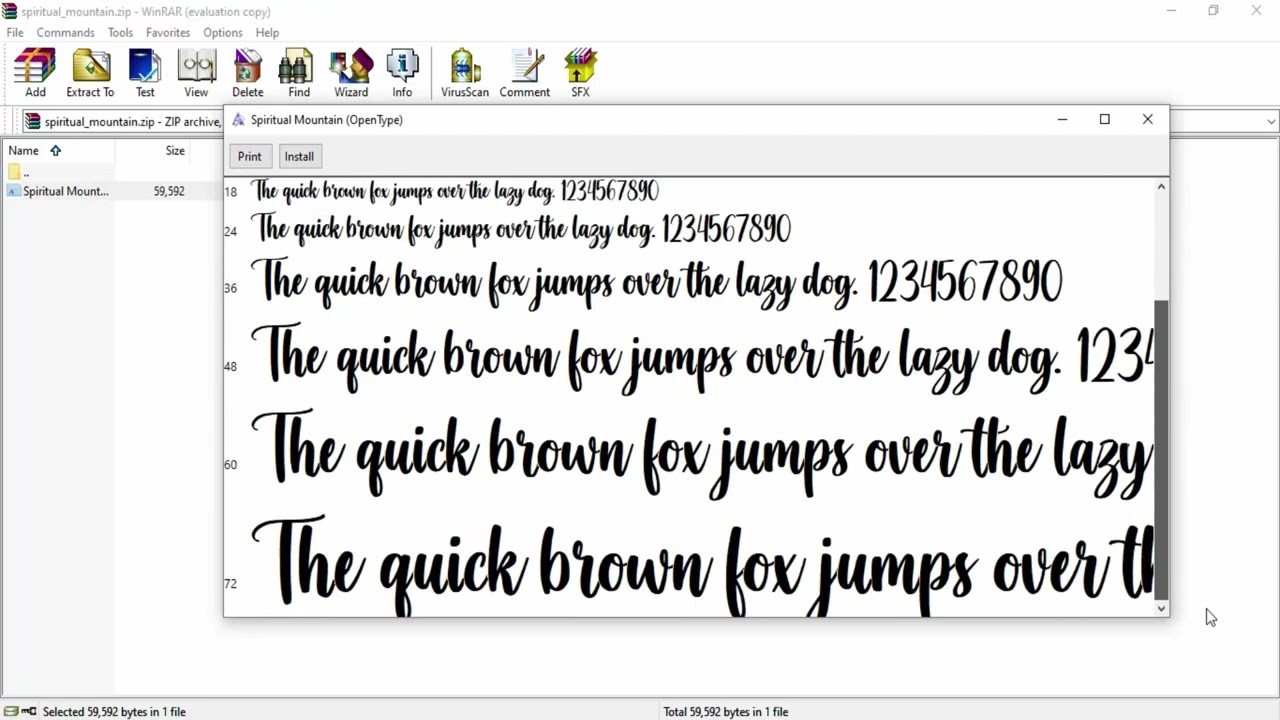
Alternatively, you can use third-party software like WinRAR or 7-Zip to extract the font files from the archive. Simply right-click on the compressed font file and select the appropriate option from the software’s context menu.
After extracting the font files, you may want to create a separate folder to store the extracted fonts. This will help you keep things organized and make it easier to locate the font files when it’s time to install them.
It’s essential to keep the extracted font files in a safe and accessible location on your computer. Avoid moving or deleting the font files, as it may cause issues when installing the fonts or using them in Microsoft Word.
Now that you have extracted the font files, you’re one step closer to using them in Microsoft Word. The next step is to install the font on your computer.
Step 5: Install the font on your computer
Once you have obtained the font files, it’s time to install them on your computer. The installation process will vary slightly depending on your operating system, but the overall steps remain similar.
Here is a general guide on how to install the font on both Windows and macOS:
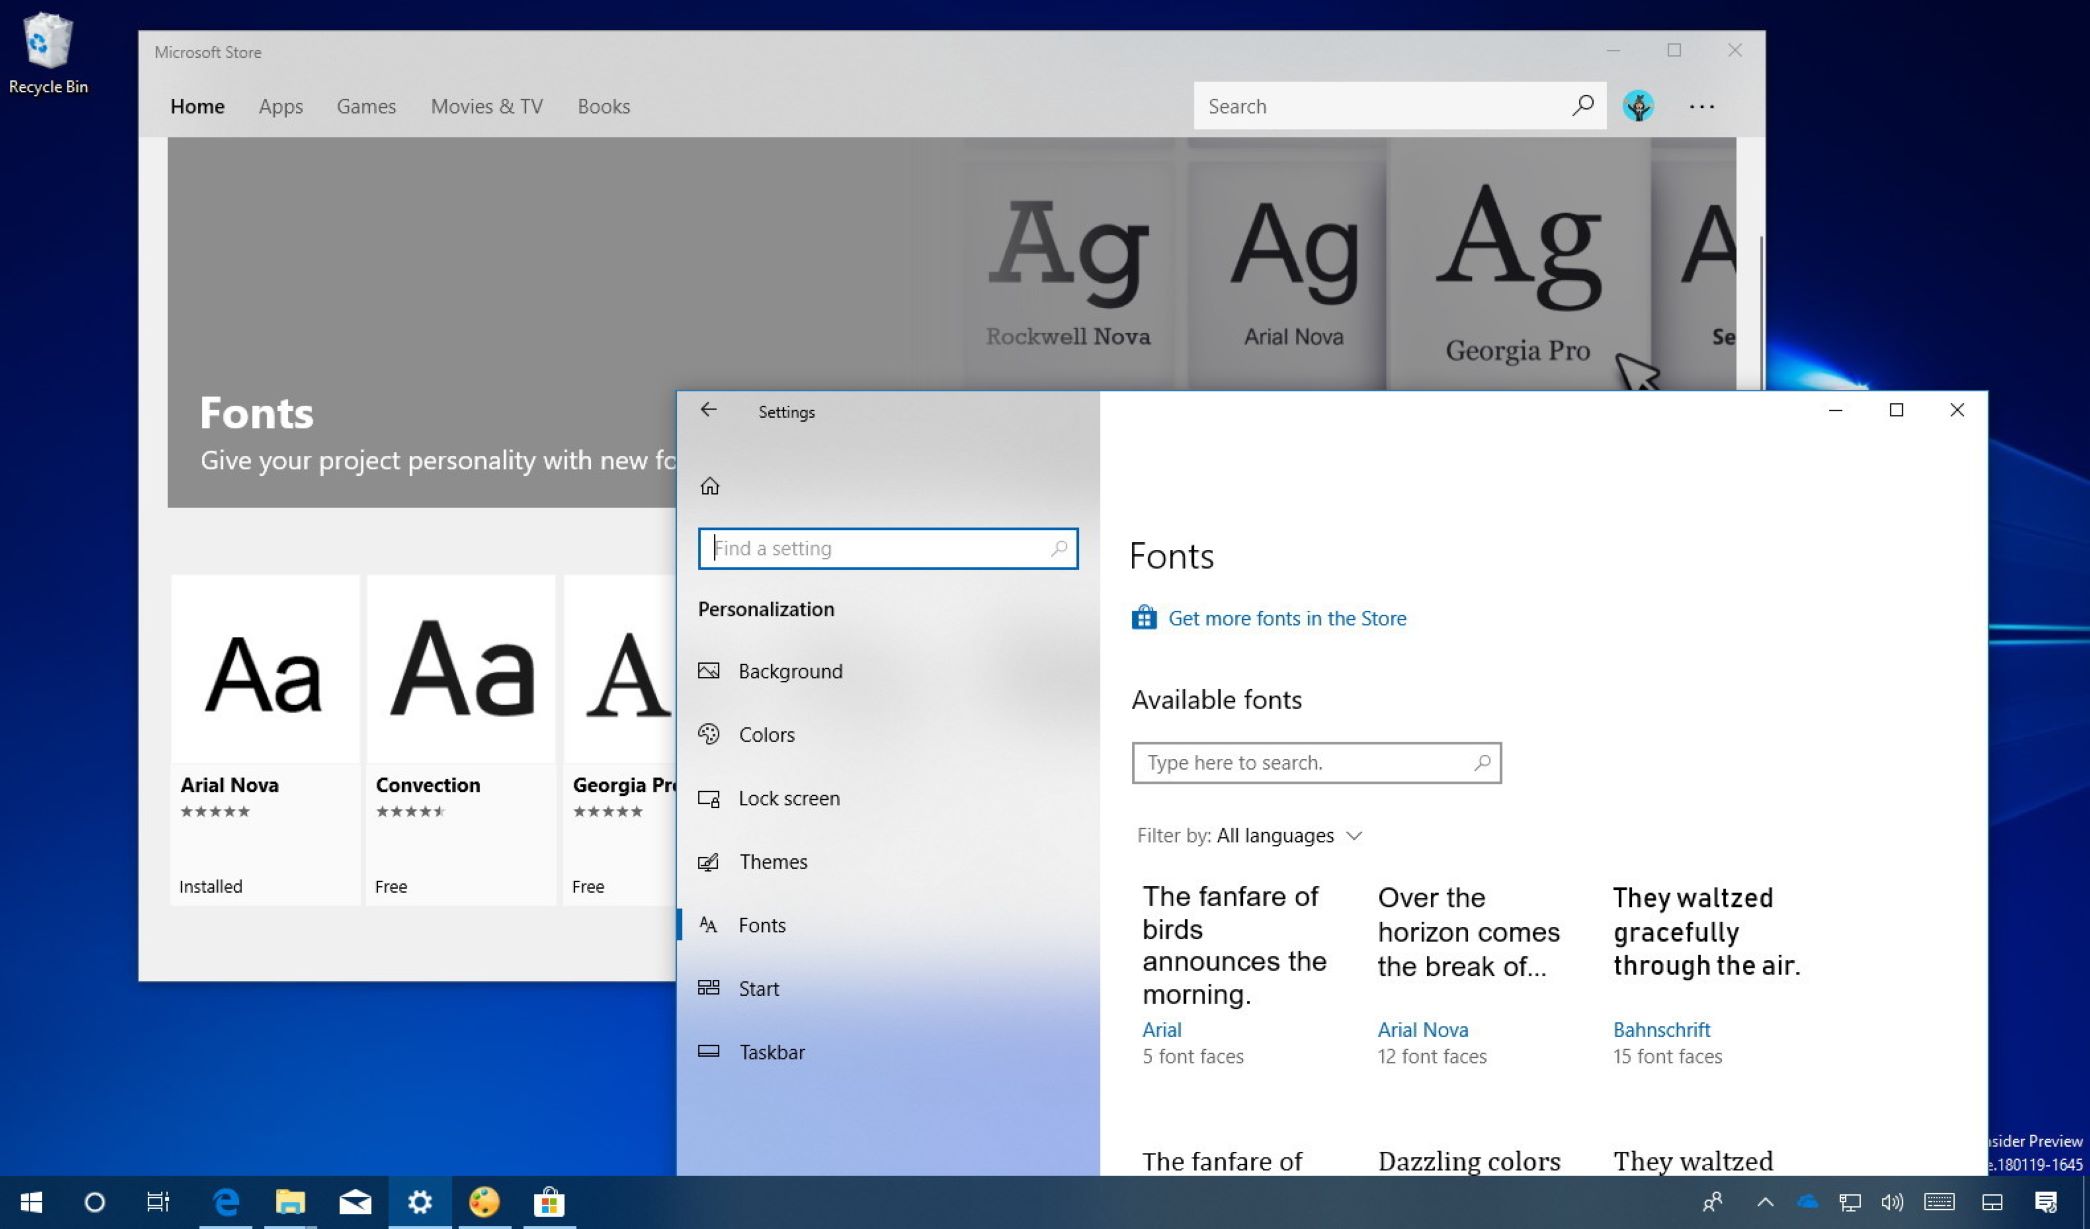
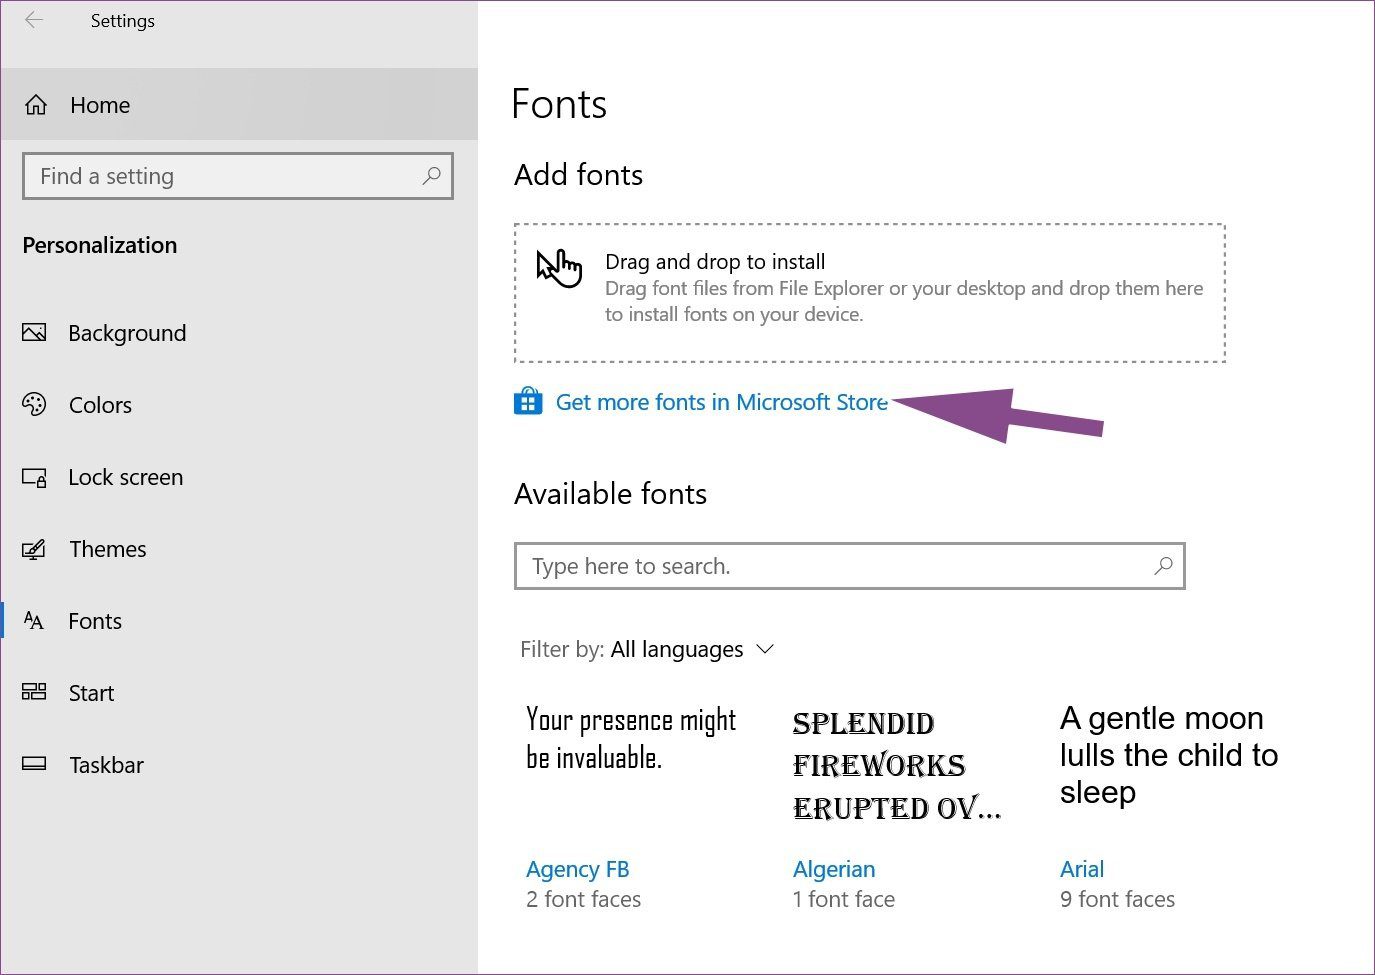
Windows:
- Locate the font files on your computer.
- Right-click on the font file and select “Install” from the context menu.
- Alternatively, you can double-click on the font file to open a preview window, then click the “Install” button at the top of the window.
- Windows will automatically install the font, and you will receive a confirmation message when the installation is complete.
macOS:
- Locate the font files on your computer.
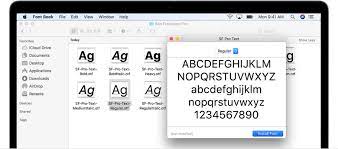
- Double-click on the font file to open a preview window.
- Click the “Install Font” button located at the bottom of the preview window.
- macOS will automatically install the font, and you will receive a confirmation message when the installation is complete.
After installing the font, it will be available for use in all applications on your computer, including Microsoft Word. You can open Word and start using the newly installed font in your documents.
If you had Microsoft Word open during the font installation, you may need to restart the application for the font to appear in the font selection menu.
It’s worth mentioning that installing a font on your computer allows you to use it in various applications, not just in Microsoft Word. So, feel free to explore and experiment with your new font in other design and writing tools.
With the font now installed on your computer, let’s move on to the next step: opening Microsoft Word and selecting the downloaded font.
Step 6: Open Microsoft Word
With your newly installed font ready to use, it’s time to open Microsoft Word and start creating your documents with a personalized touch.
To open Microsoft Word, follow these simple steps:
Windows:
- Click on the “Start” menu located in the bottom left corner of your screen.
- Scroll through the list of installed applications and locate “Microsoft Word.”
- Click on the “Microsoft Word” icon to launch the application.
- Alternatively, you can search for “Microsoft Word” in the search bar next to the “Start” menu.
macOS:
- Click on the “Finder” icon on your dock (the smiley face).
- In the menu bar at the top of the screen, click on “Go.”
- A drop-down menu will appear. Select “Applications” from the menu.
- Locate and double-click on “Microsoft Word” in the “Applications” folder to launch the application.
Once Microsoft Word is open, you can start creating a new document or open an existing one. The font you have downloaded and installed should now be available for selection in the font dropdown menu.
To select the downloaded font in Word, follow these steps:
- Click on the “Home” tab in the Word toolbar.
- In the toolbar, locate the “Font” section.
- Click on the font dropdown menu. You will see a list of available fonts.
- Scroll through the list and locate the name of the downloaded font.
- Click on the font name to select it.
After selecting the font, you can start typing in your document, and the text will appear in the chosen font style. You can also change the font size, style, and formatting as needed to further customize your document.
Now that you have opened Microsoft Word and selected the font, you’re ready to unleash your creativity and start producing visually stunning documents.
Step 7: Select the downloaded font in Word
With Microsoft Word open and your document ready, it’s time to reap the benefits of your downloaded font by selecting it in Word. This step will ensure that your text appears in the desired font style.
To select the downloaded font in Microsoft Word, follow these simple instructions:
- Click inside the document where you want to apply the font.
- Highlight the text that you want to change the font of. You can select a single word, a sentence, or the entire document.
- Go to the “Home” tab in the Word toolbar.
- In the “Font” section of the toolbar, locate the font dropdown menu.
- Click on the font dropdown menu to display the available fonts.
- Scroll through the list and locate the name of the downloaded font.
- Click on the font name to select it.
After selecting the font, the text you highlighted will now appear in the chosen font style. You can further customize the text by adjusting the font size, bolding or italicizing it, or applying other formatting options within the “Font” section of the toolbar.
Remember to save your document to preserve the font settings for future use. By saving the document, you ensure that your chosen font will be displayed correctly, even if the document is opened on a different computer.
Now you can continue typing or formatting your document with the selected font. Let your creativity flow and take advantage of the unique style and personality that the downloaded font brings to your work.
It’s worth noting that the downloaded font will also be available for selection in other programs installed on your computer, such as PowerPoint or Photoshop. This allows you to maintain consistency across your design projects and achieve a cohesive visual look.
Congratulations! You have successfully selected the downloaded font in Microsoft Word. Enjoy the creative possibilities and make your documents stand out with the unique flair of your chosen font.
Conclusion
By following these seven simple steps, you can easily download and install new fonts to Microsoft Word, allowing you to add a personalized and unique touch to your documents. Custom fonts can elevate your designs, convey the right message, and make your work stand out.
Remember to start by finding a reputable font website that offers a wide variety of fonts. Take your time to search for the font that best suits your needs, considering factors like style, purpose, and licensing requirements. Download the font file, and if necessary, extract it from a compressed archive.
Then, proceed to install the font on your computer, ensuring that it becomes available not only in Microsoft Word but in other applications as well. Open Microsoft Word and select the downloaded font from the font dropdown menu to apply it to your text.
With the downloaded font in your toolbox, you can unleash your creativity and produce visually stunning documents that leave a lasting impression. Customize your font choices, experiment with different styles and sizes, and create a professional look that showcases your unique voice.
Remember to save your documents to preserve the font settings and ensure consistency across platforms and devices. Whether you are working on a personal project, designing promotional materials, or writing a professional document, the added touch of a custom font can make a remarkable difference.
So, don’t limit yourself to the default fonts provided by Microsoft Word. Explore the world of fonts available on reputable font websites and discover the perfect font that reflects your style and enhances your work. With these steps, you’re well on your way to transforming your documents into visually captivating masterpieces.