Introduction
Welcome to the world of creative typography! Fonts play a crucial role in design projects, whether it’s a website, graphic, or any other visual medium. Dafont is a popular online platform that offers thousands of free fonts for personal and commercial use. With its vast collection and user-friendly interface, it has become a go-to resource for designers, students, and font enthusiasts.
In this article, we will walk you through the step-by-step process of downloading fonts from Dafont and installing them on your computer. Whether you’re a beginner or an experienced designer, this guide will provide you with the knowledge and tools to enhance your creative projects.
Before we dive into the process, it’s essential to mention that while Dafont provides a wide range of fonts for free, some are for personal use only, and others may require a donation or a commercial license. Make sure to read the license terms provided by the font authors to understand the usage restrictions.
Now, let’s get started with our journey into the world of fonts and discover how to download from Dafont!
Step 1: Go to the Dafont website
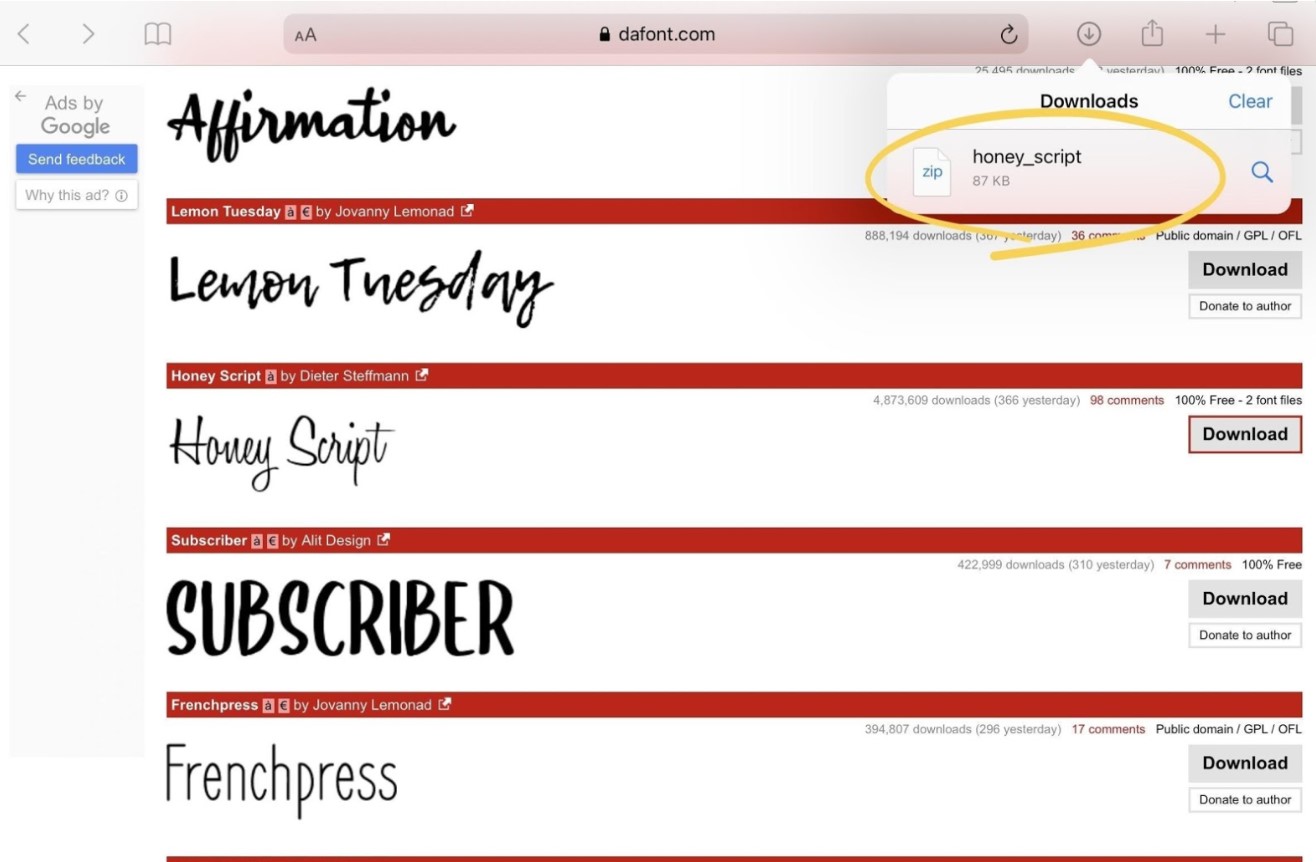
The first step in downloading fonts from Dafont is to visit the website. Open your web browser and type in www.dafont.com in the address bar. Press Enter, and you will be directed to the Dafont homepage.
Once you land on the Dafont website, you will notice a simple and user-friendly layout. The homepage showcases a wide range of fonts and popular categories, making it easy to navigate through the font collection.
To make your browsing experience even smoother, Dafont provides various options to explore fonts. You can either use the search bar to find specific fonts by name, or you can navigate through the categories listed on the left-hand side of the page. These categories include themes like “Fancy,” “Handwritten,” “Script,” and many more, allowing you to find fonts that match your project’s style.
Dafont also offers a “New Fonts” section, where you can discover recently added fonts, as well as a “Top” section that showcases the most downloaded fonts on the platform. These sections can be helpful if you’re looking for trending or fresh fonts to incorporate into your designs.
Now that you’re familiar with the Dafont website and its navigation options, it’s time to move on to the next step – browsing and selecting the font that suits your project!
Step 2: Browse for a font
Now that you’re on the Dafont website, it’s time to start exploring the vast collection of fonts. Browsing for the perfect font that complements your project’s aesthetics is an exciting and creative process.
To begin, you can either use the search bar at the top of the page to enter specific keywords related to the type of font you’re looking for. For example, if you’re in search of a vintage-style font, simply type “vintage” in the search bar, and Dafont will display fonts that match that description.
If you prefer a more exploratory approach, you can navigate through the categories listed on the left-hand side of the page. Dafont offers a range of categories including “Fancy,” “Handwritten,” “Techno,” and many more, providing a diverse selection to suit different design themes and moods.
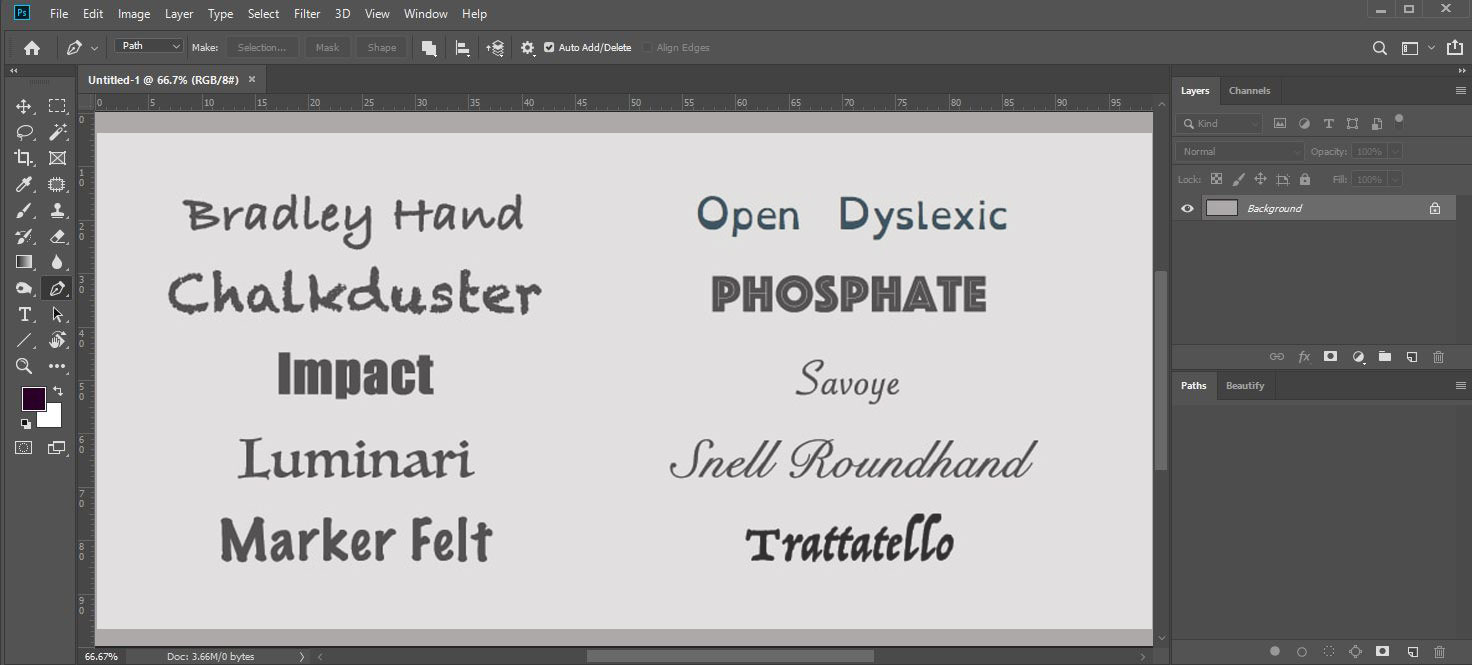
As you browse through the fonts, you’ll notice that each font is accompanied by a preview text. This allows you to see how the font looks when applied to different letters and words before downloading it. Take your time to explore different fonts and their variations by adjusting the preview text, font size, and other settings provided on the website.
Additionally, you may also come across fonts that have multiple styles available – such as regular, bold, italic, or condensed variations. This can be beneficial if you’re looking to create an impact by mixing and matching different font styles within your project.
Remember, finding the right font is all about aligning it with the message, tone, and purpose of your project. Take your time to experiment, explore, and choose a font that resonates with your creative vision.
Once you’ve found the font that speaks to you, it’s time to move on to the next step – selecting and downloading the font file!
Step 3: Choose a font to download
After browsing through the extensive collection of fonts on Dafont, you’ve likely discovered several options that caught your eye. Now it’s time to choose the font that best suits your project and download it.
When selecting a font, consider factors such as readability, style, and compatibility with your design. Think about the overall message you want to convey and how the font can contribute to that. Whether you’re looking for something bold and attention-grabbing or a subtle and elegant typeface, Dafont offers a wide range of options to cater to your preferences.
Once you’ve found the font you want to download, click on the font name or preview to access its detail page. On this page, you will find more information about the font, such as the author’s name, additional variations of the font (if available), and the license type.
It’s important to pay attention to the license type provided for each font, as some fonts may have specific usage restrictions. Dafont typically categorizes fonts into four license types: Free for personal use, Donationware, Shareware, and Demo.
If you’re using the font for personal projects, you can select fonts that are labeled as “Free for personal use,” allowing you to incorporate them into your designs without any commercial intent. For commercial projects or if you want to support the font author, fonts labeled as “Donationware” or “Shareware” may require a donation or purchase of a commercial license.
Once you’ve made your decision and confirmed that the font’s license aligns with your project’s requirements, you’re ready to download the font file. We’ll explore the downloading process in the next step.
Step 4: Check the font details
Before proceeding with the download, it’s essential to check the font details provided on Dafont. Font details offer valuable information about the font’s characteristics, variations, and usage restrictions.
When you click on a font’s name or preview on Dafont, you will be directed to its detail page. Here, you can find a wealth of information about the font, including the author’s name, font style variations (such as regular, bold, italic, etc.), and any specific instructions or recommendations from the font creator. Take a moment to review this information to ensure you have a clear understanding of the font’s capabilities.
In addition to the font details, you’ll also find the license type specified for the font. Dafont categorizes fonts into different license types, including “Free for personal use,” “Donationware,” “Shareware,” and “Demo.” Make sure the font’s license aligns with your intended usage. If you plan to use the font for personal projects only, fonts labeled as “Free for personal use” will be suitable. For commercial projects or if you want to support the font author, fonts labeled as “Donationware” or “Shareware” may require a donation or purchase of a commercial license.
It’s crucial to respect the font author’s rights and follow any usage restrictions indicated by the license type. If in doubt, reach out to the font author or refer to their website for additional information.
As a responsible designer, taking the time to review the font details ensures that you are using the font appropriately and according to the author’s intentions. With a clear understanding of the font’s characteristics and usage terms, you’re now ready to proceed with the download process, which we will cover in the next step.
Step 5: Download the font file
Once you have chosen a font and checked its details, you’re ready to download the font file from Dafont. Downloading fonts from Dafont is a straightforward process, and there are a few different methods to choose from.
To start, locate the download button or link on the font’s detail page. It is typically labeled as “Download,” “Download TTF,” or “Download OTF” depending on the font file format. Click on the appropriate download button to begin the process.
When you click the download button, a prompt will appear, asking you to save the font file to your computer. Choose the location where you’d like to save the file, and click “Save.”
The font file will usually be saved as a ZIP archive, especially if the font has multiple variations or additional resources included. Make sure to remember the location where the file is saved.
After the download is complete, navigate to the location where you saved the font file. If it is in a ZIP format, you will need to extract or unzip the file before being able to install the font on your computer. Right-click on the ZIP file and select “Extract” or “Extract All” from the context menu. Choose a destination folder to extract the font files.
If the font is downloaded as a single font file (TTF or OTF format), you can skip the extraction step and proceed to the font installation process.
With the font file downloaded and extracted (if necessary), you’re now ready to move on to the next step – installing the font on your computer.
Step 6: Unzip the font file (if needed)
If the font file you downloaded from Dafont is in a compressed ZIP format, you’ll need to unzip or extract the file before you can install the font on your computer. Unzipping the file is a necessary step to access the font files contained within.
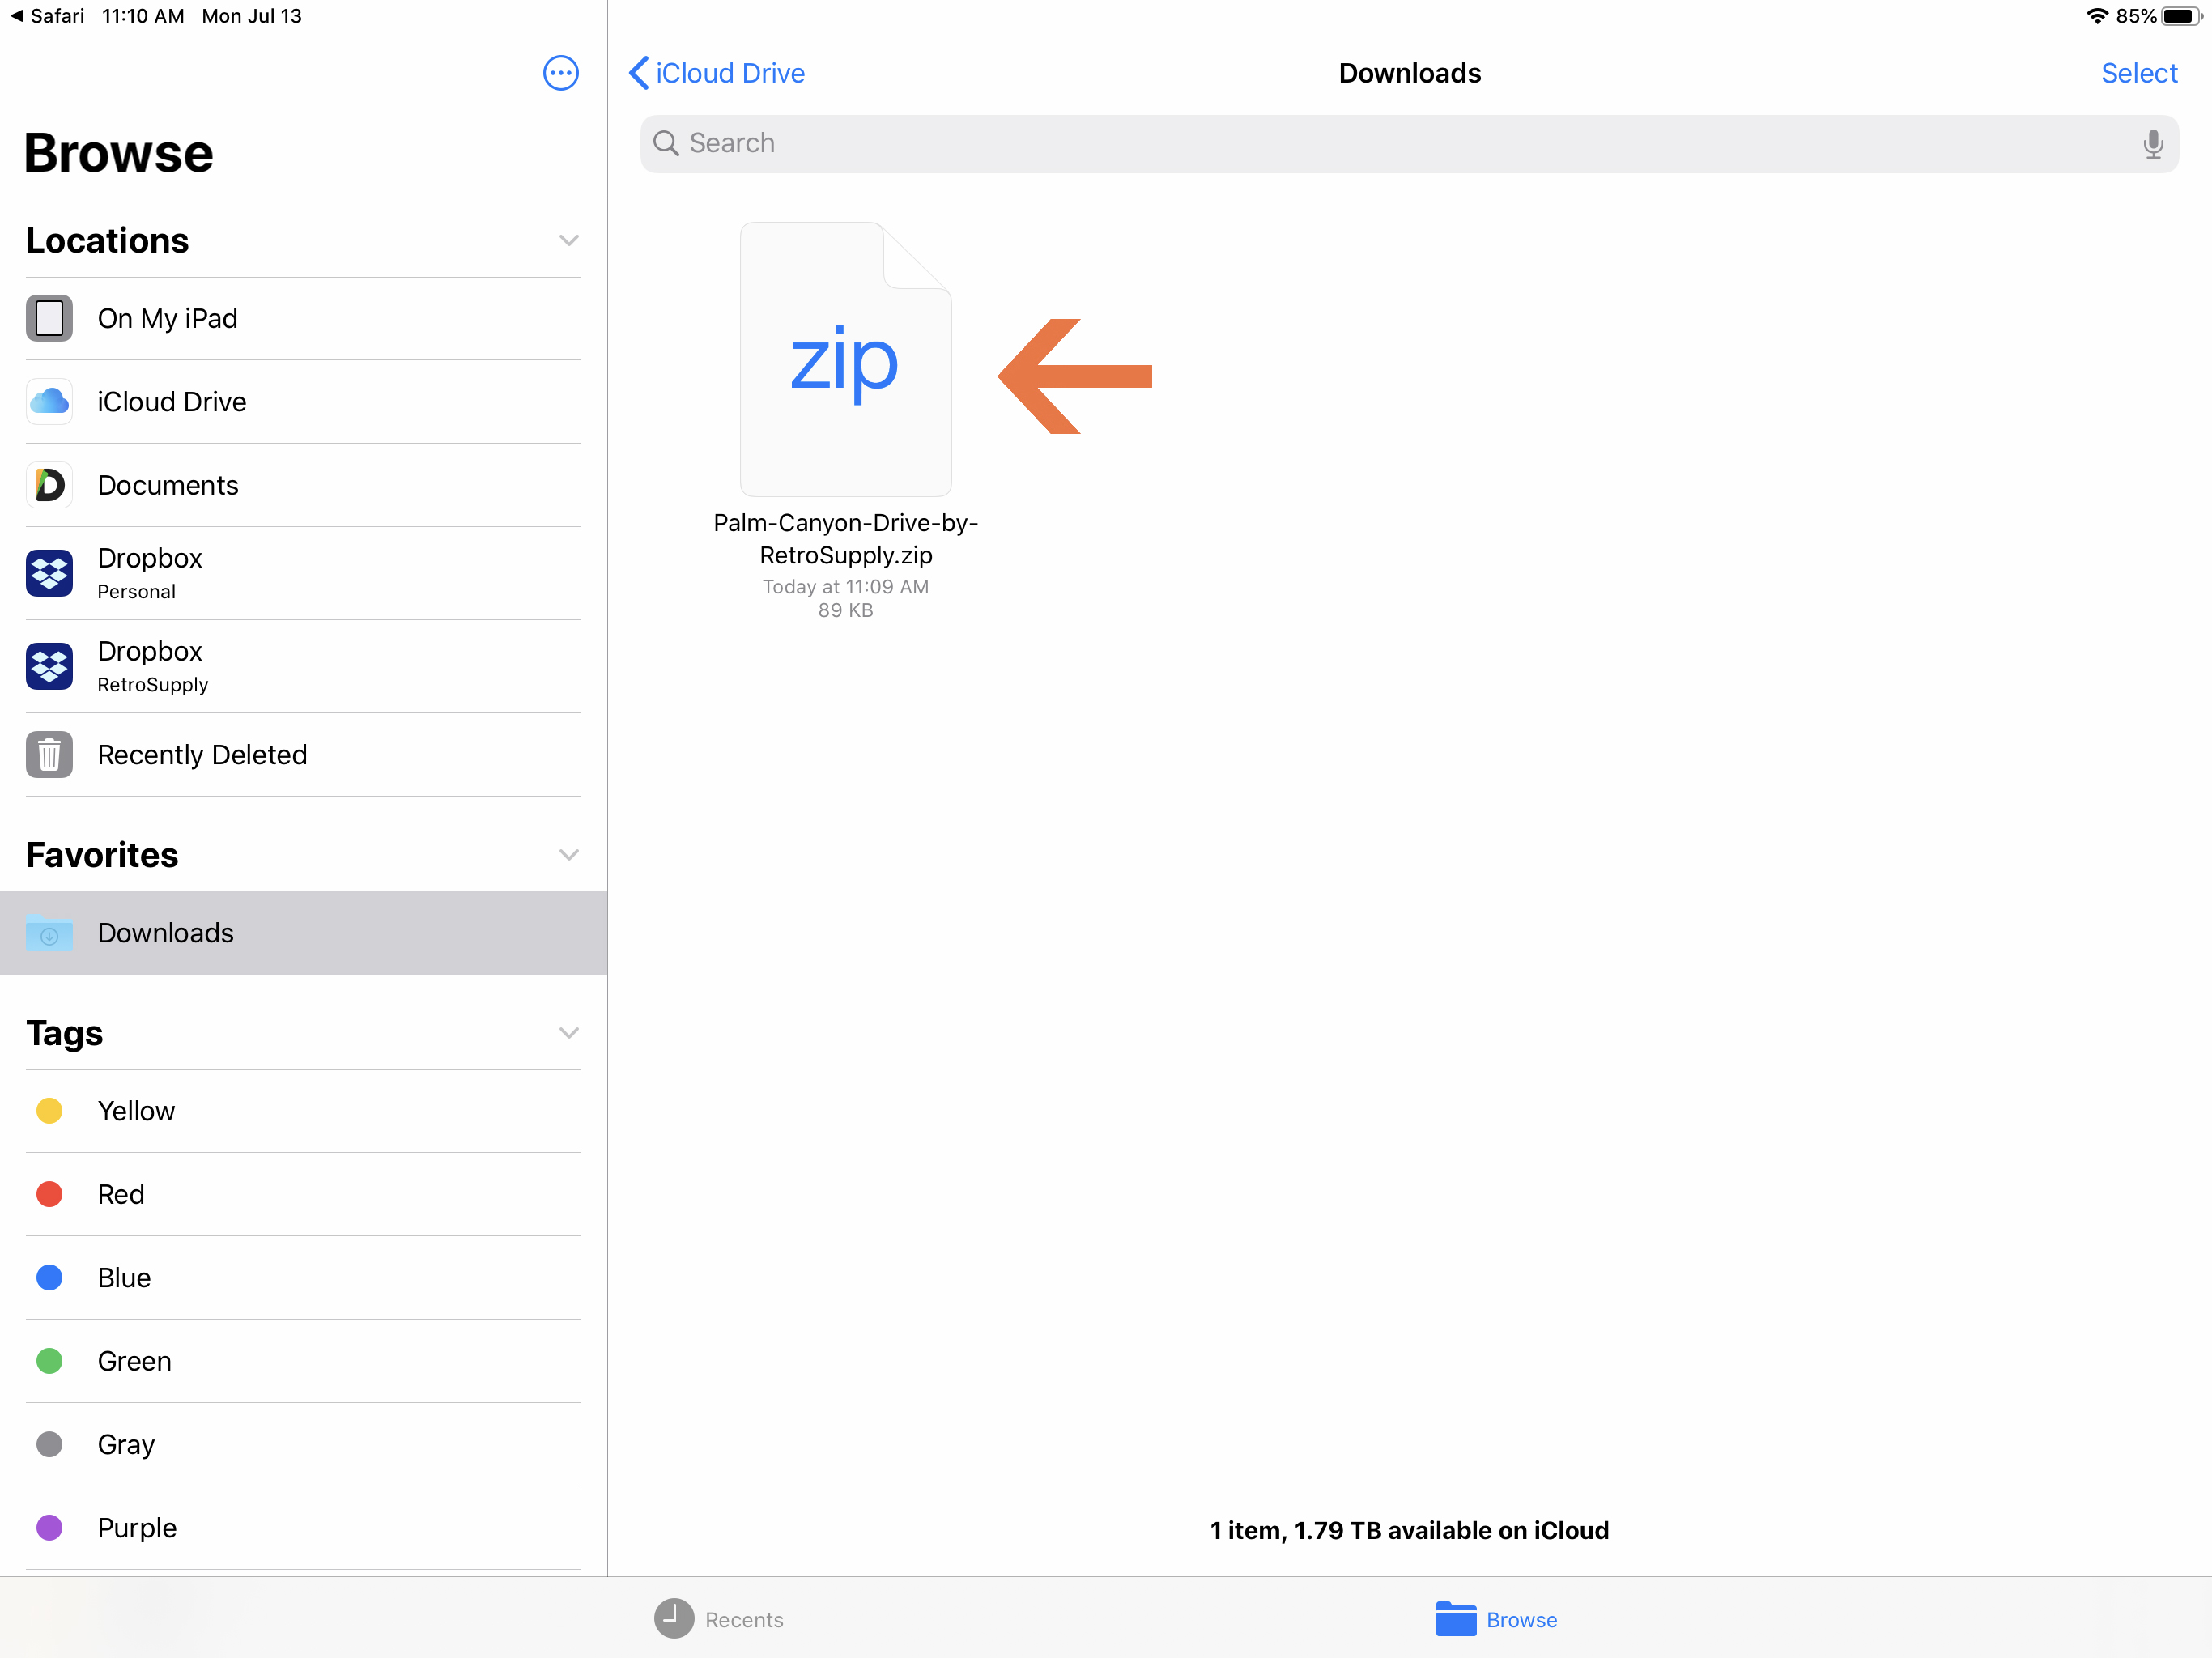
To begin, locate the downloaded ZIP file on your computer. Typically, it will be in your “Downloads” folder or the location you specified during the download process.
Next, right-click on the ZIP file and select “Extract” or “Extract All” from the context menu that appears. This will open a prompt that allows you to choose the destination folder where you want to extract the font files.
Click “Browse” or select the desired folder from the options provided to choose the extraction destination. You can either create a new folder specifically for the font files or select an existing folder where you would like the font files to be saved.
Once you have chosen the extraction destination, click “OK” or “Extract” to start the extraction process. The ZIP file will be uncompressed, and the font files will be extracted to the specified folder.
After the extraction is complete, you should now see the font files listed in the destination folder. These font files are typically in .ttf (TrueType Font) or .otf (OpenType Font) format.
Remember to keep track of the extracted font files and their location for the next step – installing the font on your computer. With the font files extracted and ready, you’re one step closer to using your newly downloaded font in your desired applications!
Step 7: Install the font on your computer
Now that you have the font file downloaded and extracted (if needed), it’s time to install the font on your computer. Font installation is a simple process that allows you to use the font in various applications and programs.
Here’s how to install the font on a Windows computer:
- Locate the font file that you downloaded or extracted. It should have a .ttf or .otf extension.
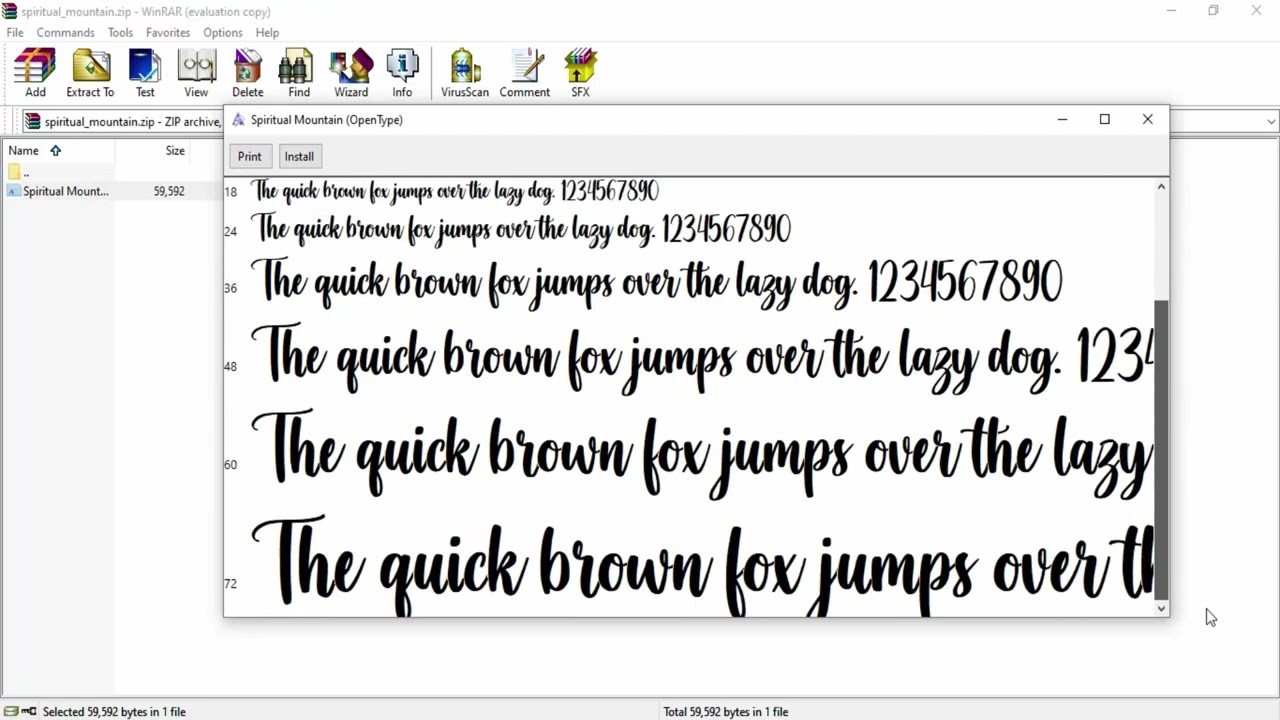
- Double-click on the font file to open it. This will bring up a preview window showing how the font looks.
- In the preview window, click on the “Install” button located at the top of the window.
- Windows will now install the font, and a notification will appear once the installation is complete.
- You can now use the font in any compatible application installed on your computer, such as word processors, graphic design software, or presentation tools.
If you are using a Mac computer, follow these steps to install the font:
- Locate the font file that you downloaded or extracted. It should have a .ttf or .otf extension.
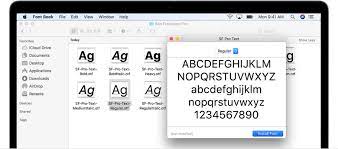
- Double-click on the font file to open it. This will launch the Font Book application.
- In the Font Book window, click on the “Install Font” button located at the bottom of the window.
- Font Book will now install the font, and it will be added to your system’s font library.
- You can now use the font in any compatible application installed on your Mac.
After installing the font, you may need to restart any applications that were open during the installation process for the changes to take effect. Once the font is installed and the applications are reopened, you can select the font from the font menu of your preferred application and start using it in your projects.
Congratulations! You have successfully installed the font on your computer, allowing you to unleash your creativity and use it in your designs.
Step 8: Use the font in your desired application
Now that you have installed the font on your computer, it’s time to unleash your creativity and start using it in your desired applications. Whether you’re working on a design project, creating a presentation, or editing a document, incorporating the newly downloaded font can add a unique touch to your work.
To use the font in your desired application, follow these simple steps:
- Open the application in which you want to use the font. This can be a word processor, graphic design software, presentation tool, or any other program that allows you to choose the font.
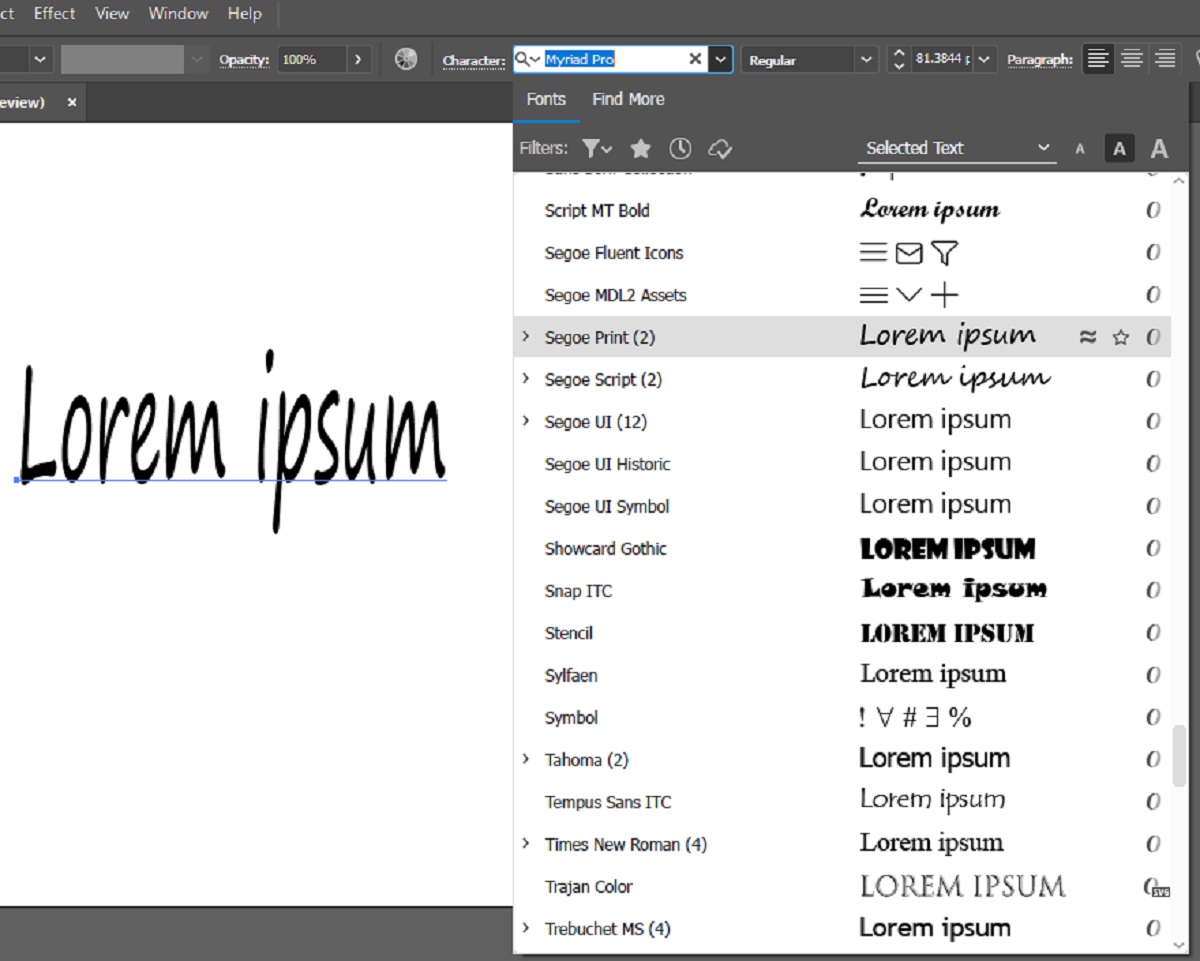
- Navigate to the font selection menu within the application. This is usually located in the formatting or typography options, often denoted by a font name or a “T” icon.
- In the font selection menu, browse or search for the name of the font you installed. It should appear in the font list along with other pre-installed fonts on your computer.
- Select the font to apply it to your project. You may need to adjust the font size, style, or other formatting options to suit your design requirements.
- Continue working on your project, and enjoy the new visual aesthetic achieved with the font.
Remember to consider the readability and style of the font in relation to your project. Experiment with different variations, such as bold, italic, or different font sizes, to create visually engaging designs that align with your creative vision.
Each application may have unique steps for selecting and applying fonts, so be sure to consult the specific software’s documentation or help resources if you encounter any difficulties.
With the font successfully applied to your project, you can now admire the unique typography and appreciate the impact it brings to your overall design. Enjoy exploring the possibilities and experimenting with different fonts to enhance your creative expression!
Conclusion
Congratulations! You have completed the journey of downloading and using fonts from Dafont. By following the steps outlined in this guide, you now have the knowledge and skills to browse, select, download, install, and utilize a wide range of fonts in your creative projects.
Remember to always review the font details and license terms to ensure you are using the font appropriately and within the designated restrictions. Respecting the font author’s rights and supporting their work is essential for maintaining a thriving and vibrant creative community.
With thousands of fonts available on Dafont, you can bring your ideas to life and create visually captivating designs that leave a lasting impression. Experiment with different font styles, sizes, and variations to find the perfect match for your unique project requirements.
Fonts play a significant role in enhancing the visual appeal and overall message of your designs. They have the power to evoke emotions, capture attention, and elevate the user experience. So, take advantage of the vast font collection on Dafont to add that extra touch of creativity and professionalism to your work.
Now that you have the tools and knowledge, go ahead and explore Dafont, download your favorite fonts, and let your creativity soar!