Introduction
Welcome to the world of graphic design and typography! Fonts play a crucial role in creating eye-catching and visually appealing designs. Whether you’re a professional graphic designer or just starting out, having a diverse collection of fonts can elevate your work to the next level.
If you’re using Adobe Photoshop, you might be wondering how to download and install new fonts to enhance your creative projects. In this guide, we’ll take you through the step-by-step process of downloading and using fonts in Photoshop.
Fonts are available in a myriad of styles, ranging from elegant scripts to bold and impactful display fonts. The good news is, you don’t have to limit yourself to the standard fonts that come pre-installed on your computer. There are countless websites that offer a wide range of free and paid fonts for you to choose from.
In this article, we’ll explore the process of finding and downloading fonts online, installing them on your computer, and utilizing them in Adobe Photoshop. So, let’s dive in and start to expand your design possibilities with a world of new fonts!
Finding Fonts Online
When it comes to finding fonts online, the possibilities are nearly endless. There are numerous websites dedicated to offering a vast collection of fonts for personal and commercial use. Here are some popular platforms to explore:
- Google Fonts: Google Fonts is a widely popular resource that provides a vast library of open-source fonts. You can easily search, preview, and download fonts from their website. These fonts are free to use and can be seamlessly integrated into your design projects.
- Dafont: Dafont is another popular website offering a large variety of free fonts for personal use. From decorative fonts to handwriting styles, you’ll find a diverse range of options to suit your creative needs.
- Font Squirrel: Font Squirrel is a go-to source for high-quality, commercial-use fonts. They have a curated collection of fonts that are licensed for commercial projects, making it a great resource for professionals.
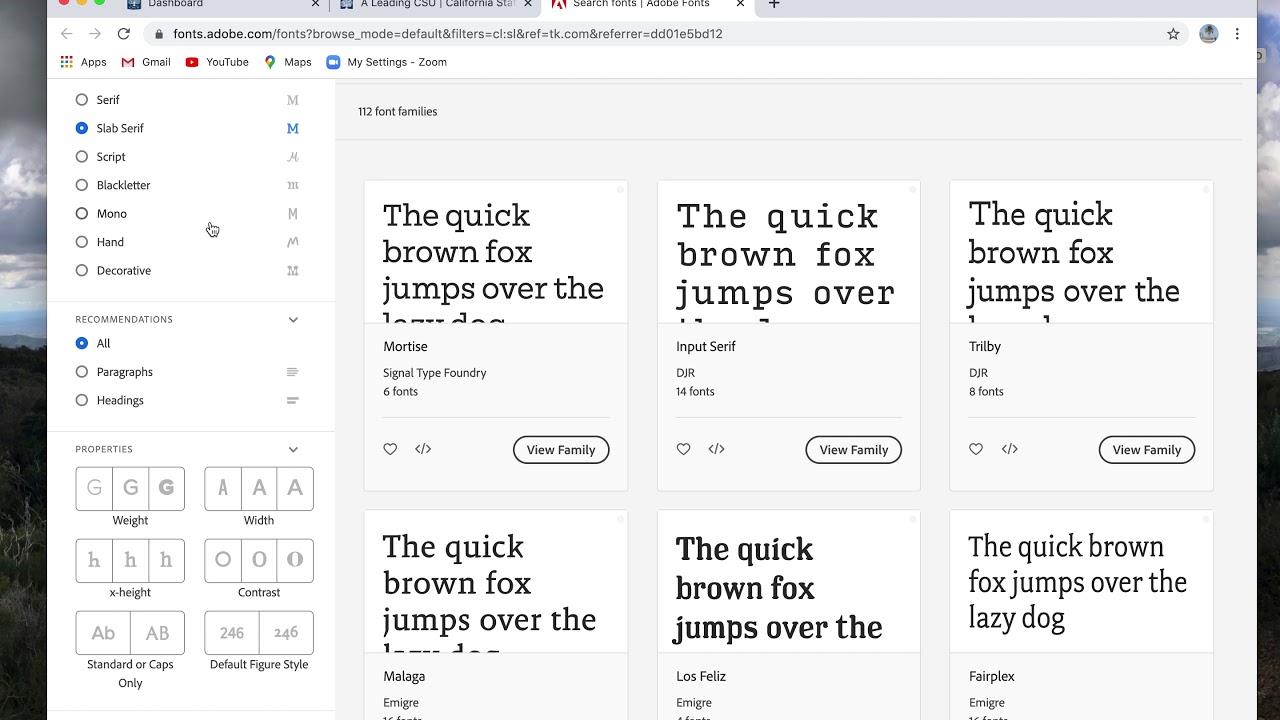
- Adobe Fonts: If you have a Creative Cloud subscription, you can access Adobe Fonts, formerly known as Typekit. Adobe Fonts offers a vast library of professional fonts that you can sync and use directly in Photoshop and other Adobe applications.
These are just a few examples of the many websites available to discover fonts. Each platform has its own unique collection, so take some time to explore different websites and find the ones that align with your design style and requirements.
Additionally, it can be helpful to browse through font categories or use keywords to find specific font styles. Whether you’re after serif, sans-serif, script, or display fonts, utilizing the search filters on these websites can narrow down your options and make the selection process easier.
Remember to check the licensing terms for each font before downloading. Some fonts may have restrictions on their usage, such as being limited to personal use only or requiring attribution.
Now that you know where to find a variety of fonts, let’s move on to the next step: downloading font files.
Downloading the Font Files
Once you’ve found your desired fonts, the next step is to download the font files to your computer. Here’s a step-by-step guide on how to do it:
- Click on the font name or preview image on the website. This will usually redirect you to a page dedicated to that particular font.
- Look for a “Download” or “Download Now” button on the font page. Click on it to initiate the download process.
- Select the download location on your computer where you want to save the font file. It’s a good idea to create a dedicated folder for fonts to keep everything organized.
- Wait for the download to complete. The time required may vary depending on the size of the font file and your internet connection speed.
- Once the download is finished, navigate to the folder where you saved the font file. It will typically be in a compressed format like .zip or .rar.
- Extract the font file from the compressed folder. Right-click on the file and select “Extract” or use an extraction software like WinRAR or 7-Zip.
- You should now have the font file in its proper format, such as .otf or .ttf. These are the most common formats used for fonts.
Congratulations! You have successfully downloaded the font files to your computer. Now, let’s move on to the next step: installing the fonts.
Installing Fonts on Your Computer
Once you have downloaded the font files, the next step is to install them on your computer. Here’s how you can do it:
- Locate the font file on your computer. It should have the file extension .otf or .ttf.
- Double-click on the font file. This will open a preview window that allows you to see how the font looks.
- Click on the “Install” button or the equivalent option that appears in the preview window. This will start the installation process.
- Wait for the installation to complete. This typically takes just a few seconds.
- Repeat the process for each font file you want to install. You can install multiple fonts at once if you have them saved in the same location.
- Once the installation is finished, the fonts will be added to your system’s font library.
There may be variations in the installation process depending on your operating system. For example, on Windows, you can also install fonts by right-clicking on the font file and selecting “Install.” On macOS, you can install fonts by opening the Font Book application and dragging the font file into the Font Book window.
After installing the fonts, they will be available for use in all applications on your computer, including Adobe Photoshop.
It’s important to note that installing too many fonts can slow down your system’s performance. Therefore, it’s a good idea to only install the fonts you plan to use and periodically remove any unused fonts.
Now that you’ve successfully installed the fonts on your computer, let’s move on to the final step: using the downloaded fonts in Photoshop.
Using the Downloaded Fonts in Photoshop
Now that you have installed the downloaded fonts on your computer, it’s time to put them to use in Adobe Photoshop. Here’s how you can access and apply the fonts:
- Launch Adobe Photoshop on your computer. Make sure you have the latest version installed to ensure compatibility.
- Create a new document or open an existing one that you want to work on.
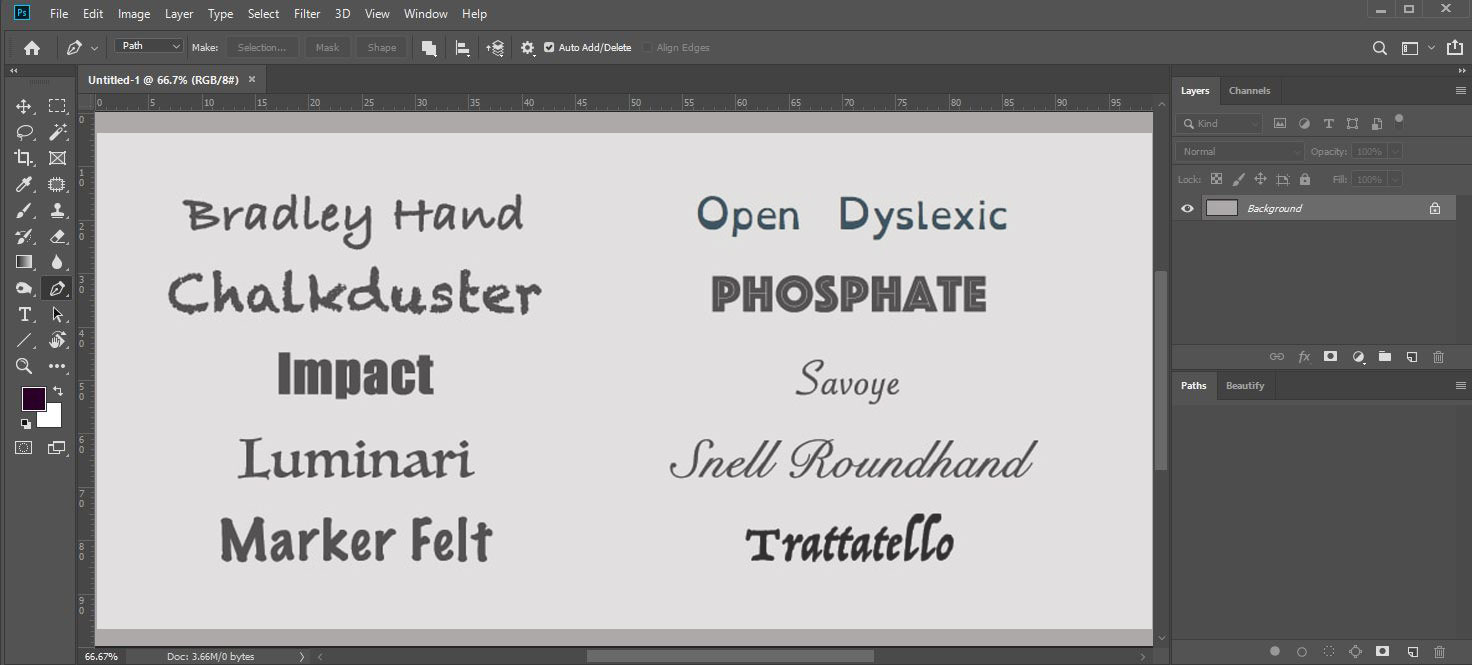
- Select the “Type Tool” from the Photoshop toolbar or press the shortcut key “T.” This tool allows you to add and edit text in your design.
- In the top options bar, you will see a font selection dropdown menu. Click on it to open the font menu.
- Scroll through the list of available fonts to find the ones you have recently installed. The fonts are typically listed alphabetically.
- Click on the desired font to select it. As you click on different fonts, the text in your document will automatically update to display that font.
- Type out your desired text using the selected font. You can adjust the font size, color, and other formatting options using the options bar as well.
- Continue working on your design, adding and formatting text as needed. You can switch between different fonts in the font selection dropdown at any time.
- Save your Photoshop document regularly to preserve your work.
Remember that the availability of fonts in Photoshop depends on the fonts installed on your computer. If you can’t find a specific font in the dropdown menu, make sure it was properly installed on your system.
Utilizing different fonts can greatly enhance the visual appeal and impact of your designs. Experiment with various font combinations, sizes, and styles to create unique and engaging compositions.
With your newly downloaded fonts now accessible in Photoshop, you have unlocked a world of creative possibilities. Enjoy exploring different typography options and let your imagination soar!
Conclusion
Expanding your font library and using a wide range of fonts can greatly enhance your design projects, and Adobe Photoshop provides a powerful platform for incorporating them. By following the steps outlined in this guide, you can easily find, download, install, and use fonts in your Photoshop designs.
Remember to explore various online platforms like Google Fonts, Dafont, Font Squirrel, and Adobe Fonts to discover a diverse collection of fonts that suit your unique style and requirements. Take advantage of search filters and categories to narrow down your options and find the perfect fonts for your designs.
Downloading font files is a straightforward process, and once you have them on your computer, installing them is as simple as a few clicks. Keep in mind that it’s important to manage your installed fonts to avoid clutter and any potential performance issues.
Finally, using the fonts in Adobe Photoshop is seamless and effortless. The font selection dropdown menu allows you to easily access and apply your newly downloaded fonts to your designs. Experiment with different font combinations to create visually striking compositions that captivate your audience.
By venturing beyond the pre-installed fonts and exploring the vast world of downloadable fonts, you can elevate your design work and bring your creative vision to life. So go ahead, start expanding your font collection and let your imagination run wild!