Introduction
Choosing the right font can significantly impact the visual appeal and effectiveness of any design project, especially in software like Photoshop. Adding unique and eye-catching fonts to your Photoshop arsenal can elevate your creations to a whole new level. However, downloading and installing fonts may seem daunting if you’re new to the process.
In this article, we will guide you through the step-by-step process of downloading and installing fonts to be used in Photoshop. Whether you’re a graphic designer, a creative enthusiast, or simply someone who wants to enhance their creativity, this tutorial will equip you with the knowledge to begin exploring an exciting array of fonts for your Photoshop projects.
With thousands of fonts available to download from various websites, it’s essential to know how to navigate the process efficiently. By following our instructions, you’ll expand your font library and gain a deeper understanding of how to integrate new fonts seamlessly into your Photoshop workflow.
So, let’s get started and unlock a world of creativity by adding new fonts to Photoshop!
Step 1: Find a font website
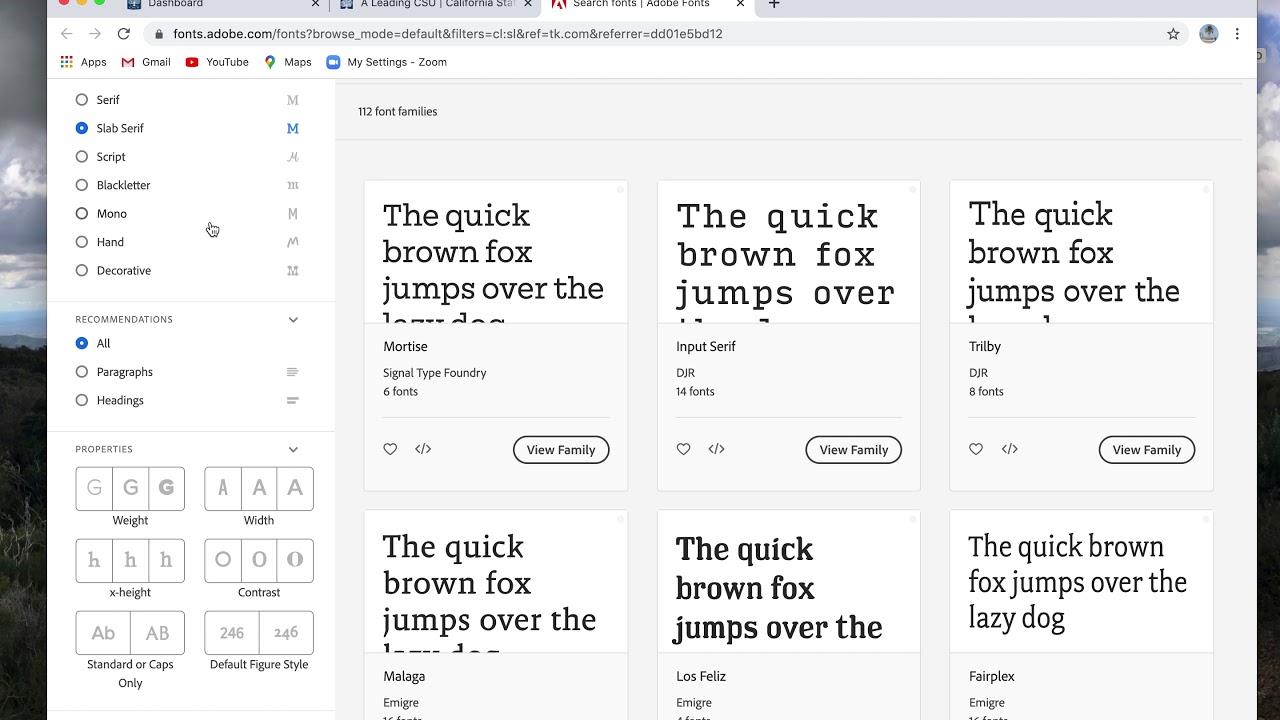
The first step in downloading a font for Photoshop is to find a reliable and reputable font website. There are numerous websites that offer a vast collection of fonts, both free and paid. These websites make it easy to explore and download fonts that suit your design needs.
You can start by searching for “font websites” or “free font downloads” on popular search engines. This will give you a list of websites dedicated to providing font resources. It’s important to choose a website that not only offers a wide selection of fonts but also ensures that the fonts are of high quality and sourced from reputable designers.
Some popular font websites include Google Fonts, Font Squirrel, Dafont, and Adobe Fonts. These platforms offer a diverse range of fonts in different styles, such as serif, sans-serif, script, and decorative fonts. You can browse through the extensive catalog of fonts and find the perfect ones for your design project.
Once you have selected a font website, take some time to explore its features and functionality. Some websites allow you to preview the fonts in different styles, sizes, and colors, giving you a better idea of how they will look in your designs. Additionally, you may find additional information about each font, such as the designer’s name, the license terms, and the supported languages.
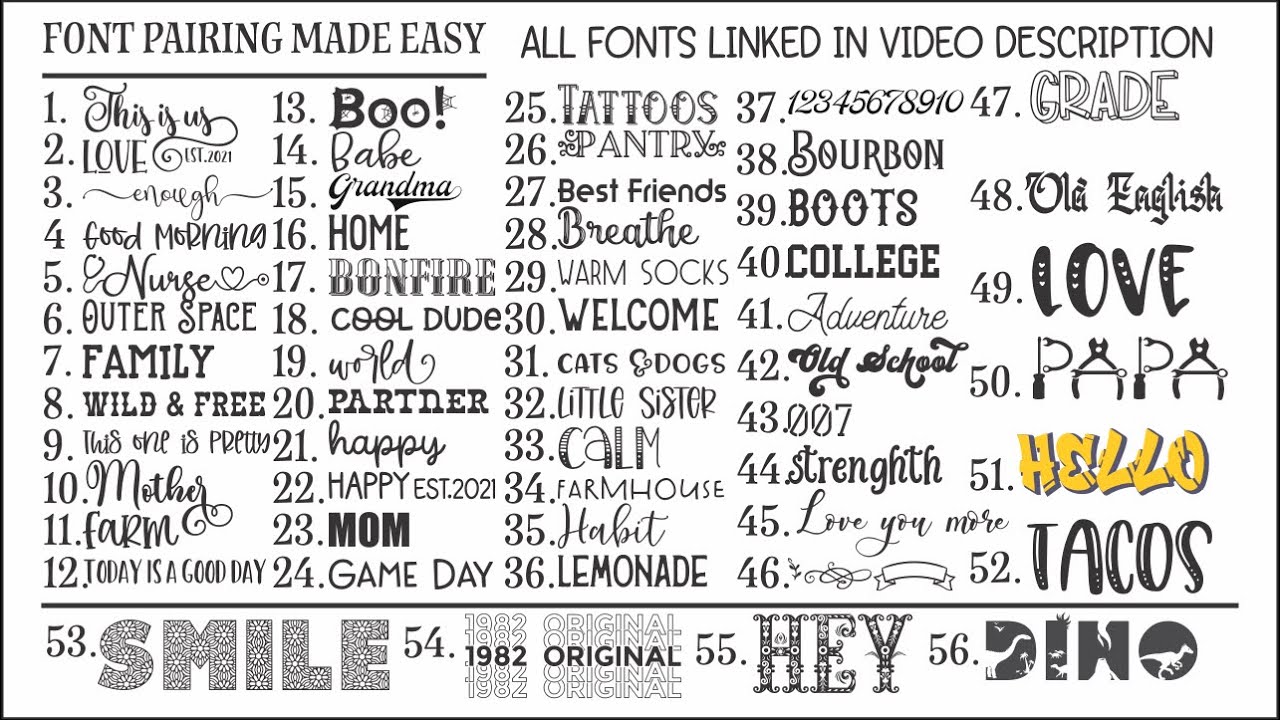
When selecting fonts, consider the purpose and mood of your design. Different fonts evoke different emotions and can convey various messages. For example, a playful and whimsical font may be suitable for a children’s book cover, while a sophisticated and elegant font may be more appropriate for a formal invitation.
Once you have chosen a font website and selected the fonts you want to download, it’s time to move on to the next step: actually downloading the fonts.
Step 2: Choose and download a font
After finding a reliable font website, it’s time to choose and download the fonts you want to use in Photoshop. Most font websites provide a straightforward and user-friendly interface to browse and select fonts. Here’s how you can proceed:
- Search or browse for fonts: Use the search bar or the categories provided on the website to find fonts that match your design requirements. You can narrow down your search based on font style, popularity, or other criteria.
- Preview the fonts: Many font websites offer a preview option that allows you to visualize how the fonts will look in different sizes and styles. Take advantage of this feature to make an informed decision.
- Select the desired fonts: Once you have chosen the fonts you want, click on the “Download” or similar button to initiate the font download. Some websites may require you to create an account or log in before downloading fonts.
- Choose the font format: Fonts are available in various file formats, such as TTF (TrueType Font) or OTF (OpenType Font). Depending on your personal preference or compatibility requirements, select the appropriate font format for your download.
- Save the font files: After the download begins, you will be prompted to save the font file(s) on your computer. Choose a location where you can easily access and locate the files later.
It’s important to note that while many font websites offer free fonts, some fonts may be subject to licensing conditions or usage restrictions. Ensure that you review the licensing information provided with the font and adhere to any usage guidelines.
Once you have successfully downloaded the font files, you’re ready to move on to the next step: extracting the font files from the downloaded archive.
Step 3: Extract the font files
Now that you’ve downloaded the font files, the next step is to extract them from the downloaded archive. Font files are typically compressed into a ZIP or RAR archive to make the download process quicker and more efficient. Here’s what you need to do to extract the font files:
- Locate the downloaded font archive: Open the folder or directory where the font file was saved after the download. You should see a compressed archive file with an extension like .zip or .rar.
- Extract the font files: Right-click on the font archive file and select the “Extract” or “Extract Here” option from the context menu. This will extract the font files from the archive and create a new folder or directory containing the extracted files.
- Open the extracted folder: Once the extraction process is complete, navigate to the new folder created by the extraction tool. This folder will contain the font files, usually with file extensions like .ttf or .otf.
It’s worth mentioning that some font websites may provide the option to download the font files directly without compressing them into an archive. In such cases, you can skip the extraction step and proceed to the next step.
By extracting the font files, you will make them easily accessible for installation. Now, it’s time to move on to the next step: installing the fonts on your computer so that Photoshop can recognize and use them in your design projects.
Step 4: Install the font on your computer
After extracting the font files, the next crucial step is to install the fonts on your computer. By installing the fonts, you make them accessible to all applications, including Photoshop. Here’s how you can install the fonts:
- Locate the font files: Open the folder where you extracted the font files in the previous step. You should see one or more font files with extensions like .ttf or .otf.
- Install the font files: Depending on your operating system, the installation process may vary slightly. Here are the general instructions for popular operating systems:
- Windows: Right-click on the font file and select “Install” from the context menu. Alternatively, you can double-click on the font file, and a preview window will open. Click the “Install” button at the top of the preview window to install the font.
- Mac: Double-click on the font file to open it in Font Book, the default font management application on macOS. In the Font Book window, click the “Install Font” button to install the font.
- Linux: Font installation on Linux systems may vary depending on the distribution you are using. Generally, you can install fonts by copying the font files to the system’s font directory, which is often located in the “/usr/share/fonts” or “/usr/local/share/fonts” directory.
- Wait for the installation process to complete: Once you click the “Install” button, the font files will be installed on your computer. The installation process typically only takes a few seconds.
After the font installation is complete, you can proceed to the next step: opening Photoshop and preparing to load the newly-installed font.
It’s important to note that the installed fonts will be available to all applications on your computer, not just Photoshop. This means you can use them in other software like Microsoft Word, Adobe Illustrator, or any other program that supports custom fonts.
Step 5: Open Photoshop
Now that you have successfully installed the fonts on your computer, it’s time to open Photoshop and prepare to use the newly-installed fonts in your design projects. Here’s how to open Photoshop:
- Locate the Photoshop application: Depending on your operating system, you can find the Photoshop application icon on your desktop, in your applications folder, or in your taskbar/quick launch area. Click on the Photoshop icon to launch the software.
- Wait for Photoshop to load: Once you’ve clicked on the Photoshop icon, the application will begin to open. This process may take a few moments, especially if you have a large number of fonts installed on your computer, as Photoshop needs to load and initialize all available fonts.
- Ensure you have the latest version: It’s always a good idea to have the latest version of Photoshop installed on your computer to ensure you have access to all the latest features and bug fixes. Check for updates regularly and install them if available.
- Configure Photoshop preferences (if necessary): Depending on your preferences and workflow, you might want to adjust certain settings in Photoshop. This can include options related to font display, workspace layout, or default file settings. You can access these options under the “Preferences” or “Settings” menu in Photoshop.
Once you have successfully opened Photoshop and configured any necessary preferences, you’re ready to proceed to the next step: loading the newly-installed fonts into Photoshop, so they are ready to use in your design projects.
Remember, having an organized and visually appealing workspace can greatly enhance your productivity and creativity. Take some time to arrange your panels, select an appropriate workspace layout, and customize Photoshop to suit your needs.
Step 6: Load the newly-installed font in Photoshop
Now that you have opened Photoshop, the next step is to load the newly-installed fonts so that you can use them in your design projects. Here’s how to load fonts in Photoshop:
- Access the font menu: In Photoshop, navigate to the top menu and click on the “Window” option. From the drop-down menu, select “Character” to open the character panel. Alternatively, you can use the shortcut key combination “Ctrl + T” (Windows) or “Command + T” (Mac) to launch the character panel.
- Choose the font dropdown: In the character panel, locate the font dropdown menu. It is usually located at the top of the panel and displays the currently selected font.
- Select the newly-installed font: Click on the font dropdown menu to expand it and browse through the list of available fonts. Scroll through the list and look for the name of the newly-installed font. Once you find it, click on its name to select it.
- View and adjust font settings: As you select the newly-installed font, the text sample in the character panel will update to reflect the font’s appearance. You can modify additional font settings, such as font size, font style (regular, bold, italic), and alignment, by using the options provided in the character panel.
By loading the newly-installed fonts in Photoshop, you now have access to a wider variety of typography options to enhance your designs. Experiment with different fonts, sizes, and styles to find the perfect combination that complements your project’s aesthetic.
Remember, loading fonts in Photoshop does not impact the system-wide availability of your fonts. It only makes the fonts accessible within the Photoshop application. Any changes made to the font settings or selections in Photoshop will not affect the fonts in other applications or your operating system.
Now that you have loaded the newly-installed font in Photoshop, you’re ready to proceed to the final step: using the font in your Photoshop projects with creativity and impeccable style.
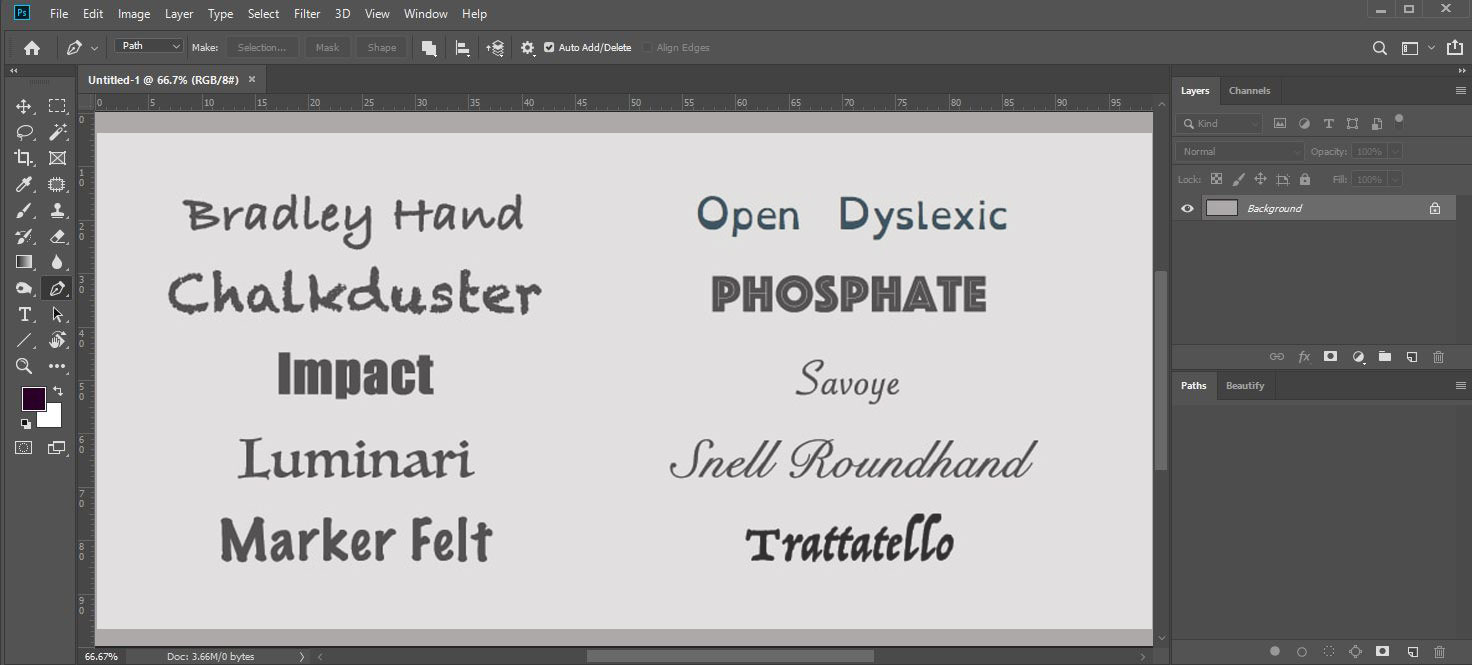
Step 7: Use the font in your Photoshop projects
With the newly-installed font loaded in Photoshop, it’s time to unleash your creativity and incorporate the font into your design projects. Here’s how you can use the font effectively in Photoshop:
- Create a new project or open an existing one: Start by creating a new Photoshop project or open an existing design where you want to use the font. This could be anything from a poster, brochure, logo, or web design.
- Select the text tool: In the Photoshop toolbar, click on the text tool, which is represented by the letter “T”. Alternatively, you can press the shortcut key “T” to quickly activate the text tool.
- Click on the canvas and enter text: Click on the canvas area where you want to insert text. A blinking cursor will appear, indicating that you can now start entering text. Type the desired content using the keyboard.
- Choose the newly-installed font: With the text highlighted or the text tool active, access the font dropdown menu in the character panel. Scroll through the list, locate the newly-installed font you want to use, and click on its name to select it.
- Customize the text appearance: Once you have chosen the font, you can further customize the appearance of the text using various options in the character panel. Adjust the font size, color, letter spacing, alignment, or apply additional effects to achieve the desired look.
- Apply the font to other text elements: If you have multiple text elements in your project and want to apply the same font to all of them, you can simply select the text layers in the layers panel and change the font settings accordingly.
- Experiment and refine: Don’t be afraid to experiment with different fonts, sizes, and styles. Play around with different combinations to find the perfect typography that enhances your design and communicates your message effectively.
Remember, the choice of font can significantly impact the overall look and feel of your design. It’s essential to select a font that aligns with the project’s purpose, message, and overall design aesthetics.
By following these steps and using the newly-installed font in your Photoshop projects, you can create visually appealing designs that stand out and leave a lasting impression.
Now, armed with the knowledge of downloading, installing, and utilizing fonts in Photoshop, you can continue to expand your design possibilities and elevate your projects to new heights of creativity.
Troubleshooting tips
While downloading, installing, and using fonts in Photoshop is generally a smooth process, you may encounter some issues along the way. Here are some troubleshooting tips to help you overcome common font-related challenges:
- Ensure font compatibility: Before downloading a font, make sure it is compatible with your operating system and version of Photoshop. Some fonts may only work on specific platforms or require additional software.
- Restart Photoshop: If the newly-installed font does not appear in the font dropdown menu, try restarting Photoshop. This will refresh the font cache and make the newly-installed font available.
- Clean font cache (Windows): If you are on a Windows system and the font is still not showing up in Photoshop after a restart, you can try cleaning the font cache. Go to the Control Panel, search for “Font settings,” and select “Restore default font settings.” Then, restart your computer and relaunch Photoshop.
- Clear font caches (Mac): On a Mac, you can clear the font caches by opening the Terminal and entering the command “sudo atsutil databases -remove.” You will be prompted to enter your admin password. After clearing the font caches, restart your computer and relaunch Photoshop.
- Check font license: Make sure you comply with the font license terms and usage restrictions. Some fonts may have limitations on commercial use or require attribution.
- Re-download and reinstall fonts: If you encounter errors during the font installation or suspect a corrupted font file, try re-downloading the font from the original source and reinstalling it.
- Update Photoshop: Ensure that you have the latest version of Adobe Photoshop installed. Updates often include bug fixes and improvements that can resolve any font-related issues.
- Verify font format: Confirm that the font format you downloaded (TTF, OTF, etc.) is supported by Photoshop. If not, try finding a version of the font in a compatible format.
- Check font activation (Adobe Fonts): If you are using fonts from Adobe Fonts, ensure that you have activated them properly. Use the Adobe Creative Cloud desktop app to manage and activate fonts.
- Contact font support: If you have tried the above troubleshooting tips and still encounter font-related problems, reach out to the font website’s support or the font designer for assistance.
By following these troubleshooting tips, you can overcome obstacles and ensure a seamless experience when working with fonts in Photoshop. Enjoy the wide range of typographic possibilities and unleash your creative potential!
Conclusion
Congratulations! You have successfully learned how to download, install, and use fonts in Photoshop to enhance your design projects. By incorporating unique and eye-catching fonts, you can elevate the visual appeal and effectiveness of your creations.
In this tutorial, we covered the step-by-step process of finding a font website, choosing and downloading fonts, extracting font files, installing fonts on your computer, opening Photoshop, loading the newly-installed fonts, and using them in your projects. We also provided troubleshooting tips to help you overcome common font-related issues.
Remember, font selection is crucial for conveying the desired mood and message in your designs. Explore different font styles, sizes, and combinations to create visually engaging and professionally polished designs.
Continue to expand your font library and experiment with various typography options. Stay up to date with the latest font trends, and don’t be afraid to step outside your comfort zone to create unique and compelling designs.
Now, armed with the knowledge and skills acquired through this tutorial, embrace your creativity and unlock the full potential of fonts in Photoshop. Let your imagination soar and captivate your audience with captivating and stunning designs!