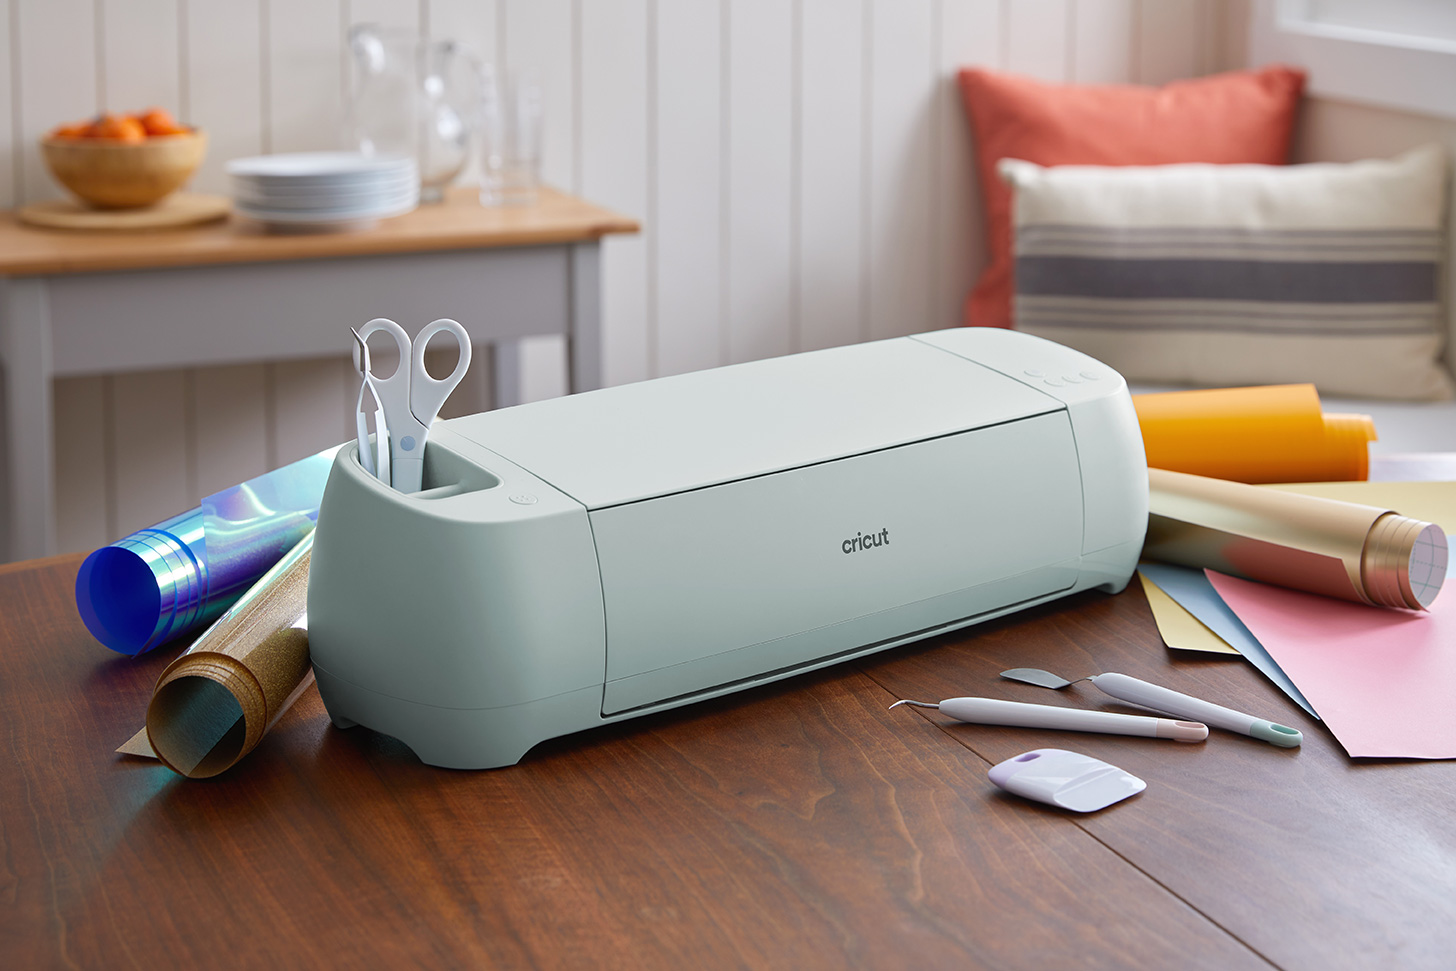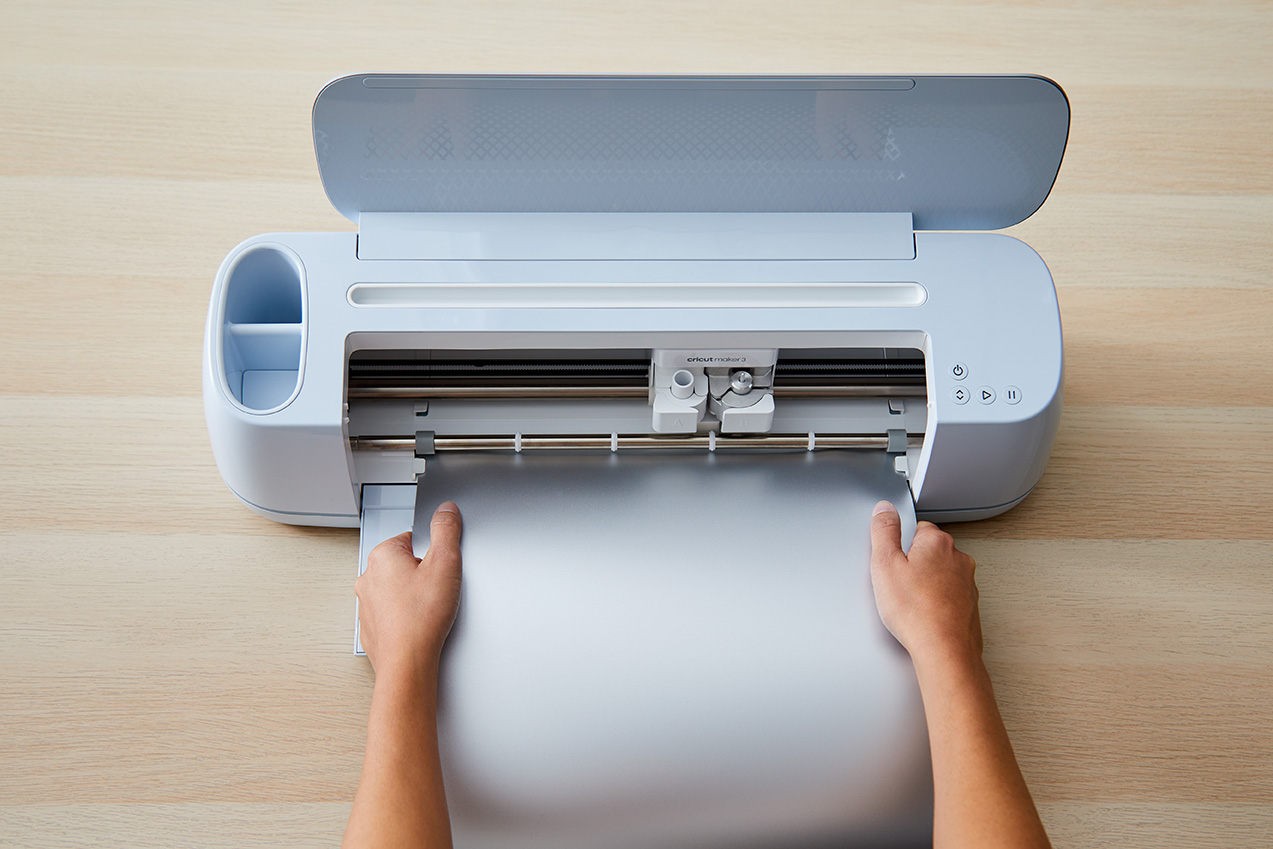
Why You Need to Download Fonts for Cricut
Cricut is a powerful cutting machine that allows you to create stunning designs and crafts. While it comes with a wide range of built-in fonts, downloading additional fonts opens up endless possibilities for your projects. Here are a few reasons why you should consider downloading fonts for your Cricut:
1. Personalization: Downloaded fonts let you add a personal touch to your designs. Whether you’re creating custom greeting cards, personalized home decor, or unique party invitations, having a diverse collection of fonts at your disposal will enhance your creativity and help you bring your ideas to life.
2. Variety: While the built-in fonts in Cricut are versatile, downloading fonts gives you access to an extensive library of styles, from elegant script fonts to bold and playful ones. Having a wide variety of fonts to choose from allows you to match the typography to the style and theme of your projects, giving them a cohesive and professional look.
3. Trendiness: Font trends evolve over time, and by downloading fonts, you can stay on top of the latest typography styles. Whether it’s modern and minimalist fonts for a contemporary project or vintage-inspired fonts for a retro design, regularly updating your font collection ensures that your projects stay fresh and relevant.
4. Uniqueness: Downloaded fonts allow you to stand out from the crowd. While the built-in fonts on Cricut are widely used, downloading custom fonts allows you to add a unique touch to your creations. You can find fonts that are not commonly used, giving your designs a distinct personality and making them truly one-of-a-kind.
5. Compatibility: Downloaded fonts are typically available in standard file formats like TrueType or OpenType, making them compatible with various design software and applications. This means you can use these fonts not just in Cricut Design Space but also in other programs like Adobe Illustrator, Photoshop, or even Microsoft Word, expanding your design capabilities across different platforms.
By downloading additional fonts for your Cricut machine, you empower yourself as a designer and unlock a world of possibilities. Whether it’s enhancing personalization, adding variety and trendiness, showcasing uniqueness, or improving compatibility, having a diverse font collection at your fingertips will take your Cricut projects to the next level.
Finding the Perfect Font for Your Cricut Projects
Choosing the right font is crucial when it comes to creating engaging and visually appealing Cricut projects. Here are some tips to help you find the perfect font for your designs:
1. Consider the Project Type: Think about the purpose of your project. Is it a playful birthday card, a formal wedding invitation, or a professional-looking business logo? The font you choose should align with the overall tone and style of your project.
2. Reflect the Message: Fonts have the power to convey emotions and messages. If you want to convey elegance and sophistication, opt for script or serif fonts. For a fun and playful vibe, go for bold and quirky fonts. Make sure the font you choose complements the message you want to send.
3. Test Legibility: While it’s tempting to choose fancy and decorative fonts, prioritize legibility, especially if your project includes text passages. Ensure that the font is easily readable at different sizes and on various materials. Consider the specific characteristics of the font, such as the thickness and spacing between letters.
4. Browse Font Websites: There are numerous websites dedicated to offering a wide range of fonts for download. Explore platforms like Google Fonts, DaFont, Font Squirrel, and Adobe Fonts to find inspiration. These websites often provide categories and search filters to help you narrow down your options based on style, popularity, and more.
5. Pay Attention to Licensing: When downloading fonts, be aware of the licensing terms. Some fonts are free for personal use but may require a license for commercial projects. Always check the license agreements to ensure you are using the font legally and appropriately.
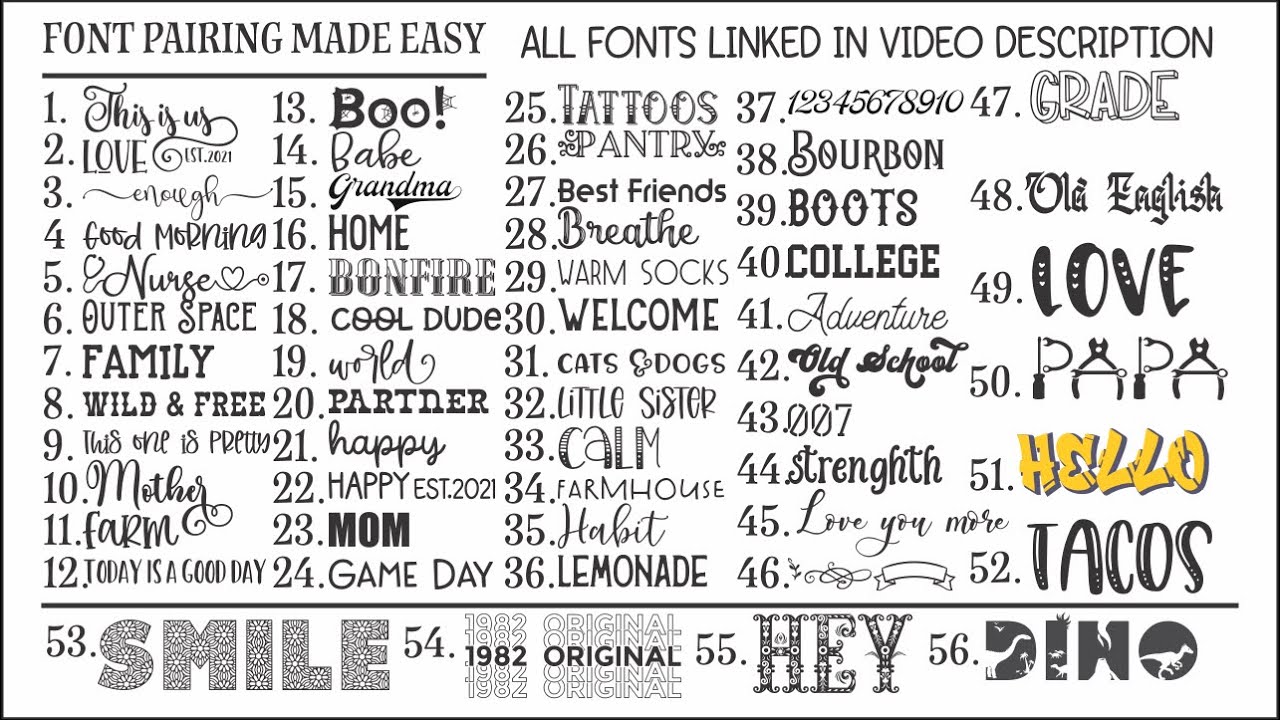
6. Create Font Combinations: Experiment with combining different fonts to add depth and visual interest to your designs. Pair a bold, attention-grabbing font with a simpler and more elegant one for an impactful contrast. Play around with font sizes, styles, and colors to create visually pleasing compositions.
7. Take Inspiration from Others: Look for design inspiration in graphic design blogs, social media, and websites. Pay attention to how fonts are used in various projects and note down the ones that catch your eye. This can give you ideas for font pairings and help you discover new fonts that you might not have come across otherwise.
Finding the perfect font for your Cricut projects may require some exploration and experimentation. By considering the project type, reflecting the message, ensuring legibility, browsing font websites, checking licensing, creating font combinations, and seeking inspiration from others, you’ll be able to discover fonts that elevate your designs and bring your creative vision to life.
Downloading Fonts from Free Font Websites
If you’re looking to expand your font collection for your Cricut projects without breaking the bank, free font websites are a great place to start. Here’s how you can download fonts from these websites:
1. Choose a Reliable Website: There are several reputable free font websites available, such as Google Fonts, DaFont, Font Squirrel, and 1001 Fonts. Take your time to explore different platforms and find the ones that offer a wide variety of high-quality fonts.
2. Browse and Filter: Once you’ve chosen a website, begin exploring their font library. Most websites allow you to filter fonts based on criteria like style, popularity, or language. This helps you navigate through the vast collection and find fonts that match your project requirements.
3. Select and Download: When you find a font that catches your eye, click on the font’s name or preview. This will take you to the font’s dedicated page. Look for a download button or link on the page, and click on it to initiate the download. Fonts are typically downloaded as compressed files (.zip or .ttf).
4. Extract the Font Files: Once the font file is downloaded, locate the file on your computer and extract its contents if necessary. Right-click on the compressed file and choose the “Extract” option. This will create a folder containing the font files.
5. Install the Fonts: To install the downloaded fonts on your computer, locate the font files (usually in .ttf or .otf format) and double-click on each file. This will open a preview of the font, along with an “Install” button. Click on “Install” to add the font to your computer’s font library.
6. Restart Design Software: If you had any design software or applications open during the font installation, it is recommended to restart them to ensure the newly installed fonts are recognized.
7. Use the Fonts in Cricut Design Space: Open Cricut Design Space on your computer and start a new project. When it’s time to select a font, click on the font drop-down menu and scroll through the list to find your newly installed fonts. Select the desired font, adjust the size and other settings as needed, and start designing!
Downloading fonts from free font websites is an excellent way to enrich your font collection for Cricut projects. Remember to choose reliable websites, browse and filter through the font library, select and download fonts, extract and install font files, restart design software if necessary, and use the downloaded fonts in Cricut Design Space. With a plethora of free fonts available online, you can explore different styles and find the perfect match for your creative endeavors.
Downloading Fonts from Paid Font Websites
If you’re looking for a wider selection of high-quality fonts with additional customization options, paid font websites are the way to go. These websites offer premium fonts created by professional designers. Here’s how you can download fonts from paid font websites:
1. Choose a Trusted Website: Start by selecting a reputable paid font website. Some popular options include MyFonts, Fontspring, and Creative Market. These platforms provide a vast collection of fonts, including exclusive and unique designs.
2. Explore and Filter: Once you’re on a paid font website, explore their font library using the provided search and filter options. You can narrow down your search by style, designer, language, or other criteria to find the perfect font for your specific project.
3. Preview and Select: On the font’s preview page, you’ll usually find sample text examples and a range of customization options. Take your time to preview the font in different sizes and styles to get a better understanding of how it will look in your design. Once you’re satisfied, select the font for purchase.
4. Add to Cart and Checkout: Click on the “Add to Cart” or “Buy” button to add the font to your cart. Some paid font websites also offer bundle options that provide additional value for money. Once you’ve added all the fonts you want to purchase, proceed to the checkout page.
5. Provide Payment and Download: At the checkout, you’ll be prompted to provide payment details. Follow the instructions to complete the transaction securely. After the payment is processed, you’ll receive a confirmation and a link to download the font files.
6. Download and Extract: Locate the downloaded font files on your computer. They are typically in a compressed format like .zip. Double-click on the file to extract its contents. This will create a folder containing the font files.
7. Install the Fonts: To install the fonts, double-click on each font file (usually in .ttf or .otf format) and click the “Install” button in the font preview window. This will add the fonts to your computer’s font library.
8. Restart Design Software: If you had any design software or applications open during the font installation, it is recommended to restart them to ensure the newly installed fonts are recognized.
9. Utilize the Fonts in Cricut Design Space: Open Cricut Design Space on your computer and start a new project. When selecting a font, access your newly installed fonts from the font drop-down menu. Choose the desired font, adjust the settings, and let your creativity flow!
Downloading fonts from paid font websites gives you access to high-quality, professionally designed fonts that can add a touch of uniqueness and sophistication to your Cricut projects. Remember to choose a trusted website, explore and filter the font library, preview and select fonts, add to cart and checkout, provide payment and download the font files, install the fonts, restart design software if necessary, and finally, utilize the downloaded fonts in Cricut Design Space. With paid fonts, you can elevate your designs to the next level and create truly exceptional and eye-catching projects.
Installing Fonts on Your Computer
Once you’ve downloaded fonts for your Cricut projects, the next step is to install them on your computer. Here’s a step-by-step guide on how to install fonts:
1. Locate the Font Files: After downloading fonts, locate the font files on your computer. They are typically in .ttf (TrueType Font) or .otf (OpenType Font) format. Fonts are commonly stored in the “Downloads” folder, but you can save them in a more convenient location.
2. Extract the Font Files (if necessary): If the downloaded font files are compressed in a .zip folder, double-click the folder to extract its contents. This will create a separate folder containing the font files.
- Option 1: Right-click on the font file and select “Install”.
- Option 2: Copy and paste the font file into the “Fonts” folder, accessible via the Control Panel or File Explorer. The fonts will install automatically.
4. Install Fonts on macOS:
- Option 1: Double-click on the font file. The Font Book application will open, allowing you to preview the font. Click the “Install” button to add the font to your system.
- Option 2: Copy and paste the font file into the “Fonts” folder, accessible via Finder. The fonts will install automatically.
5. Install Fonts on Linux:
- Option 1: Open the font file with a font viewer application. Most Linux distributions come with a built-in font viewer that allows you to install fonts by clicking the “Install” button.
- Option 2: Manually copy and paste the font files into the “/usr/share/fonts” or “~/.fonts” directory.
6. Restart Design Software: After installing the fonts, it’s a good idea to restart any design software or applications that were open during the installation. This ensures that the newly installed fonts are recognized by the software.
By following these steps, you can easily install fonts on your computer and make them accessible to use in various design applications, including Cricut Design Space. Installing fonts gives you the freedom to explore and utilize a wide range of typography styles, allowing you to create unique and eye-catching designs for your Cricut projects.
Uploading Fonts to Cricut Design Space
Once you have installed custom fonts on your computer, the next step is to upload them to Cricut Design Space. Uploading fonts is a seamless process, and it allows you to use your downloaded fonts in your Cricut projects. Here’s how you can upload fonts to Cricut Design Space:
1. Open Cricut Design Space: Launch the Cricut Design Space application on your computer. If you don’t have it installed, download and install it from the official Cricut website.
2. Start a New Project: Create a new project or open an existing one in Cricut Design Space to begin working with your fonts.
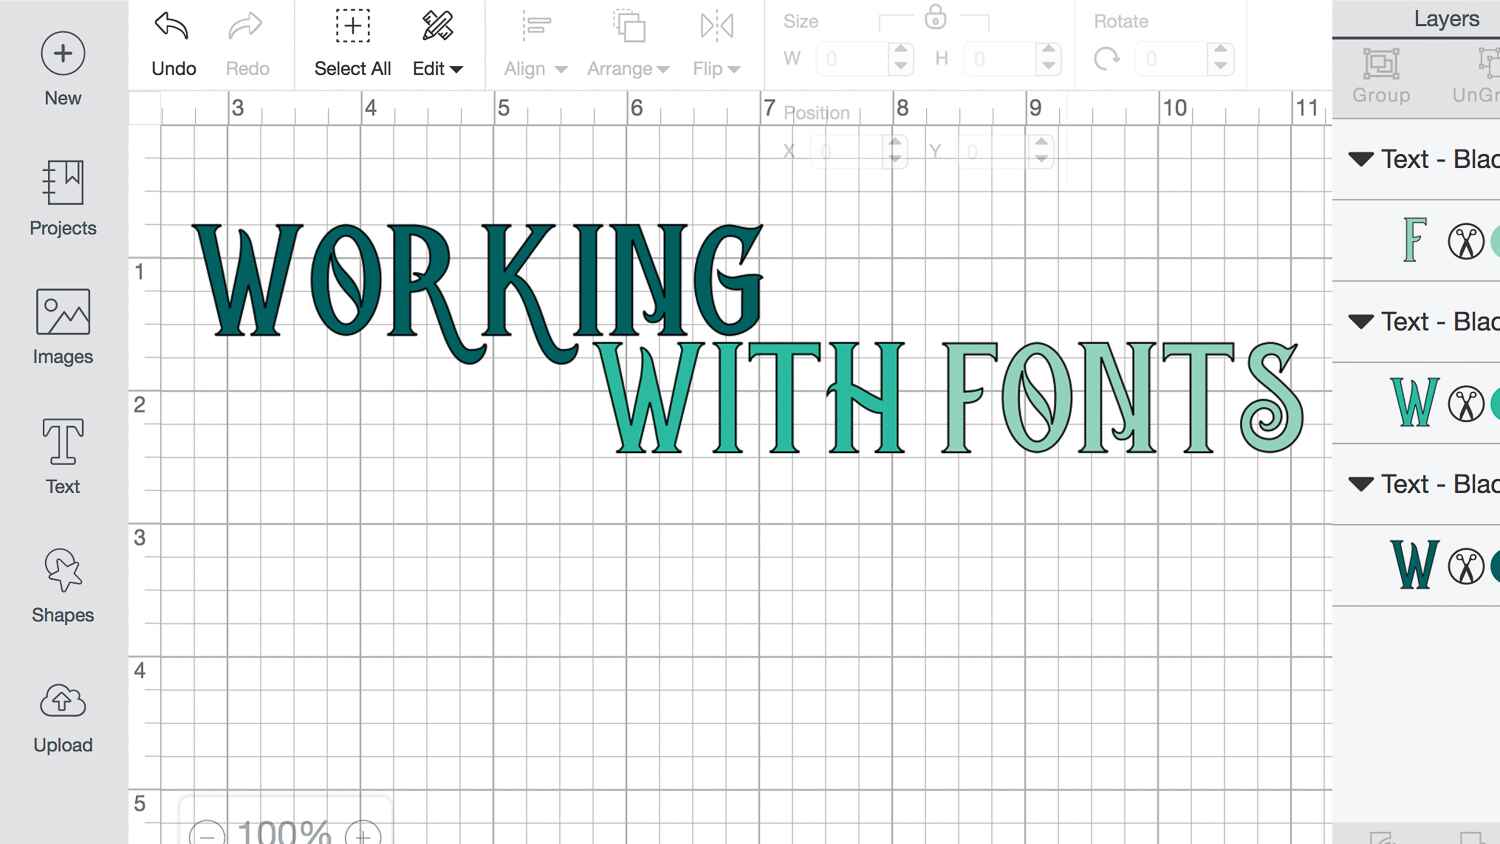
3. Click on “Text”: In the Design Space toolbar, click on the “Text” button. This will open the Text panel where you can enter and edit your text.
4. Select “System Fonts”: In the Text panel, click on the font dropdown menu and select “System” from the options. By doing this, you’ll be able to access the fonts installed on your computer.
5. Click on “Filter”: Next to the font dropdown menu, you’ll find a filter icon. Click on it to open the filtering options.
6. Click on “Upload”: In the filtering options, click on the “Upload” button. This will take you to the Upload screen in Cricut Design Space.
7. Click on “Upload Image”: On the Upload screen, click on the “Upload Image” button. This will open a dialog box that allows you to browse your computer for the font files you want to upload.
8. Locate and Select the Font Files: Use the file browser to navigate to the folder where your downloaded font files are stored. Select the font files you want to upload. You can select multiple font files at once by holding down the Ctrl (Windows) or Command (Mac) key while clicking on the files.
9. Click on “Open”: After selecting the font files, click on the “Open” button to initiate the upload process.
10. Name and Tag the Uploaded Fonts: Once the font files are uploaded, you’ll be prompted to provide names and tags for each font. Enter descriptive names and tags that will help you identify and search for the fonts in Cricut Design Space.
11. Click on “Save”: After naming and tagging the fonts, click on the “Save” button to complete the upload process.
12. Access and Use the Uploaded Fonts: Now, you can access and use your uploaded fonts in Cricut Design Space. In the Text panel, click on the font dropdown menu, and under “System”, you’ll find a section labeled “My Fonts”. Your uploaded fonts will appear here. Select the desired font to use it in your project.
By following these steps, you can easily upload your custom fonts to Cricut Design Space and incorporate them into your designs. Uploading fonts gives you the flexibility to use a wide range of typography styles in your Cricut projects, enhancing their personalization and creative appeal.
Using Downloaded Fonts in Your Cricut Projects
After downloading and uploading fonts to Cricut Design Space, it’s time to unleash your creativity and incorporate these fonts into your Cricut projects. Here are some key steps to effectively use downloaded fonts in your Cricut projects:
1. Select the Desired Font: In Cricut Design Space, click on the Text tool to create a text box. In the Text panel, click on the font dropdown menu and choose the downloaded font you want to use. You can also adjust the font size and style to suit your design.
2. Type Your Text: Click inside the text box and begin typing the desired text for your project. You can enter single words, phrases, or even create entire paragraphs using the downloaded font.
3. Customize Text Options: Cricut Design Space offers various text customization options. You can modify the letter spacing, line spacing, and curve the text to fit specific shapes or paths. Experiment with these options to achieve the desired visual effect.
4. Arrange and Align: Once you’ve created your text, you can move and arrange it on the design canvas. Use the alignment tools in Cricut Design Space to position your text precisely and create visually appealing compositions.
5. Combine with Other Elements: Downloaded fonts can be combined with other design elements in Cricut Design Space. Consider adding shapes, images, or other text elements to complement and enhance your font. Play with layering and different elements to create dimension and visual interest in your designs.
6. Test on Different Materials: Fonts may look slightly different on different materials. Before cutting or printing your design, it’s a good idea to test the font on a small piece of the intended material. This helps you ensure that the font’s size, spacing, and overall appearance align with your vision.
7. Edit and Refine: Cricut Design Space offers various editing tools to further refine your font designs. Adjust the colors, add shadows or outlines, and experiment with different effects to add depth and visual impact to your text. You can also layer different text elements or duplicate and mirror them for a symmetrical design effect.
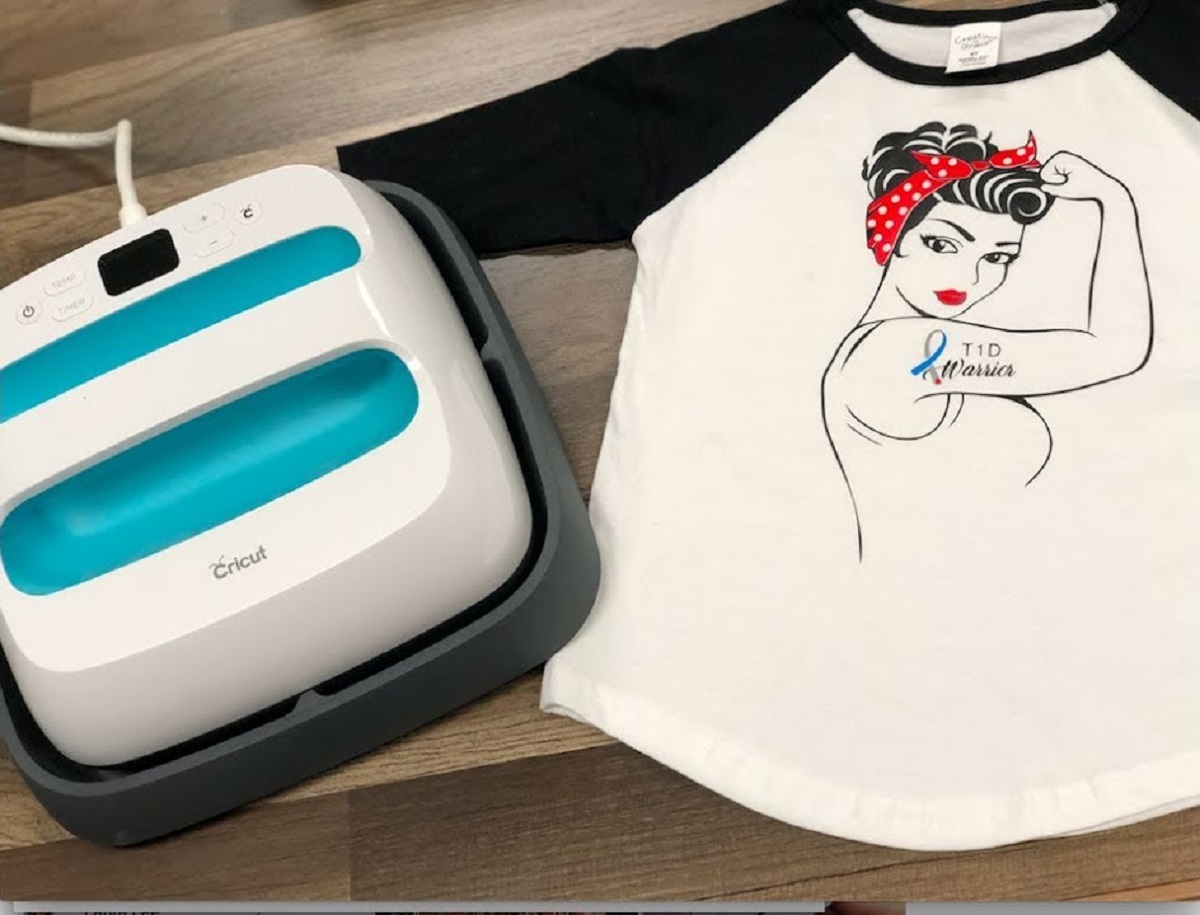
8. Save and Prepare for Production: Once you are satisfied with your font design, save your project and prepare it for production. Follow the necessary steps to cut or print your design on your desired material using your Cricut machine.
By following these steps, you can effectively use downloaded fonts in your Cricut projects. Remember to select the desired font, type your text, customize text options, arrange and align elements, combine with other design elements, test on different materials, edit and refine the design, and save and prepare for production. With your downloaded fonts, you can create unique and personalized Cricut projects that perfectly showcase your creative vision.
Tips and Tricks for Using Fonts on Cricut
Here are some helpful tips and tricks to make the most out of using fonts on your Cricut machine:
1. Pair Fonts Thoughtfully: Experiment with font combinations to create visually appealing designs. Pair a bold and attention-grabbing font with a simpler and more elegant one for a striking contrast. Ensure that the fonts complement each other and maintain readability.
2. Consider Size and Legibility: When choosing and using fonts, consider the size and legibility of the text. Avoid using intricate or excessively decorative fonts for small text sizes, as they may become difficult to read. Test different font sizes to ensure clarity and legibility in your designs.
3. Kerning and Letter Spacing: Adjust the kerning and letter spacing to enhance the overall look of the text. In Cricut Design Space, you can fine-tune the spacing between letters for a more balanced and aesthetically pleasing result.
4. Utilize Text Effects: Take advantage of the text effects and features available in Cricut Design Space. Add shadows, outlines, or curves to your text to make it stand out and add dimension to your designs. Experiment with different effects to achieve the desired visual impact.
5. Group and Weld Text: If you have multiple text elements or want to merge individual letters, use the “Group” and “Weld” functions in Cricut Design Space. Grouping allows you to manipulate multiple text elements as one unit, while welding combines separate letters into a single shape.
6. Use a Weeding Font for Vinyl: When using vinyl for your Cricut projects, consider using a weeding font. Weeding fonts have letters with open spaces, making it easier to remove excess vinyl material. This saves time and effort during the weeding process.
7. Print and Cut with Fonts: Cricut machines offer the ability to print and cut designs. Take advantage of this feature by using your downloaded fonts in print and cut projects. Design custom stickers, labels, or intricate patterns with your chosen fonts to create unique and personalized creations.
8. Explore Special Characters: Many fonts include special characters, ligatures, and alternate letterforms. Explore these options in Cricut Design Space to add flair and uniqueness to your typography. These additional characters can be accessed through the “Character Map” or “Glyphs” panel in design software.
9. Duplicate and Mirror for Symmetry: Create symmetrical designs using text by duplicating and mirroring text elements. This can be particularly useful for creating monograms or decorative elements with balanced typography. Experiment with mirrored text to add interest and elegance to your designs.
10. Kern Before Welding: If you plan to weld or merge text elements together, adjust the kerning before performing the weld. This ensures that the spacing between letters is visually balanced and appealing in the final design.
By incorporating these tips and tricks, you can elevate your typography game and create stunning projects with your Cricut machine. Experiment with font combinations, consider size and legibility, utilize text effects, group and weld text, use weeding fonts for vinyl, explore special characters, print and cut with fonts, duplicate and mirror for symmetry, and kern before welding to unlock the full potential of fonts in your Cricut projects.
Frequently Asked Questions About Downloading Fonts on Cricut
Here are some commonly asked questions about downloading fonts for Cricut projects:
Q1: Can I use any font with my Cricut machine?
A1: While Cricut machines support a wide range of fonts, it’s important to ensure the font is compatible. Fonts downloaded in TrueType (.ttf) or OpenType (.otf) formats can be used with Cricut Design Space.
Q2: Where can I download fonts for my Cricut machine?
A2: Fonts can be downloaded from various sources, including free font websites like Google Fonts, DaFont, and Font Squirrel. Paid font websites like MyFonts and Fontspring also offer a wide selection of premium fonts.
Q3: What are the differences between free and paid fonts?
A3: Free fonts are available at no cost and can be used for personal and sometimes commercial projects. Paid fonts usually come with more extensive design options, higher quality, and may require a commercial license for commercial use.
Q4: Can I upload and use my own custom fonts with Cricut Design Space?
A4: Yes, you can upload your own custom fonts to Cricut Design Space. After installing the font on your computer, you can easily upload and access them in Cricut Design Space for use in your projects.
Q5: Can I use downloaded fonts for commercial projects?
A5: It depends on the license of the font. Some fonts are free for both personal and commercial use, while others may require a separate commercial license. Always review the license terms provided by the font creator or website to ensure you’re using the font appropriately.
Q6: How do I install fonts on my computer?
A6: Installing fonts on your computer is a straightforward process. On Windows, you can right-click on the font file and select “Install” or copy it to the Fonts folder. On macOS, you can double-click on the font file and click “Install” or copy it to the Fonts folder. Linux users can install fonts by opening the font file with a font viewer or manually copying the font files to specific directories.
Q7: Can I use downloaded fonts on other design software?
A7: Yes, downloaded fonts can be used with other design software and applications. Fonts installed on your computer are generally accessible in a wide range of design programs, including Adobe Illustrator, Photoshop, InDesign, and even word processing software like Microsoft Word.
Q8: Is there a limit to the number of fonts I can upload to Cricut Design Space?
A8: There isn’t a specific limit to the number of fonts you can upload to Cricut Design Space. However, it’s worth noting that having too many fonts installed and loaded in the software may affect its performance. It’s recommended to only keep the fonts you frequently use to optimize the software’s performance.
These are some of the frequently asked questions regarding downloading and using fonts on Cricut. Remember to choose compatible fonts, explore different sources for font downloads, review license terms, properly install fonts on your computer, use fonts in line with licensing agreements, and consult the documentation for your specific Cricut machine for further guidance on font usage.