Introduction
Welcome to the world of SVG and Cricut! If you are a creative enthusiast or someone who loves crafts, you might already be familiar with SVG (Scalable Vector Graphics) and Cricut, a popular cutting machine used by crafters and hobbyists. SVG files have become the go-to format for designs, and Cricut machines offer an easy and precise way to cut various materials, making them a perfect match for your creative projects.
In this article, we will explore the process of downloading SVG files to use with your Cricut machine. Whether you are a beginner or an experienced user, we will guide you through the steps to ensure a seamless experience. So, let’s dive in and discover the wonderful world of SVG and Cricut!
Before we proceed, it’s important to understand what SVG is and why it is the preferred format when working with Cricut.
What is SVG?
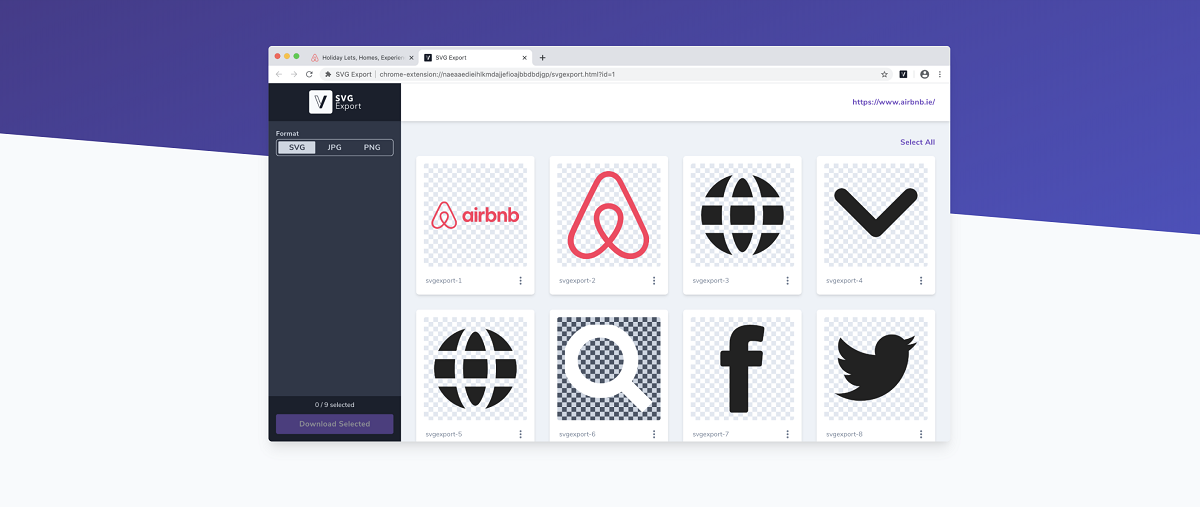
SVG stands for Scalable Vector Graphics. It is a file format that allows you to create and display vector-based graphics. Unlike raster images, such as JPEG or PNG, which are made up of pixels, SVG files are composed of mathematical equations that define shapes, lines, and colors. This means that SVG files can be scaled up or down without losing their quality. Whether you want to resize a design for a small keychain or a large poster, SVG files will maintain their crispness and clarity.
One of the key advantages of using SVG files is that they are resolution-independent. This means that no matter how much you zoom in or out, the images will always appear sharp and smooth. SVG files are also lightweight, which makes them easy to download, share, and manipulate. They can be opened and edited using a variety of software programs and online tools, allowing for endless possibilities in terms of customization and creativity.
SVG files are created using vector editing software, such as Adobe Illustrator or Inkscape. These programs allow you to draw and manipulate shapes, curves, and lines with precision. You can add colors, gradients, and patterns to enhance your designs. Once your SVG file is ready, you can import it into your Cricut machine and let it work its magic!
Now that we’ve covered the basics of SVG, let’s explore why it is the preferred format for use with Cricut machines.
Why use SVG with Cricut?
Cricut machines have gained immense popularity among crafters and hobbyists because of their versatility and precision. These cutting machines can precisely cut various materials, including cardstock, vinyl, fabric, and more, to bring your creative ideas to life. When it comes to using Cricut machines, SVG files are the preferred format for several reasons:
- Scalability: As mentioned earlier, SVG files are scalable, which means you can resize them without compromising the quality of the design. Whether you want to cut a small intricate pattern or a large design, SVG files ensure that your final project looks flawless.
- Details and precision: SVG files preserve the fine details of your designs, ensuring that every cut is precise and accurate. With Cricut’s advanced cutting technology, you can achieve even the most intricate cuts, allowing for stunning results in your craft projects.
- Layered designs: SVG files support layered designs, meaning you can create multi-layered projects with different colors and textures. Cricut machines are capable of cutting each layer separately, allowing you to achieve depth and dimension in your crafts.
- Editing flexibility: SVG files can be easily edited and customized to suit your preferences. You can change colors, resize elements, add or remove components, and personalize the design according to your creative vision. This flexibility opens up endless possibilities for your Cricut projects.
- Wide availability: SVG files are widely available on various online platforms, specifically catering to crafters and Cricut users. You can find a vast collection of SVG files, including free and paid options, offering a wide range of designs for different themes and occasions.
Using SVG files with your Cricut machine not only streamlines the cutting process but also expands your creative horizons. From personalized gifts and home decor to party decorations and fashion accessories, the combination of SVG and Cricut opens up a world of crafting possibilities.
Now that we understand the benefits of using SVG with Cricut, let’s move on to the step-by-step guide on how to download SVG files and use them with your Cricut machine.
Step-by-step guide to download SVG to Cricut
Ready to start using SVG files with your Cricut machine? Follow these simple steps to download SVG files and prepare them for use:
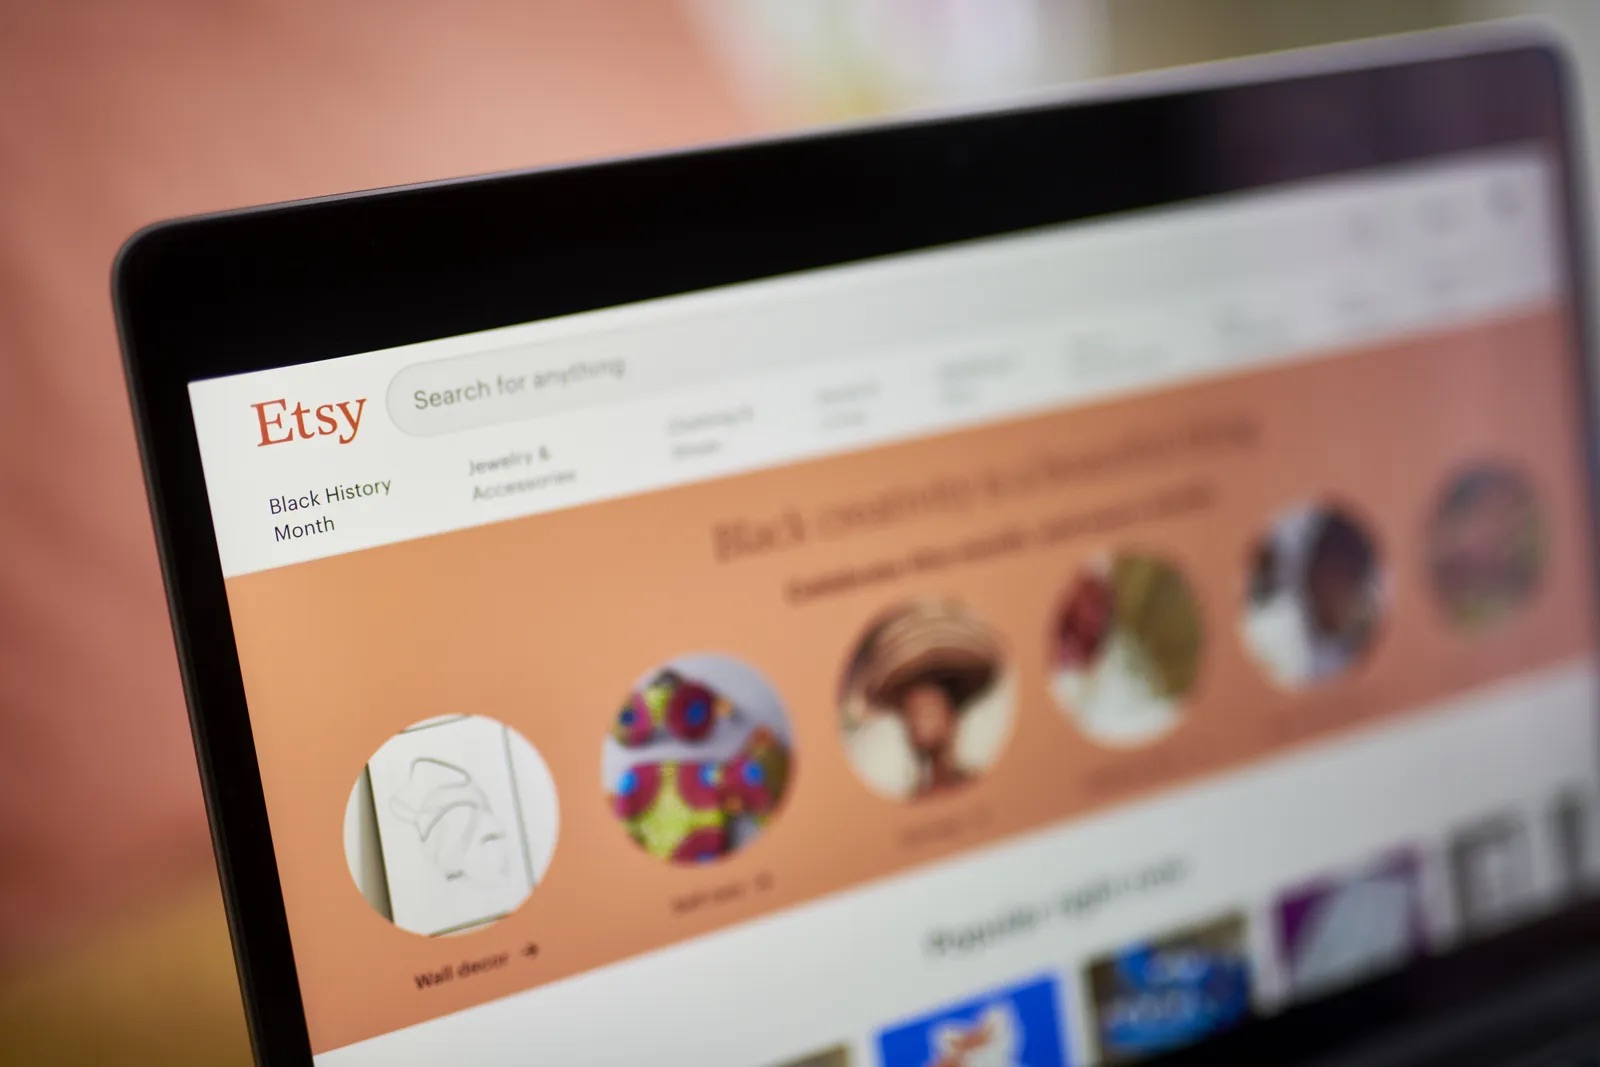
- Find a reliable source of SVG files: Begin by searching for a trusted website or platform that offers a wide range of SVG files. There are many websites that provide free and paid SVG files, so explore and choose one that suits your needs.
- Browse and select a design: Once you’ve found a suitable source, browse through their collection and find a design that catches your eye. Consider the theme, style, and complexity of the design to ensure it aligns with your project requirements.
- Download the SVG file: Click on the download button or link provided with the chosen design to initiate the download process. The SVG file will be saved to your computer or device. Make sure to note the location where the file is saved for easy access later.
- Organize your SVG files: As you start downloading more SVG files, it’s helpful to create a dedicated folder on your computer to keep them organized. This way, you can quickly locate specific files when needed.
- Connect your Cricut machine: Ensure that your Cricut machine is connected to your computer or device using the necessary USB or Bluetooth connection. Follow the instructions provided by Cricut to establish a secure connection.
- Open Cricut Design Space: Launch the Cricut Design Space software on your computer or access it through their online platform. This is the software where you will import and manipulate your SVG files before cutting them.
- Import the SVG file: In the Cricut Design Space, locate the “Upload” button and click on it. This will open the upload screen. Click the “Browse” button to select the downloaded SVG file from your computer. Once selected, click “Open” to import the file into Cricut Design Space.
- Make any necessary adjustments: Once imported, you can resize, rotate, or make any other modifications to the SVG file to fit your project requirements. Take advantage of the tools available in Cricut Design Space to fine-tune your design.
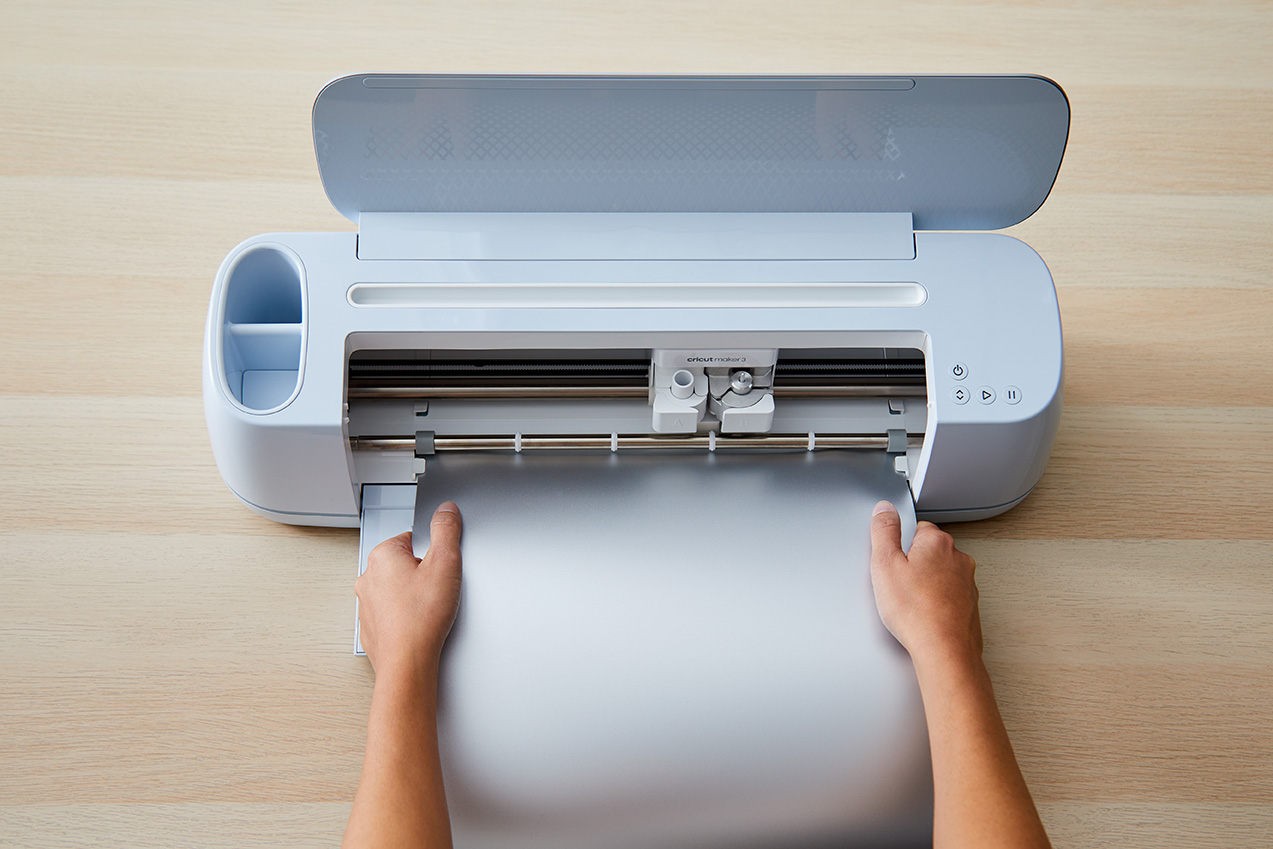
- Prepare for cutting: Ensure that your Cricut machine is equipped with the appropriate cutting tool, such as a blade or pen, based on your design’s requirements. Load the chosen material onto the cutting mat and place it into the Cricut machine.
- Send the design to cut: In the Cricut Design Space, locate the “Make It” button and click on it. Follow the on-screen prompts to specify the material type, cutting settings, and number of copies needed. Once configured, click “Continue” to send the design to your Cricut machine for cutting.
- Watch your design come to life: Sit back and watch as your Cricut machine precisely cuts out the design from the selected material. Once the cutting process is complete, carefully remove the cut pieces from the cutting mat.
That’s it! You’ve successfully downloaded an SVG file and used it with your Cricut machine. Now you can take your creative projects to the next level with beautifully cut designs.
Keep in mind that the steps mentioned above may vary slightly depending on the specific model of Cricut machine you own. Always refer to the user manual or online guides provided by Cricut for detailed instructions tailored to your machine.
Next, let’s explore an alternative method: creating your own SVG files for use with Cricut.
Method 1: Downloading SVG from online sources
Downloading SVG files from online sources is a quick and convenient way to access a wide variety of designs for your Cricut projects. Here’s how you can do it:
- Search for reliable SVG websites: Start by searching for websites that offer SVG files. There are numerous platforms available, both free and paid, that specialize in providing high-quality SVG designs. Take your time to explore and find reputable sources that offer a range of designs suitable for your project.
- Browse and select a design: Once you’ve found a reliable website, browse through their collection and choose a design that fits your project and personal style. Consider factors such as the theme, complexity, and customization options available.
- Purchase or download: Depending on the website, you may have the option to download SVG files for free, purchase them individually, or subscribe to a membership plan for access to a wider selection. Follow the website’s instructions to download the chosen SVG file to your computer or device.
- Organize your downloads: It’s a good practice to create a dedicated folder on your computer to keep all the downloaded SVG files organized. This way, you’ll be able to easily locate and access them whenever needed.
- Connect your Cricut machine: Ensure that your Cricut machine is connected to your computer or device via USB or Bluetooth, following the manufacturer’s instructions.
- Launch Cricut Design Space: Open the Cricut Design Space software on your computer or access it through their online platform. If you haven’t installed it already, take a moment to download and install the software before proceeding.
- Import the SVG file: Within Cricut Design Space, click on “Upload” to access the upload screen. Click the “Browse” button to locate the downloaded SVG file on your computer or device. Once selected, click “Open” to import the SVG file into Cricut Design Space.
- Make adjustments if needed: Depending on your project, you may want to make some adjustments to the SVG file in Cricut Design Space. Resize or rotate the design, replicate or delete elements, or personalize it further using the available tools.
- Prepare for cutting: Ensure that your Cricut machine is equipped with the appropriate cutting tool and that the material you want to cut is securely placed on the cutting mat.
- Send the design to cut: In Cricut Design Space, click on “Make It” to proceed to the cutting settings screen. Here, select the appropriate material type and adjust any other cutting settings if necessary. Once satisfied, click “Continue” to send the design to your Cricut machine for cutting.
- Watch your design come to life: Sit back and enjoy watching your Cricut machine expertly cut out your design from the chosen material. Once the cutting process is complete, gently remove the cut pieces from the cutting mat.
Downloading SVG files from online sources gives you access to a wide range of designs, allowing you to easily find and create beautiful projects with your Cricut machine. Remember to support the original designers by respecting their terms of use and, if required, providing attribution for the downloaded SVG files.
Now that you’re familiar with downloading SVG files from online sources, let’s explore an alternate method: creating your own SVG files for use with Cricut.
Method 2: Creating your own SVG
If you’re feeling adventurous and want to add a personal touch to your Cricut projects, you can create your own SVG files. This allows you to bring your unique ideas to life and have complete control over the design process. Here’s a step-by-step guide on how to create your own SVG files for use with Cricut:
- Choose a vector editing software: Select a vector editing software that you are comfortable using. Popular options include Adobe Illustrator and Inkscape, which are powerful tools for creating and editing SVG files.
- Familiarize yourself with the software: Spend some time getting to know the features and functions of the chosen software. Learn how to draw and manipulate shapes, use the pen tool, apply colors and gradients, and other essential techniques for creating vector graphics.
- Plan your design: Before diving into the software, sketch out your design on paper or create a digital mockup. This will help you envision the final result and guide you throughout the design process.
- Start creating: Open your chosen vector editing software and create a new document. Begin by adding the basic shapes or lines that form the foundation of your design. Use the software’s tools to modify and refine the shapes to achieve the desired look.
- Add color and details: Once you have the basic shapes in place, apply colors, gradients, patterns, and other elements to bring your design to life. Experiment with different combinations and effects to achieve the desired aesthetic.
- Consider layers: Depending on the complexity of your design, you may want to create multiple layers. Each layer can contain different elements or variations of your design. This allows for more flexibility and customization options when working with your Cricut machine.
- Save your design as an SVG file: Once you’re satisfied with your design, save it as an SVG file. Most vector editing software offers the option to export or save as an SVG. Ensure that the file format is set to SVG and choose an appropriate location on your computer to save the file.
- Connect your Cricut machine: Ensure that your Cricut machine is connected to your computer or device using the necessary USB or Bluetooth connection, following the manufacturer’s instructions.
- Open Cricut Design Space: Launch the Cricut Design Space software on your computer or access it through their online platform. If you haven’t installed it already, take a moment to download and install the software before proceeding.
- Import your SVG file: In Cricut Design Space, click on “Upload” to access the upload screen. Click the “Browse” button to locate the SVG file you created on your computer or device. Once selected, click “Open” to import the SVG file into Cricut Design Space.
- Make adjustments if needed: Depending on your project, you may want to make some adjustments to the SVG file in Cricut Design Space. Resize or rotate the design, replicate or delete elements, or personalize it further using the available tools.
- Prepare for cutting: Ensure that your Cricut machine is equipped with the appropriate cutting tool and that the material you want to cut is securely placed on the cutting mat.
- Send the design to cut: In Cricut Design Space, click on “Make It” to proceed to the cutting settings screen. Here, select the appropriate material type and adjust any other cutting settings if necessary. Once satisfied, click “Continue” to send the design to your Cricut machine for cutting.
- Watch your design come to life: Sit back and enjoy watching your Cricut machine expertly cut out your design from the chosen material. Once the cutting process is complete, gently remove the cut pieces from the cutting mat.
Creating your own SVG files gives you the freedom to unleash your creativity and design unique projects that truly represent your style. Experiment with different shapes, colors, and techniques to create one-of-a-kind designs for your Cricut crafts.
Now that you know how to create your own SVG files, let’s move on to some helpful tips for using SVG with your Cricut machine.
Tips for Using SVG with Cricut
Using SVG files with your Cricut machine opens up a world of possibilities for your crafting projects. To make the most of this combination, here are some helpful tips to keep in mind:
- Select high-quality SVG files: When downloading SVG files from online sources, choose designs that are of high quality and have clean lines. This ensures that the final cutout will be precise and accurate.
- Resize with caution: While SVG files can be scaled up or down without losing quality, make sure to maintain the aspect ratio if you want to maintain the correct proportions of the design.
- Choose suitable materials: Consider the material you plan to cut with your Cricut machine and select an appropriate SVG design. Different materials may require different cutting settings, so ensure that the design is compatible.
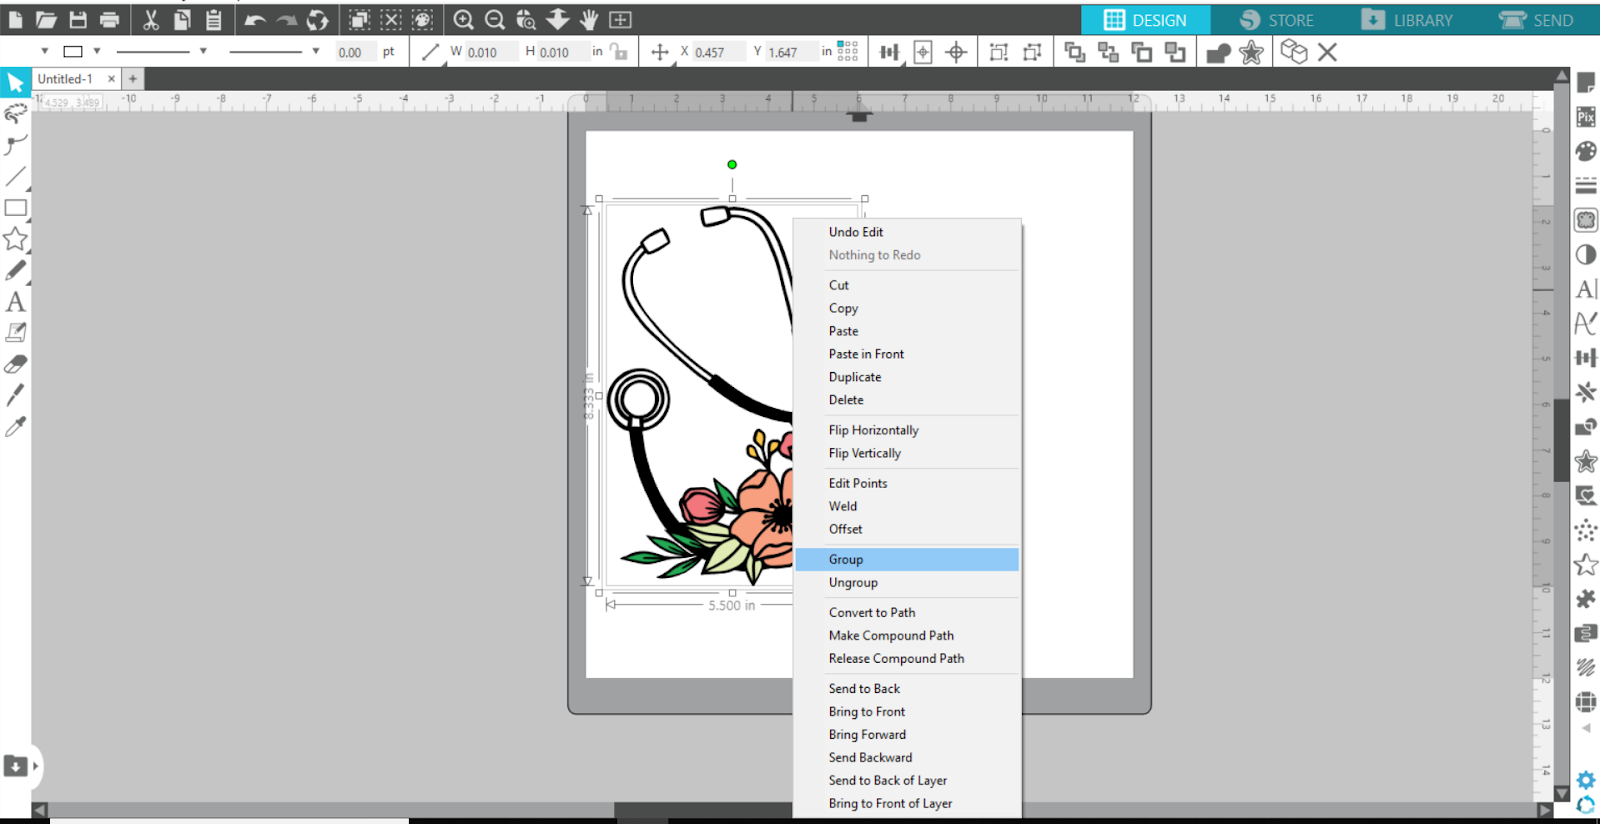
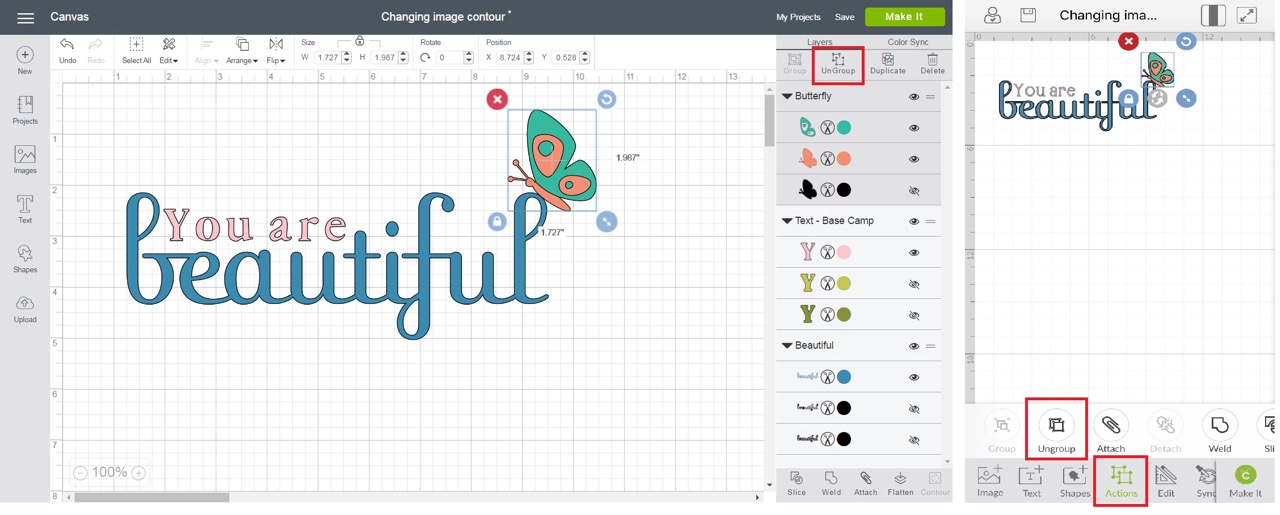
- Group and ungroup elements: In Cricut Design Space, you can group or ungroup elements of an SVG file. Grouping keeps related elements together, making it easier to manipulate or resize them as a whole.
- Hide or delete unwanted elements: If your SVG design has multiple layers or unnecessary elements, hide or delete them in Cricut Design Space to avoid cutting them unintentionally. This helps maintain clarity and precision in your final project.
- Use the Attach feature: In Cricut Design Space, the Attach feature is useful when working with multi-layered designs. Use it to keep related elements in position and maintain the desired layout during the cutting process.
- Test cut on scrap materials: Before cutting out your design on the desired material, perform a test cut on a scrap piece to ensure that the settings and blade are appropriate. This helps avoid potential mistakes or wasted materials.
- Keep your cutting mat clean: Regularly clean your cutting mat to remove any debris or adhesive residue. A clean mat ensures better adherence of the material and prevents any unwanted movement during cutting.
- Experiment and have fun: Don’t be afraid to experiment with different materials, colors, and designs. Cricut machines and SVG files offer endless creative possibilities, so let your imagination run wild and enjoy the process!
By following these tips, you can enhance your experience using SVG files with your Cricut machine. Remember to always consult the user manual and online resources for specific instructions related to your Cricut model and software version.
Now that you’re armed with knowledge and tips, start exploring the exciting world of SVG and Cricut to create stunning and personalized crafts!
Conclusion
SVG files and Cricut machines are a perfect match for anyone looking to unleash their creativity and create amazing craft projects. SVG files provide the advantage of scalability, ensuring that your designs remain crisp and clear regardless of the size. Cricut machines offer precise and intricate cutting abilities, allowing you to bring your designs to life with ease.
In this article, we explored two methods of using SVG files with your Cricut machine. You can either download SVG files from trusted online sources or create your own designs using vector editing software. Both methods offer a plethora of options and allow you to personalize your crafts to suit your taste and style.
We also provided tips to help you make the most of SVG files with Cricut. From selecting high-quality designs to resizing with caution and experimenting with different materials, these tips will assist you in achieving stunning results in your projects.
Whether you’re a beginner or an experienced crafter, the combination of SVG files and Cricut machines opens up endless creative possibilities. The ability to cut intricate designs with precision and customization is sure to elevate your craft projects to a whole new level.
So, what are you waiting for? Dive into the world of SVG and Cricut, explore the vast collection of designs available, or create your own masterpieces. Unleash your creativity, have fun, and enjoy the process of bringing your unique ideas to life with SVG and Cricut!