Introduction
Downloading the Cricut software opens up a world of creative possibilities for individuals looking to indulge their passion for crafting and design. Whether you enjoy creating custom apparel, personalized home decor, or intricate paper crafts, the Cricut software is an essential tool that allows you to bring your ideas to life.
The Cricut software is a user-friendly platform that enables you to design and cut various materials with precision. It offers a wide range of features and functions, allowing you to create intricate designs, choose from a vast library of ready-to-make projects, and personalize your creations with ease.
In this article, we will guide you on how to download the Cricut software and get started on your crafting journey. Whether you are a beginner or an experienced crafter, this step-by-step guide will help you navigate the process effortlessly.
So, let’s get started and explore the world of Cricut!
Step 1: Go to the Official Cricut Website
The first step in downloading the Cricut software is to visit the official Cricut website. Open your preferred web browser and enter the following URL: https://www.cricut.com/
Once you land on the homepage, take a moment to explore the various tabs and options available. The Cricut website offers valuable resources such as project ideas, tutorials, and an extensive community of crafters to connect with.
Before proceeding, it is important to ensure that your computer meets the necessary system requirements for the Cricut software. These requirements can typically be found on the website under the “System Requirements” section; make sure to double-check that your operating system and hardware specifications are compatible.
Once you have familiarized yourself with the website and confirmed your computer’s compatibility, it’s time to move on to the next step: creating an account or logging in if you already have one. This will allow you to access and download the Cricut software from the website.
Creating an account is a straightforward process. Look for the “Account” or “Sign Up” button, typically located at the top right-hand corner of the homepage. Click on it, and you will be directed to a registration page where you will need to enter your name, email address, and create a password.
If you already have a Cricut account, simply click on the “Log In” button and enter your email address and password in the provided fields.
Having an account is not only essential for downloading the software but also enables you to access additional features, project ideas, and design files through the Cricut Design Space.
Now that you have visited the official Cricut website and either created a new account or logged in to your existing one, you are ready to proceed to the next step: browsing and selecting the desired Cricut software.
Step 2: Create an Account or Log In
Creating an account or logging in is a crucial step in downloading the Cricut software. By doing so, you gain access to a multitude of features, project inspiration, and design files through the Cricut Design Space.
If you already have a Cricut account, skip to the next paragraph. If not, let’s create one together. On the Cricut website, look for the “Account” or “Sign Up” button, usually located at the top right-hand corner of the page. Click on it, and you will be taken to a registration page.
Fill in the required fields, including your name, email address, and create a unique password. Make sure to choose a strong password that includes a combination of upper and lowercase letters, numbers, and special characters to ensure the security of your account. Once you have entered all the necessary details, click on the “Create Account” or similar button to finalize the registration process.
If you already have a Cricut account, click on the “Log In” button instead. Enter your email address and password in the designated fields, and click on the “Log In” button to access your account.
Having a Cricut account allows you to personalize your experience and provides access to features such as saving and organizing your projects, accessing the Cricut library, and connecting with other crafters in the community.
Once you have successfully created your account or logged in, you are one step closer to downloading the Cricut software. In the next step, we will explore how to browse and select the specific software that suits your needs and preferences.
Step 3: Browse and Select the Desired Cricut Software
Now that you have created an account or logged in, it’s time to browse and select the Cricut software that aligns with your crafting needs. The Cricut software comes in different versions, each offering unique features and functionalities.
On the Cricut website, navigate to the “Software” or “Downloads” section. Here, you will find a variety of Cricut software options available for download.
Take a moment to explore the different software versions and their descriptions. Pay attention to the specific features and compatibility with your operating system. Some software may be more suitable for specific types of projects, such as vinyl cutting, card making, or fabric crafts.
Consider your crafting preferences and objectives as you browse through the software options. If you are unsure which version to choose, don’t hesitate to read customer reviews or seek recommendations from fellow crafters in online forums or social media groups.
Once you have decided on the software that best suits your needs, click on the “Download” button or similar option associated with that software. The website may prompt you to confirm your selection or provide additional information, such as your operating system or preferred language.
For a smooth download process, ensure a stable internet connection and have sufficient storage space on your device. Larger software files may take a bit longer to download, so be patient and avoid interrupting the process.
After the download is complete, you are ready to move on to the next step: choosing the appropriate operating system for installation. We will cover this in the next section.
Step 4: Choose the Appropriate Operating System for Download
After selecting your desired Cricut software, it’s important to ensure that you choose the appropriate operating system for download. This step is critical to ensure a seamless installation process and compatibility with your computer or device.
On the download page, you will typically find options that correspond to different operating systems, such as Windows, Mac, or iOS. Select the version that is compatible with your computer’s operating system.
If you are unsure about your operating system, you can check it by following these steps:
- Windows: For Windows users, click on the start menu, select “Settings,” and then click on “System.” Under the “About” section, you will find information about your operating system.
- Mac: Mac users can click on the Apple menu, select “About this Mac,” and you will see information about your operating system.
- iOS: If you are using an iOS device, go to “Settings,” then select “General,” and finally, click on “About.”
Once you have identified your operating system, choose the corresponding option on the download page. Some websites may automatically detect your operating system and provide the appropriate download option for you.
Make sure to double-check your selection before proceeding to avoid any compatibility issues during the installation process. If you mistakenly choose the wrong operating system, simply go back to the download page and select the correct option.
Now that you have chosen the appropriate operating system for the Cricut software download, it’s time to move on to the next step: starting the download process. We will guide you through this in the following section.
Step 5: Start the Download Process
With the appropriate operating system selected, you are ready to start the download process for the Cricut software. This step is crucial to acquiring the necessary files for installation on your computer or device.
On the download page, look for the download button or link associated with your chosen operating system. Click on it to initiate the download.
Depending on your internet connection speed and the size of the software, the download process may take a few minutes. It’s important to have a stable internet connection to avoid any interruptions during the download.
While the file is downloading, take the opportunity to review any additional information or instructions provided on the download page. This may include details on file size, estimated download time, or any specific steps required prior to installation.
It is important to ensure that you download the software from a trusted source, such as the official Cricut website. This helps to ensure that you are obtaining a legitimate and safe copy of the software.
Once the download is complete, the software file will typically be saved in your computer’s designated download folder or a location specified by your browser. You can check the download progress by looking at the download bar or window in your browser.
Before moving on to the installation step, it’s a good idea to validate that the downloaded file is complete and error-free. One way to do this is by checking the file’s properties, such as its size and modification date, which should match the information provided on the download page.
In the next step, we will cover how to install the downloaded Cricut software on your computer, so you can begin creating your amazing crafts.
Step 6: Install the Downloaded Software
Now that you have successfully downloaded the Cricut software, it’s time to install it on your computer. The installation process will vary depending on your operating system, but the general steps are outlined below.
Locate the downloaded software file on your computer. It is usually saved in your designated download folder or a location specified by your browser. The file may have a “.exe” extension if you are using Windows or a “.dmg” extension for Mac.
Double-click on the downloaded file to initiate the installation process. You may be prompted with a security warning, asking for permission to run the file. Click “Yes” or “Run” to proceed.
Follow the on-screen instructions provided by the installer. This may include reviewing and accepting the software’s terms and conditions, selecting the installation location, and choosing any additional customization options.
Make sure to carefully read any prompts or dialog boxes that appear during the installation process. Some software installers may include optional software or features that you can choose to install or decline.
Once you have completed the installation process, the Cricut software should be successfully installed on your computer. It may create desktop shortcuts or be accessible through the Start menu (Windows) or Applications folder (Mac).
Before launching the software, it’s a good idea to restart your computer. This can help finalize the installation process and ensure that any necessary components are properly configured.
Congratulations! You have successfully installed the Cricut software on your computer. In the next step, we will guide you on how to launch the software and set it up for your crafting needs.
Step 7: Launch and Set Up Your Cricut Software
Now that you have installed the Cricut software, it’s time to launch it and set it up to suit your crafting needs. Follow the steps below to get started:
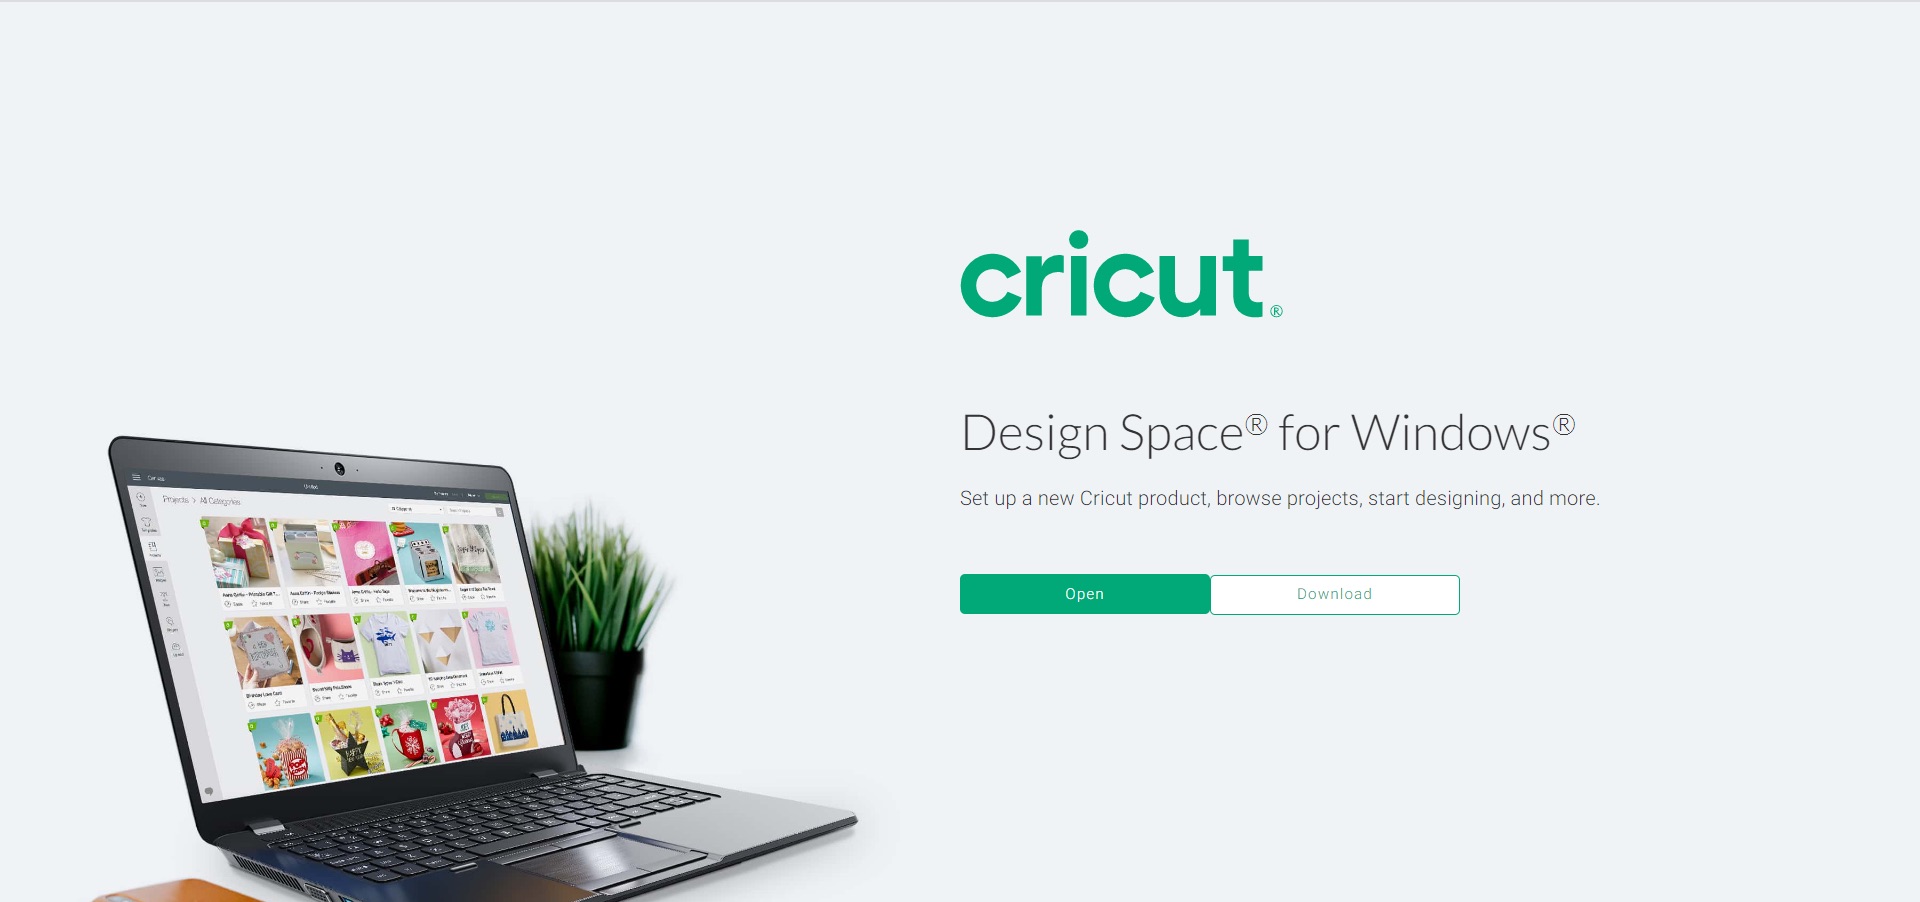
Locate the desktop shortcut or access the software from the Start menu (Windows) or Applications folder (Mac). Double-click on the Cricut software icon to launch it.
Upon launching the software, you may be prompted to log in with your Cricut account credentials. Enter your email address and password associated with your account to proceed. Logging in will grant you access to additional features and design resources.
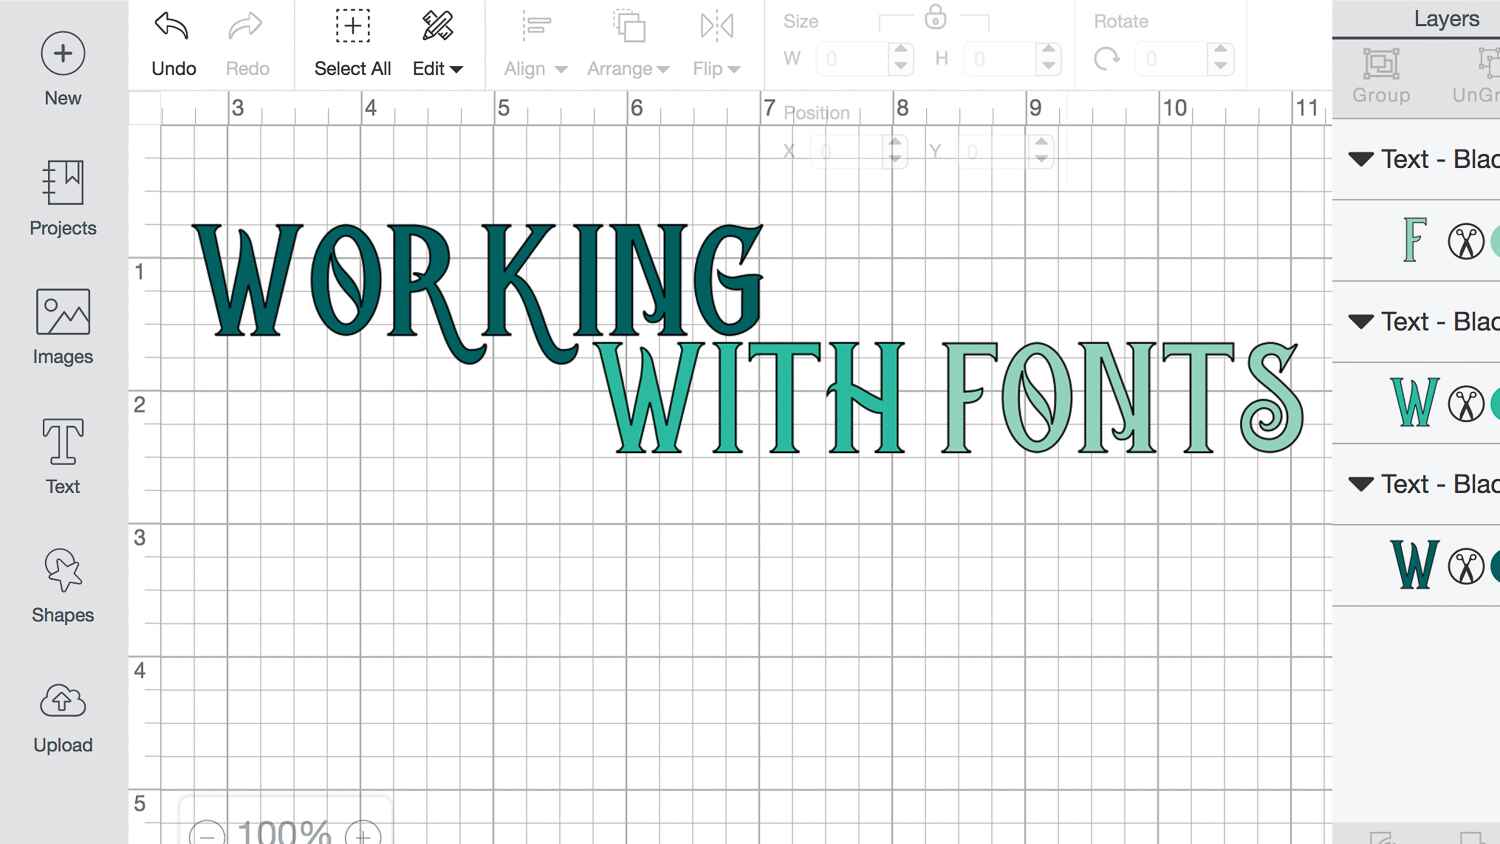
Once you have logged in, take a moment to familiarize yourself with the software’s interface. The Cricut Design Space is a powerful tool that allows you to create and customize designs for various crafts.
Explore the different buttons, menus, and design options available. Take your time to understand the software’s layout and functionality. You can refer to the software’s Help section or online tutorials for more guidance on using the various features.
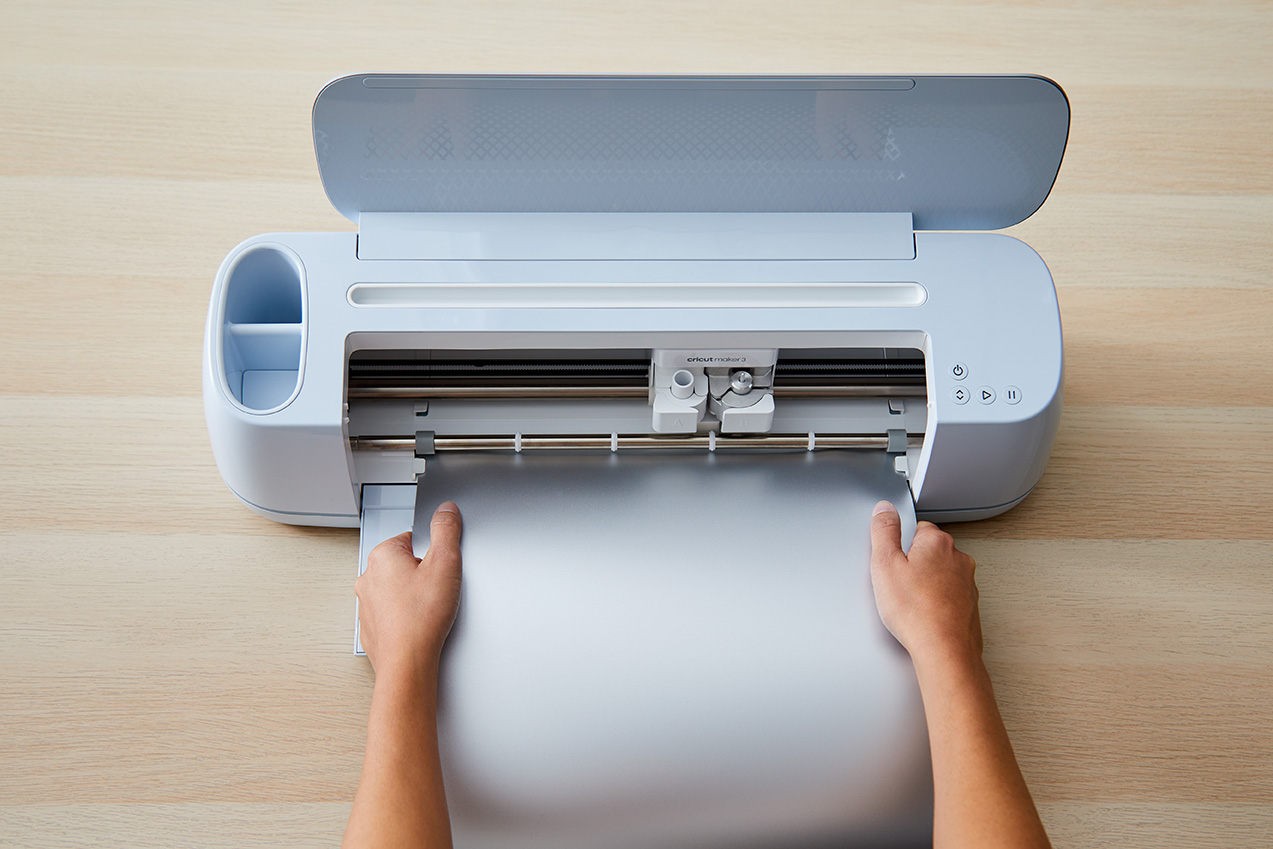
If you haven’t connected your Cricut machine to your computer yet, follow the manufacturer’s instructions to do so. Connect the machine using a USB cable or through a wireless connection, depending on the model.
Once the Cricut machine is connected, the software should detect it automatically. Follow any on-screen instructions to complete the machine setup and calibration process.
Now that your Cricut software is installed and set up, you are ready to unleash your creativity. Explore the software’s capabilities and features, browse through the design library, or start creating your own unique projects.
Remember to keep your software up to date by checking for software updates periodically. This ensures that you have access to the latest features and improvements.
Enjoy your crafting journey with Cricut and let your imagination run wild!
Conclusion
Congratulations on successfully downloading, installing, and setting up the Cricut software! You have taken the first steps towards unlocking a world of creative possibilities for your crafting projects.
Throughout this step-by-step guide, we have covered the essential process of downloading the software from the official Cricut website, creating an account or logging in, selecting the appropriate software version, choosing the right operating system for download, and installing the software on your computer.
By following these steps, you have gained access to a user-friendly platform that enables you to design and cut various materials with precision. The Cricut software offers a myriad of features, including an extensive design library, project inspiration, and customization options.
Remember to take the time to explore the software’s interface, familiarize yourself with its features, and connect your Cricut machine for a seamless crafting experience. Take advantage of the software’s capabilities to bring your creative visions to life.
Keep in mind that continuous learning and experimentation are key to becoming proficient with the Cricut software. Don’t hesitate to explore online tutorials, forums, and the Cricut community for inspiration, tips, and tricks.
Lastly, remember to check for software updates regularly to ensure that you have access to the latest features and enhancements. The Cricut software is constantly evolving to provide the best experience for its users.
Now that you are equipped with the knowledge and steps to download and set up the Cricut software, it’s time to unleash your imagination and creativity. Whether you’re designing custom apparel, creating stunning home decor, or crafting one-of-a-kind gifts, the Cricut software will be your trusty companion throughout your creative journey.
Enjoy your crafting adventures with Cricut, and let your creativity soar!