Introduction
Fonts play a crucial role in enhancing the visual appeal of documents, presentations, websites, and various other digital projects. Whether you’re a designer, writer, or simply someone who appreciates the aesthetics of typography, having a diverse collection of fonts can greatly enhance your creative output. If you’re using Windows 10, managing and installing fonts is a relatively simple process that can be done in a few easy steps. In this article, we will guide you through the process of installing fonts on your Windows 10 operating system, allowing you to personalize your digital projects and bring your creative vision to life.
Windows 10 offers a wide range of built-in fonts, but sometimes you may find yourself needing a unique font that adds a touch of individuality to your work. Fortunately, the process of installing custom fonts is straightforward and requires just a few minutes of your time. Whether you need decorative fonts for invitations, professional fonts for business presentations, or elegant fonts for a personal project, Windows 10 allows you to easily expand your font library and customize your digital creations.
By following the steps outlined in this guide, you will be able to download, extract, and install fonts on your Windows 10 device. We will also provide tips on managing your installed fonts, ensuring that you can access and use them effortlessly across various applications and programs. With Windows 10, unleashing your creativity and making your documents visually stunning has never been easier. So let’s dive into the step-by-step process of installing fonts on Windows 10 and start adding that extra touch of style to your digital projects.
Step 1: Downloading Fonts
The first step in installing fonts on Windows 10 is to download the font files. There are various websites where you can find a wide selection of fonts, both free and paid. Here’s how you can download fonts to your computer:
- Open your preferred web browser and navigate to a reliable font website, such as Google Fonts, Dafont, or Font Squirrel.
- Browse through the font library and choose the font(s) you wish to download. You can filter the fonts by style, category, or language to find the perfect font for your project.
- Click on the font name to view the font details and options.
- Look for a download button or link, usually labeled as “Download” or “Get the font.” Click on it to initiate the download process.
- Choose a location on your computer where you want to save the font file. It is recommended to create a separate folder dedicated to downloaded fonts for easy organization.
- Click “Save” to start the download. The font file will be saved as a compressed ZIP file.
- Once the download is complete, navigate to the location where the font file is saved and proceed to the next step to extract the font files.
Downloading fonts from reliable sources ensures that you receive high-quality and legal font files. Also, remember to check the license associated with the font to ensure it can be used for your intended purposes, whether personal or commercial.
With the font files downloaded and saved on your computer, you’re ready to move on to the next step: extracting the font files from the ZIP archive.
Step 2: Extracting Font Files
After downloading fonts in the compressed ZIP format, the next step is to extract the font files from the archive. Here’s how you can extract font files on Windows 10:
- Navigate to the location where the font ZIP file is saved on your computer.
- Right-click on the ZIP file and select “Extract All” from the context menu. This will open the “Extract Compressed (Zipped) Folders” wizard.
- In the extraction wizard, specify the destination folder where you want to extract the font files. You can create a new folder dedicated to font extraction or choose an existing folder.
- Check the option “Show extracted files when complete” if you want to directly access the extracted font files after the extraction process is finished.
- Click “Extract” to begin the extraction process. Windows will extract the font files from the ZIP archive and place them in the specified destination folder.
- Once the extraction is complete, you can proceed to the next step to install the extracted fonts.
Extracting font files allows you to access the individual font files that are stored within the compressed ZIP archive. This step ensures that you have the necessary font files ready for installation. By keeping your font files organized in dedicated folders, you can easily locate and manage them in the future.
Now that you have successfully extracted the font files, let’s move on to the next step: installing these fonts on your Windows 10 system.
Step 3: Installing Fonts
Now that you have downloaded and extracted the font files, it’s time to install them on your Windows 10 system. Installing fonts allows you to access and use them in various applications and programs. Follow these steps to install fonts on Windows 10:
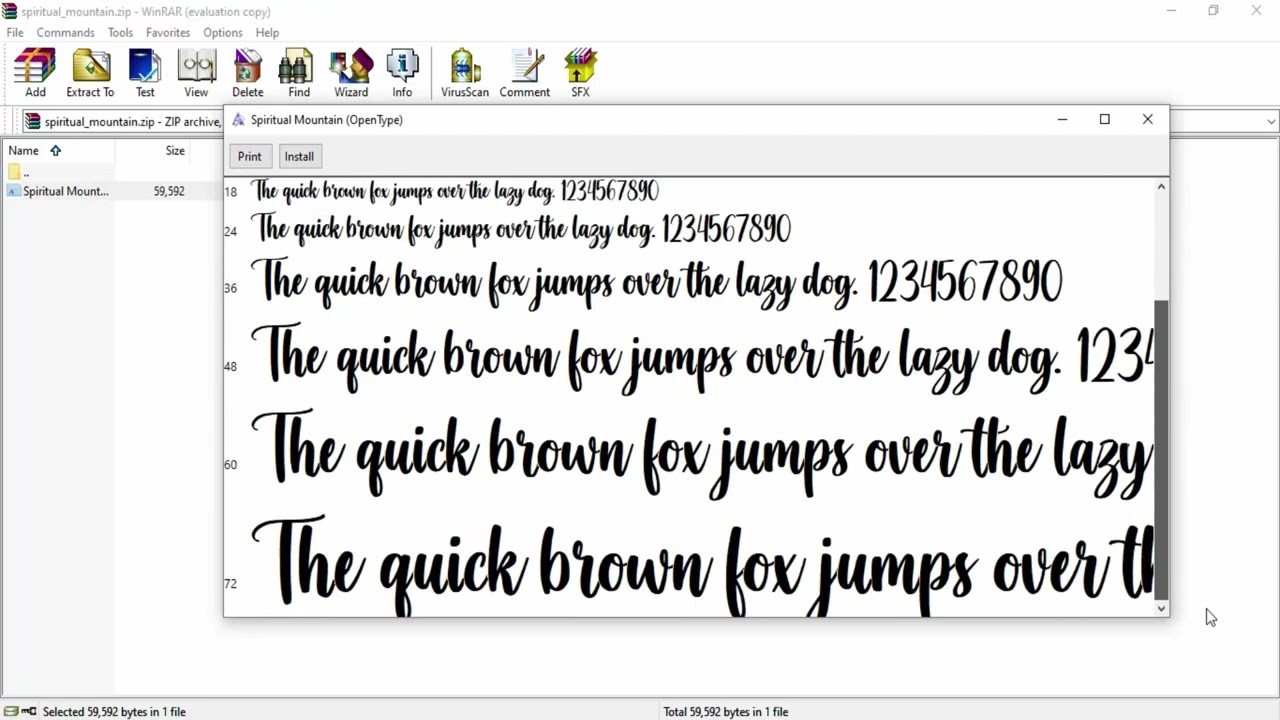
- Go to the folder where you extracted the font files. You should see the individual font files with file extensions such as .ttf (TrueType Font) or .otf (OpenType Font).
- Select the font files you want to install. You can install multiple fonts at once by holding down the Ctrl key and selecting multiple files.
- Right-click on the selected font files and choose “Install” from the context menu. Windows will initiate the font installation process.
- A progress window will appear, indicating that the fonts are being installed. This process may take a few seconds, depending on the number of fonts being installed.
- Once the installation is complete, you will see a confirmation message indicating that the fonts have been successfully installed.
- You can now start using the installed fonts in various applications such as Microsoft Word, Photoshop, or any other program that allows font customization.
By installing fonts on your Windows 10 system, you ensure that the fonts are readily available for use without the need for manual file navigation each time you want to access them. Installing fonts is a one-time process, and the fonts will remain installed on your system until you decide to remove them.
Congratulations! You have successfully installed the fonts on your Windows 10 system. Now let’s move on to the next step: managing your installed fonts.
Step 4: Managing Installed Fonts
Managing your installed fonts is important to ensure easy access, organization, and efficient use. Windows 10 provides a range of options to help you manage your installed fonts. Here are some useful tips for managing your installed fonts:
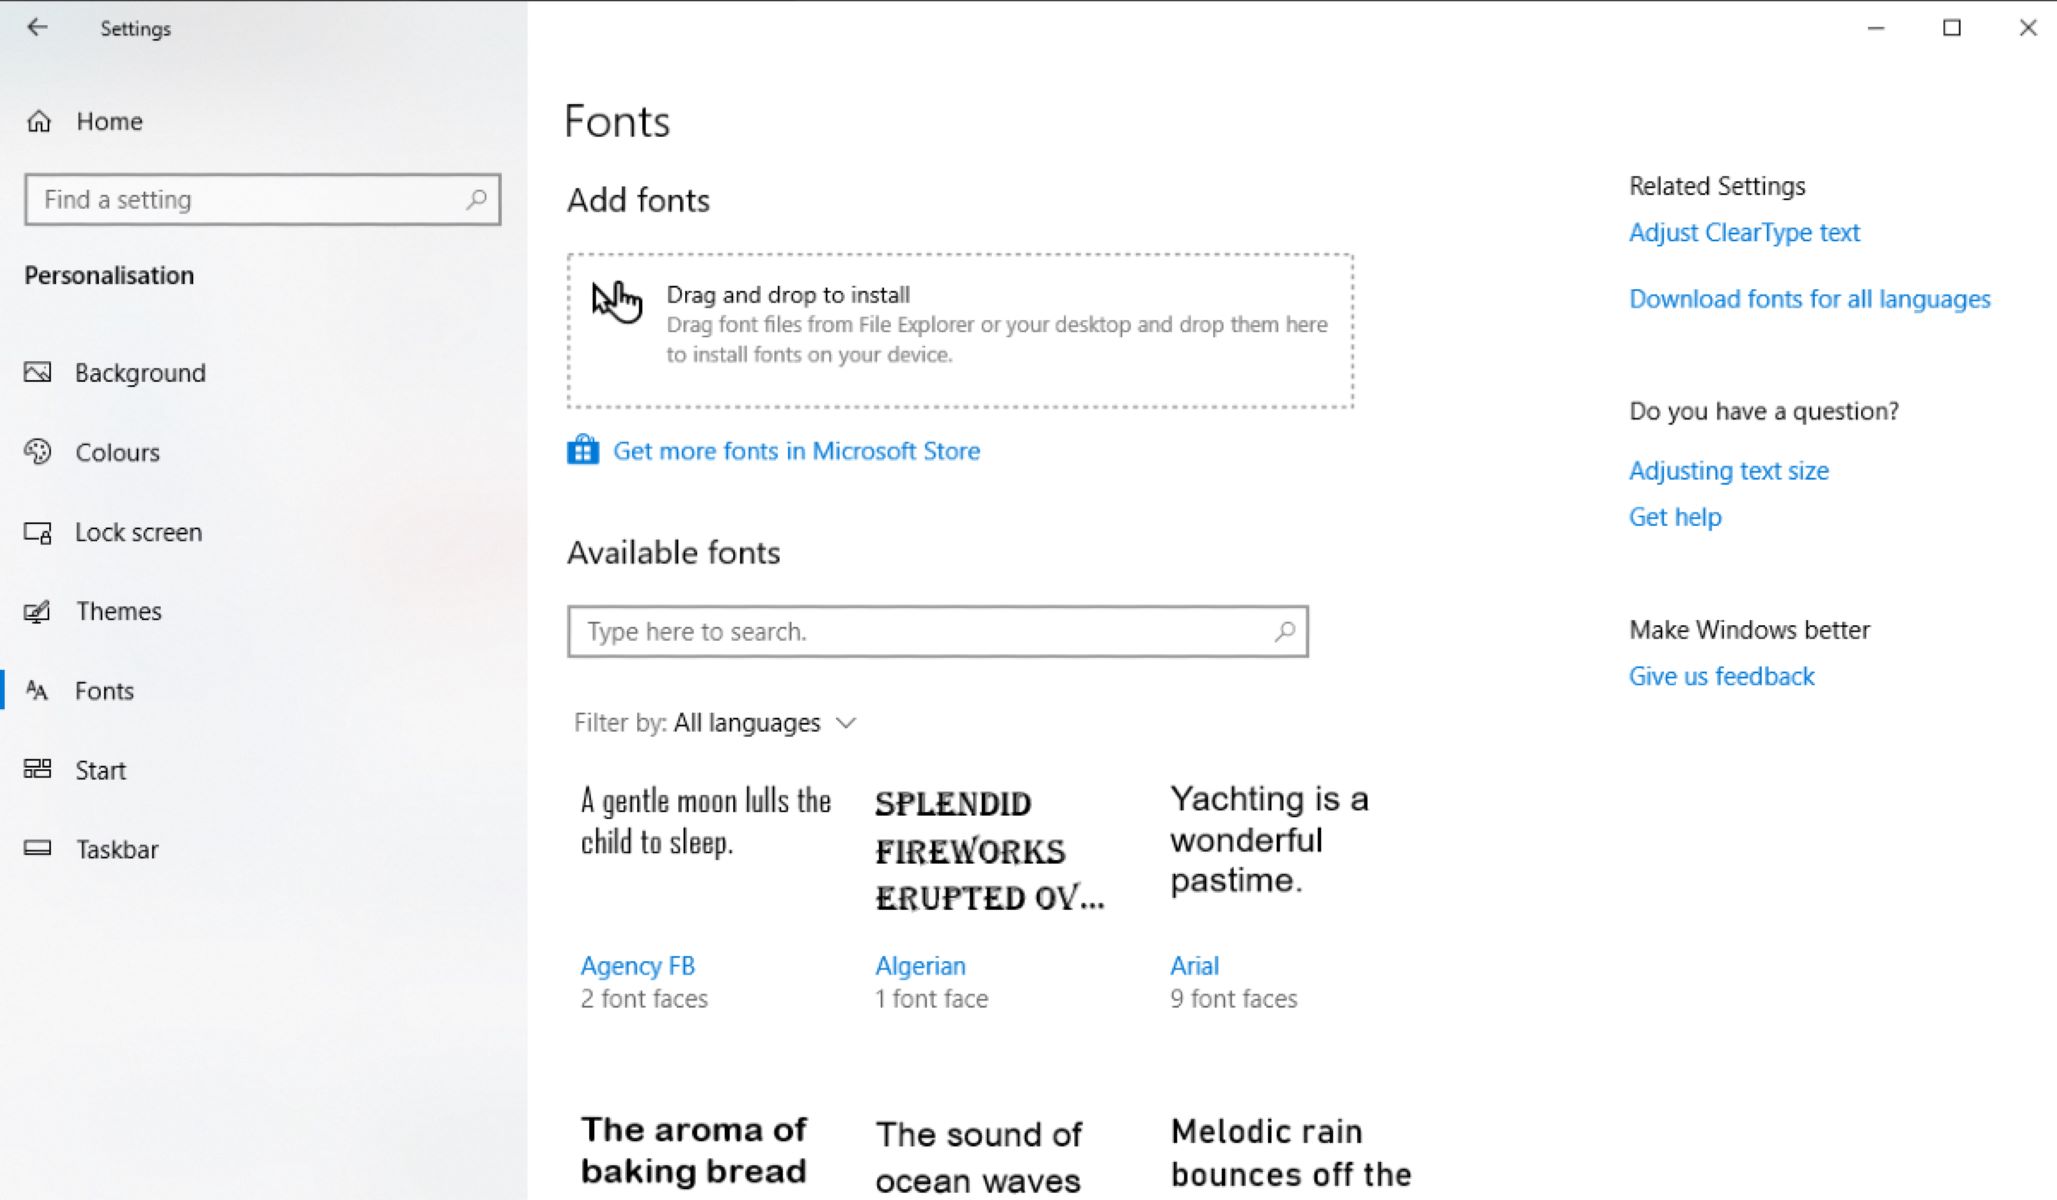
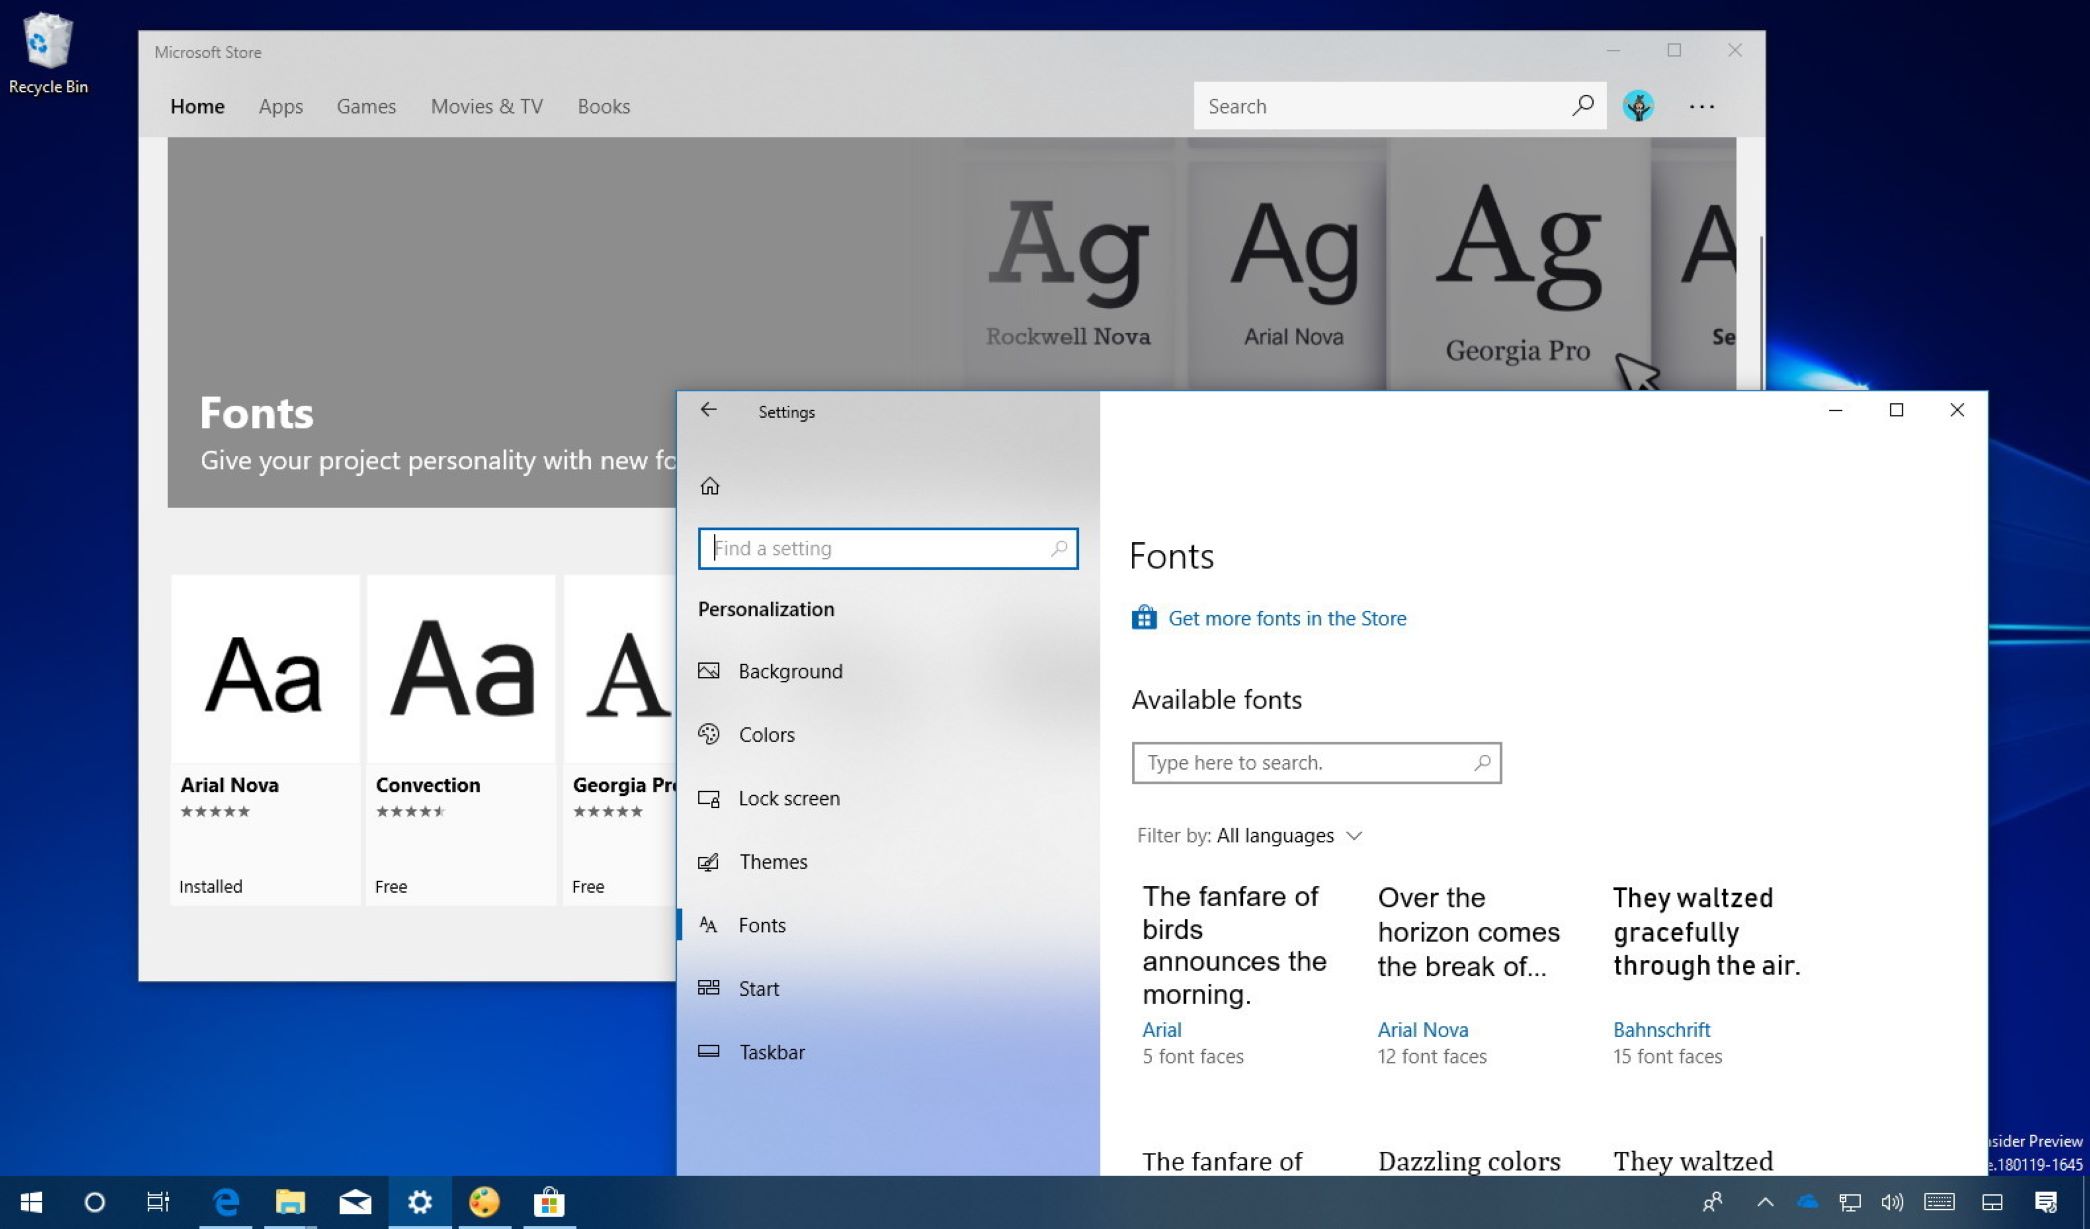
- Font Settings: Open the Windows Settings by clicking on the Start menu and selecting the “Settings” gear icon. In the Settings window, search for “Fonts” and click on “Fonts and font sizes.” This will open the Font settings panel where you can view and manage your installed fonts.
- Font Preview: Windows 10 allows you to preview fonts before applying them. In the Font settings panel, you can click on a font to see a preview of it. This can help you choose the right font for your projects.
- Font Size: You can adjust the font size for various system elements such as icons, menus, and title bars. In the Font settings panel, click on “Font size” to customize the size according to your preference.
- Font Removal: If you no longer need a particular font or want to free up disk space, you can remove it from your system. To remove a font, navigate to the Fonts folder located in the Control Panel, select the font, and click on the “Delete” button.
- Font Management Software: If you have a large collection of fonts or need advanced font management features, consider using font management software. These tools provide features like font activation and deactivation, organization, and advanced searching capabilities.
- Font Usage: Once you have installed fonts, you can use them in various applications such as word processors, graphic design software, or web development tools. Each application may have a different method for selecting and applying fonts.
By effectively managing your installed fonts, you can easily locate and use the fonts you need for different projects. This ensures a smooth and efficient workflow, saving you time and enhancing your creative output.
Now that you are familiar with the process of managing your installed fonts, you can confidently explore and experiment with different fonts to make your digital projects truly stand out. Take advantage of the numerous font options available and let your creativity soar!
Conclusion
Installing and managing fonts on your Windows 10 system is a straightforward process that allows you to personalize your digital projects and enhance their visual appeal. With the ability to download, extract, and install custom fonts, you can unleash your creativity and make your documents, presentations, and websites truly unique.
By following the step-by-step guide provided in this article, you now have the knowledge and tools to expand your font library and customize your digital creations. Whether you’re a designer looking for professional fonts, a writer seeking unique typefaces, or simply someone who appreciates the artistry of typography, Windows 10 empowers you to find and install the perfect fonts for any project.
Remember to use reliable sources when downloading fonts and to check the licensing requirements to ensure that you are using the fonts legally and appropriately. By organizing your font files and utilizing font management tools, you can easily navigate and access your installed fonts, saving time and optimizing your workflow.
So go ahead and explore the vast world of fonts available for Windows 10. Experiment with different styles, sizes, and combinations to bring your creative vision to life. Whether you’re looking to add a touch of elegance, professionalism, or playfulness to your projects, the right fonts can make all the difference.
Now that you have mastered the art of installing and managing fonts, it’s time to embark on your creative journey. Let your imagination run wild, and watch as the right fonts elevate your digital projects to new heights.