Introduction
Windows 10 is a widely used operating system known for its customizable features. One of the aspects that users often want to personalize is the font style. Changing the font in Windows 10 can give your system a fresh look, enhance readability, and reflect your personal taste. Whether you want a more modern, elegant, or fun font, Windows 10 offers several options to customize the system font.
In this article, we will explore four different methods to change the font in Windows 10. We will start by learning how to change the default system font. Then, we will move on to changing the font size for a more comfortable reading experience. Next, we will discover how to change the font for specific items such as icons, menus, and titles. Lastly, we will explore the process of installing new fonts to access a wider range of font styles.
By the end of this guide, you will have a clear understanding of the steps needed to change the font in Windows 10 and be able to customize your system to your desired style. So, let’s dive in and explore the various methods for font customization in Windows 10!
Method 1: Changing the Default System Font
Windows 10 allows you to change the default system font, which affects the font used throughout the operating system. This method requires modifying the Windows Registry, so it is important to proceed with caution and follow the steps carefully:
- Press the Windows key + R to open the Run dialog box.
- Type “regedit” and press Enter to open the Registry Editor.
- In the left-hand pane, navigate to the following location:
HKEY_LOCAL_MACHINE\SOFTWARE\Microsoft\Windows NT\CurrentVersion\Fonts - Look for the “Segoe UI” entry in the right-hand pane. This is the default font used by Windows 10.
- Right-click on the “Segoe UI” entry and select “Modify”.
- Enter the name of the new font you want to use. Make sure the font file is installed on your system.
- Click “OK” to save the changes.
- Close the Registry Editor and restart your computer for the changes to take effect.
Once your computer restarts, the default system font will be changed to the font you specified. Keep in mind that not all fonts work well as system fonts, so it’s recommended to choose a font that is easy to read and visually appealing.
Remember to make a backup of your Registry before making any changes. Modifying the Registry incorrectly can cause system issues, so it’s always a good idea to proceed with caution or consult a professional if you are unsure.
Method 2: Changing the Font Size
In addition to changing the default system font, Windows 10 also allows you to adjust the font size to make text more readable. Here’s how you can do it:
- Open the settings menu by clicking on the Start button and selecting “Settings” (the gear icon).
- In the Settings window, click on “Ease of Access”.
- On the left-hand side, select “Display”.
- Under the “Make text bigger” section, adjust the slider to increase or decrease the font size according to your preference.
- You can also enable the “Bold text” toggle if you want to make the text thicker and more prominent.
- As you adjust the font size, you can see a preview of the changes in the “Sample” section below the slider.
- Once you are satisfied with the font size, close the Settings window.
Your font size changes will now be applied throughout your system, making text more comfortable to read. This adjustment is particularly helpful for users with visual impairments or those who prefer larger text for easier reading.
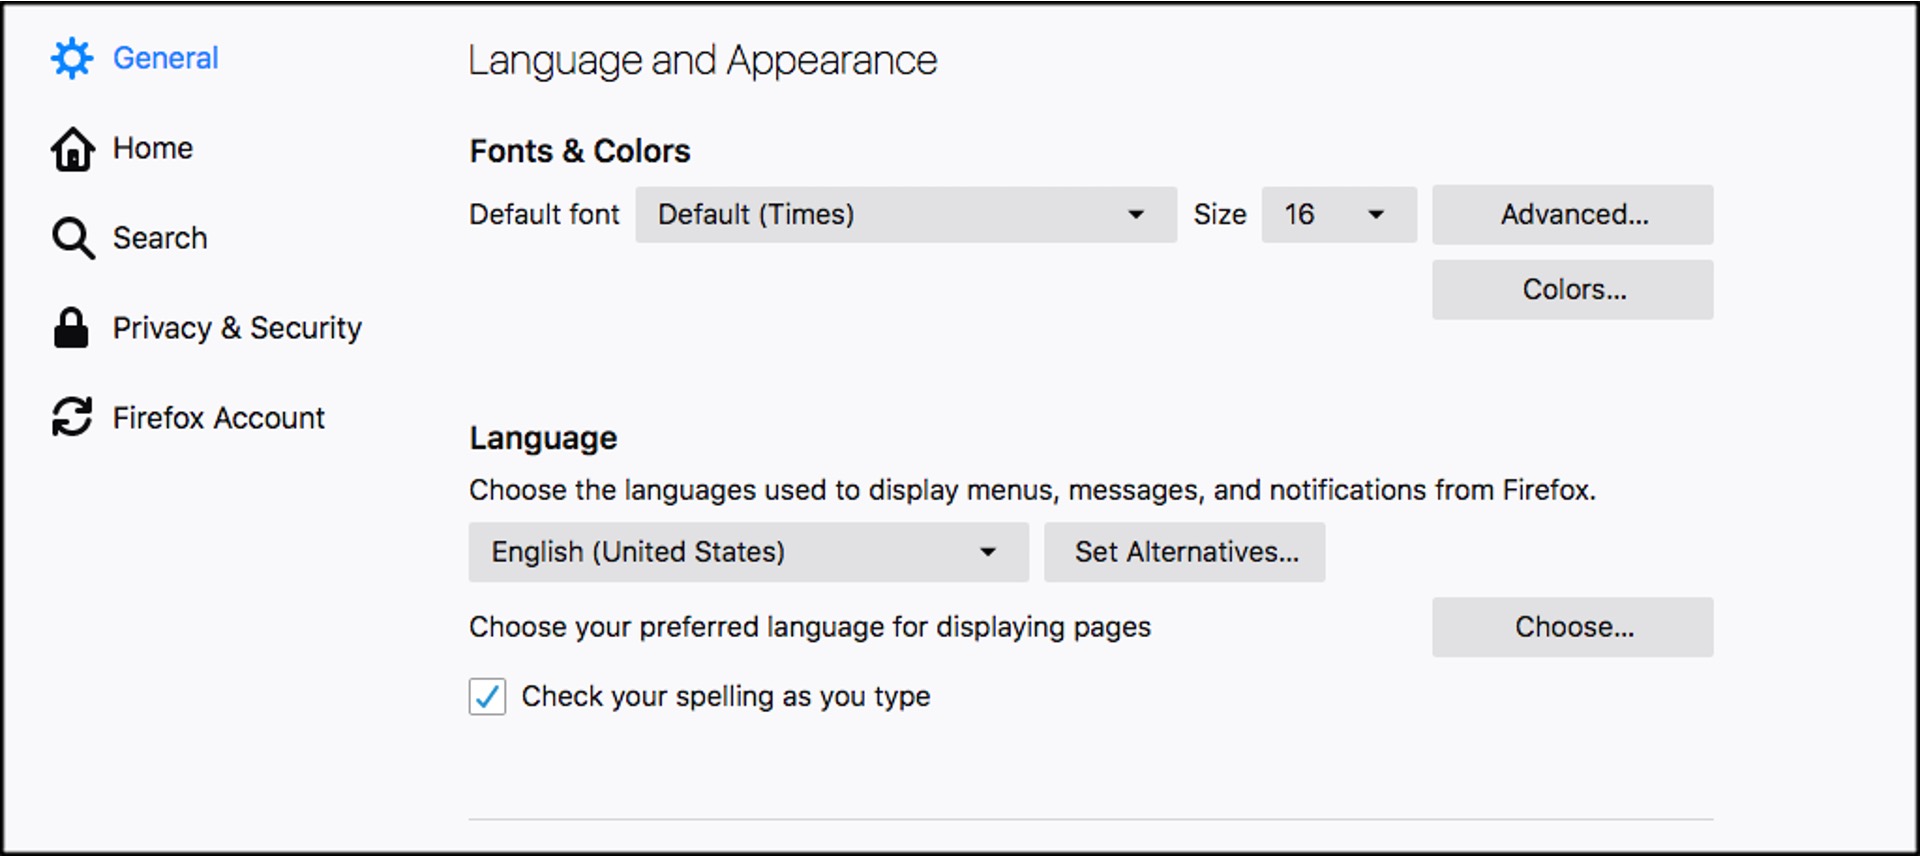
It’s worth noting that changing the font size only affects certain areas of the operating system, such as menus, titles, and dialog boxes. It may not have an impact on third-party applications or web browsers, as these programs usually have their own font size settings.
Experiment with different font sizes to find the one that suits your needs best. Remember to consider readability and avoid setting the font size too small or too large, as it may strain your eyes or make reading difficult.
Method 3: Changing the Font for Specific Items
In Windows 10, you have the option to change the font for specific items such as icons, menus, and titles. This allows for further customization and personalization of your system. Here’s how you can change the font for specific items:
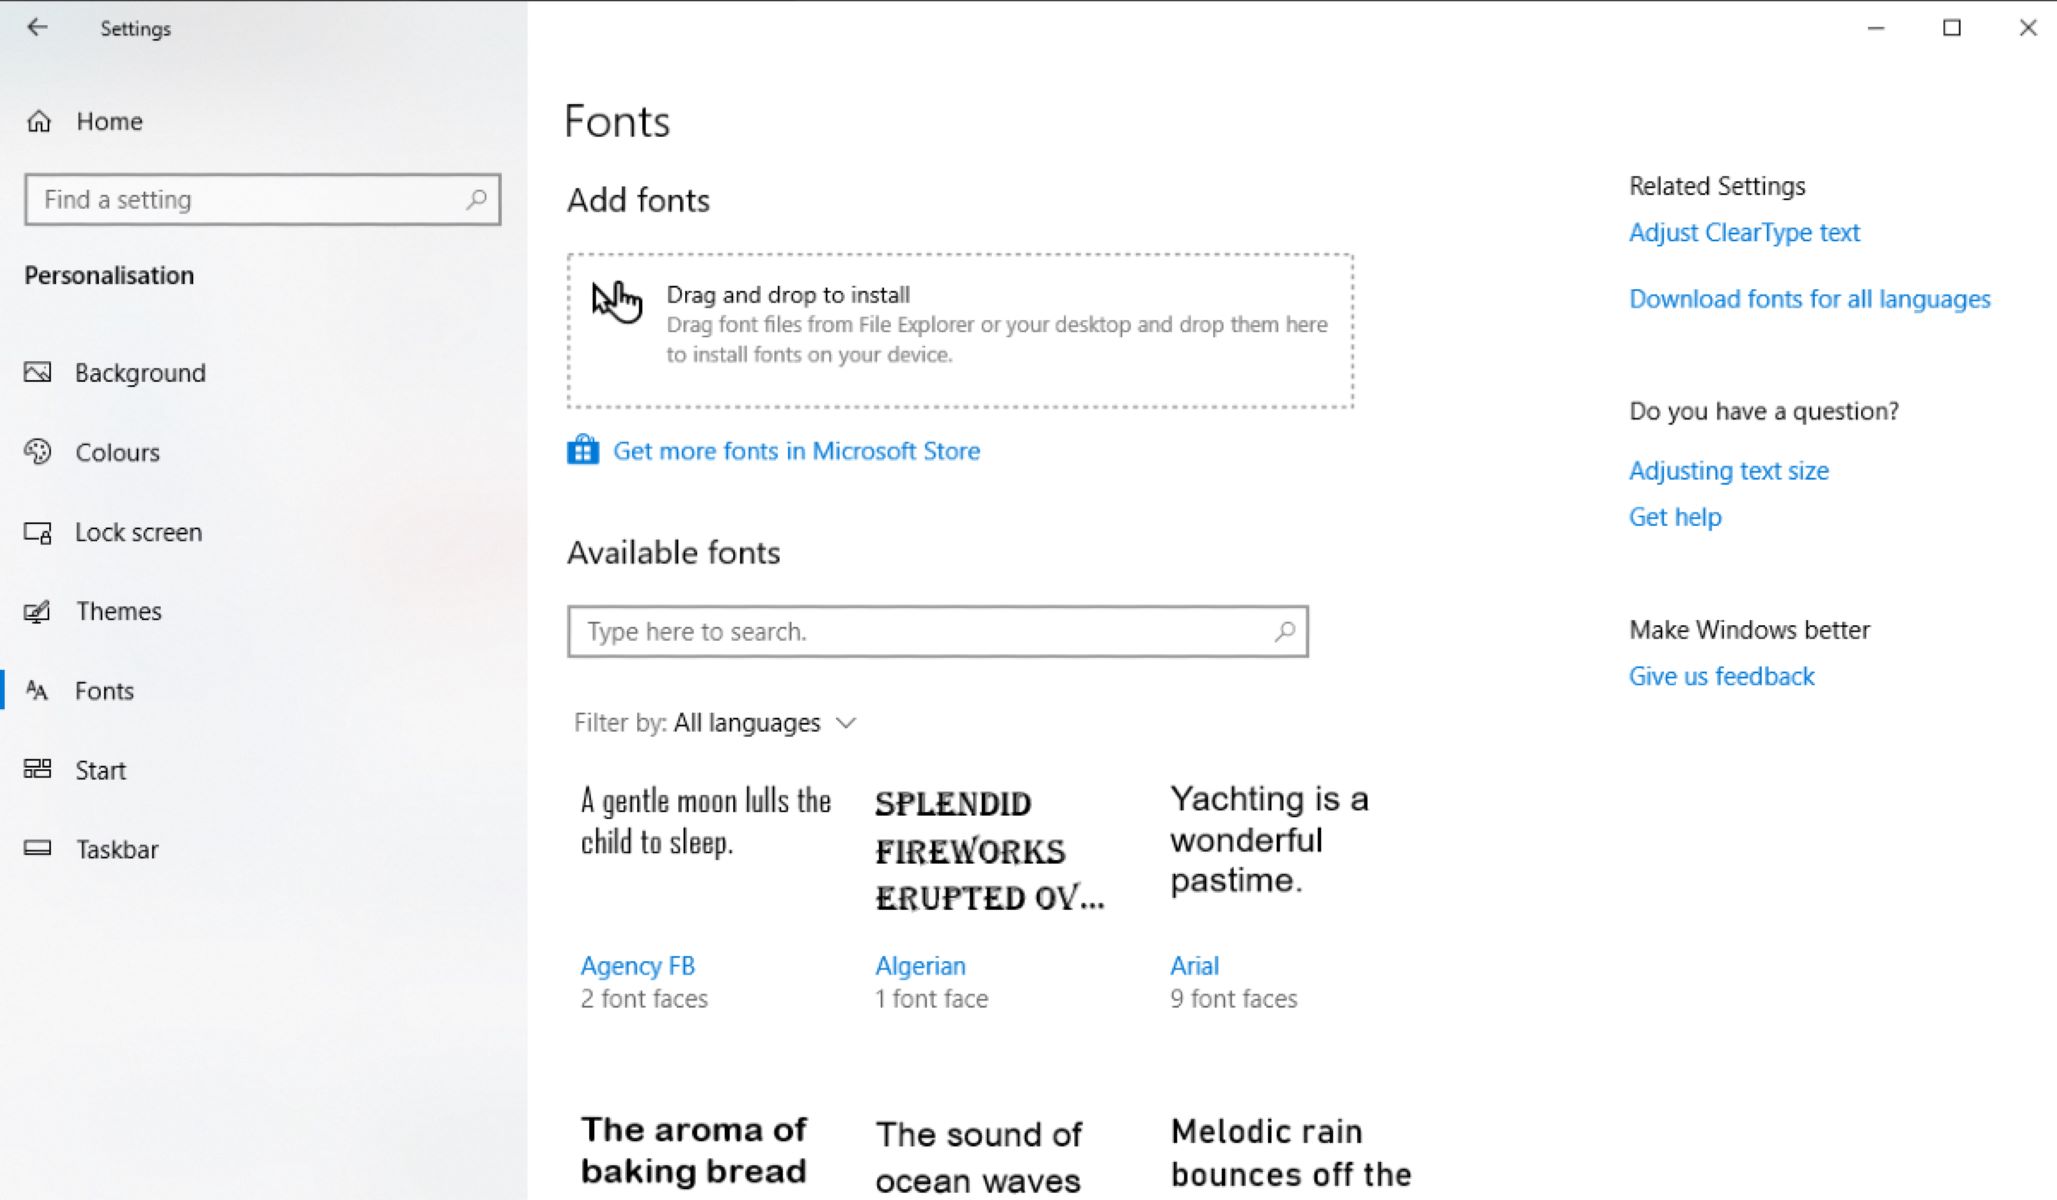
- Right-click on the desktop and select “Personalize” from the context menu.
- In the Personalization settings window, click on “Fonts” in the left-hand sidebar.
- Scroll down to the “Font settings” section, and click on the link that says “Advanced font settings”.
- In the Font dialog box, under the “Items” drop-down menu, select the item you want to change the font for. For example, you can choose “Menu” to change the font used in menus.
- Once you select the item, click on the “Font” field to choose a new font from the dropdown menu.
- You can also adjust the font style, size, and effects using the available options.
- After making your changes, click on “OK” to apply the new font settings.
- Repeat the same steps to change the font for other specific items as desired.
By customizing the font for specific items, you can give your Windows 10 interface a unique and personalized look. You can choose different fonts for different items to create a visually appealing and cohesive design.
Keep in mind that not all items may have font settings available, and some items may be locked to the default system font. Experiment with different font combinations to find a style that suits your preferences and enhances your overall user experience.
Method 4: Installing New Fonts
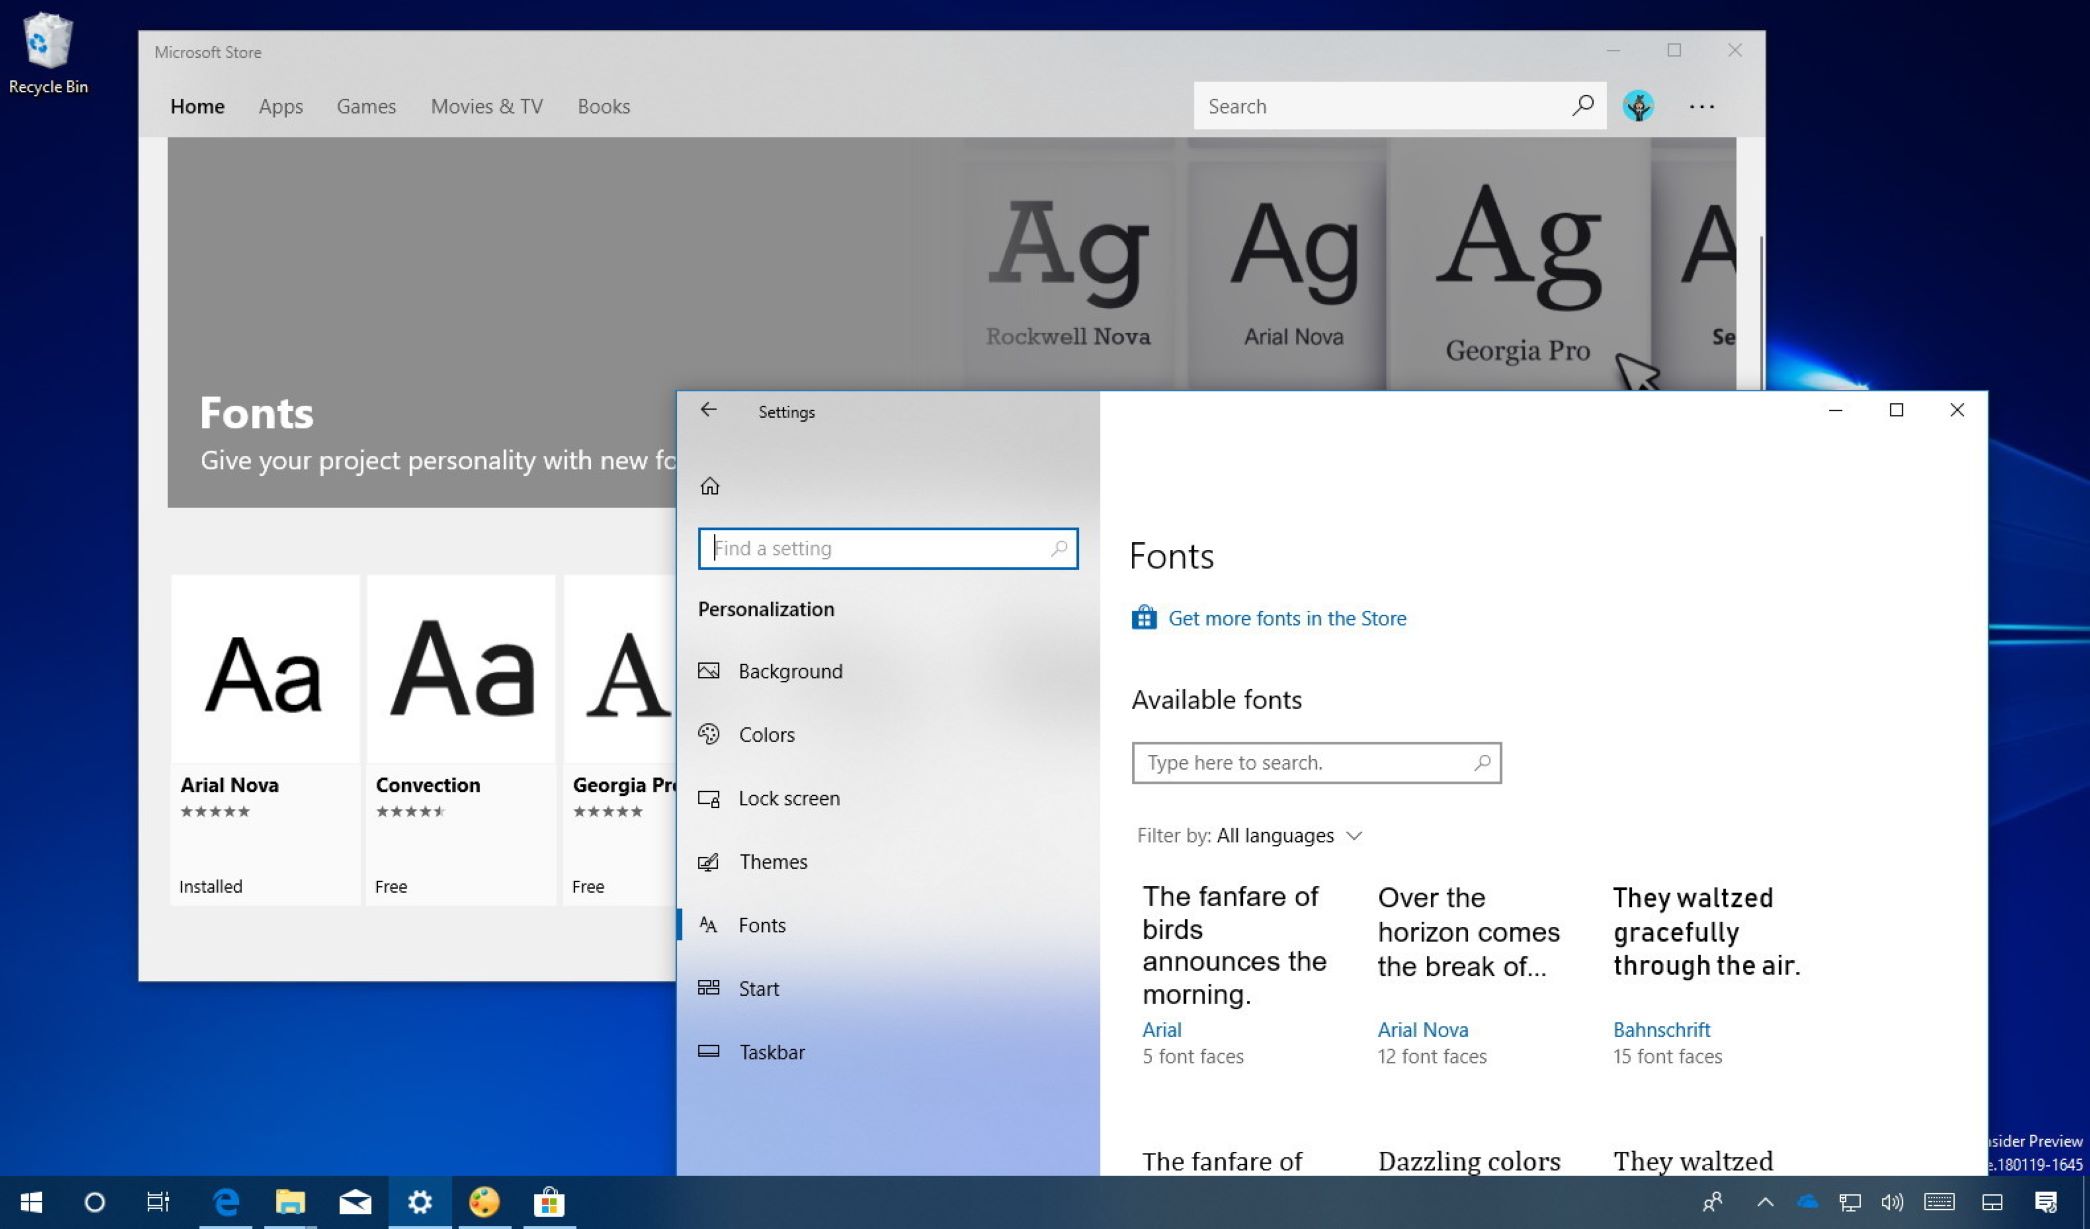
If you want to have access to a wider range of fonts beyond the ones preinstalled on Windows 10, you can install new fonts. This allows you to choose from a variety of font styles to further customize your system. Here’s how you can install new fonts:
- Search for “Fonts” in the Windows search bar and click on “Fonts” in the search results.
- This will open the Fonts folder, where you can see all the currently installed fonts on your system.
- Open a browser and visit a trusted website that offers free or paid fonts. Some popular font resources include Google Fonts, Adobe Fonts, and Font Squirrel.
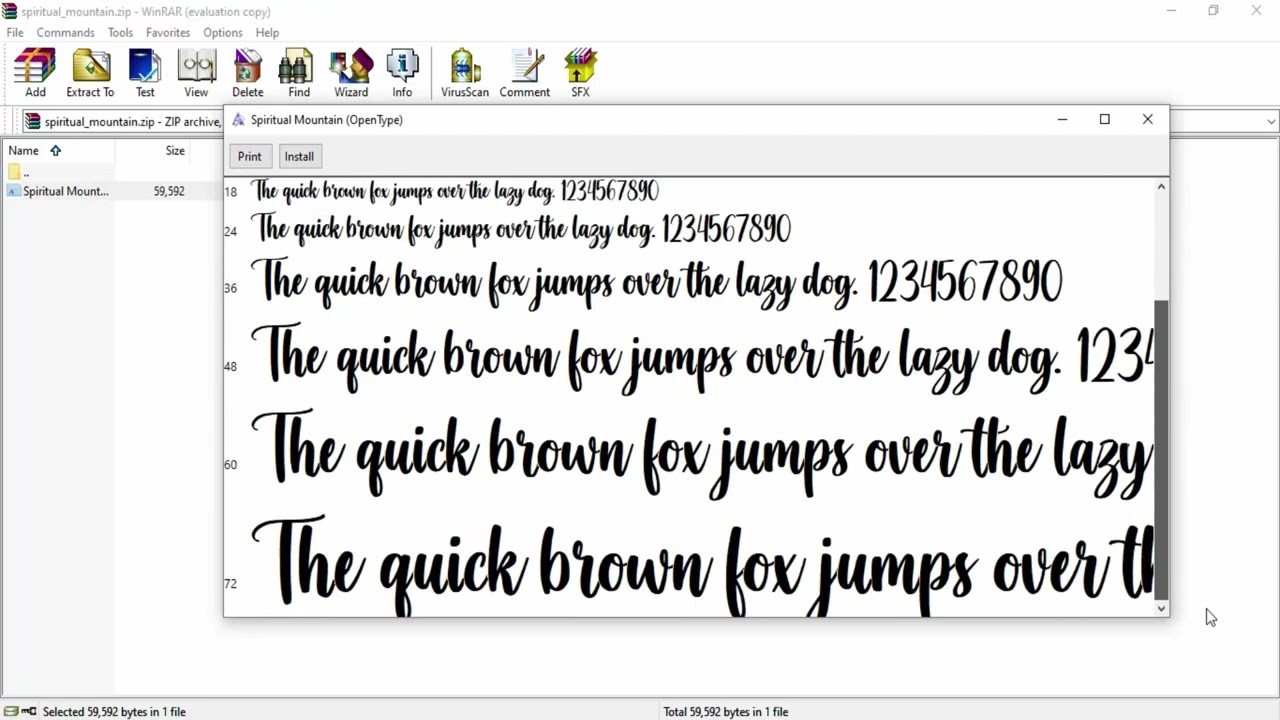
- Browse through the available fonts and choose the one you want to install. You can often download the font file in a .zip format.
- Extract the font file from the .zip folder.
- Right-click on the extracted font file and select “Install” from the context menu.
- Windows will automatically install the font, and it will now appear in the Fonts folder.
- Restart any applications that you want to use the newly installed font in.
Once installed, the new font will be available for use in various applications, including word processors, graphic design software, and web browsers. You can also use the newly installed font in the previous methods mentioned to change the default system font or the font for specific items.
Remember to choose fonts from reputable sources to ensure their quality and compatibility with Windows 10. While installing new fonts can be exciting and add a personal touch to your system, it’s advisable not to clutter your font library with too many choices. Select a few fonts that you love and that serve your needs in different design scenarios.
Installing new fonts is a fantastic way to unleash your creativity and make your Windows 10 experience truly unique. Experiment with different font styles and combinations to achieve the desired look and feel for your system.
Conclusion
Changing the font in Windows 10 can transform the look and feel of your operating system, making it more visually appealing and personalized to your taste. Throughout this guide, we have explored four different methods to customize the font in Windows 10.
First, we learned how to change the default system font by modifying the Windows Registry. Then, we discovered how to adjust the font size to enhance readability. We also explored changing the font for specific items, such as menus and icons, allowing for a more customized interface. Lastly, we delved into the process of installing new fonts to expand the font library available on your system.
It’s important to remember that while font customization can be enjoyable, it’s crucial to choose fonts that are easy to read and visually pleasing. Consider factors such as readability, style, and personal preference when selecting and applying fonts in Windows 10.
By leveraging these font customization methods, you can create a tailored experience that matches your unique style and enhances your enjoyment of using Windows 10.
Remember to proceed with caution when modifying the Windows Registry and always make a backup before making any changes. If you encounter any issues or are unsure about any step, consult with a professional who can assist you.
Now that you have a comprehensive understanding of font customization in Windows 10, feel free to explore and experiment with the various options available to make your system truly your own.