Introduction
Having administrator privileges on your Windows 10 computer can give you the ability to make important system changes, install software, and perform various administrative tasks. However, by default, most user accounts on Windows 10 are set as standard users, which limits their access to certain functions.
If you find yourself in need of administrative privileges, either because you are encountering restrictions or because you simply want more control over your computer, there are multiple methods you can use to gain admin privileges on Windows 10.
In this article, we will explore four different methods to enable admin privileges on Windows 10. These methods include using the Command Prompt, changing the user account type, adding a new user with admin privileges, and utilizing the Local Users and Groups Snap-in. Each method has its own advantages and can be suitable in different situations, so let’s dive in and explore how you can gain admin privileges on your Windows 10 machine.
Method 1: Using the Command Prompt
The Command Prompt is a powerful tool in Windows that allows you to execute commands and perform various tasks. One of the tasks you can accomplish is gaining administrator privileges on your Windows 10 computer.
Here’s how you can use the Command Prompt to get admin privileges:
- Open the Start menu and search for “Command Prompt”.
- Right-click on “Command Prompt” and choose “Run as administrator”.
- If prompted, click “Yes” to grant permission for the Command Prompt to make changes to your computer.
- In the Command Prompt window, type the following command:
net user administrator /active:yesand press Enter. - This will enable the built-in Administrator account on your Windows 10 computer. You can now log out of your current user account.
- On the login screen, click on the “Administrator” account and enter the password if you have set one.
- Once logged in as the Administrator, you will have full administrative privileges on your Windows 10 computer.
It is important to note that the Administrator account is typically disabled by default for security reasons. Enabling it should be done with caution and it is recommended to create a strong password for the Administrator account to protect your computer.
Using the Command Prompt to enable admin privileges is a quick and straightforward method. However, it is important to remember to disable the Administrator account once you have completed the necessary tasks to ensure the security of your computer.
Method 2: Changing the User Account Type
If you prefer to use your existing user account and simply want to upgrade it to have administrator privileges, you can do so by changing the account type. Here’s how you can change the user account type on Windows 10:
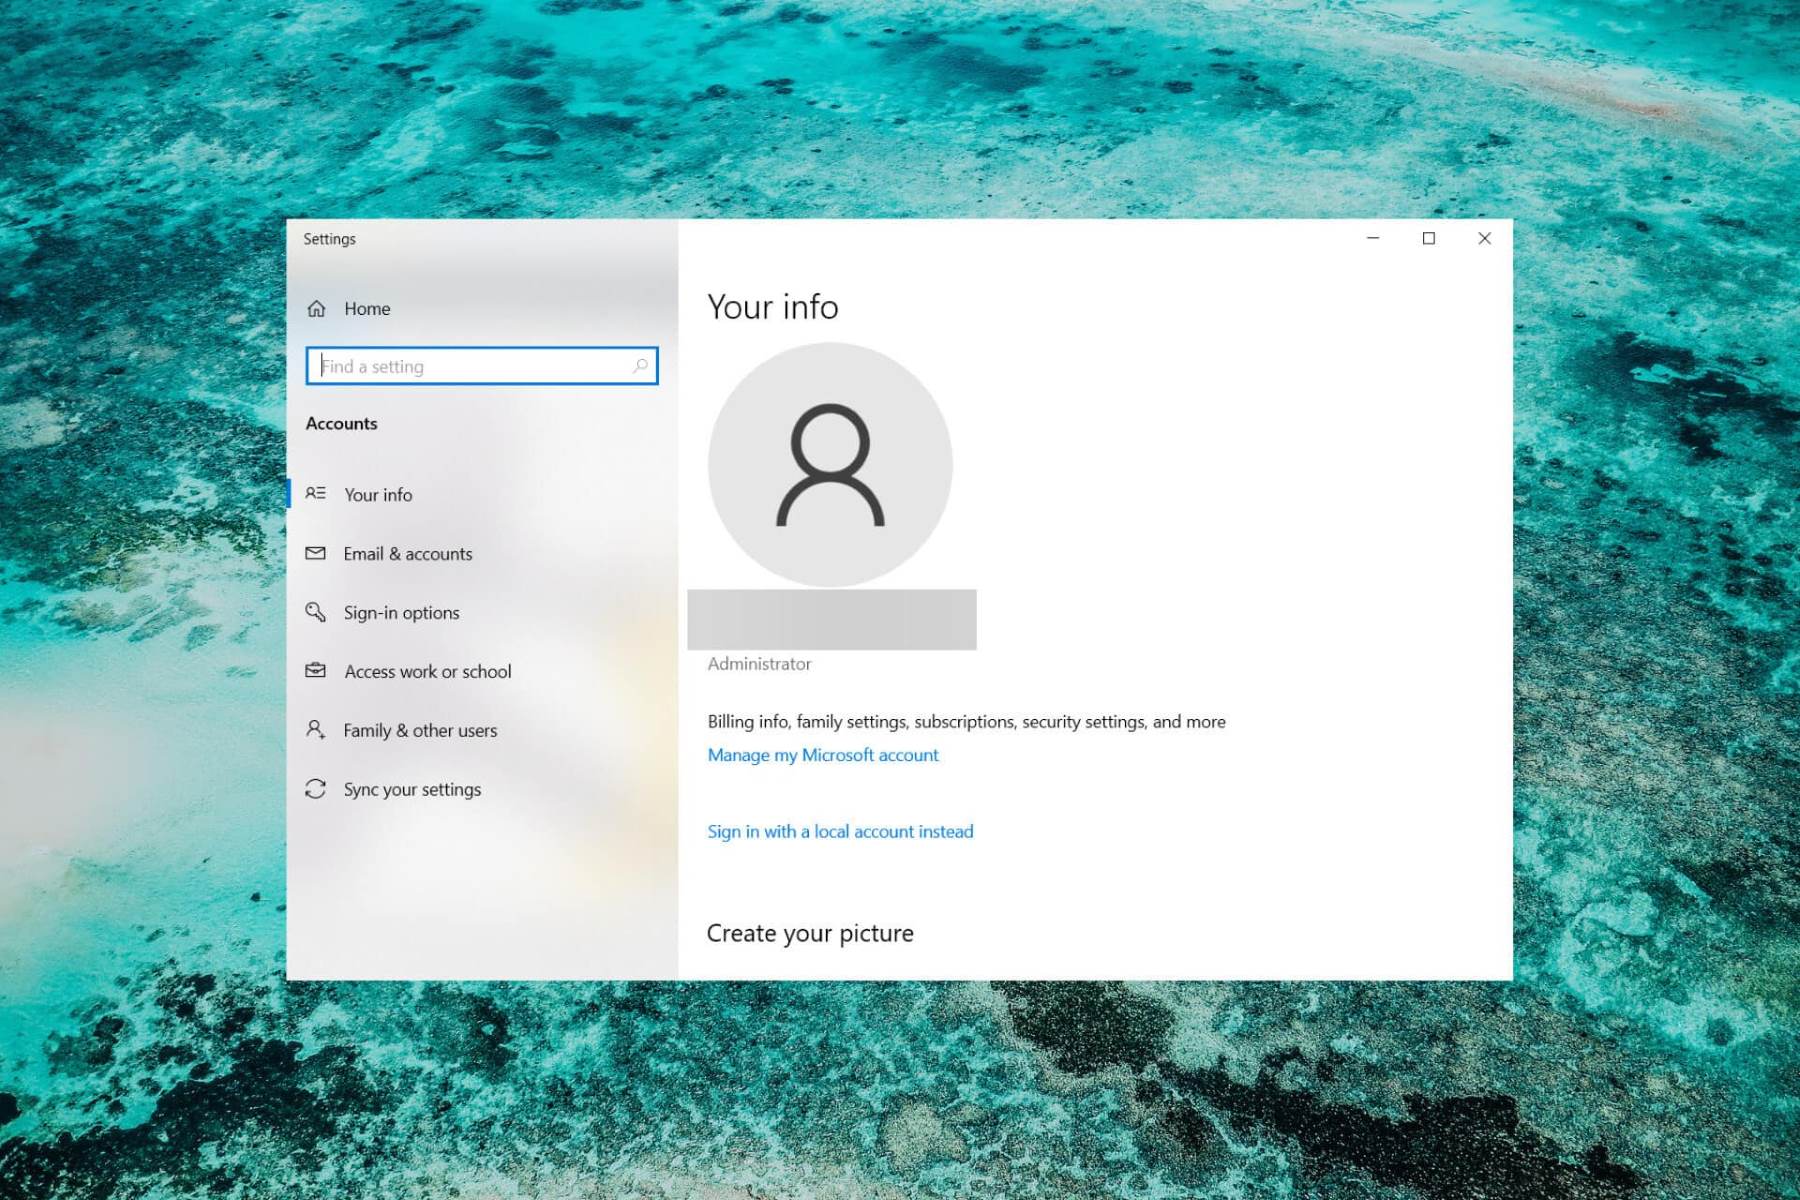
- Open the Start menu and go to “Settings”.
- In the Settings window, select “Accounts”.
- Click on “Family & other users” in the left-hand side menu.
- Under “Other users”, select the user account for which you want to change the account type.
- Click on the “Change account type” button.
- In the pop-up window, you will see the current account type. Click on the drop-down menu and select “Administrator” as the new account type.
- Click “OK” to save the changes.
- Restart your computer for the changes to take effect.
Once your computer restarts, the user account you modified will have administrator privileges. You can now perform administrative tasks and make changes that were previously restricted.
It’s important to note that changing the account type to administrator gives the user full control over the computer, so exercise caution and ensure you trust the user with the added privileges.
If you ever need to change the user account back to a standard user, you can follow the same steps and select “Standard user” as the account type in the “Change account type” window.
Changing the user account type is a convenient method to quickly give your existing user administrative privileges without creating a new user account.
Method 3: Adding a New User with Admin Privileges
If you prefer to have a separate user account with administrator privileges, you can create a new user account directly from the Windows 10 settings. Here’s how you can add a new user with admin privileges:
- Open the Start menu and go to “Settings”.
- In the Settings window, select “Accounts”.
- Click on “Family & other users” in the left-hand side menu.
- Under “Other users”, click on the “Add someone else to this PC” button.
- In the pop-up window, select “I don’t have this person’s sign-in information”.
- On the next page, click on “Add a user without a Microsoft account”.
- Fill in the required details for the new user, including the user name and password.
- Make sure to select the option “Administrator” under “Account type”.
- Click on the “Next” button and then “Finish”.
Once you have created the new user account, you can log in using the credentials you provided. The new user account will have admin privileges, allowing you to perform administrative tasks and make changes to your Windows 10 computer.
It is important to remember to set a strong and unique password for the new user account to ensure the security of your computer.
If you ever need to remove the new user account or change its privileges, you can go back to the “Family & other users” section in the Windows 10 settings and make the necessary adjustments.
Adding a new user with admin privileges gives you the flexibility to have a separate user account solely dedicated to administrative tasks, while keeping your existing user account as a standard user for everyday use.
Method 4: Using the Local Users and Groups Snap-in
Another method to gain admin privileges on Windows 10 is by utilizing the Local Users and Groups snap-in. This method allows you to manage user accounts and their privileges directly from the Microsoft Management Console (MMC). Here’s how you can use the Local Users and Groups snap-in:
- Press the Windows key + R to open the Run dialog box.
- Type “mmc” and press Enter to open the Microsoft Management Console.
- In the MMC window, click on “File” and select “Add/Remove Snap-in”.
- In the “Add or Remove Snap-ins” window, select “Local Users and Groups” and click on “Add”.
- In the following window, select “Local Computer” and click on “Finish”.
- Click on “OK” to add the Local Users and Groups snap-in to the MMC.
- In the left-hand side panel of the MMC, expand “Local Users and Groups” and click on “Users”.
- Right-click on the user account for which you want to grant admin privileges and select “Properties”.
- In the Properties window, go to the “Member Of” tab and click on “Add”.
- Type “Administrators” in the text box and click on “Check Names” to verify the group name.
- Click on “OK” to add the user account to the Administrators group.
- Click on “Apply” and then “OK” to save the changes.
By adding the user account to the Administrators group, you have granted them admin privileges on your Windows 10 computer.
It’s important to note that this method requires administrative access in order to make changes to user accounts. If you don’t have admin privileges, you may need to use one of the other methods mentioned above or seek assistance from someone with admin rights.
Using the Local Users and Groups snap-in provides a more advanced and granular approach to managing user accounts and their privileges on Windows 10. It allows you to have more control over user permissions and can be useful in certain scenarios.
Conclusion
Gaining administrator privileges on your Windows 10 computer is crucial if you want to have full control over system settings, install software, and perform administrative tasks. In this article, we explored four different methods to achieve this: using the Command Prompt, changing the user account type, adding a new user with admin privileges, and utilizing the Local Users and Groups snap-in.
The Command Prompt method allows you to quickly enable the built-in Administrator account, granting you immediate admin privileges. However, it is essential to disable this account once you have completed your tasks to ensure the security of your computer.
Changing the user account type is a convenient option if you prefer to upgrade your existing user account to an administrator. This allows you to maintain your personalized settings while gaining admin privileges.
Adding a new user with admin privileges is a useful approach if you want to have a separate user account solely dedicated to administrative tasks. It provides flexibility and helps ensure the security of your computer.
The Local Users and Groups snap-in method offers a more advanced and precise approach to managing user accounts and their privileges. This method is most suitable for users who require granular control over user permissions.
Remember to exercise caution when granting admin privileges, as it gives users significant control over your computer. Use strong and unique passwords, and only grant admin privileges to trusted individuals.
By following the methods outlined in this article, you can successfully gain admin privileges on your Windows 10 computer and have the freedom to customize and manage your system according to your needs.