Introduction
Welcome to our guide on how to change the admin name on Windows 10. Windows 10 is a versatile operating system that offers a variety of customization options to personalize your experience. One of the areas where you might want to make a change is the admin name. Your admin name is associated with your user account and is displayed on the login screen as well as in various system settings.
Changing the admin name can be useful for a variety of reasons. Perhaps you recently acquired a new computer and want to customize it to reflect your own identity. Or maybe you inherited a computer from someone else and want to update the admin name to match your own preferences. Whatever the reason, Windows 10 allows you to easily change the administrator name with just a few simple steps.
In the following sections, we will walk you through the process of changing the admin name on Windows 10. You don’t need any advanced technical skills to accomplish this task. However, it’s important to note that changing the admin name requires administrative privileges. Therefore, you should have the necessary permissions to make these changes on your computer.
Before we dive into the steps, it’s always a good idea to back up your important files and create a system restore point, just in case anything goes wrong during the process. With that said, let’s get started and learn how to change the admin name on your Windows 10 computer.
Why would you want to change your admin name?
The administrator name on your Windows 10 computer is associated with your user account and is visible in various system settings and the login screen. There are several reasons why you might want to change the admin name:
- Personalization: Changing the admin name allows you to personalize your computer and make it feel more like your own. If you recently acquired a new computer, updating the admin name to reflect your identity can help create a sense of ownership and familiarity.
- Privacy: Your admin name is displayed on the login screen, and if you’re concerned about privacy, changing it can provide an added layer of protection. By using a username that is not easily associated with your real name, you can enhance your online privacy and security.
- Consistency: In some cases, you may have inherited a computer from someone else, and their admin name is still being displayed. Changing the admin name to match your own preferences allows for a more consistent user experience and eliminates any confusion.
- Professionalism: If you’re using Windows 10 for work or business purposes, it’s important to have a professional admin name associated with your user account. Changing the admin name to your official or preferred name can give a more professional impression when interacting with colleagues or clients.
- Cleanliness: Sometimes, the default admin name generated by Windows 10 during the setup process may be a string of random characters or an undesired name. Changing it to a more aesthetically pleasing or meaningful name can improve the overall visual appeal and cleanliness of your computer.
By changing the admin name on your Windows 10 computer, you can personalize your system, enhance privacy, maintain consistency, project professionalism, and create a more visually appealing user experience. Now that we understand the reasons why you might want to change the admin name, let’s move on to the steps for accomplishing this task.
Step 1: Create a new user account
The first step in changing the admin name on your Windows 10 computer is to create a new user account. This new account will serve as the replacement for your current admin account. Here’s how to proceed:
- Press the Windows key on your keyboard or click on the Windows icon in the bottom-left corner of your screen to open the Start menu.
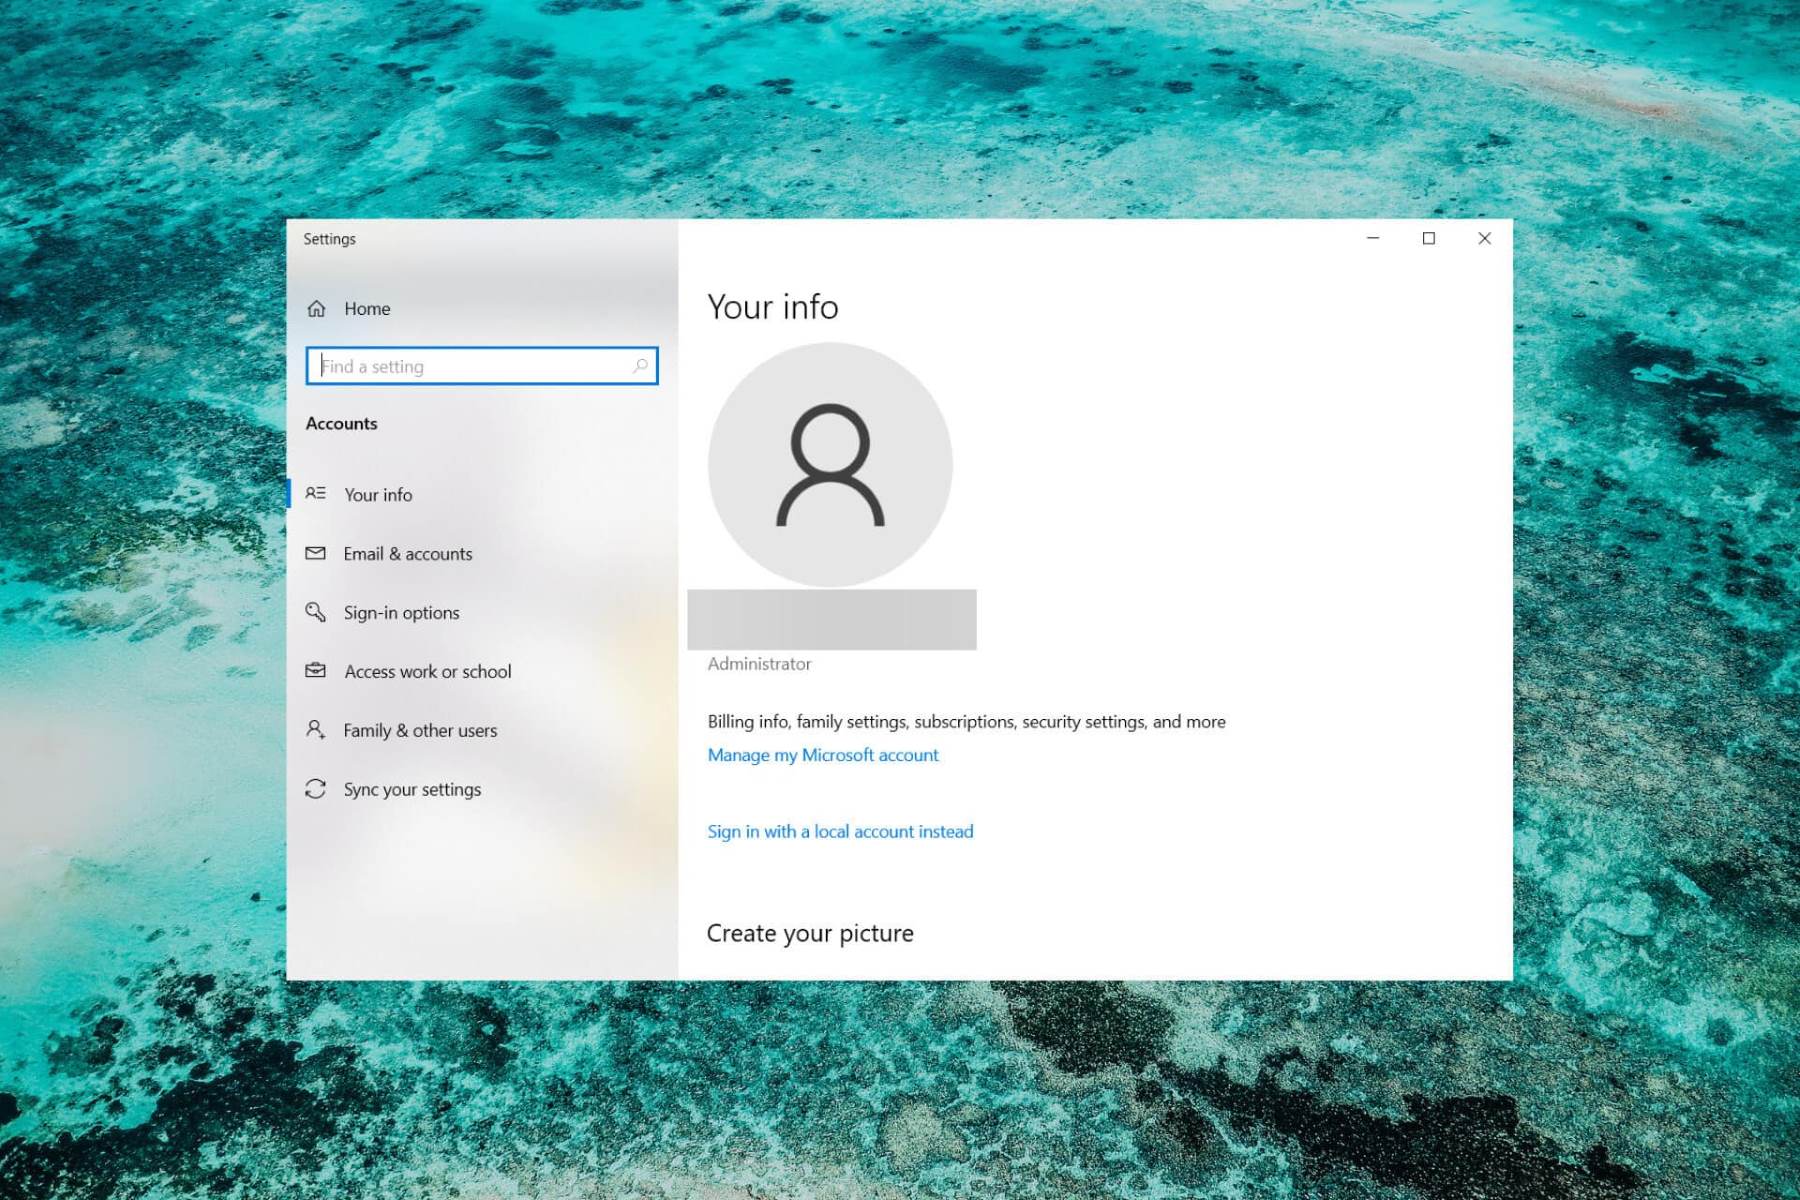
- Click on the Settings icon, which looks like a gear. This will open the Windows Settings menu.
- In the Settings menu, click on Accounts.
- On the Accounts page, select Families & other users from the left-hand side menu.
- Under the Other users section, click on the Add someone else to this PC button.
- A new window will appear. Click on the I don’t have this person’s sign-in information option located at the bottom of the screen.
- On the next screen, click on the Add a user without a Microsoft account link.
- Now, you’ll need to create a username for the new account. Enter the desired username in the provided field.
- Optionally, you can also add a password for this account. It’s recommended to set a strong and unique password to protect your computer.
- Click on the Next button to proceed.
- Windows will now create the new user account with the provided username and password.
- Once the account is created, you’ll be redirected back to the Accounts page in Settings.
Congratulations! You have successfully created a new user account on your Windows 10 computer. In the next step, we will set up this new account as an administrator.
Step 2: Set up the new account as Administrator
Now that you have created a new user account, the next step is to set it up as an administrator. This will give the account the necessary privileges to perform administrative tasks on your Windows 10 computer. Follow these steps to set up the new account as an administrator:
- Open the Start menu by clicking on the Windows icon or pressing the Windows key on your keyboard.
- Click on the Settings icon to open the Windows Settings menu.
- In the Settings menu, click on Accounts.
- On the Accounts page, select Families & other users from the left-hand side menu.
- Under the Other users section, you will see the newly created user account listed. Click on the account name.
- A new window will appear with different options for the selected account. Click on the Change account type button.
- In the next window, select the Administrator option.
- Click on the OK button to save the changes.
- Windows will now set up the new user account as an administrator.
That’s it! You have successfully set up the new user account as an administrator on your Windows 10 computer. This will grant the account the necessary permissions to perform administrative tasks. In the next step, we will delete the old admin account.
Step 3: Delete the old admin account
Now that you have created a new user account and set it up as an administrator, it’s time to delete the old admin account. Deleting the old account will remove it from your Windows 10 computer. Follow these steps to delete the old admin account:
- Open the Start menu by clicking on the Windows icon or pressing the Windows key on your keyboard.
- Click on the Settings icon to open the Windows Settings menu.
- In the Settings menu, click on Accounts.
- On the Accounts page, select Families & other users from the left-hand side menu.
- Under the Other users section, you will see the old admin account listed.
- Click on the old admin account.
- A new window will appear with different options for the selected account. Click on the Remove button.
- A confirmation window will pop up, asking if you want to permanently delete the account and all its data. Ensure that you have backed up any important files associated with the old admin account before proceeding.
- Click on the Delete account and data button to confirm the deletion.
- Windows will now delete the old admin account from your Windows 10 computer.
Great job! You have successfully deleted the old admin account from your Windows 10 computer. The old admin account has been removed, and your new user account is now set as the administrator. In the next step, we will transfer files and settings from the old account to the new account.
Step 4: Transfer files and settings to the new account
With the old admin account deleted, you may want to transfer your files and settings from the old account to the new account. This will ensure that you have access to your important files and maintain your preferred settings on your Windows 10 computer. Follow these steps to transfer files and settings to the new account:
- Open the Start menu by clicking on the Windows icon or pressing the Windows key on your keyboard.
- Click on the Settings icon to open the Windows Settings menu.
- In the Settings menu, click on Accounts.
- On the Accounts page, select Families & other users from the left-hand side menu.
- Under the Your family section, you will see the new user account listed.
- Click on the new user account.
- A new window will appear with different options for the selected account. Click on the Sign in with a Microsoft account instead link, if you prefer to use a Microsoft account for the new user account. Otherwise, skip to the next step.
- Follow the on-screen instructions to sign in with your Microsoft account credentials and convert the new user account to a Microsoft account, if desired.
- Once you have signed in to the new user account, you can start transferring your files and settings from the old account.
- Open the File Explorer by right-clicking on the Start menu icon and selecting File Explorer from the context menu.
- Navigate to the location where your files are stored in the old admin account. This could be in the Documents, Pictures, or other user-specific folders.
- Select the files and folders that you want to transfer to the new user account by holding the Ctrl key and clicking on each item.
- Right-click on the selected items and choose Copy from the context menu.
- Navigate to the corresponding folders in the new user account, such as Documents or Pictures.
- Right-click in the destination folder and choose Paste from the context menu to transfer the copied files and folders.
- Repeat the copy and paste process for any additional files and folders you want to transfer.
- Once you have transferred your files, you can also customize the settings of the new user account to match your preferences by going to the Settings menu and exploring the different options available.
Well done! You have successfully transferred your files and settings from the old admin account to the new user account on your Windows 10 computer. Your new account is now fully set up and ready to use. Take some time to explore the new account and make any additional customization you desire. Enjoy your personalized Windows 10 experience!
Conclusion
Changing the admin name on your Windows 10 computer can help personalize your experience, protect your privacy, and create a more consistent and professional user environment. With just a few simple steps, you can create a new user account, set it up as an administrator, delete the old admin account, and transfer your files and settings to the new account.
By following the steps outlined in this guide, you can easily change the admin name on your Windows 10 computer. Remember to back up your important files and create a system restore point before making any changes. Additionally, ensure that you have the necessary administrative permissions to perform these tasks.
Once you have successfully changed the admin name and transferred your files and settings, take some time to explore the new account and customize it to your liking. Whether it’s personalizing the appearance, adjusting system settings, or installing new software, you now have a fresh and personalized user account on your Windows 10 computer.
We hope this guide has been helpful in assisting you in changing the admin name on your Windows 10 computer. Enjoy your customized and personalized Windows 10 experience!