Prerequisites
Before you can enable the Ethernet adapter on your Windows 10 computer, there are a few prerequisites you need to consider. These ensure that you have the necessary software and administrative access to perform the required steps. Make sure you meet the following requirements:
- Administrative Access: To enable the Ethernet adapter, you need administrative access to your Windows 10 computer. Only users with administrative privileges can make system changes, such as enabling or disabling network adapters.
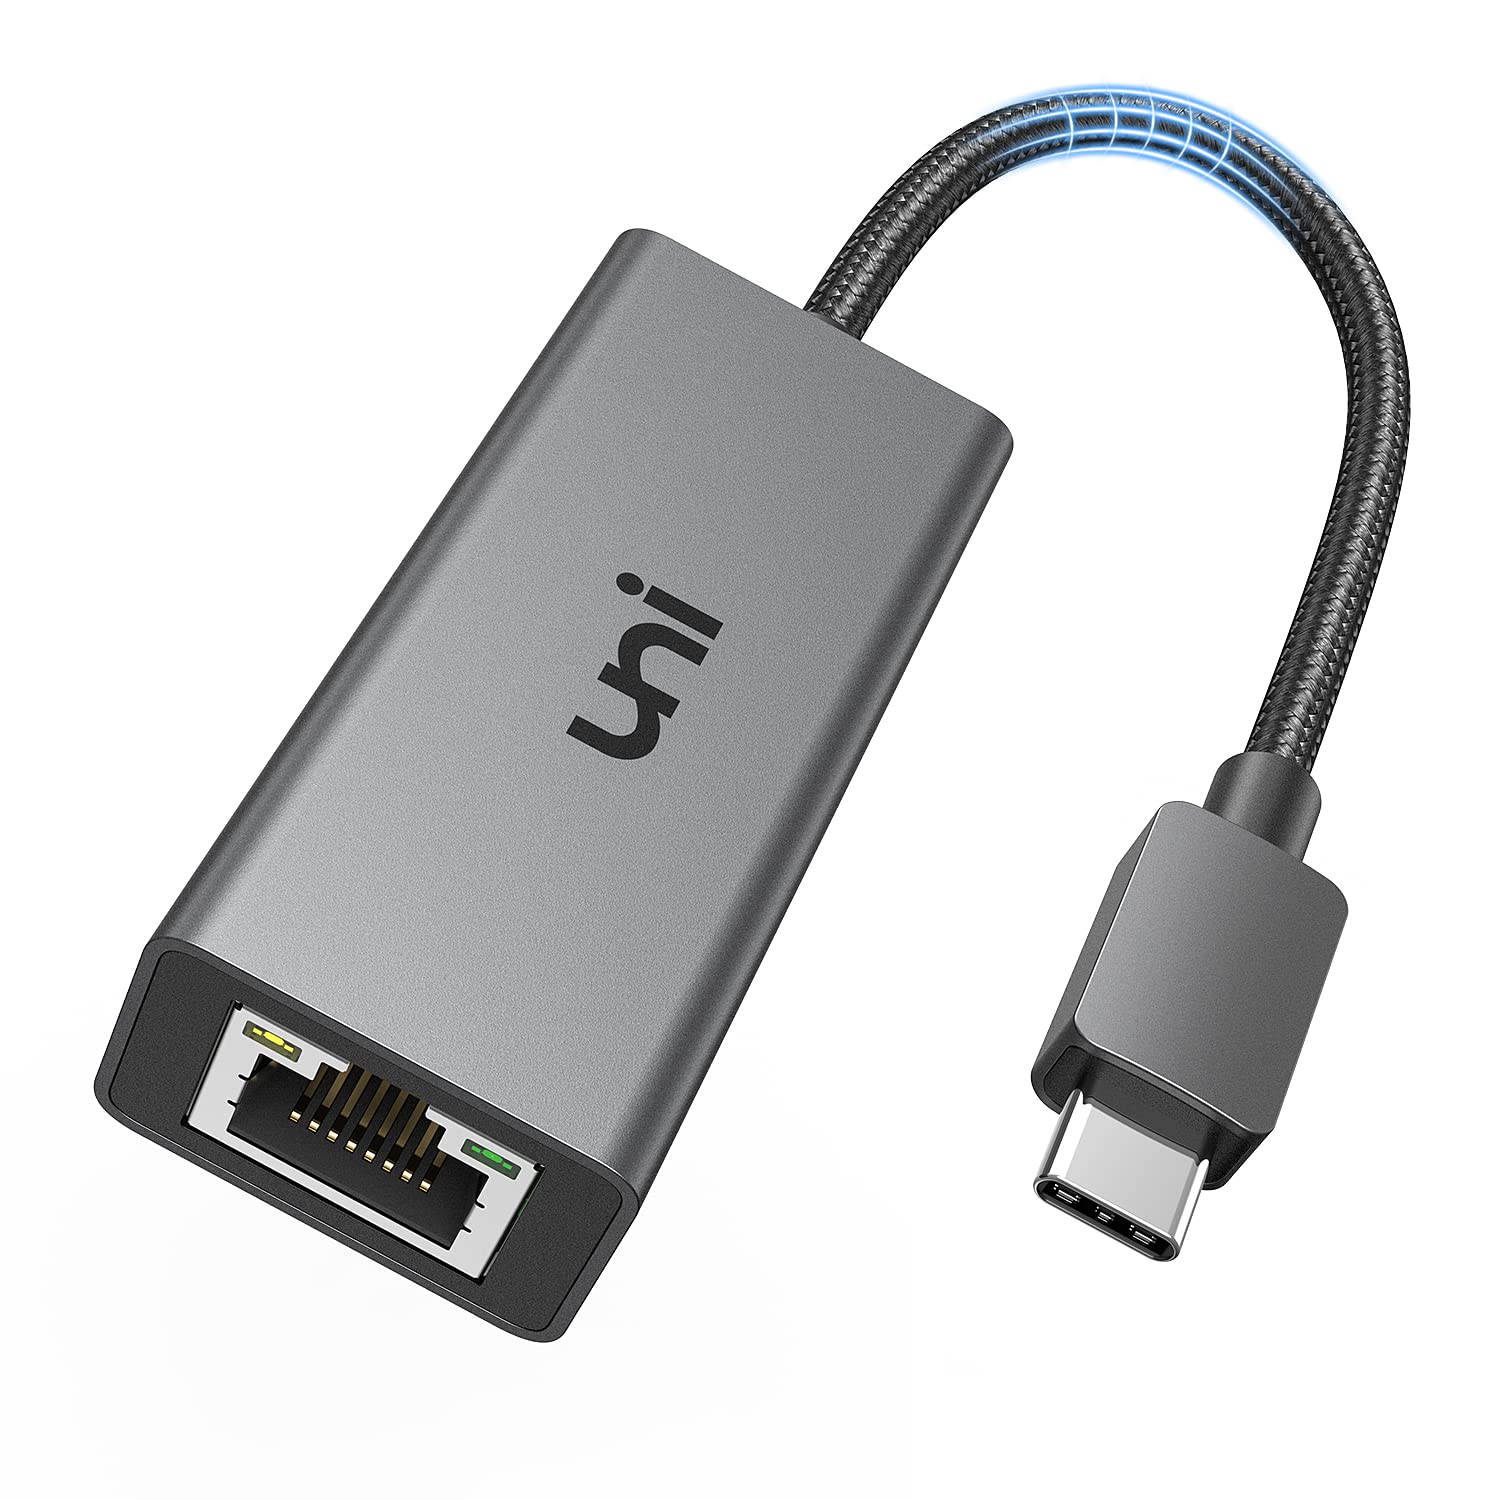
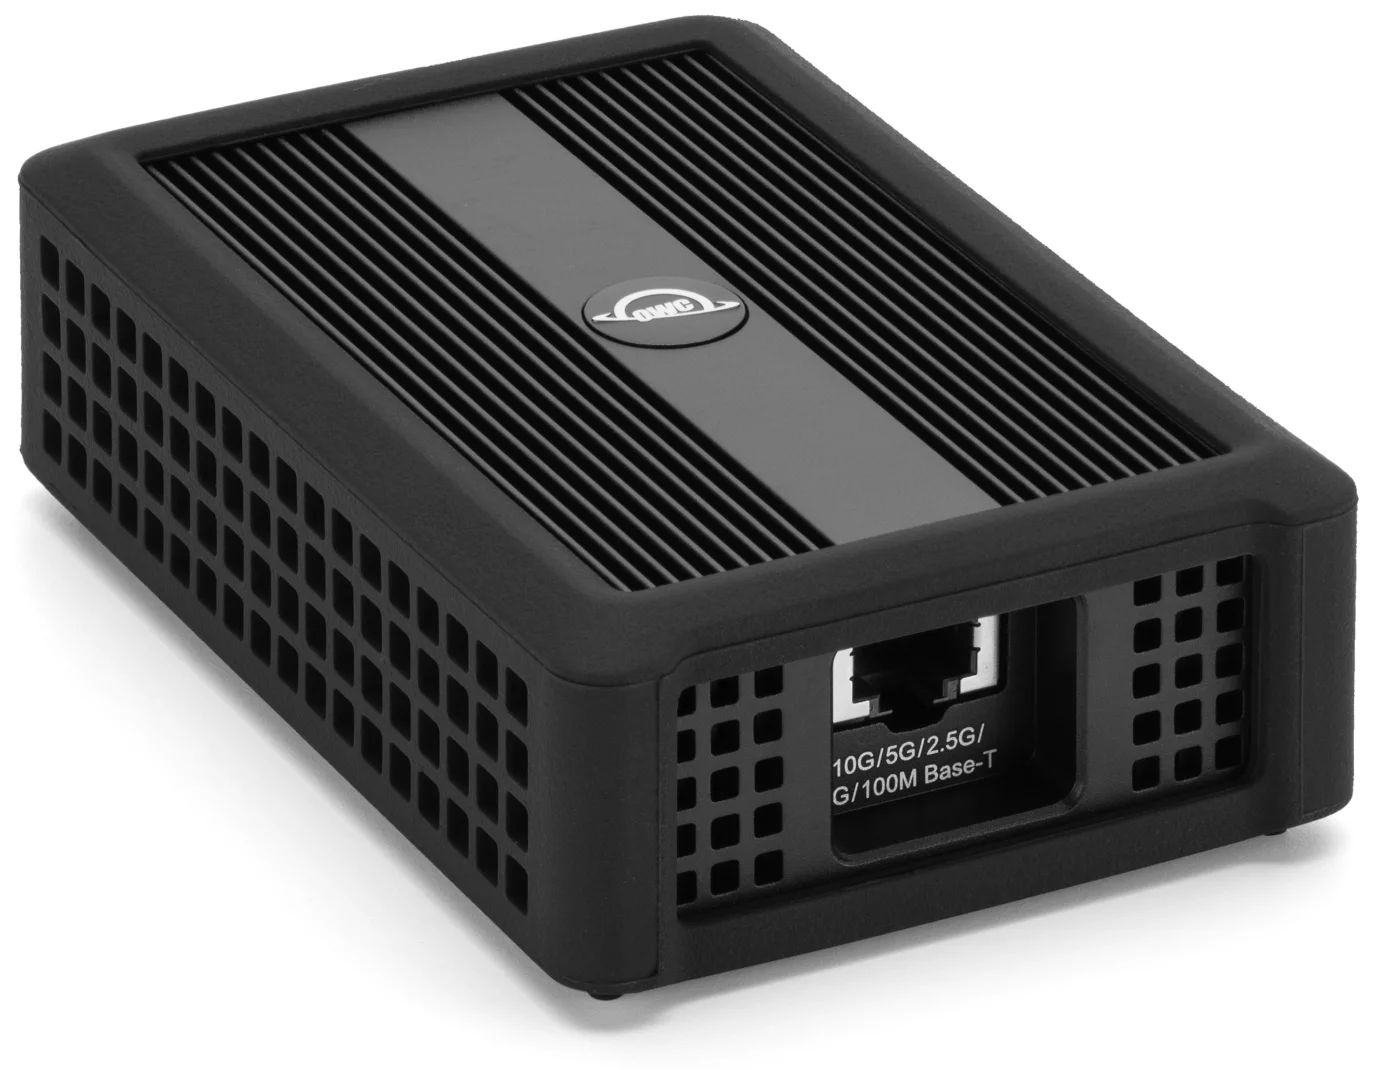
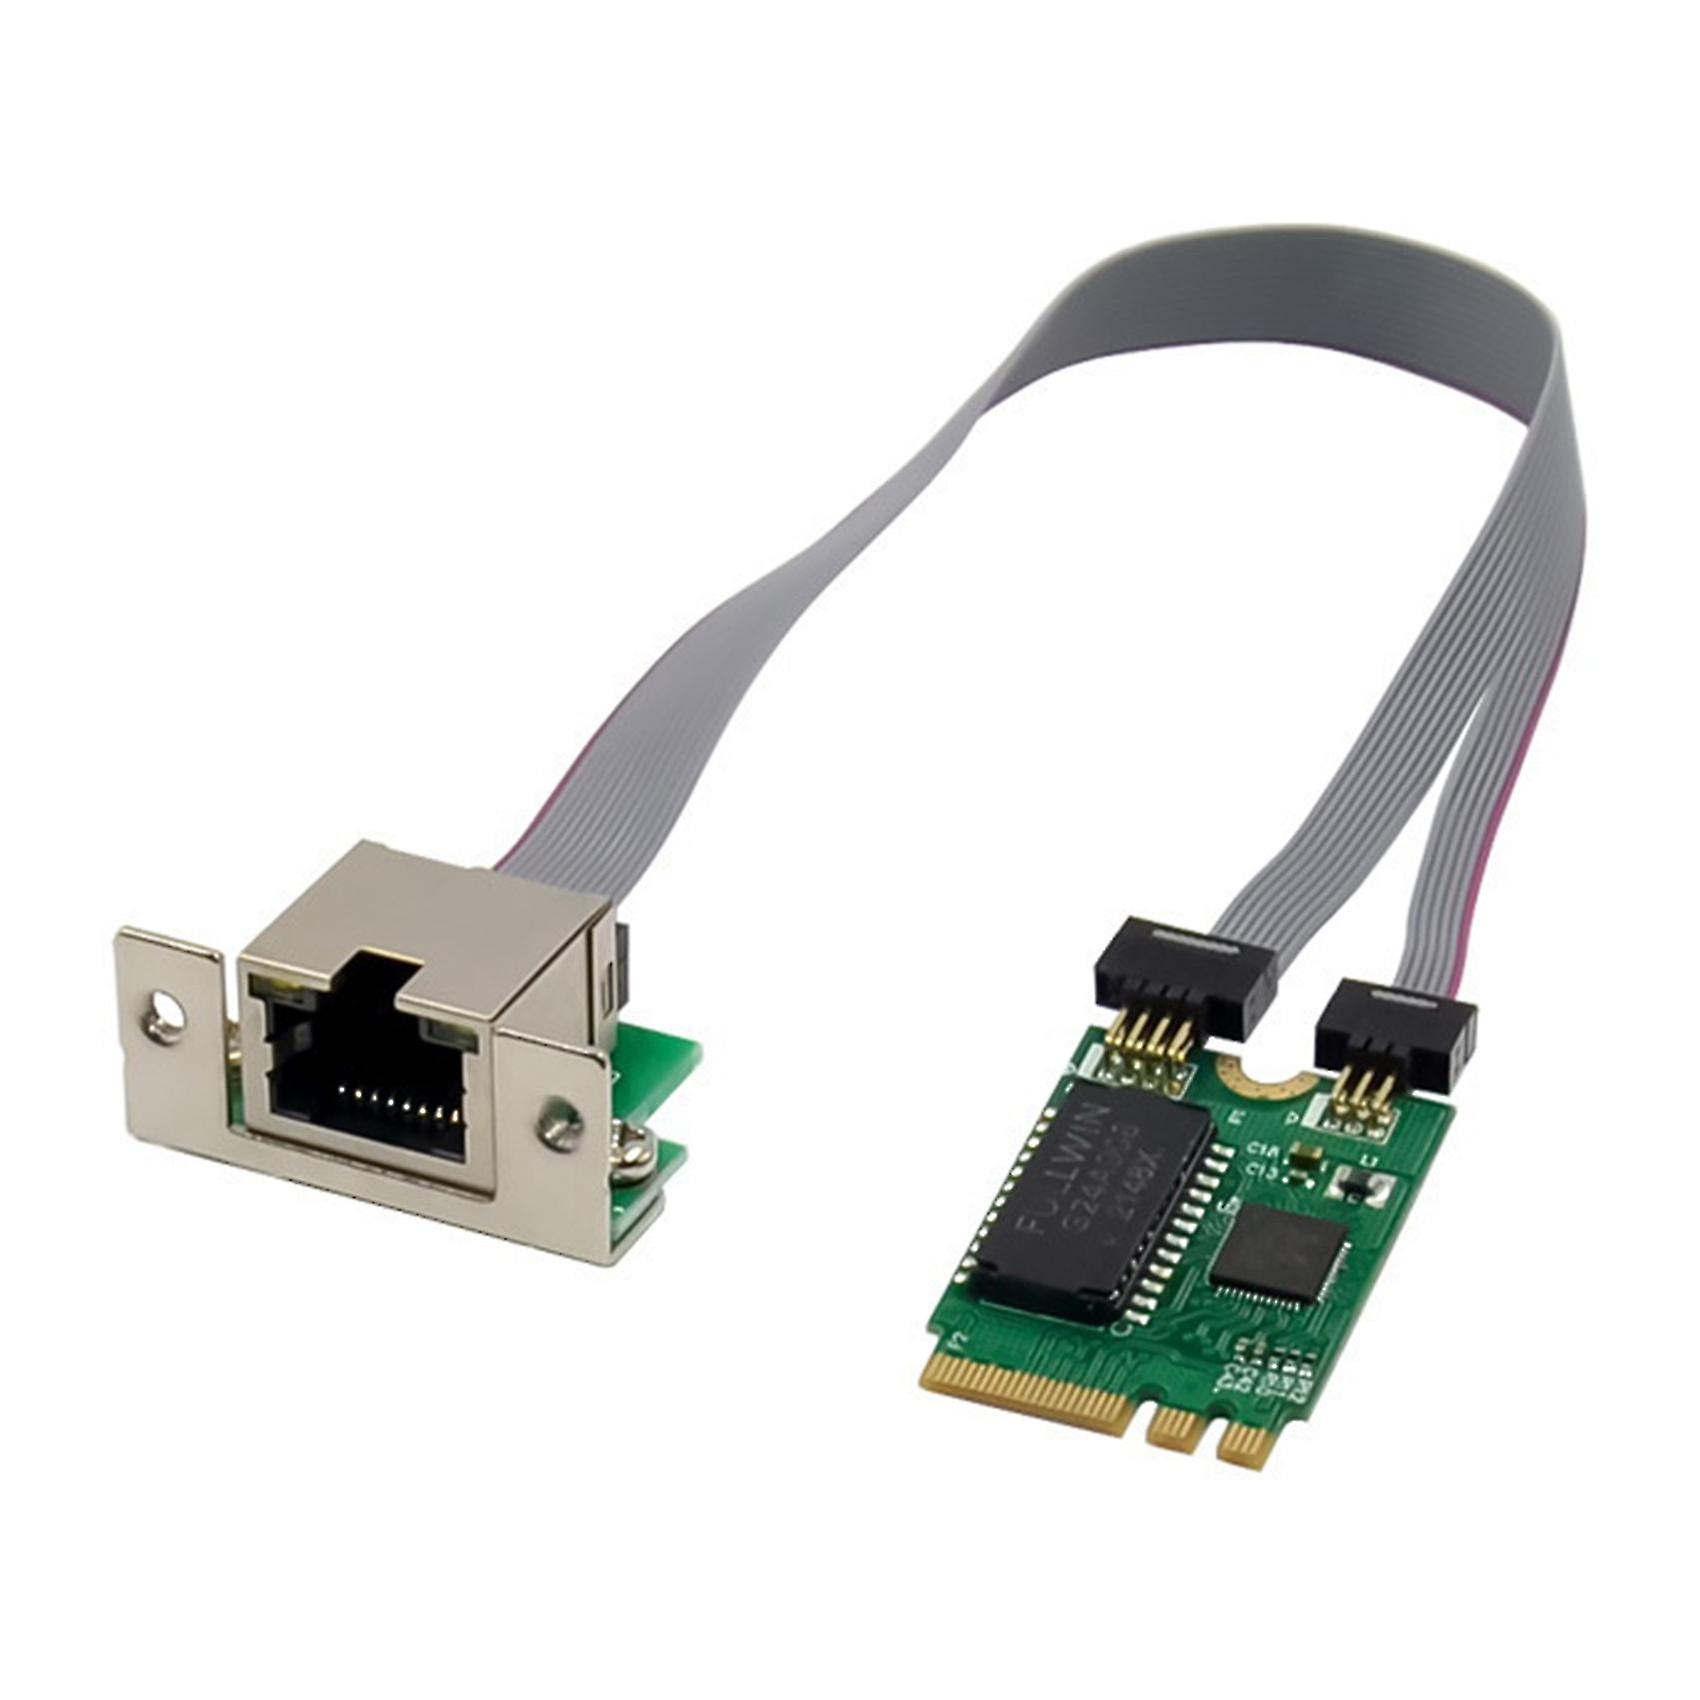
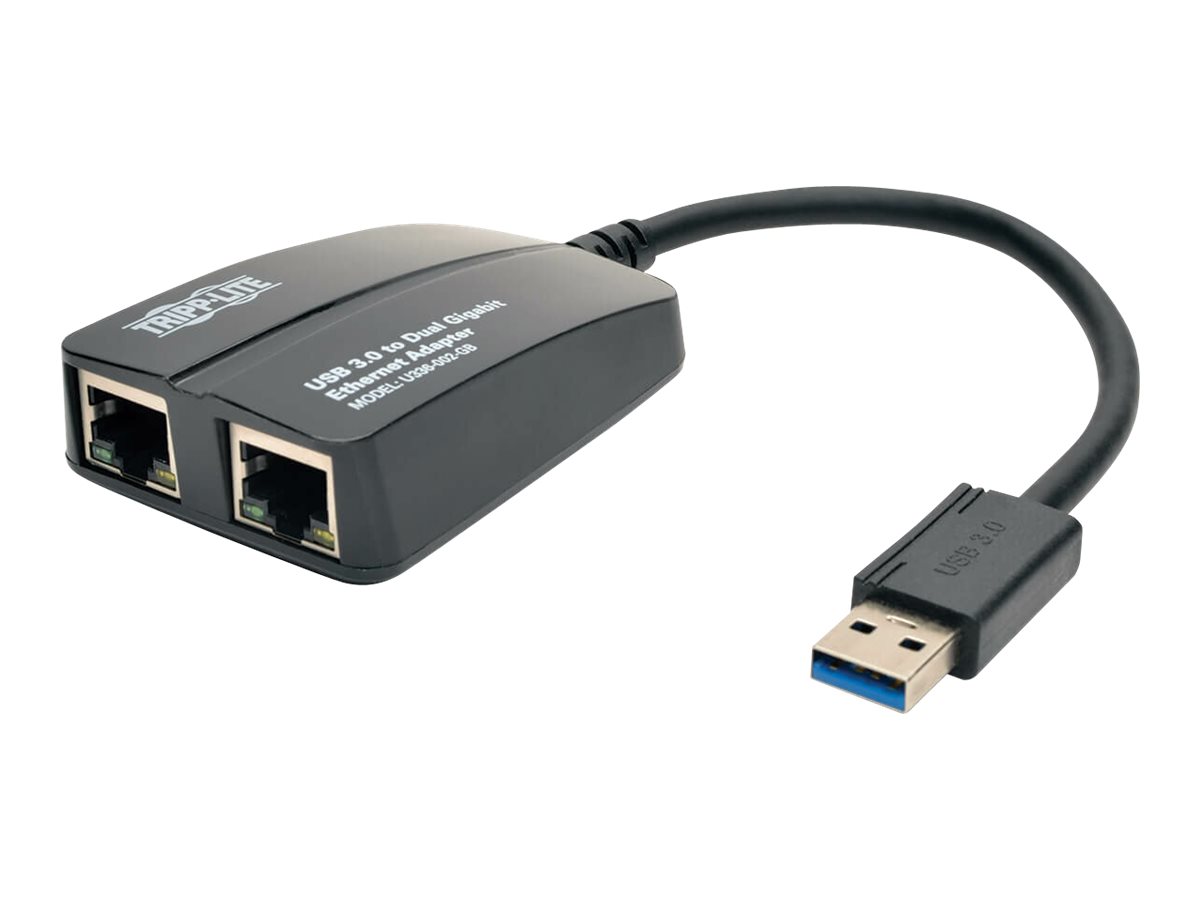
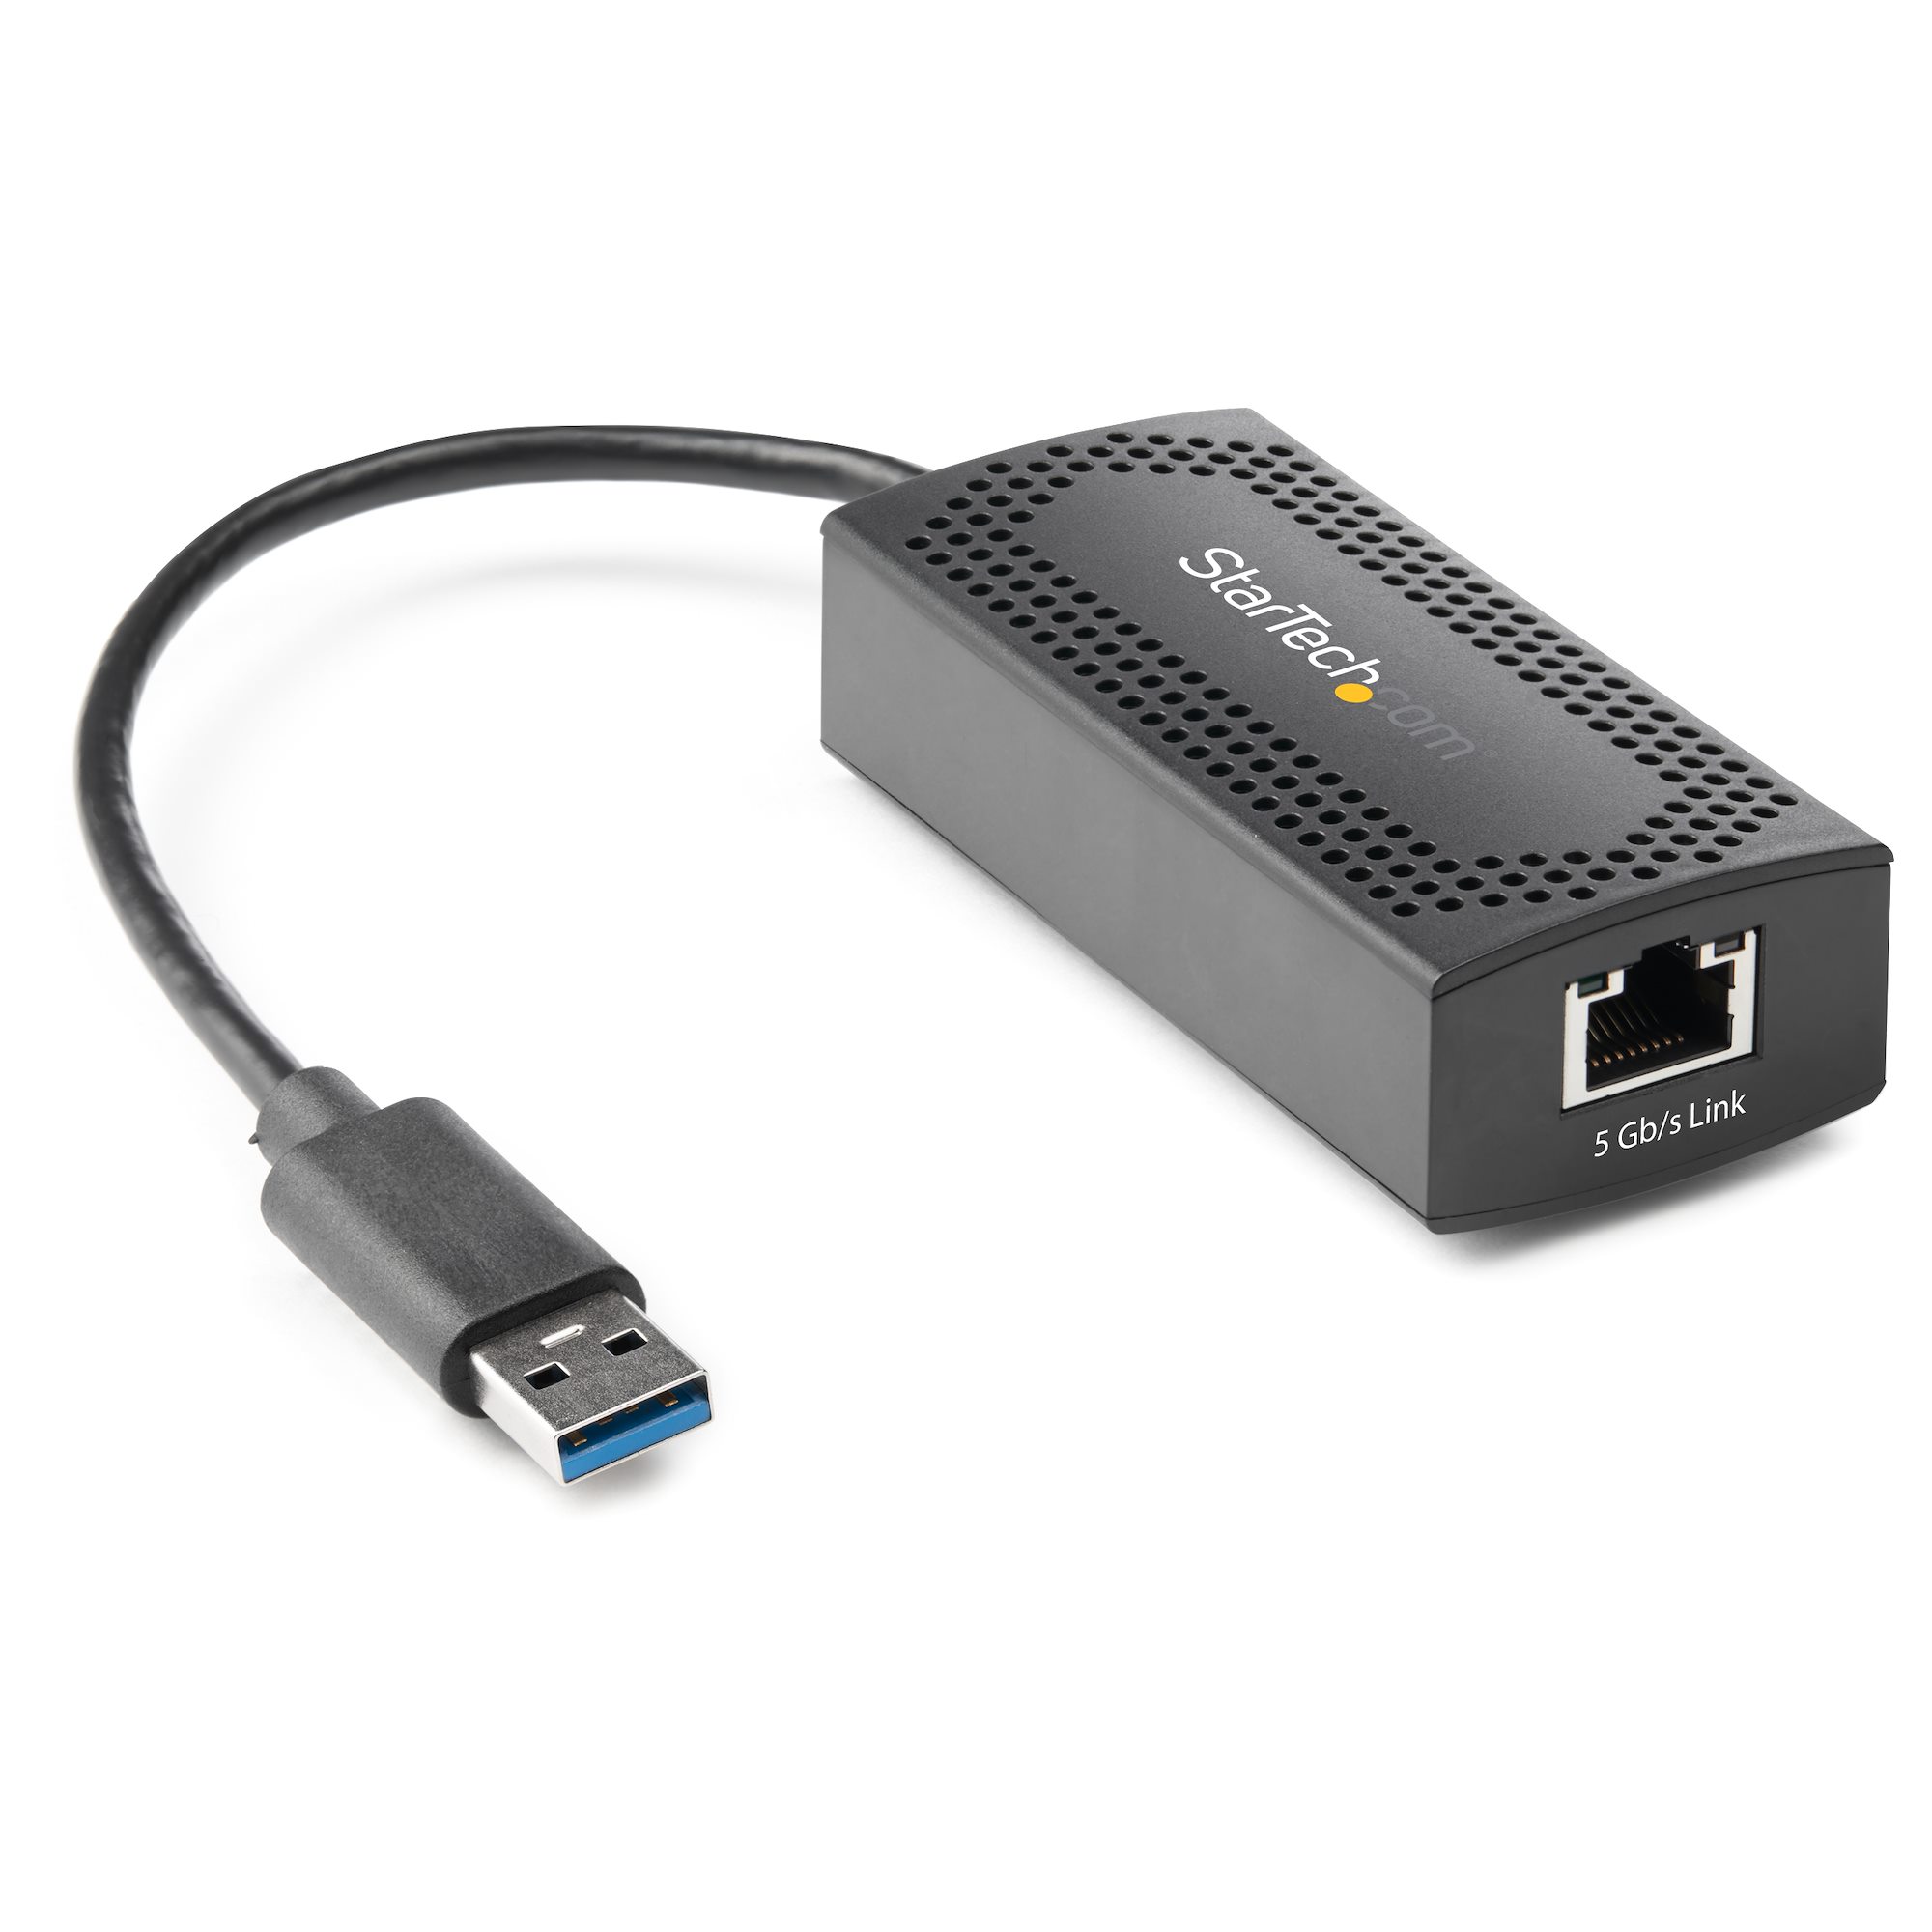
- Physical Connection: Ensure that your computer is physically connected to a functional Ethernet port. The Ethernet cable should be securely plugged into both your computer’s Ethernet port and the available Ethernet port on your modem or router.
- Stable Internet Connection: It is essential to have a stable internet connection while enabling the Ethernet adapter. If your internet connection is unstable or frequently disconnects, it may interfere with the process of enabling the adapter successfully.
- Updated Drivers: It is recommended to have the latest drivers for your Ethernet adapter installed on your computer. Visit the manufacturer’s website or use Windows Update to ensure you have the most up-to-date drivers. This can help improve the stability and performance of your Ethernet connection.
Meeting these prerequisites will ensure a smooth and successful process when enabling the Ethernet adapter on your Windows 10 computer. Once you have confirmed that you meet these requirements, you can proceed with the methods described in the following sections.
Method 1: Enable Ethernet Adapter using Device Manager
If your Ethernet adapter is disabled in Windows 10, you can enable it using the Device Manager utility. The Device Manager allows you to manage and configure hardware devices on your computer. Here’s how you can enable the Ethernet adapter using Device Manager:
- Press the Windows key + X on your keyboard to open the Quick Access menu. From the menu, select Device Manager. Alternatively, you can search for “Device Manager” in the Windows search bar and click on the matching result.
- In the Device Manager window, locate and expand the category labeled Network adapters.
- Look for the Ethernet adapter entry in the list of network adapters. It is usually named “Ethernet Controller“, “Ethernet Adapter,” or something similar.
- Right-click on the Ethernet adapter entry and select Enable Device from the context menu. If the adapter is already enabled, you will see the option to disable it instead.
- Wait for the Device Manager to enable the Ethernet adapter. Once enabled, the status of the adapter should change to “Enabled” or show a green checkmark icon.
Enabling the Ethernet adapter using Device Manager should resolve any issues with a disabled adapter. If you still face connectivity problems, you can try other methods mentioned in the following sections.
Method 2: Enable Ethernet Adapter using Network Connections
If you’re unable to enable the Ethernet adapter in Windows 10 using Device Manager, you can try enabling it through the Network Connections settings. Here are the steps to follow:
- Press the Windows key + X on your keyboard to open the Quick Access menu. From the menu, select Network Connections. Alternatively, you can search for “Network Connections” in the Windows search bar and click on the matching result.
- In the Network Connections window, you will see a list of available network adapters. Look for the Ethernet adapter in the list.
- Right-click on the Ethernet adapter and select Enable from the context menu. If the adapter is already enabled, you will see the option to disable it instead.
- Allow some time for the system to enable the Ethernet adapter. You’ll notice that the status of the adapter changes to “Enabled” or shows a connected icon once the process is complete.
Enabling the Ethernet adapter through Network Connections can help in situations where the Device Manager method didn’t work. If you’re still experiencing issues, continue reading the following methods for alternative solutions.
Method 3: Enable Ethernet Adapter via Command Prompt
If you’re comfortable using Command Prompt, you can enable the Ethernet adapter in Windows 10 using a few simple commands. Here’s how:
- Press the Windows key on your keyboard and search for “Command Prompt”. Right-click on the Command Prompt app and select Run as administrator. This will open Command Prompt with administrative privileges.
- In the Command Prompt window, type the following command and press Enter:
netsh interface set interface "Your Ethernet Adapter Name" admin=enableReplace “Your Ethernet Adapter Name” with the actual name of your Ethernet adapter. You can find the name by running the command
netsh interface show interfaceand looking for the “Interface Name” corresponding to your Ethernet adapter. - Wait for Command Prompt to execute the command and enable the Ethernet adapter. Once successful, you should see a confirmation message indicating that the interface admin state has been set to enabled.
Enabling the Ethernet adapter via Command Prompt provides an alternative method for users who prefer using command-line utilities. If you encounter any difficulties or if the Ethernet adapter still remains disabled, proceed to the next method for further troubleshooting options.
Method 4: Enable Ethernet Adapter through PowerShell
If you’re comfortable using PowerShell, you can enable the Ethernet adapter in Windows 10 using PowerShell commands. Follow the steps below:
- Press the Windows key on your keyboard and search for “PowerShell”. Right-click on the PowerShell app and select Run as administrator to open PowerShell with administrative privileges.
- In the PowerShell window, type the following command and press Enter:
Enable-NetAdapter -Name "Your Ethernet Adapter Name"Replace “Your Ethernet Adapter Name” with the actual name of your Ethernet adapter. You can find the name by running the command
Get-NetAdapterand looking for the “Name” corresponding to your Ethernet adapter. - Wait for PowerShell to execute the command and enable the Ethernet adapter. Once successful, the adapter status should change to “Up” or show a connected icon.
Enabling the Ethernet adapter through PowerShell provides another option for users who prefer using command-line tools. If you encounter any issues or if the Ethernet adapter remains disabled, continue reading the next method for an additional troubleshooting step.
Method 5: Reinstall Ethernet Adapter drivers
If your Ethernet adapter is still not enabled in Windows 10 despite trying the previous methods, you can try reinstalling the Ethernet adapter drivers. This can help resolve any driver-related issues that may be causing the adapter to remain disabled. Follow these steps:
- Press the Windows key + X on your keyboard and select Device Manager from the Quick Access menu. Alternatively, search for “Device Manager” in the Windows search bar and click on the matching result to open it.
- In the Device Manager window, locate and expand the Network adapters category.
- Right-click on the Ethernet adapter and select Uninstall device from the context menu. Confirm the uninstallation if prompted.
- Once the adapter is uninstalled, click on the Action tab at the top of the Device Manager window and select Scan for hardware changes. This will trigger Windows to detect the Ethernet adapter and automatically reinstall the drivers.
- Wait for Windows to reinstall the drivers for the Ethernet adapter. This process may take a few minutes.
- Once the drivers are reinstalled, check if the Ethernet adapter is enabled. Right-click on the Ethernet adapter and select Enable Device if it is still disabled.
Reinstalling the Ethernet adapter drivers can help resolve issues related to driver corruption or incompatibility. If the problem persists, it is recommended to reach out to your computer’s manufacturer or a qualified technician for further assistance.


