Introduction
Welcome to our comprehensive guide on how to connect Ethernet to your TV! With the rapid advancements in technology, TVs are no longer just devices for watching broadcast content. They have evolved into multimedia hubs that allow you to stream your favorite shows and movies, play games, and browse the internet. While Wi-Fi is a popular way to connect your TV to the internet, Ethernet provides a more stable and reliable connection for seamless streaming and online activities.
By connecting your TV to Ethernet, you can enjoy high-speed internet access directly from your TV, eliminating the need for a separate streaming device or relying on wireless signals. This opens up a world of possibilities, from accessing streaming services like Netflix and Hulu to exploring a wide range of online content right from the comfort of your living room.
In this guide, we will walk you through the step-by-step process of connecting Ethernet to your TV. We will explain how to set up a wired network connection, connect your TV to the router using an Ethernet cable, and configure the network settings on your TV. Additionally, we will provide troubleshooting tips for common connectivity issues you may encounter along the way.
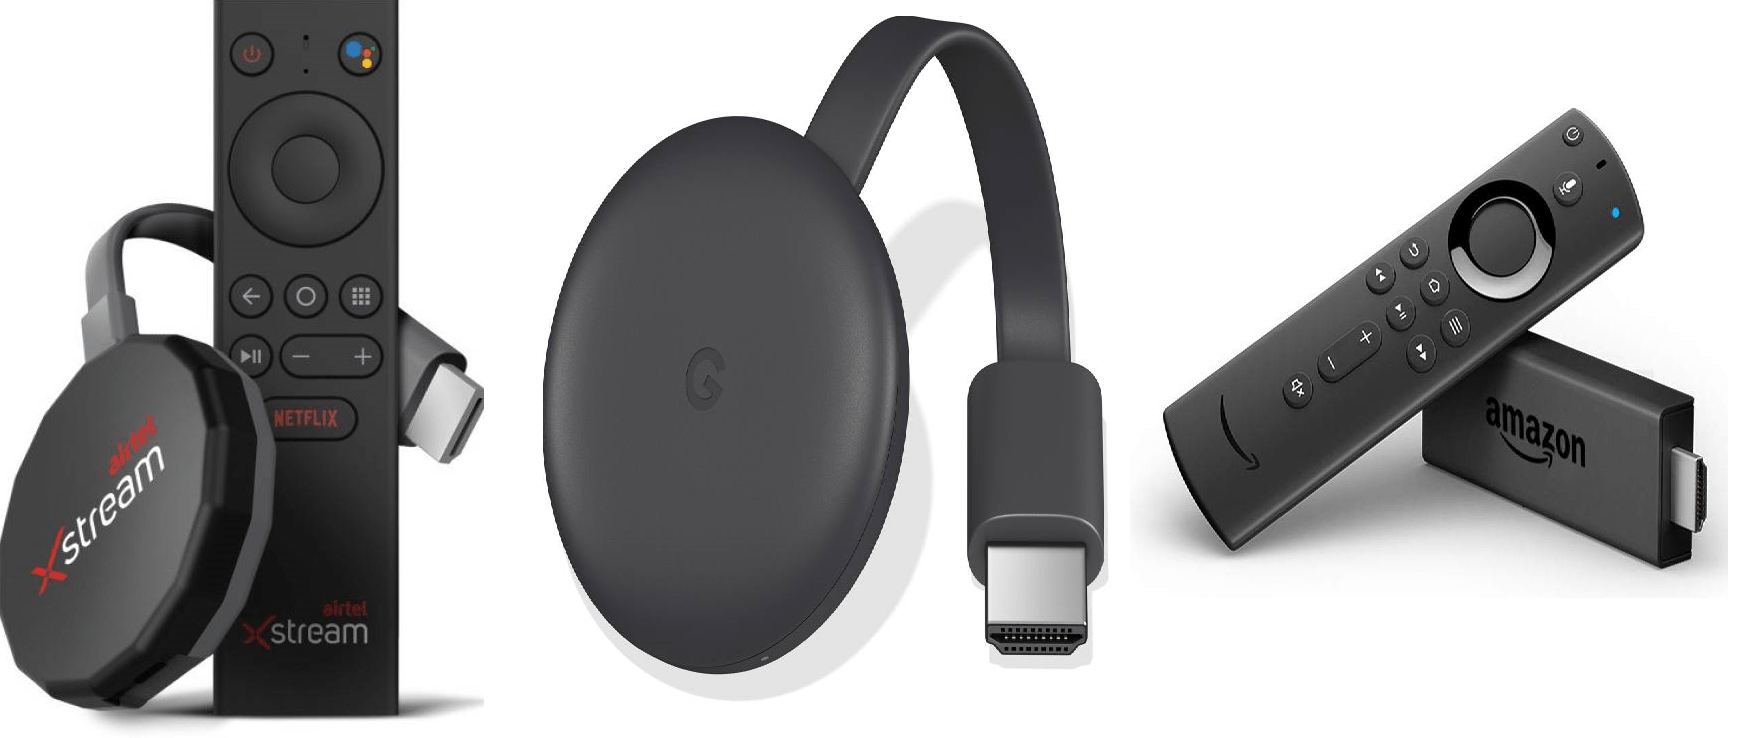
Whether you have a smart TV, a streaming device, or a gaming console that supports Ethernet connectivity, this guide will help you make the most of your TV’s capabilities. So, let’s dive in and learn how to connect Ethernet to your TV, and unlock a world of endless entertainment possibilities.
Why Connect Ethernet to TV?
You may be wondering, why should I bother connecting Ethernet to my TV when I can simply use Wi-Fi? While Wi-Fi is a convenient option, there are several reasons why connecting Ethernet to your TV can be advantageous.
1. Faster and more stable connection: Ethernet provides a direct wired connection to your router, offering faster and more reliable internet speeds compared to Wi-Fi. This is especially beneficial for streaming high-definition content or playing online games, where a stable and fast connection is crucial for a seamless experience.
2. Reduced buffering and lag: Wi-Fi networks can be susceptible to interference from other devices or walls, which can lead to buffering or lag while streaming. By connecting your TV directly to the router via Ethernet, you minimize the chances of buffering and experience smoother playback, ensuring uninterrupted entertainment.
3. Enhanced streaming quality: Ethernet provides a consistent and reliable connection, resulting in a higher quality streaming experience. With a wired connection, you can enjoy higher resolution content, such as 4K or HDR, without worrying about buffering or quality degradation.
4. Secure connection: While Wi-Fi networks can be susceptible to hacking or unauthorized access, using Ethernet adds an extra layer of security. Wired connections are less vulnerable to interference or hacking attempts, ensuring your data and online activities remain secure.
5. Compatibility with older devices: Some older TVs or devices may not have built-in Wi-Fi capabilities. In such cases, Ethernet provides a convenient solution to connect these devices to the internet, allowing you to access online content and services.
6. Reduced Wi-Fi congestion: Connecting your TV via Ethernet frees up your Wi-Fi network, reducing congestion and ensuring a smoother internet experience for other devices connected to the network. This is particularly beneficial in households with multiple devices streaming or browsing the internet simultaneously.
By connecting Ethernet to your TV, you can unlock the full potential of your smart TV or streaming device. Whether you’re streaming your favorite shows, playing online games, or browsing the internet, a wired connection offers improved speed, stability, and security for a superior entertainment experience. So, if you value a seamless streaming experience and want to maximize the capabilities of your TV, connecting Ethernet is definitely worth considering.
Step-by-Step Guide to Connecting Ethernet to TV
Connecting Ethernet to your TV is a straightforward process that can be accomplished in a few simple steps. Follow this step-by-step guide to get your TV connected to Ethernet and enjoy a reliable internet connection.
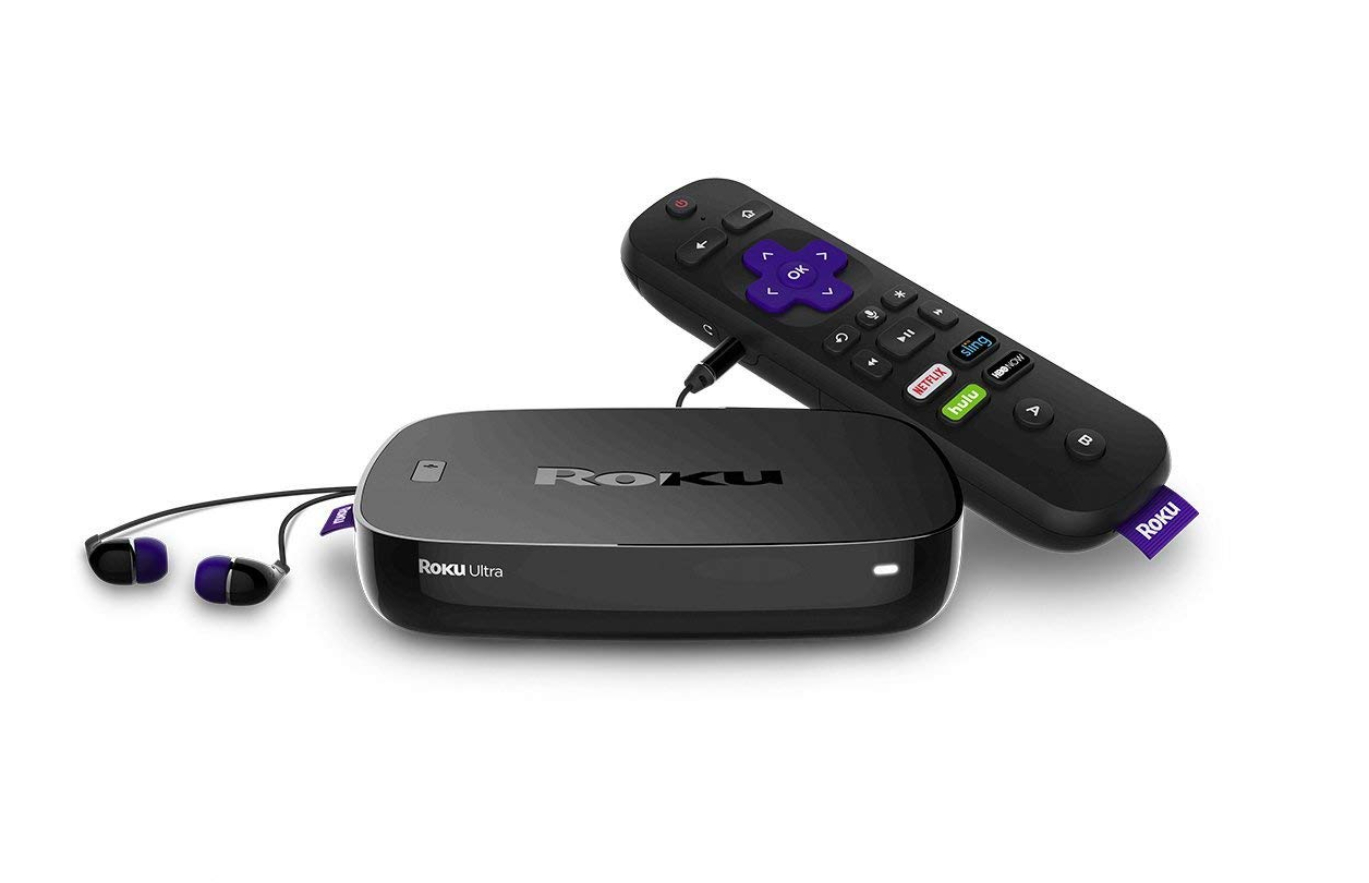
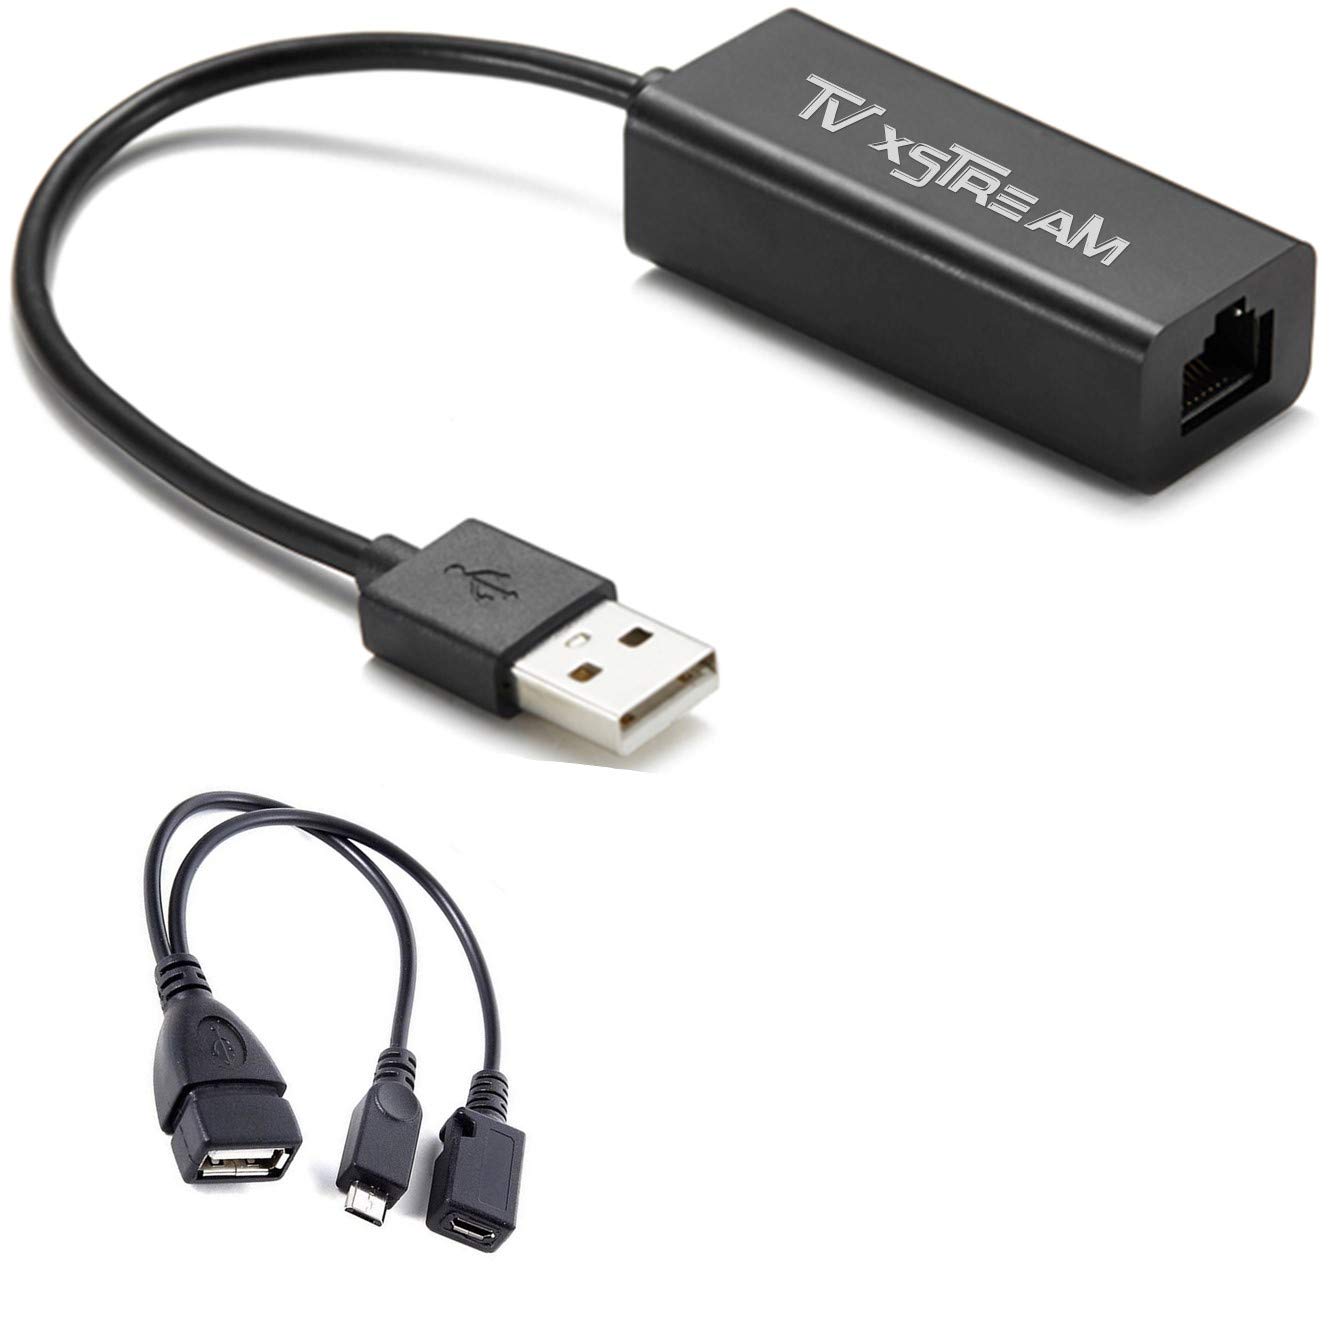
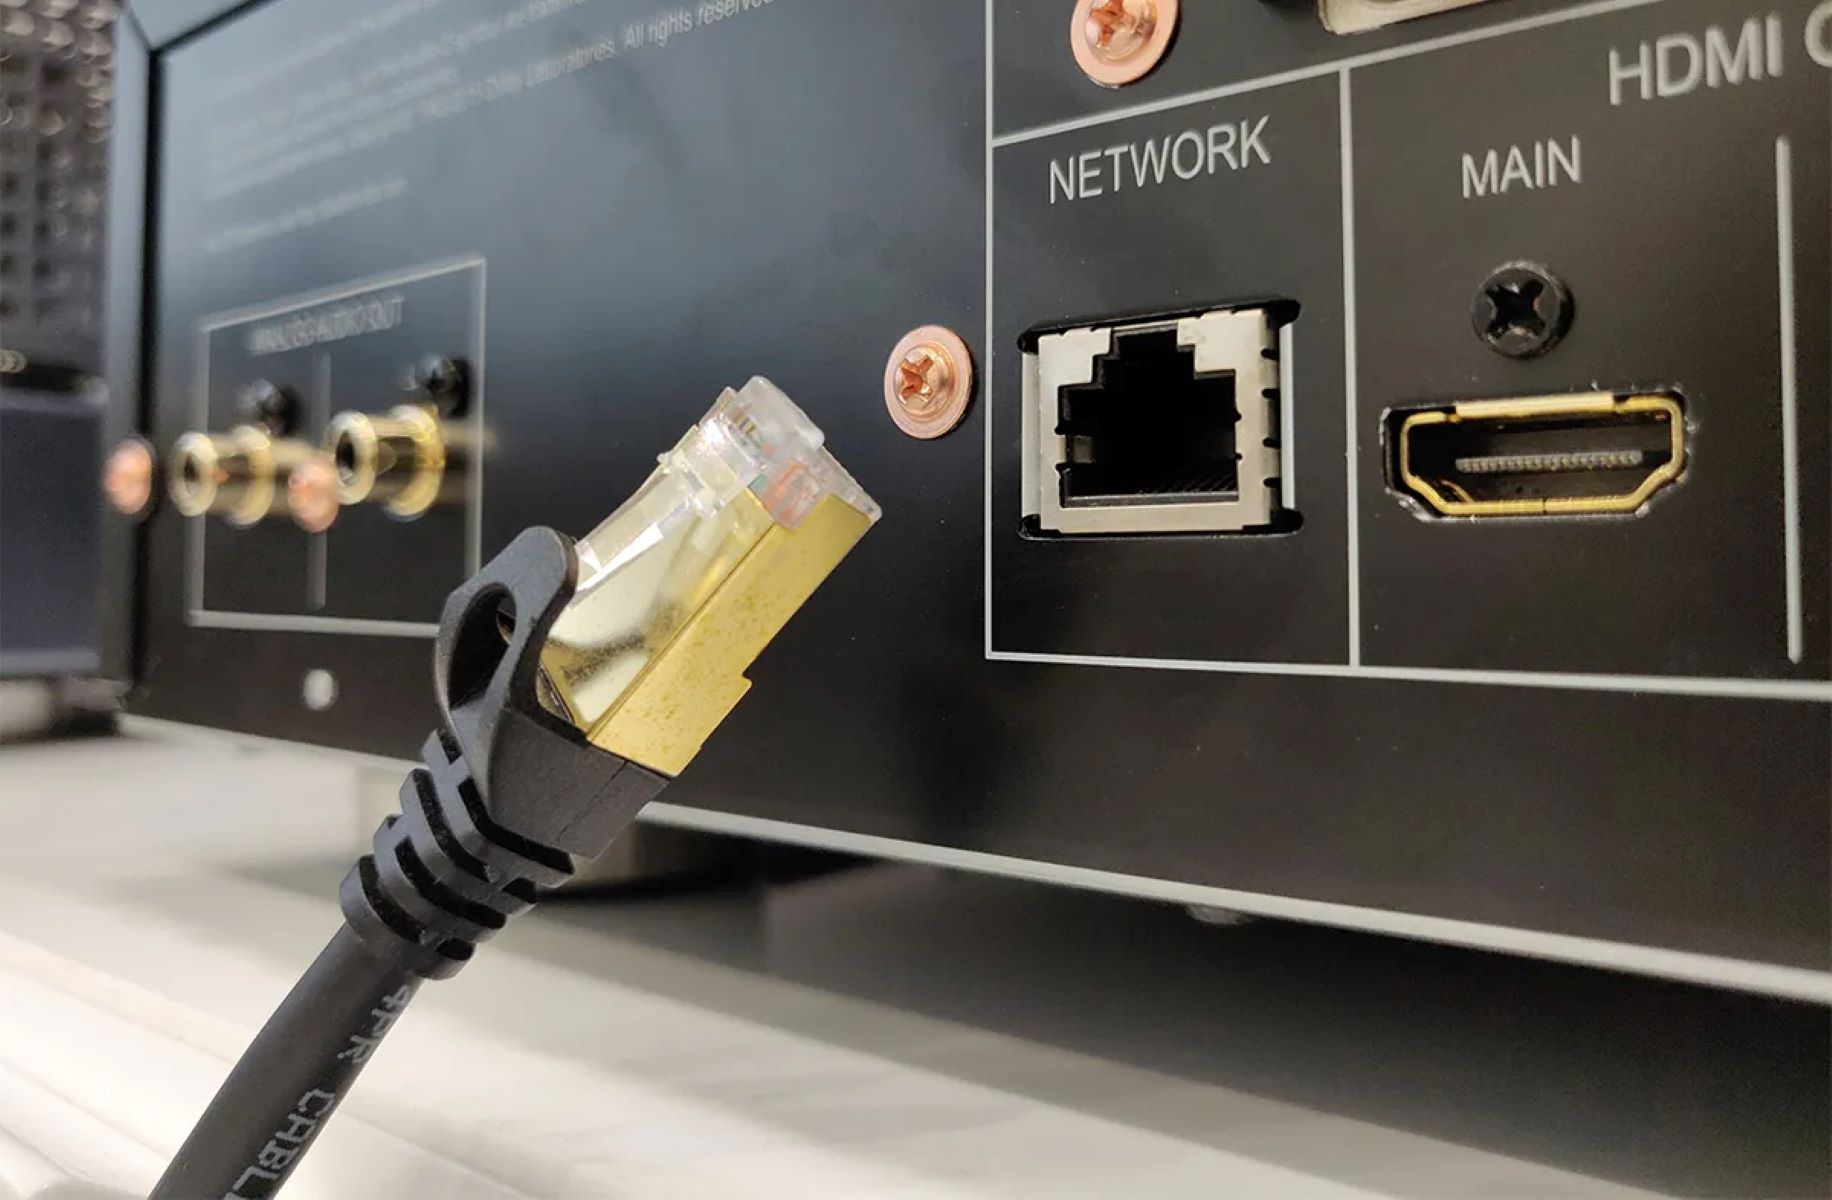
- Check your TV’s compatibility: Start by ensuring that your TV has an Ethernet port. This port is usually located on the back of the TV and looks similar to a phone jack or a larger version of an Ethernet port found on computers. If your TV doesn’t have an Ethernet port, you may need to use a separate streaming device or an Ethernet adapter to connect to the internet.
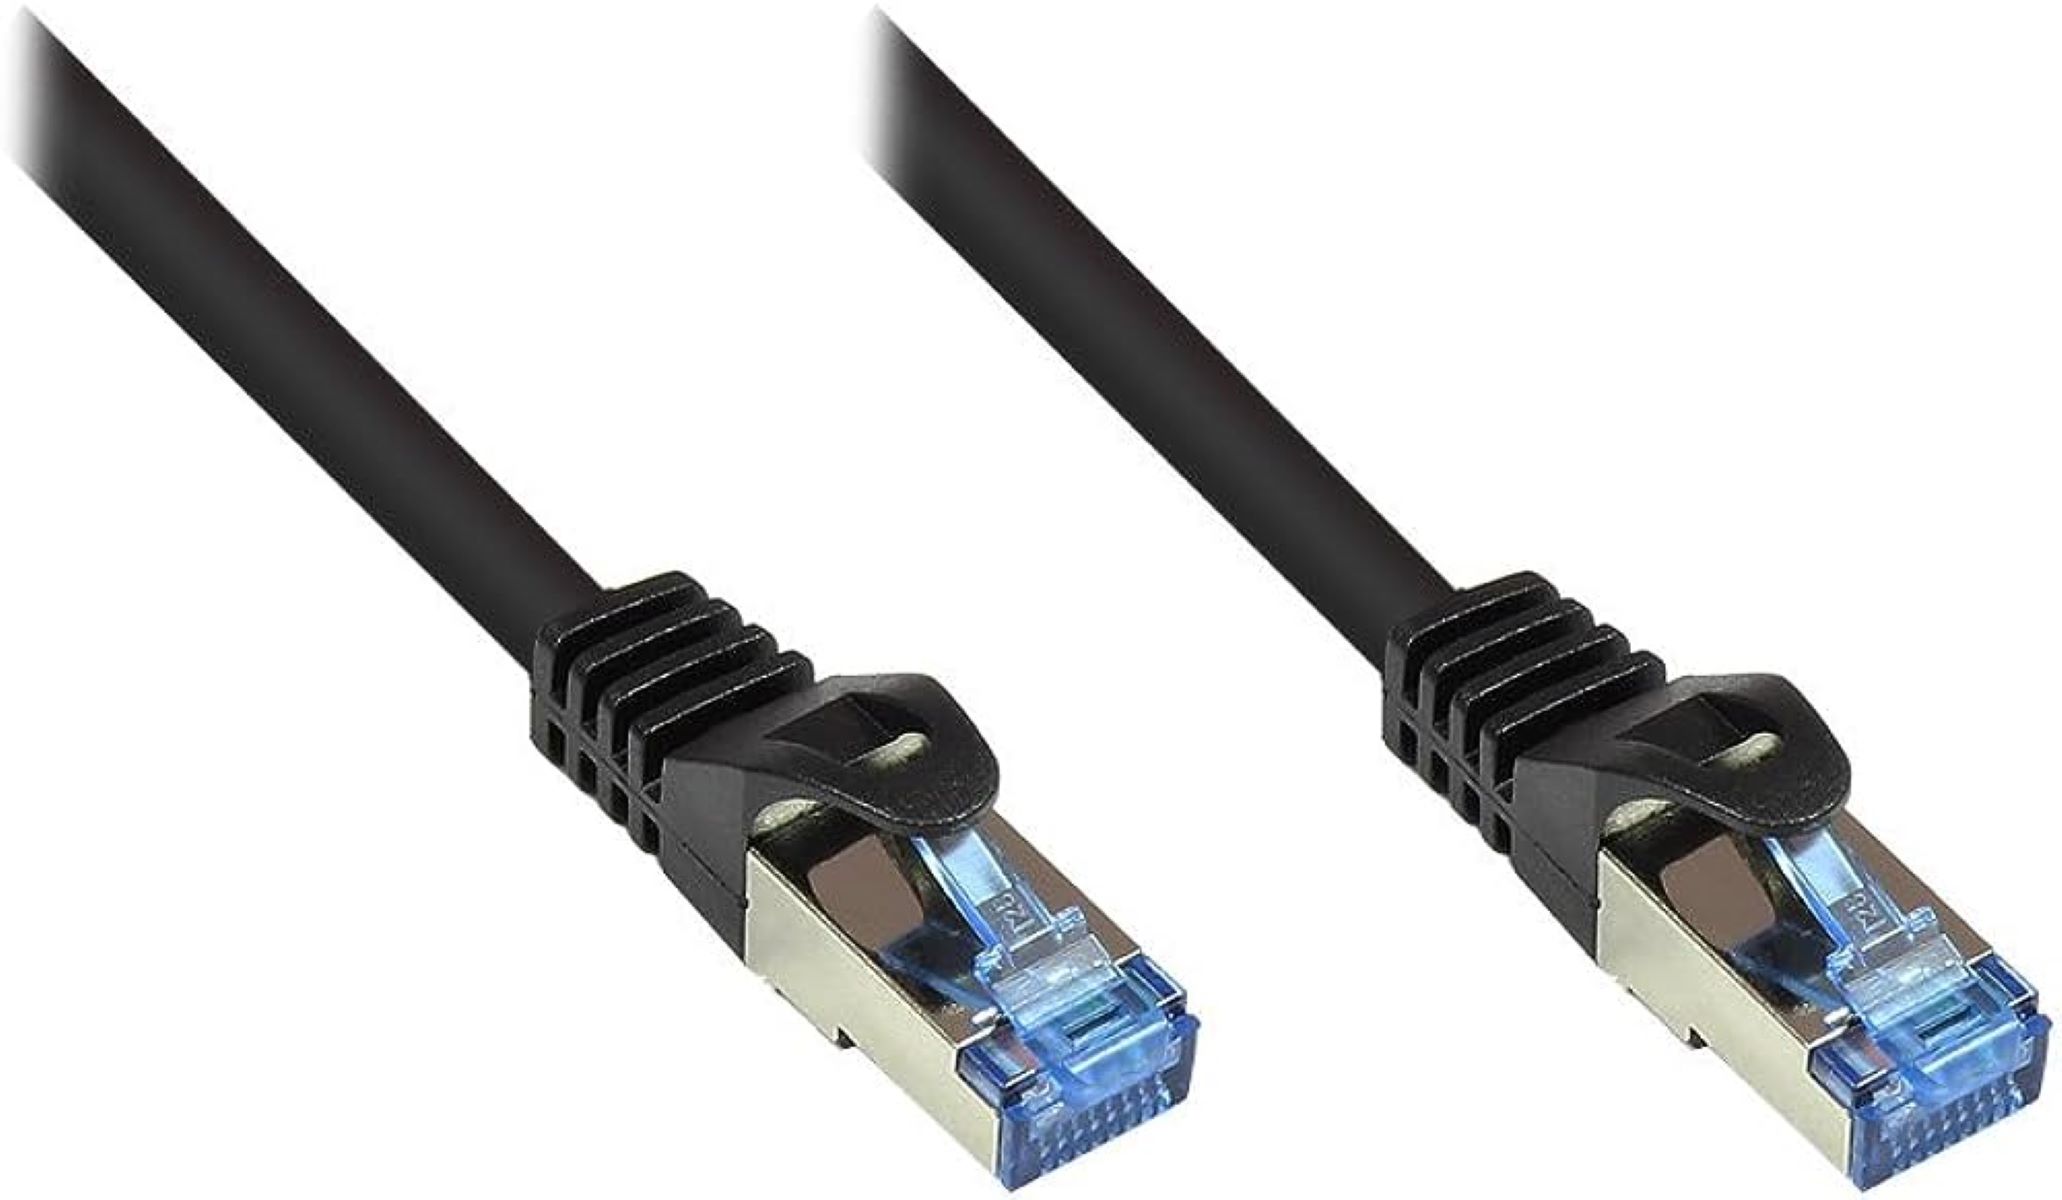
- Set up a wired network connection: Connect one end of an Ethernet cable to the Ethernet port on your TV and the other end to an available port on your router. Make sure the cable is securely plugged in on both ends.
- Configure network settings on the TV: On your TV’s menu, navigate to the network settings or setup section. Select the option to set up a wired network connection or choose Ethernet as your preferred connection type. Follow any on-screen instructions to complete the setup process. Some TVs may require you to manually enter the IP address, subnet mask, gateway, and DNS server information provided by your internet service provider (ISP). Refer to your TV’s user manual for specific instructions.
- Verify the connection: Once the network settings are configured, your TV should attempt to connect to the internet using the Ethernet connection. You can check the connection status on your TV’s network settings menu. If the connection is successful, you should see a confirmation message or an indication that your TV is now connected to the internet.
- Test the connection: To ensure that the Ethernet connection is working properly, test the internet connection on your TV. Open an app that requires internet access, such as a streaming service or a web browser, and check if it loads content without any issues. You can also run a speed test to verify the speed and stability of the connection.
By following these steps, you can easily connect Ethernet to your TV and enjoy a reliable internet connection for streaming, gaming, and accessing online content. Keep in mind that the exact steps may vary depending on your TV’s make and model, so it’s always a good idea to refer to your TV’s user manual for specific instructions. With Ethernet connectivity, you can take full advantage of your TV’s smart features and enjoy a seamless streaming experience.
Setting Up a Wired Network Connection
Before connecting your TV to the internet using Ethernet, it’s essential to set up a wired network connection. This involves connecting your TV to the router using an Ethernet cable. Follow these steps to ensure a successful wired network connection:
- Check for Available Ethernet Port: Start by locating the Ethernet port on your router. It is typically labeled “LAN” or “Ethernet” and is often color-coded. Ensure that there is an available Ethernet port on the router to connect your TV.
- Connect the Ethernet Cable: Take one end of the Ethernet cable and insert it into the Ethernet port on your TV. Ensure a secure connection by pushing the connector firmly into the port. Then, take the other end of the cable and plug it into an available Ethernet port on the router.
- Verify the Connection: Once the cable is connected, check for LED lights near the Ethernet port on both the TV and the router. These lights indicate a successful connection. If the lights are not illuminated, ensure that the cable is securely plugged in and try a different Ethernet port on the router.
- Cable Management: Neatly arrange the Ethernet cable to avoid tripping hazards or cable damage. You can use cable clips, zip ties, or cable covers to keep the cable organized and hidden from view if desired.
- Power on Your TV: Make sure your TV is powered on and access the settings or setup menu. Navigate to the network settings to configure the wired connection.
By following these steps, you can set up a wired network connection for your TV. Once the connection is established, you can proceed to the next step of configuring the network settings on your TV to access the internet. Remember to consult your TV’s user manual for specific instructions, as the exact steps might vary depending on the TV’s make and model.
Connecting TV to Router via Ethernet Cable
Once you have set up a wired network connection by connecting your TV to the Ethernet port, the next step is to establish a connection between your TV and the router. Follow these steps to connect your TV to the router via an Ethernet cable:
- Locate Router: Identify the location of your router and ensure that it is powered on. This will ensure a stable and reliable connection between your TV and the router.
- Connect Ethernet Cable to TV: Take the opposite end of the Ethernet cable connected to your TV and insert it securely into an available Ethernet port on the router. Make sure the connection is firm and snugly fit to avoid any interruptions during the connection process.
- Confirm Connection: Check for LED lights near the Ethernet port on both the TV and the router. The LED lights should indicate that the connection has been successfully established. If the lights are not illuminated, ensure that the cable is securely plugged in and try connecting to a different Ethernet port on the router.
- Test the Connection: Switch on your TV and access the network settings to verify that the TV has recognized the Ethernet connection. Navigate to the network settings menu on your TV and check if it indicates a connected status. Some TVs may display the IP address or network information associated with the wired connection.
- Configure Network Settings: If necessary, manually configure the network settings on your TV. This typically involves entering the IP address, subnet mask, gateway, and DNS server information provided by your internet service provider (ISP). Consult your TV’s user manual for specific instructions on how to configure the network settings if required.
By following these steps, you can connect your TV to the router using an Ethernet cable. This establishes a direct, wired connection that ensures a stable and reliable connection between your TV and the internet. Once the connection is established, proceed to the next step of configuring the network settings on your TV to access the internet and enjoy a wide range of online content.
Configuring Network Settings on the TV
After connecting your TV to the router via Ethernet, the next step is to configure the network settings on your TV. This will enable your TV to communicate with the router and access the internet. Follow these steps to configure the network settings on your TV:
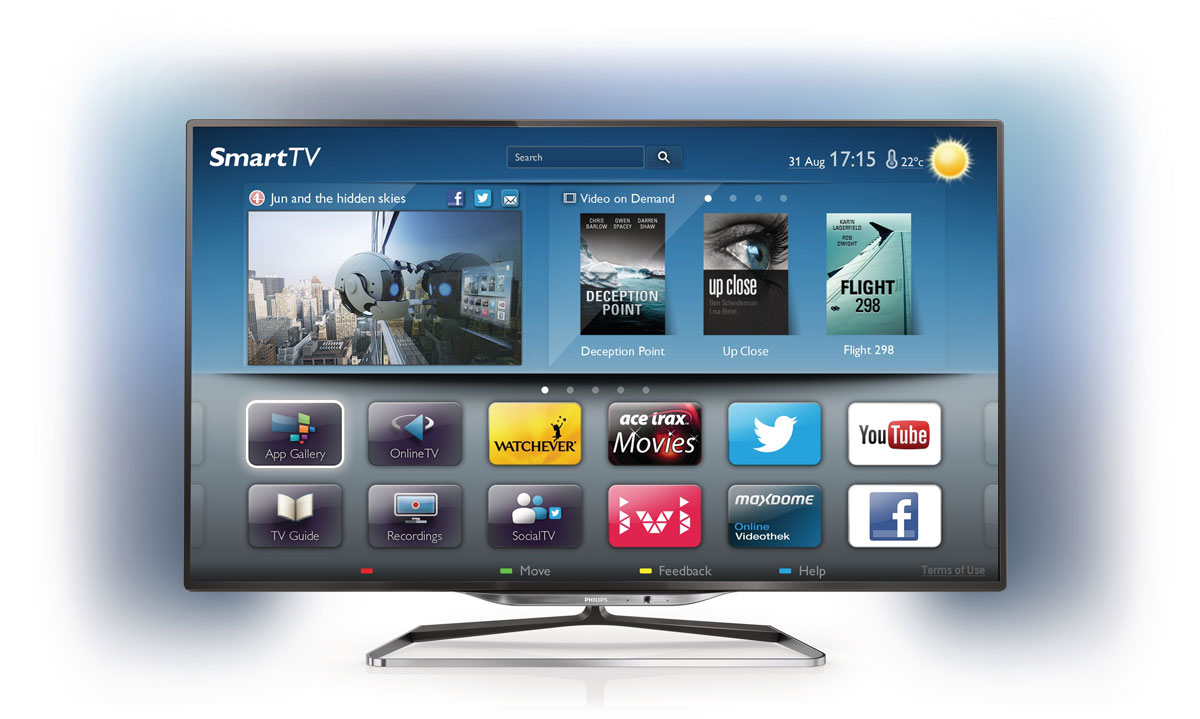
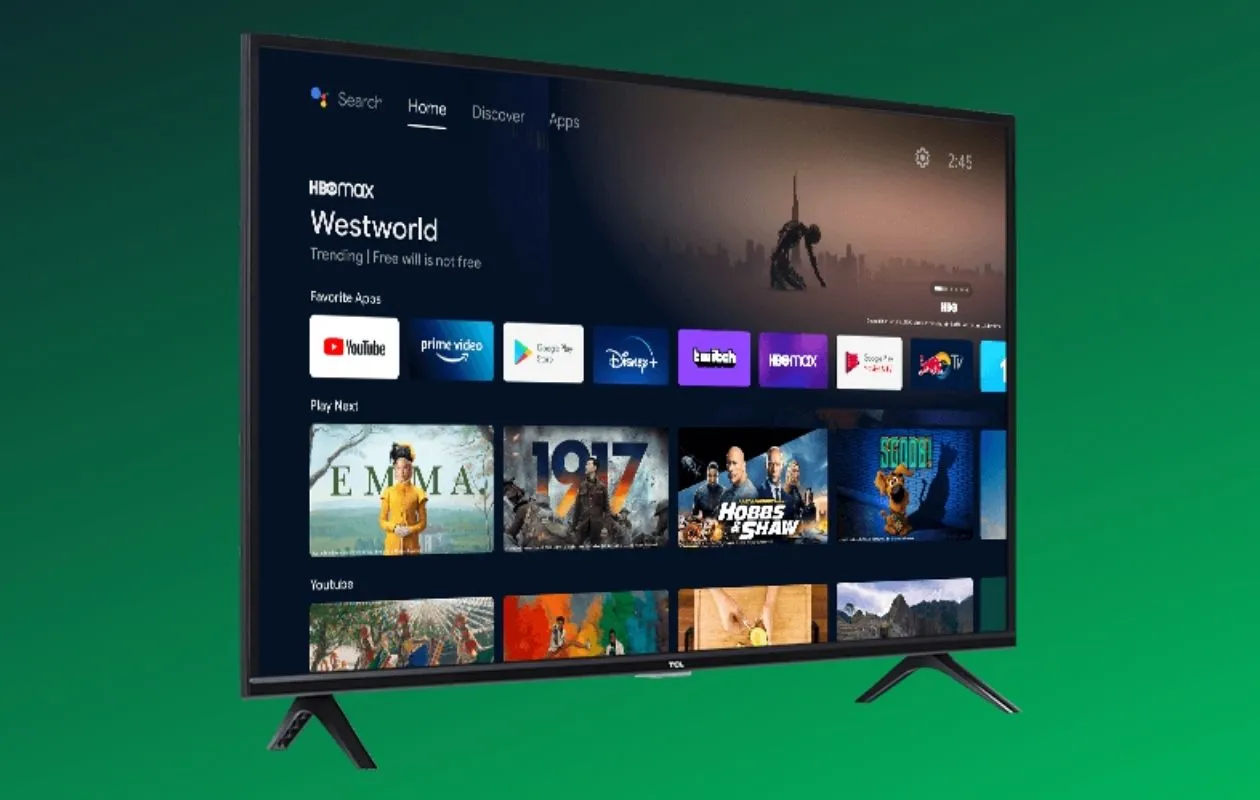
- Access the Network Settings: Power on your TV and navigate to the settings or setup menu. Look for the network settings option, which may be labeled as “Network,” “Internet,” or “Wi-Fi settings.” Each TV brand may have a slightly different layout, so refer to your TV’s user manual for specific instructions.
- Select Wired Connection: In the network settings menu, look for the option to select the type of internet connection. Choose the wired or Ethernet connection option. This tells the TV to use the connected Ethernet cable for internet access.
- Automatic or Manual Configuration: Depending on your TV’s make and model, you may have the option to choose between automatic or manual network configuration. Automatic configuration, also known as DHCP, allows your TV to obtain the necessary network settings automatically from the router. Manual configuration, on the other hand, requires you to enter the IP address, subnet mask, gateway, and DNS server information provided by your ISP. If you are unsure, it is recommended to select automatic configuration.
- Verify the Connection: Once you have selected the appropriate network settings, your TV will attempt to establish a connection to the internet using the Ethernet connection. The TV will display the connection status, indicating whether the connection was successful or not. If the connection is successful, you should see a confirmation message or an indication that your TV is now connected to the internet.
- Test the Connection: To ensure that the network settings are properly configured, open an app that requires internet access on your TV, such as a streaming service or a web browser. Check if the content loads without any issues. You can also run a speed test to verify the speed and stability of the connection.
Configuring the network settings on your TV is an essential step to enable internet access. By following these steps and referring to your TV’s user manual, you can effectively set up the network settings and ensure a seamless internet connection on your TV. With the network settings configured, you can now enjoy streaming your favorite shows, playing online games, and accessing a wealth of online content directly from your TV.
Troubleshooting Common Connectivity Issues
While connecting Ethernet to your TV is generally a straightforward process, you may encounter some common connectivity issues. Here are some troubleshooting steps you can follow to resolve these issues and ensure a smooth and stable connection:
- Check the Ethernet cable: Ensure that the Ethernet cable is securely plugged in at both ends, both on the TV and the router. If the cable is loose or damaged, try using a different cable to eliminate the possibility of a faulty connection.
- Restart the TV and router: Power cycling both your TV and router can refresh the network connection and resolve temporary issues. Turn off your TV and router, wait for a few minutes, and then turn them back on. Allow them to fully restart and attempt the connection again.
- Reset network settings: If you’re still experiencing connection issues, try resetting the network settings on your TV. In the network settings menu, look for an option to reset or initialize network settings. This will revert the network settings back to their default state. Note that this will erase any custom network configurations you may have set up.
- Update firmware: Check if there are any firmware updates available for your TV. Outdated firmware can cause compatibility issues and connectivity problems. Refer to your TV’s user manual or the manufacturer’s website for instructions on how to update the firmware. Regularly updating the firmware enhances the TV’s performance and improves network connectivity.
- Check router settings: Ensure that your router’s settings are compatible with your TV’s network requirements. Check if the router is using the latest firmware and if any specific firewall or security settings are blocking the connection. You may need to consult your router’s user manual or contact your internet service provider for assistance with router settings.
- Consult technical support: If you have tried all the troubleshooting steps above and are still experiencing connectivity issues, it may be beneficial to reach out to the technical support of your TV manufacturer or your internet service provider. They can provide specific guidance and troubleshoot any potential hardware or network-related issues that may be affecting your TV’s connectivity.
By following these troubleshooting steps, you can resolve common connectivity issues and ensure a stable and reliable connection between your TV and the internet. Remember, every TV and network setup may have specific requirements, so it’s recommended to refer to your TV’s user manual and consult technical support for further assistance if needed.
Conclusion
In this guide, we have explored the process of connecting Ethernet to your TV, allowing you to enjoy a fast, reliable, and stable internet connection. By connecting your TV directly to the router using an Ethernet cable, you can enhance your streaming experience, reduce buffering, and ensure a smooth playback of your favorite shows and movies.
We discussed the benefits of connecting Ethernet to your TV, including faster internet speeds, reduced buffering, enhanced streaming quality, improved security, compatibility with older devices, and reduced Wi-Fi congestion. These advantages make Ethernet connectivity an excellent option for those seeking an uninterrupted and high-quality streaming experience.
We provided a step-by-step guide on setting up a wired network connection and connecting your TV to the router via an Ethernet cable. Additionally, we discussed how to configure the network settings on your TV and troubleshoot common connectivity issues that you may encounter along the way.
Remember that each TV and network setup may have its own specific requirements, so consult your TV’s user manual and contact technical support for any further assistance. Enjoy the benefits of Ethernet connectivity and unlock a world of endless entertainment possibilities right from the comfort of your living room.
So go ahead, connect Ethernet to your TV, and elevate your streaming experience to new heights!