Introduction
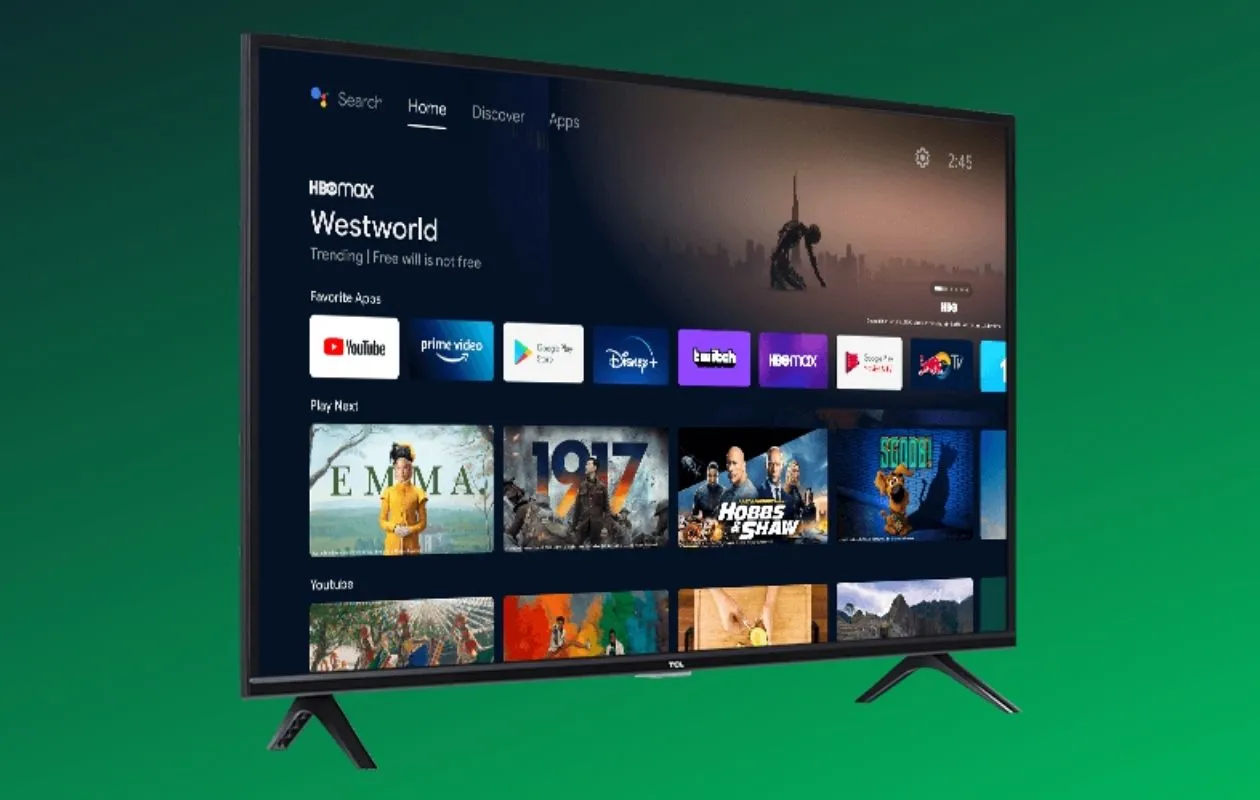
Welcome to the age of smart technology, where our devices are interconnected and can bring the world to our fingertips. One such device that has become increasingly popular in households around the globe is the smart TV. With its advanced features and capabilities, a smart TV allows us to stream our favorite shows and movies, browse the internet, and even connect with friends on social media platforms, all from the comfort of our living rooms.
However, in order to fully enjoy the benefits of a smart TV, it is essential to have a stable internet connection. Whether you want to stream the latest series on Netflix or browse through YouTube videos, getting your smart TV online is the first step. In this guide, we will explore different methods to connect your smart TV to the internet, whether it is through Wi-Fi or with the help of an Ethernet cable.
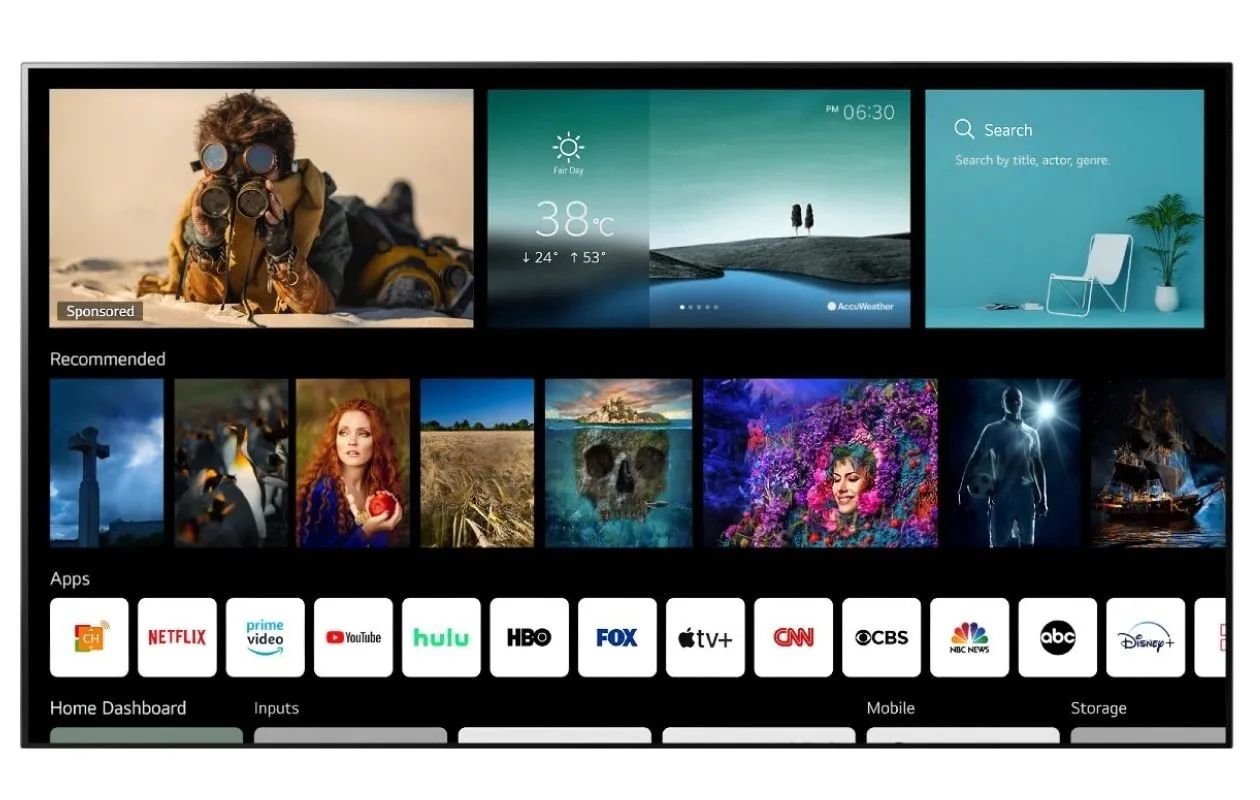
Connecting your smart TV to the internet opens up a world of possibilities. You can access a wide range of streaming services, such as Netflix, Hulu, and Amazon Prime Video, to enjoy your favorite shows and movies on demand. You can also browse the web, check your emails, and even download apps to customize your smart TV experience.
So, if you’re ready to unlock the full potential of your smart TV and start enjoying all the online content it has to offer, let’s dive into the various methods of getting your smart TV online.
Connecting your Smart TV to Wi-Fi
One of the most common and convenient ways to connect your smart TV to the internet is through a Wi-Fi connection. Here are the steps to follow:
- First, make sure your smart TV is turned on and within range of your Wi-Fi router.
- Access the settings menu on your smart TV. This can usually be done by pressing the Menu or Home button on your TV remote.
- Navigate to the Network or Wi-Fi settings section. The exact name and location may vary depending on your TV’s brand and model.
- Select the option to connect to a Wi-Fi network.
- A list of available Wi-Fi networks will appear on the screen. Choose your home Wi-Fi network from the list.
- If your Wi-Fi network is password-protected, you will be prompted to enter the password. Use the remote control or on-screen keyboard to enter the password accurately.
- Once the correct password is entered, select the Connect or Confirm button to establish the connection.
- Your smart TV will now attempt to connect to the Wi-Fi network. This may take a few moments.
- Once connected, you will see a confirmation message or an icon indicating a successful Wi-Fi connection.
It is important to note that some smart TVs may also have a feature called Wi-Fi Direct or Screen Mirroring, which allows you to connect your smartphone or tablet directly to your TV without the need for a Wi-Fi network. This feature can be particularly useful for casting content from your mobile devices onto the larger screen of your smart TV.
If you encounter any issues during the Wi-Fi setup process, ensure that you are within range of your Wi-Fi router, double-check the password for your Wi-Fi network, and verify that your router is functioning properly. In some cases, rebooting your router and smart TV can also help resolve connectivity issues.
Now that your smart TV is connected to Wi-Fi, you can start enjoying all the online content and streaming services available at your fingertips.
Connecting your Smart TV via Ethernet
While connecting your smart TV to Wi-Fi is the most common method, another option is to establish a wired connection using an Ethernet cable. This method offers a more stable and reliable internet connection, which can be advantageous for streaming high-quality content or online gaming. Here’s how to connect your smart TV via Ethernet:
- Locate the Ethernet port on the back or side of your smart TV. It is usually labeled as “LAN” or “Ethernet.”
- Connect one end of the Ethernet cable to the Ethernet port on your smart TV.
- Connect the other end of the Ethernet cable to an available Ethernet port on your Wi-Fi router or modem.
- Once the cable is securely connected, your smart TV should automatically detect the wired connection and establish a connection to the internet.
- To confirm the successful connection, check if the Ethernet icon is displayed on your smart TV’s screen or navigate to the network settings to ensure the connection status is shown as “Connected.”
By opting for a wired connection, you can enjoy faster internet speeds and a more reliable connection, especially if your Wi-Fi signals are weak or you have multiple devices connected to your network. However, keep in mind that this method requires your smart TV to be in close proximity to your router or modem, as the Ethernet cable has a limited reach.
If you experience any issues with the wired connection, ensure that the Ethernet cable is securely plugged in on both ends. You may also want to try restarting your router and smart TV to refresh the connection.
Connecting your smart TV via Ethernet provides a seamless and stable internet connection, allowing you to enjoy uninterrupted streaming and online activities. Take advantage of this option if you want to maximize your viewing experience with minimal connection disruptions.
Troubleshooting Wi-Fi Connectivity Issues
While connecting your smart TV to Wi-Fi is usually a straightforward process, you may encounter occasional connectivity issues. If you are experiencing problems with your Wi-Fi connection, here are some troubleshooting steps you can take:
- Check your Wi-Fi signal strength: Ensure that your smart TV is within range of your Wi-Fi router. If the signal is weak, consider moving the router closer to the TV or using a Wi-Fi range extender to improve coverage.
- Restart your smart TV and Wi-Fi router: Sometimes, a simple restart can resolve temporary issues. Turn off your smart TV and unplug your Wi-Fi router from the power source. Wait for a few seconds, then plug in the router and turn on your TV.
- Verify the Wi-Fi password: Double-check that you are entering the correct password for your Wi-Fi network. Passwords are case-sensitive, so ensure that you are using the correct capitalization.
- Remove obstructions: Physical obstructions and interference from other devices can affect Wi-Fi signals. Keep your smart TV and Wi-Fi router away from large objects, particularly metal surfaces and electronic devices that emit electromagnetic waves.
- Reset network settings: If your smart TV’s network settings are misconfigured, resetting them can often resolve connectivity issues. Access the network settings menu on your TV and look for the option to reset or restore network settings.
- Update router firmware: Outdated firmware on your Wi-Fi router can cause compatibility issues. Check the manufacturer’s website for any available firmware updates and follow the instructions to update your router’s software.
- Consider a Wi-Fi extender or mesh Wi-Fi system: If your Wi-Fi signal is consistently weak, even after performing the above steps, you may want to invest in a Wi-Fi extender or a mesh Wi-Fi system to improve coverage and signal strength throughout your home.
By following these troubleshooting steps, you should be able to resolve most Wi-Fi connectivity issues on your smart TV. If the problem persists, you may need to contact your internet service provider or consult the manufacturer’s support resources for further assistance.
Having a stable Wi-Fi connection is crucial for a seamless smart TV experience, so it’s worth taking the time to troubleshoot and resolve any connectivity issues that may arise.
Troubleshooting Ethernet Connectivity Issues
If you’re encountering connectivity issues when using an Ethernet cable to connect your smart TV to the internet, don’t worry. Here are some troubleshooting steps to help you resolve Ethernet connectivity problems:
- Check the Ethernet cable connection: Ensure that the Ethernet cable is securely plugged into both the Ethernet port on your smart TV and an available port on your Wi-Fi router or modem. Sometimes, a loose connection can lead to connectivity issues.
- Try a different Ethernet cable: Faulty Ethernet cables can cause intermittent or no connection. If possible, try using a different Ethernet cable to rule out any issues with the cable itself.
- Restart your smart TV and network equipment: Power cycling your smart TV, Wi-Fi router, and modem can help resolve temporary glitches. Turn off your TV and unplug both your router and modem from the power source. After a few seconds, plug them back in and turn on your TV.
- Check for IP address conflicts: An IP address conflict can cause connectivity problems. If you’re using static IP addresses, make sure there are no duplicate IP addresses in your network. If you’re using dynamic IP addresses, restart your router to release and renew the IP addresses for connected devices.
- Update the network drivers on your smart TV: Outdated or incompatible network drivers can cause Ethernet connection issues. Check the manufacturer’s website for firmware or driver updates specific to your smart TV model and follow the instructions to update them.
- Disable power-saving mode: Some smart TVs have a power-saving mode that can potentially interrupt the Ethernet connection. Disable this mode in your smart TV settings to ensure a stable connection.
- Reset network settings: If all else fails, you can try resetting the network settings on your smart TV. This will restore the default network configurations and may resolve any underlying issues. Look for the network reset option in your TV’s settings menu.
These troubleshooting steps should help you address most Ethernet connectivity issues on your smart TV. If the problem persists, you may need to contact your internet service provider or consult the manufacturer’s support resources for further assistance.
It’s important to have a reliable Ethernet connection for seamless streaming and gaming experiences on your smart TV. Taking the time to troubleshoot and resolve these issues will ensure a smooth and uninterrupted internet connection.
Updating the Firmware of your Smart TV
Keeping your smart TV’s firmware up to date is crucial for optimal performance, enhanced features, and compatibility with the latest streaming services. Firmware updates are typically released by the TV manufacturer to address bugs, improve security, and introduce new functionalities. Here’s how to update the firmware of your smart TV:
- Check for updates: Access the settings menu on your smart TV. Look for an option called “Software Update” or “Firmware Update.” The exact name and location may vary depending on your TV’s brand and model.
- Connect to the internet: Make sure your smart TV is connected to the internet, either through Wi-Fi or Ethernet, as firmware updates are typically downloaded and installed via an online connection.
- Start the update process: Follow the on-screen instructions to check for available firmware updates. If an update is found, select the option to start the update process.
- Wait for the update to complete: The firmware update process may take several minutes or longer, depending on the size of the update and the speed of your internet connection. It is important not to interrupt the update process to avoid potential issues.
- Restart your smart TV: After the update is successfully installed, your smart TV may automatically restart. If it does not, manually restart the TV to ensure that the new firmware is fully applied.
- Verify the firmware version: Once your smart TV has restarted, navigate back to the software update settings to confirm that the firmware has been updated. The latest firmware version should be displayed.
It is recommended to enable the automatic firmware update option in your smart TV settings, if available. This ensures that your TV stays up to date with the latest firmware releases without requiring manual intervention.
If you encounter any issues during the firmware update process, such as failed updates or error messages, consult the manufacturer’s website or support resources for troubleshooting assistance. They may provide specific instructions or firmware files for manual installation.
Regularly updating your smart TV’s firmware ensures that you can enjoy an optimal viewing experience, with improved performance, enhanced features, and access to the latest functionalities.
Using a Streaming Device to Connect your Smart TV to the Internet
If your smart TV doesn’t have built-in internet capabilities or you want to enhance its streaming capabilities, you can use a streaming device to connect it to the internet. Streaming devices, such as Roku, Amazon Fire TV Stick, or Apple TV, offer a wide range of apps and streaming services that can be easily connected to your TV. Here’s how to connect a streaming device to your smart TV:
- Choose a streaming device: Select a streaming device that suits your preferences and budget. Popular options include Roku, Amazon Fire TV Stick, Chromecast, and Apple TV.
- Connect the streaming device: Plug the streaming device into an available HDMI port on your smart TV. Ensure that the device is securely connected and powered on.
- Switch your TV input: Use your TV remote to switch the input to the HDMI port where the streaming device is connected. This will display the streaming device’s interface on your TV screen.
- Connect to the internet: Follow the on-screen instructions on the streaming device to connect it to your Wi-Fi network. Enter your Wi-Fi credentials using the remote control or companion app associated with the streaming device.
- Set up the streaming device: Follow the prompts on the streaming device’s interface to complete the setup process. This may include signing in to your streaming service accounts or customizing preferences.
- Access your favorite streaming services: Once the streaming device is connected, you can use its interface to access a variety of streaming services, such as Netflix, Hulu, Disney+, and more. Install the apps for your preferred services and sign in to start streaming.
Using a streaming device offers several benefits, including access to a wide range of streaming services, a user-friendly interface, and regular updates to keep up with evolving streaming technologies. Additionally, streaming devices often provide better performance and more advanced features than built-in smart TV platforms.
Remember to keep your streaming device’s firmware or software up to date by regularly checking for updates. This will ensure that you have the latest features, security patches, and performance enhancements.
By using a streaming device, you can transform your smart TV into a powerful entertainment hub, giving you access to a vast library of content and an enriched viewing experience.
Conclusion
Connecting your smart TV to the internet opens up a world of entertainment and convenience. Whether you choose to connect via Wi-Fi or Ethernet, ensuring a stable and reliable internet connection is crucial for an optimal viewing experience. Troubleshooting common connectivity issues, updating your TV’s firmware, and utilizing streaming devices can help you overcome any challenges and make the most of your smart TV.
By following the steps outlined in this guide, you can easily connect your smart TV to Wi-Fi or Ethernet, troubleshoot any connectivity problems that may arise, and keep your TV’s firmware up to date for improved performance and compatibility. Whether you want to stream your favorite shows and movies, browse the web, or enjoy multiplayer gaming, a reliable internet connection is essential.
Remember to check for firmware updates regularly, as they often bring new features and enhancements to your smart TV. Additionally, consider using a streaming device to expand your TV’s streaming capabilities and access a wide variety of content from popular streaming services.
With the right setup and a stable internet connection, your smart TV can provide endless entertainment and connectivity options for you and your family to enjoy. So, go ahead, connect your smart TV to the internet, and embark on a world of digital content and seamless entertainment right from the comfort of your living room.