Introduction
Welcome to the world of Roku Smart TV! With its stunning display and an array of entertainment options, the Roku Smart TV has become increasingly popular among consumers. However, to fully enjoy its benefits, you need to ensure that your Roku Smart TV is connected to the internet. In this guide, we will walk you through the steps to get internet on your Roku Smart TV, so you can start streaming your favorite shows, movies, and music right away.
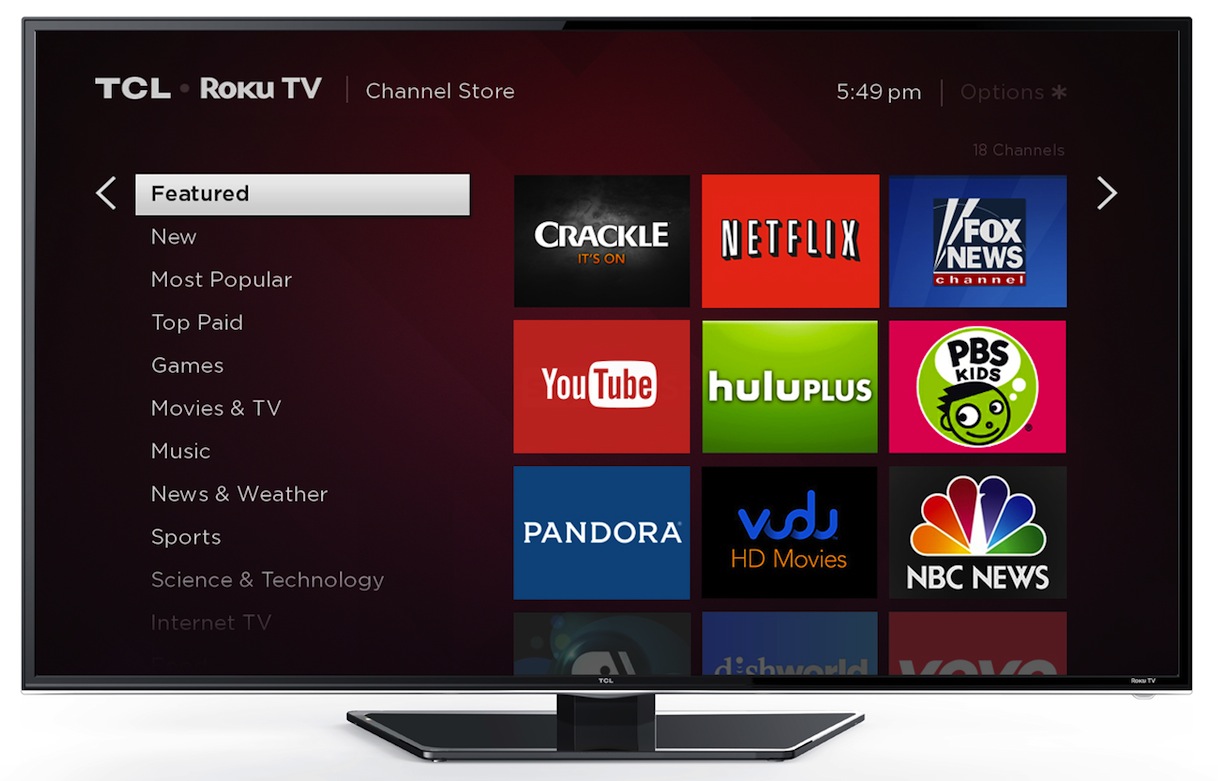
Having an internet connection is crucial for accessing the vast range of streaming services available on the Roku platform. From popular apps like Netflix, Hulu, and Amazon Prime Video to music streaming services like Spotify, having internet connectivity opens up a world of entertainment possibilities.
Getting your Roku Smart TV connected to the internet may seem like a daunting task, especially if you’re not sure where to start. But fret not! Our step-by-step guide will make the process smooth and hassle-free. Whether you’re a tech-savvy individual or a beginner, you’ll be able to follow along and get your Roku Smart TV online in no time.
Before we dive into the steps, it’s important to note that there are two primary ways to connect your Roku Smart TV to the internet: using Wi-Fi or an Ethernet cable. Wi-Fi is the most common and convenient method as it allows for wireless connectivity, while an Ethernet cable provides a wired connection for a more stable and faster connection.
Now, let’s get started on getting internet on your Roku Smart TV. Whether you’re setting up a new device or troubleshooting an existing connection, our guide will provide you with the necessary information and tips to make the process seamless. So, grab your Roku remote and let’s begin!
Step 1: Check your internet connection
Before you begin the process of connecting your Roku Smart TV to the internet, it’s important to ensure that you have a stable and reliable internet connection. Here’s how you can check your internet connection:
- Verify your Wi-Fi signal: Make sure that your wireless router is functioning properly and that you’re within range of the Wi-Fi signal. Check if other devices connected to the same network are experiencing any issues. If all other devices are working fine, it’s likely an issue with your Roku Smart TV’s connection.
- Test your internet speed: To stream content seamlessly on your Roku Smart TV, you need a decent internet speed. Use an online speed test tool to check the upload and download speeds of your internet connection. A stable internet speed of at least 3 Mbps is recommended for standard definition (SD) streaming, while high definition (HD) streaming requires a minimum of 5 Mbps.
- Reset your modem and router: If you’re experiencing intermittent connectivity or slow speeds, try resetting your modem and router. Unplug the power cords, wait for a few seconds, and then plug them back in. Allow your devices ample time to restart and establish a stable connection.
- Contact your internet service provider (ISP): If you’ve followed the above steps and are still encountering connectivity issues, it’s advisable to get in touch with your ISP. They can check if there are any outages or service disruptions in your area or assist you with troubleshooting further.
By checking your internet connection and ensuring that it’s stable and fast enough, you’ll be able to proceed with confidence to the next step of connecting your Roku Smart TV to the internet. Remember, a reliable internet connection is essential for uninterrupted streaming and a satisfying entertainment experience.
Step 2: Connect your Roku Smart TV to Wi-Fi
Now that you’ve confirmed that your internet connection is stable, it’s time to connect your Roku Smart TV to Wi-Fi. Follow these simple steps:
- Turn on your Roku Smart TV: Press the power button on your Roku remote or on the TV itself to turn on your Roku Smart TV.
- Select your preferred language: Use the remote to select your preferred language. This will set the language for your Roku interface.
- Choose your country: Select your country from the list of available options.
- Connect to Wi-Fi: On the “Network” screen, select “Wireless” to connect to your Wi-Fi network. Your Roku Smart TV will automatically scan for available networks.
- Select your Wi-Fi network: From the list of networks, choose your Wi-Fi network name (SSID).
- Enter your Wi-Fi network password: If your Wi-Fi network is secured, you’ll need to enter the password using the on-screen keyboard. Make sure to enter it correctly to establish a successful connection.
- Wait for the connection to be established: Once you’ve entered the correct Wi-Fi password, your Roku Smart TV will proceed to connect to the network. This process may take a few moments.
- Save your Wi-Fi settings: After the connection is established, you’ll be prompted to save your Wi-Fi settings. Choose the “Save” option to ensure that your Roku Smart TV remembers your network for future use.
Once you’ve completed these steps, your Roku Smart TV will be successfully connected to your Wi-Fi network. The TV will automatically check for software updates, and if available, it will start downloading and installing them.
It’s important to note that the steps may vary slightly depending on your Roku Smart TV model and the version of Roku software you’re running. However, the basic process of connecting to Wi-Fi remains the same.
Now that you’re connected to your Wi-Fi network, it’s time to move on to the next step: entering your Wi-Fi network password to establish a secure connection.
Step 3: Enter your Wi-Fi network password
After your Roku Smart TV connects to your Wi-Fi network, the next step is to enter your Wi-Fi network password. Follow these instructions to complete the process:
- On the TV screen, look for the on-screen keyboard: Once your Roku Smart TV is connected to Wi-Fi, you’ll be prompted to enter your Wi-Fi network password. Locate the on-screen keyboard on your TV screen.
- Use the Roku remote to enter your password: Use the remote’s directional pad to navigate through the on-screen keyboard and enter your Wi-Fi password. Take your time to ensure that each character is entered correctly, especially if your password contains a combination of uppercase and lowercase letters, numbers, or special characters.
- Test the connection: After entering your Wi-Fi password, your Roku Smart TV will automatically attempt to connect to the Wi-Fi network using the provided password. The TV will test the connection, and if successful, you’ll see a confirmation message indicating a successful connection.
It’s important to remember that Wi-Fi passwords are case-sensitive, so be mindful of uppercase and lowercase letters while entering the password. Double-check to ensure that you haven’t mistakenly capitalized or omitted any characters.
If you encounter any issues while entering your Wi-Fi network password or connecting to the Wi-Fi network, it may be helpful to restart your Roku Smart TV or check if there are any restrictions or blocks on your router settings that could prevent a successful connection.
Once you’ve successfully entered your Wi-Fi network password and established a secure connection, your Roku Smart TV is ready for the next step: updating its software to ensure optimal performance.
Step 4: Update your Roku Smart TV software
Updating your Roku Smart TV software is crucial to ensure that you have the latest features, enhancements, and bug fixes. Follow these steps to update your Roku Smart TV software:
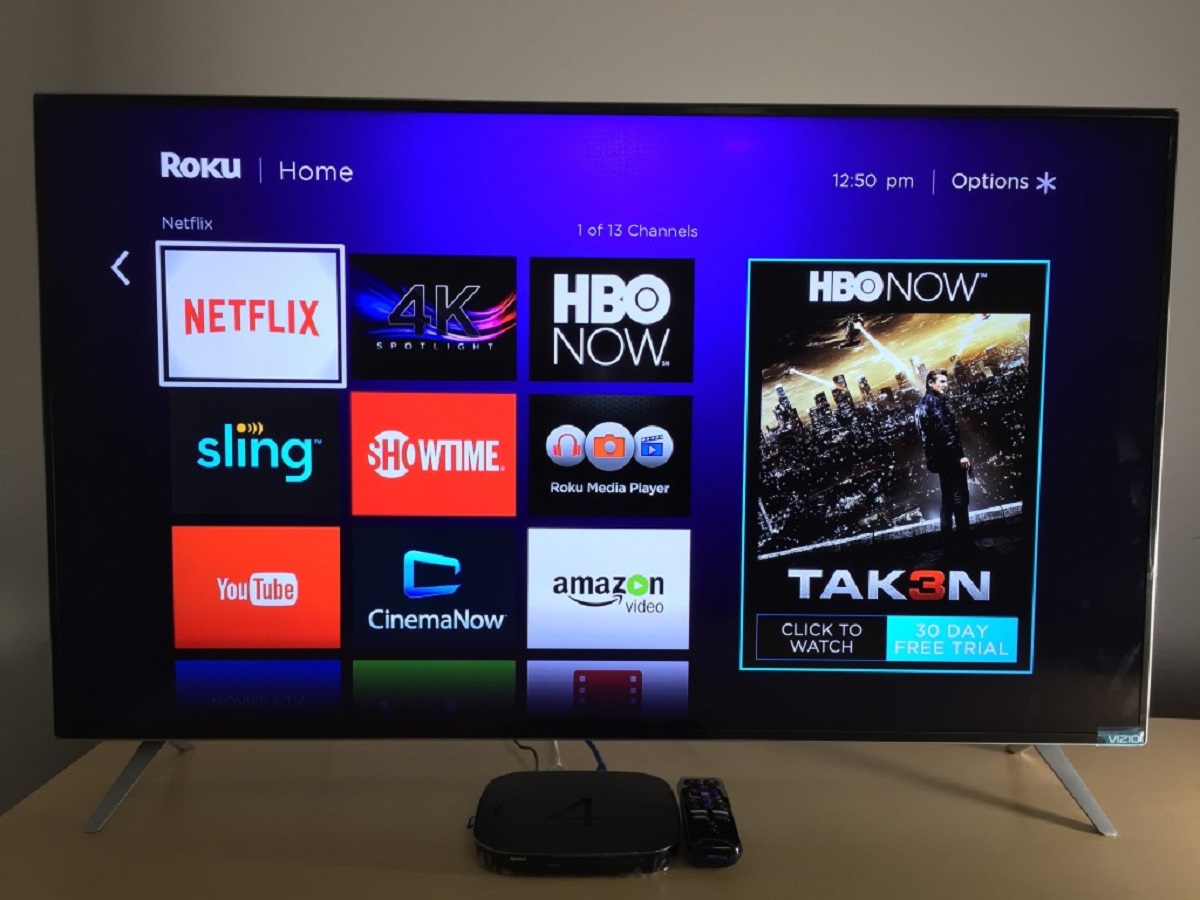
- Go to the Roku home screen: Press the Home button on your Roku remote to navigate to the Roku home screen. This is where you’ll find all your apps and settings.
- Select “Settings”: Use the remote to highlight and select the “Settings” option. It is represented by a gear icon and can usually be found at the top or side of the screen.
- Open “System”: Within the Settings menu, navigate to the “System” option and select it. This will open the system settings for your Roku Smart TV.
- Choose “System update”: Scroll down the system settings menu and select “System update.” This will allow you to check for and install any available software updates for your Roku Smart TV.
- Select “Check now”: On the System update screen, choose the “Check now” option to initiate a manual check for software updates. Your Roku Smart TV will connect to the Roku servers and check if any updates are available.
- Install the software update: If there are any available software updates, your Roku Smart TV will display a prompt notifying you of the updates. Select the “Install now” or “Update” option to begin the update process. Your Roku Smart TV will automatically download and install the update.
- Wait for the update to complete: The software update process may take some time, depending on the size of the update and the speed of your internet connection. Be patient and let your Roku Smart TV complete the update process without interruption.
- Restart your Roku Smart TV: After the software update is complete, your Roku Smart TV will prompt you to restart the device. Select the “Restart” option or use the power button on the TV or remote to restart your Roku Smart TV.
By regularly updating your Roku Smart TV software, you ensure that you have access to the latest features, improvements, and security patches provided by Roku. These updates not only enhance your viewing experience but also contribute to the overall performance and stability of your Roku Smart TV.
Now that your Roku Smart TV software is up to date, it’s time to move on to the next step: setting up your Roku account to unlock even more content and customization options.
Step 5: Set up your Roku account
To fully unlock the potential of your Roku Smart TV and access a wide range of streaming services, you need to set up a Roku account. Follow these steps to create your Roku account:
- On your Roku Smart TV, go to the Roku home screen: Use your remote to navigate to the Roku home screen by pressing the Home button.
- Select “Sign in” or “Create account”: Look for the “Sign in” or “Create account” option on the home screen. It may be located at the top-right corner of the screen.
- Create your Roku account: On the Roku sign-in or account creation screen, select the “Create account” option. Fill in the required information, including your name, email address, and a secure password.
- Verify your email address: After providing your email address, Roku will send you a verification email. Go to your email inbox, open the email from Roku, and click on the verification link to verify your account.
- Select your preferences: Once your Roku account is verified, you may be prompted to choose your preferences, such as your favorite genres or channels. This step helps Roku personalize your recommendations.
- Add payment method (optional): If you plan to purchase apps, subscribe to premium channels, or rent/buy movies on the Roku platform, you can add a payment method. This step is optional, and you can skip it if you only plan to use free content.
- Complete the account setup: Review the provided information and ensure everything is accurate. Once you’re satisfied, select the “Continue” or “Finish” button to complete the setup process.
By setting up a Roku account, you gain access to a wide variety of streaming channels and apps, including popular ones like Netflix, Hulu, and Disney+. Additionally, having an account allows you to personalize your Roku experience by creating a tailored list of favorite channels and receiving customized content recommendations.
It’s important to note that setting up a Roku account does not require any additional fees or subscription charges. You have the freedom to choose which streaming services or channels you want to subscribe to and at what cost.
Now that your Roku account is all set up, you can start exploring the vast selection of channels and apps available on the Roku platform. From here, you can proceed to the next step and connect your Roku Smart TV to the internet using an Ethernet cable (if desired) or move on to troubleshooting common internet connectivity issues.
Step 6: Connect your Roku Smart TV to the internet using an Ethernet cable
If you prefer a wired connection for your Roku Smart TV or want to ensure a more stable and reliable internet connection, you can connect it to your router using an Ethernet cable. Follow these steps to connect your Roku Smart TV to the internet using an Ethernet cable:
- Locate the Ethernet port: Look for the Ethernet port on the back of your Roku Smart TV. It is typically labeled as “Ethernet” or represented by a curved arrow symbol.
- Plug in the Ethernet cable: Take one end of the Ethernet cable and insert it into the Ethernet port on your Roku Smart TV. Ensure that the connector is inserted firmly and securely.
- Connect the other end to your router: Take the other end of the Ethernet cable and connect it to an available Ethernet port on your router. Again, make sure that it is securely plugged in.
- Turn on your Roku Smart TV: Press the power button on your Roku remote or on the TV itself to turn on your Roku Smart TV. It will automatically detect the Ethernet connection and establish a wired internet connection.
- Check the internet connection: Once your Roku Smart TV is powered on, navigate to the Roku home screen and go to “Settings.” From there, select “Network” and choose “Check connection” to verify that your Roku Smart TV is successfully connected to the internet.
Connecting your Roku Smart TV to the internet using an Ethernet cable offers advantages such as increased stability, lower latency, and potentially faster speeds compared to a wireless connection. This can be particularly beneficial when streaming high-definition content or playing online games that require a consistent and reliable internet connection.
However, it’s worth noting that the Ethernet cable connection restricts the mobility of your Roku Smart TV since it needs to be physically connected to the router. If you prefer the flexibility of a wireless connection, you can always switch back to Wi-Fi by removing the Ethernet cable.
Now that your Roku Smart TV is successfully connected to the internet using an Ethernet cable, you can enjoy a seamless streaming experience without worrying about Wi-Fi signal fluctuations or interference.
Step 7: Troubleshooting common internet connectivity issues
While setting up your Roku Smart TV, you may encounter some common internet connectivity issues. Don’t worry; we’ve got you covered! Here are some troubleshooting tips to help you resolve these issues:
- Restart your Roku Smart TV: Sometimes, a simple restart can solve connectivity issues. Use your remote or the power button on the TV to turn off your Roku Smart TV. Wait for a few seconds, then turn it back on again.
- Restart your router: Similar to restarting your Roku Smart TV, restarting your router can also fix internet connectivity problems. Unplug the power cord from your router, wait for at least 30 seconds, and then plug it back in. Allow your router to fully restart before reattempting the connection.
- Check for firmware updates: Visit the manufacturer’s website of your router to see if there are any firmware updates available. Keeping your router’s firmware up to date can improve its performance and compatibility with your Roku Smart TV.
- Move your Roku Smart TV closer to your router: If you’re using a Wi-Fi connection, consider placing your Roku Smart TV closer to your router. This can help improve the signal strength and reduce the chances of interference.
- Check for wireless interference: Wireless interference from other devices, such as cordless phones, baby monitors, or neighboring Wi-Fi networks, can impact your internet connection. Try moving these devices away from your router or changing the channel on your router’s settings.
- Reset your network settings: Go to the “Settings” menu on your Roku Smart TV, select “Network,” and choose “Reset network connection.” Confirm the action and follow the instructions to reset your network settings. Note that this will remove all saved Wi-Fi networks, and you’ll need to set up the connection again.
- Contact your internet service provider (ISP): If none of the above solutions work, it’s advisable to contact your ISP. They can assist you in diagnosing and resolving any network issues that may be affecting your internet connectivity.
By following these troubleshooting tips, you should be able to resolve most common internet connectivity issues with your Roku Smart TV. Remember, a stable and reliable internet connection is vital for enjoying seamless streaming and a satisfying entertainment experience with your Roku Smart TV.
If you continue to experience persistent connectivity issues that you’re unable to resolve, it may be worth reaching out to Roku’s customer support for further assistance.
Conclusion
Congratulations! You have successfully learned how to get internet on your Roku Smart TV. Following the steps outlined in this guide has enabled you to connect your Roku Smart TV to Wi-Fi, enter your Wi-Fi network password, update the software, set up your Roku account, and troubleshoot common internet connectivity issues. With these steps completed, you are now ready to enjoy a world of streaming entertainment at your fingertips.
Remember, having a stable and reliable internet connection is crucial for seamless streaming and an optimal viewing experience. Whether you choose to connect your Roku Smart TV wirelessly or using an Ethernet cable, make sure to check your internet connection regularly, perform software updates, and troubleshoot any issues that may arise.
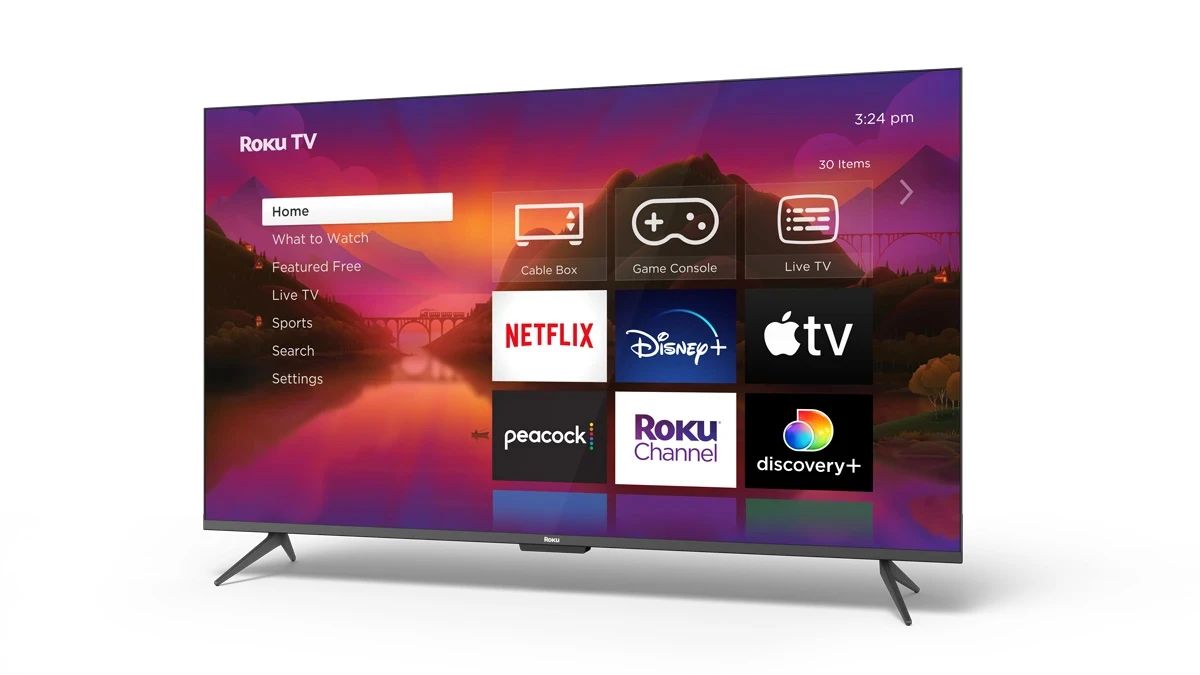
You now have access to a wide range of streaming services and channels on your Roku Smart TV, including popular platforms like Netflix, Hulu, Amazon Prime Video, and many more. Explore the vast library of content available to you, discover new shows and movies, and customize your Roku experience to suit your preferences.
If you encounter any further issues or have any questions about your Roku Smart TV or its internet connectivity, don’t hesitate to reach out to Roku’s customer support or refer to the official Roku website for additional resources and assistance.
Enjoy your streaming journey with your Roku Smart TV and make the most out of the endless entertainment options it provides!