Introduction
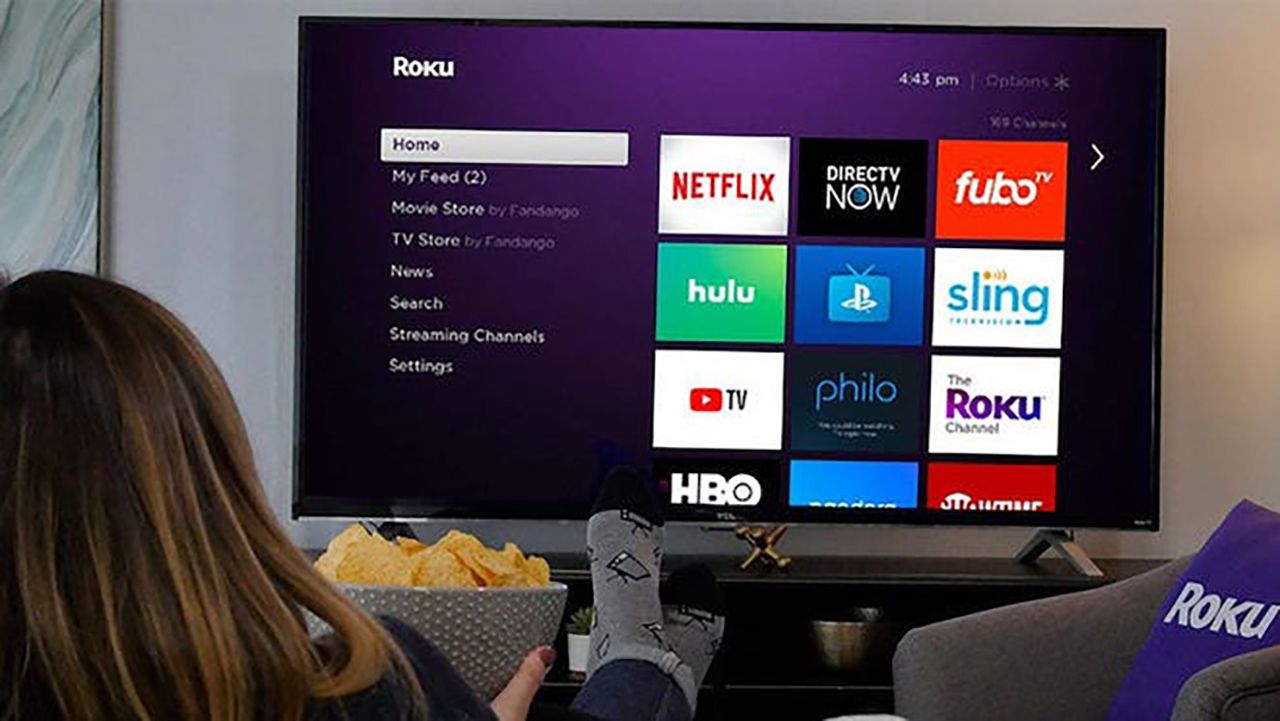
Welcome to the world of Roku TV! With its user-friendly interface and an extensive range of streaming channels, Roku TV has gained immense popularity among entertainment enthusiasts. Whether you’re a movie buff, sports fanatic, or simply looking to enjoy your favorite TV shows, Roku TV offers a seamless streaming experience right at your fingertips.
In this guide, we will walk you through the process of turning on your Roku TV and initializing the setup. You’ll learn how to navigate the interface using the remote control, connect your TV to the internet, set up your Roku account, add channels to your Roku TV, update the software, and customize your viewing preferences.
Before we dive into the details, it’s important to note that Roku TV is a smart TV platform that integrates Roku’s streaming technology directly into the TV. This means you don’t need an additional streaming device to access popular streaming services like Netflix, Hulu, Amazon Prime Video, and many more.
So, whether you’re new to Roku TV or looking to enhance your streaming experience, let’s get started and learn how to turn on your Roku TV.
Powering on the Roku TV
To begin using your Roku TV, you’ll need to power it on. Follow these simple steps to turn on your Roku TV:
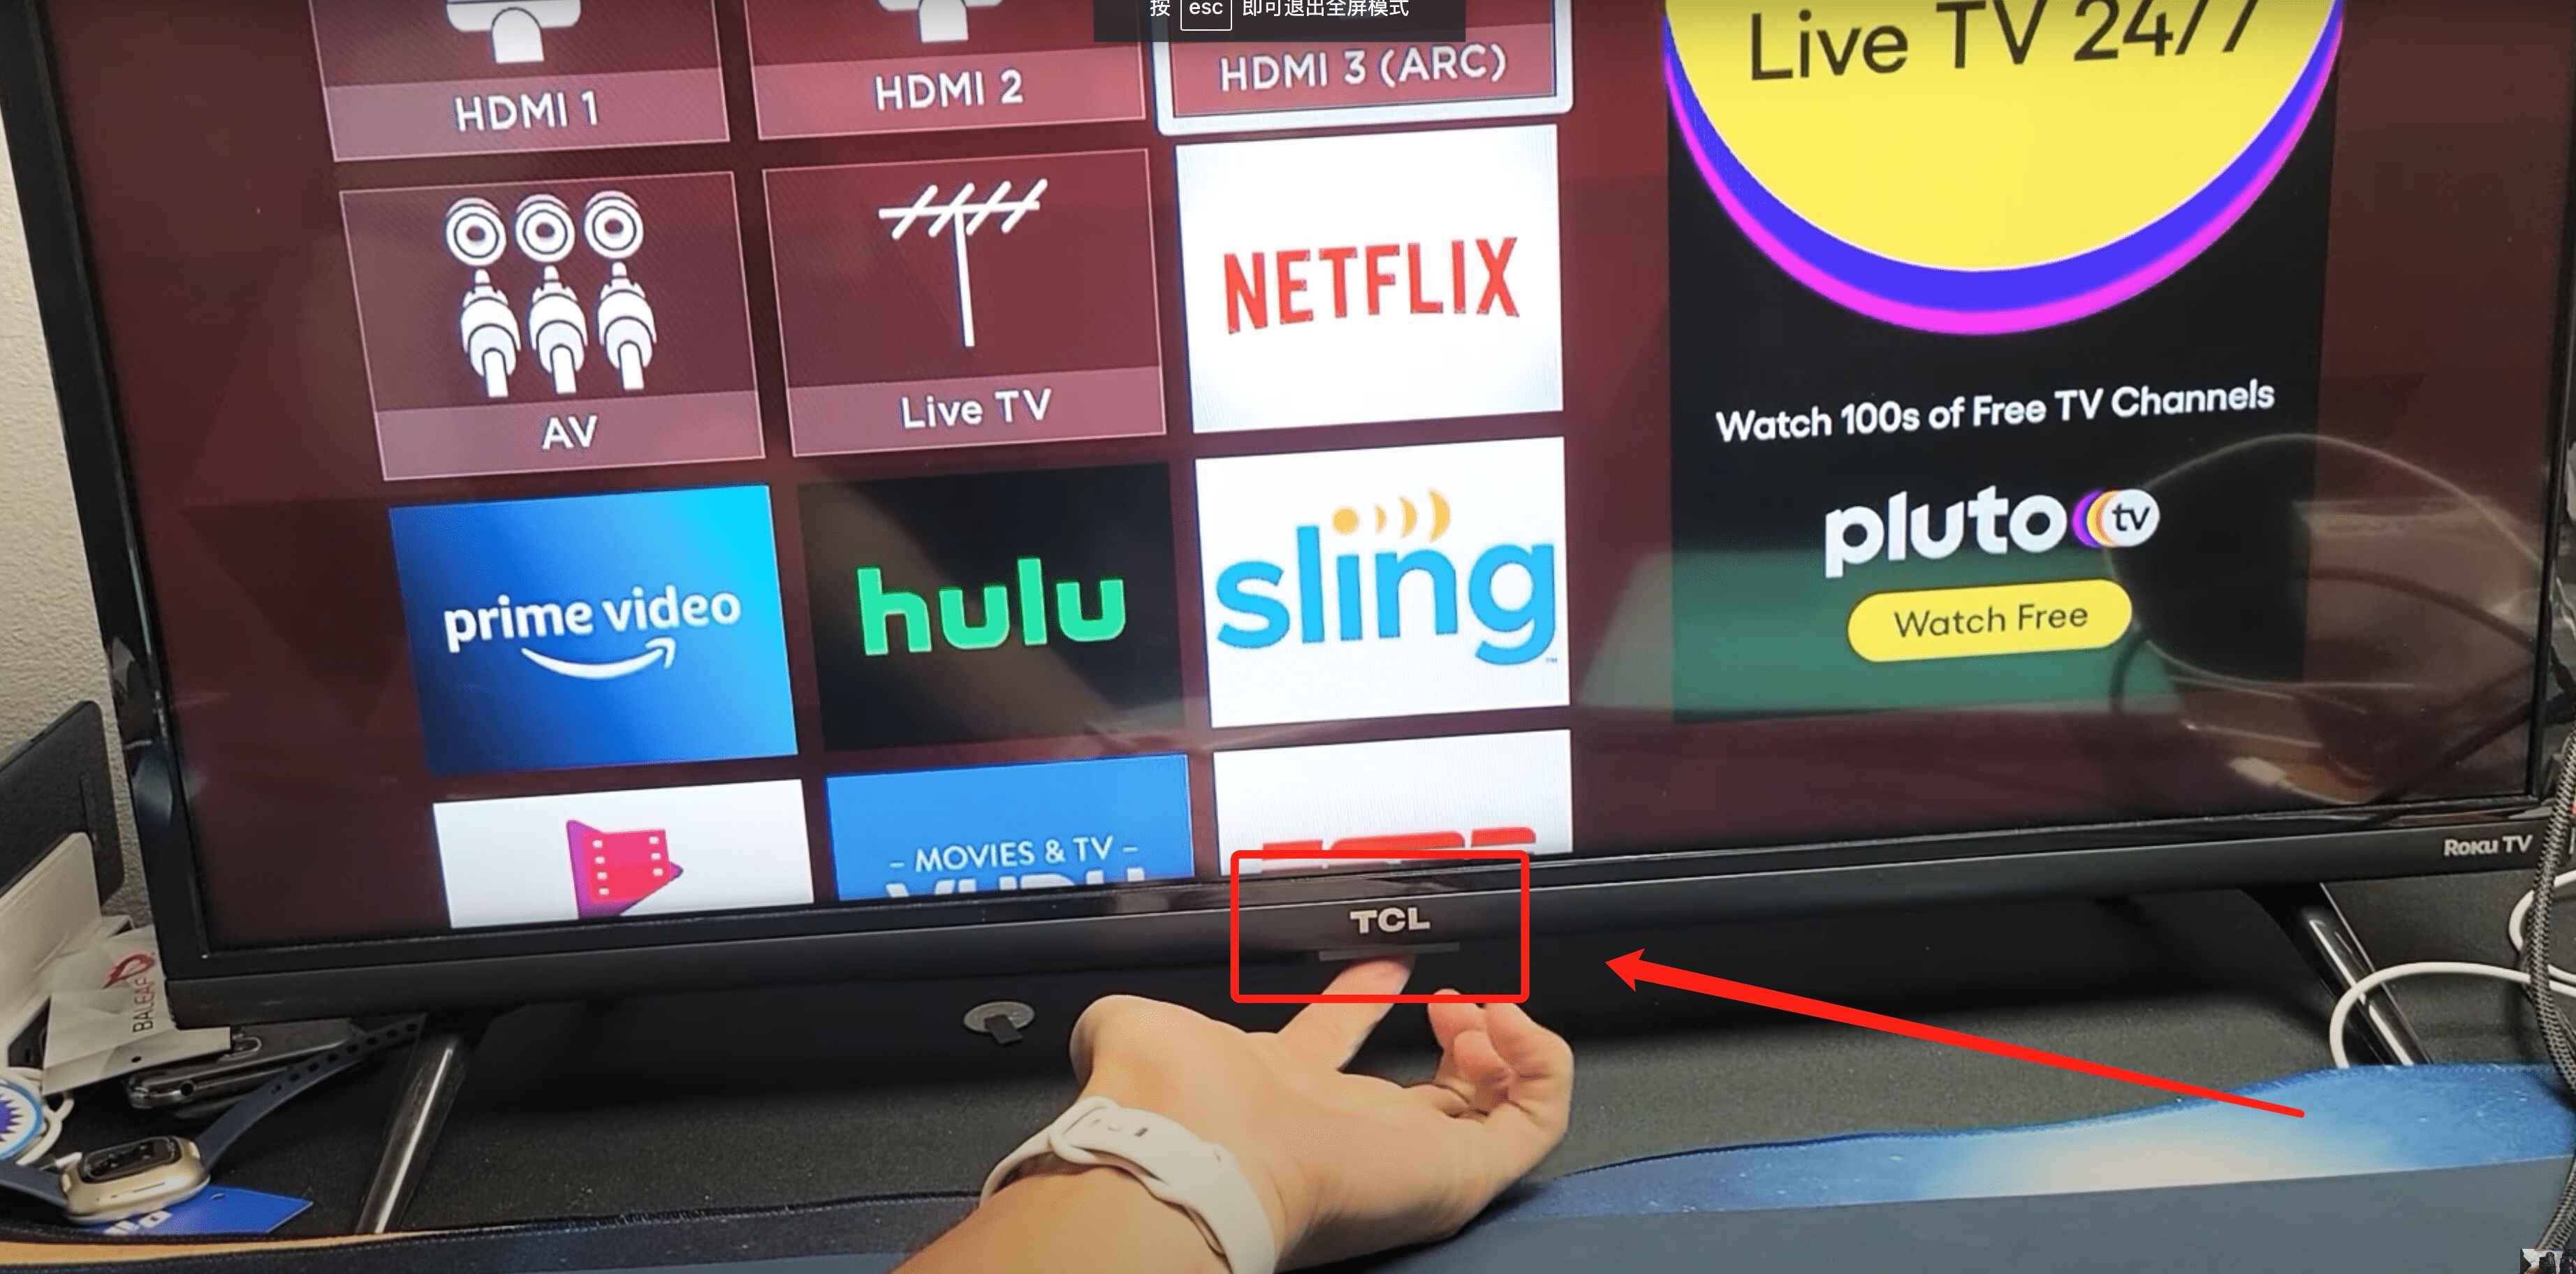
- Locate the power button on your Roku TV. Depending on the model, it may be located on the side panel or the bottom part of the TV.
- Press the power button to turn on your Roku TV. You may also use the power button on your TV remote control.
- Wait for your Roku TV to boot up. This process may take a few seconds, so be patient.
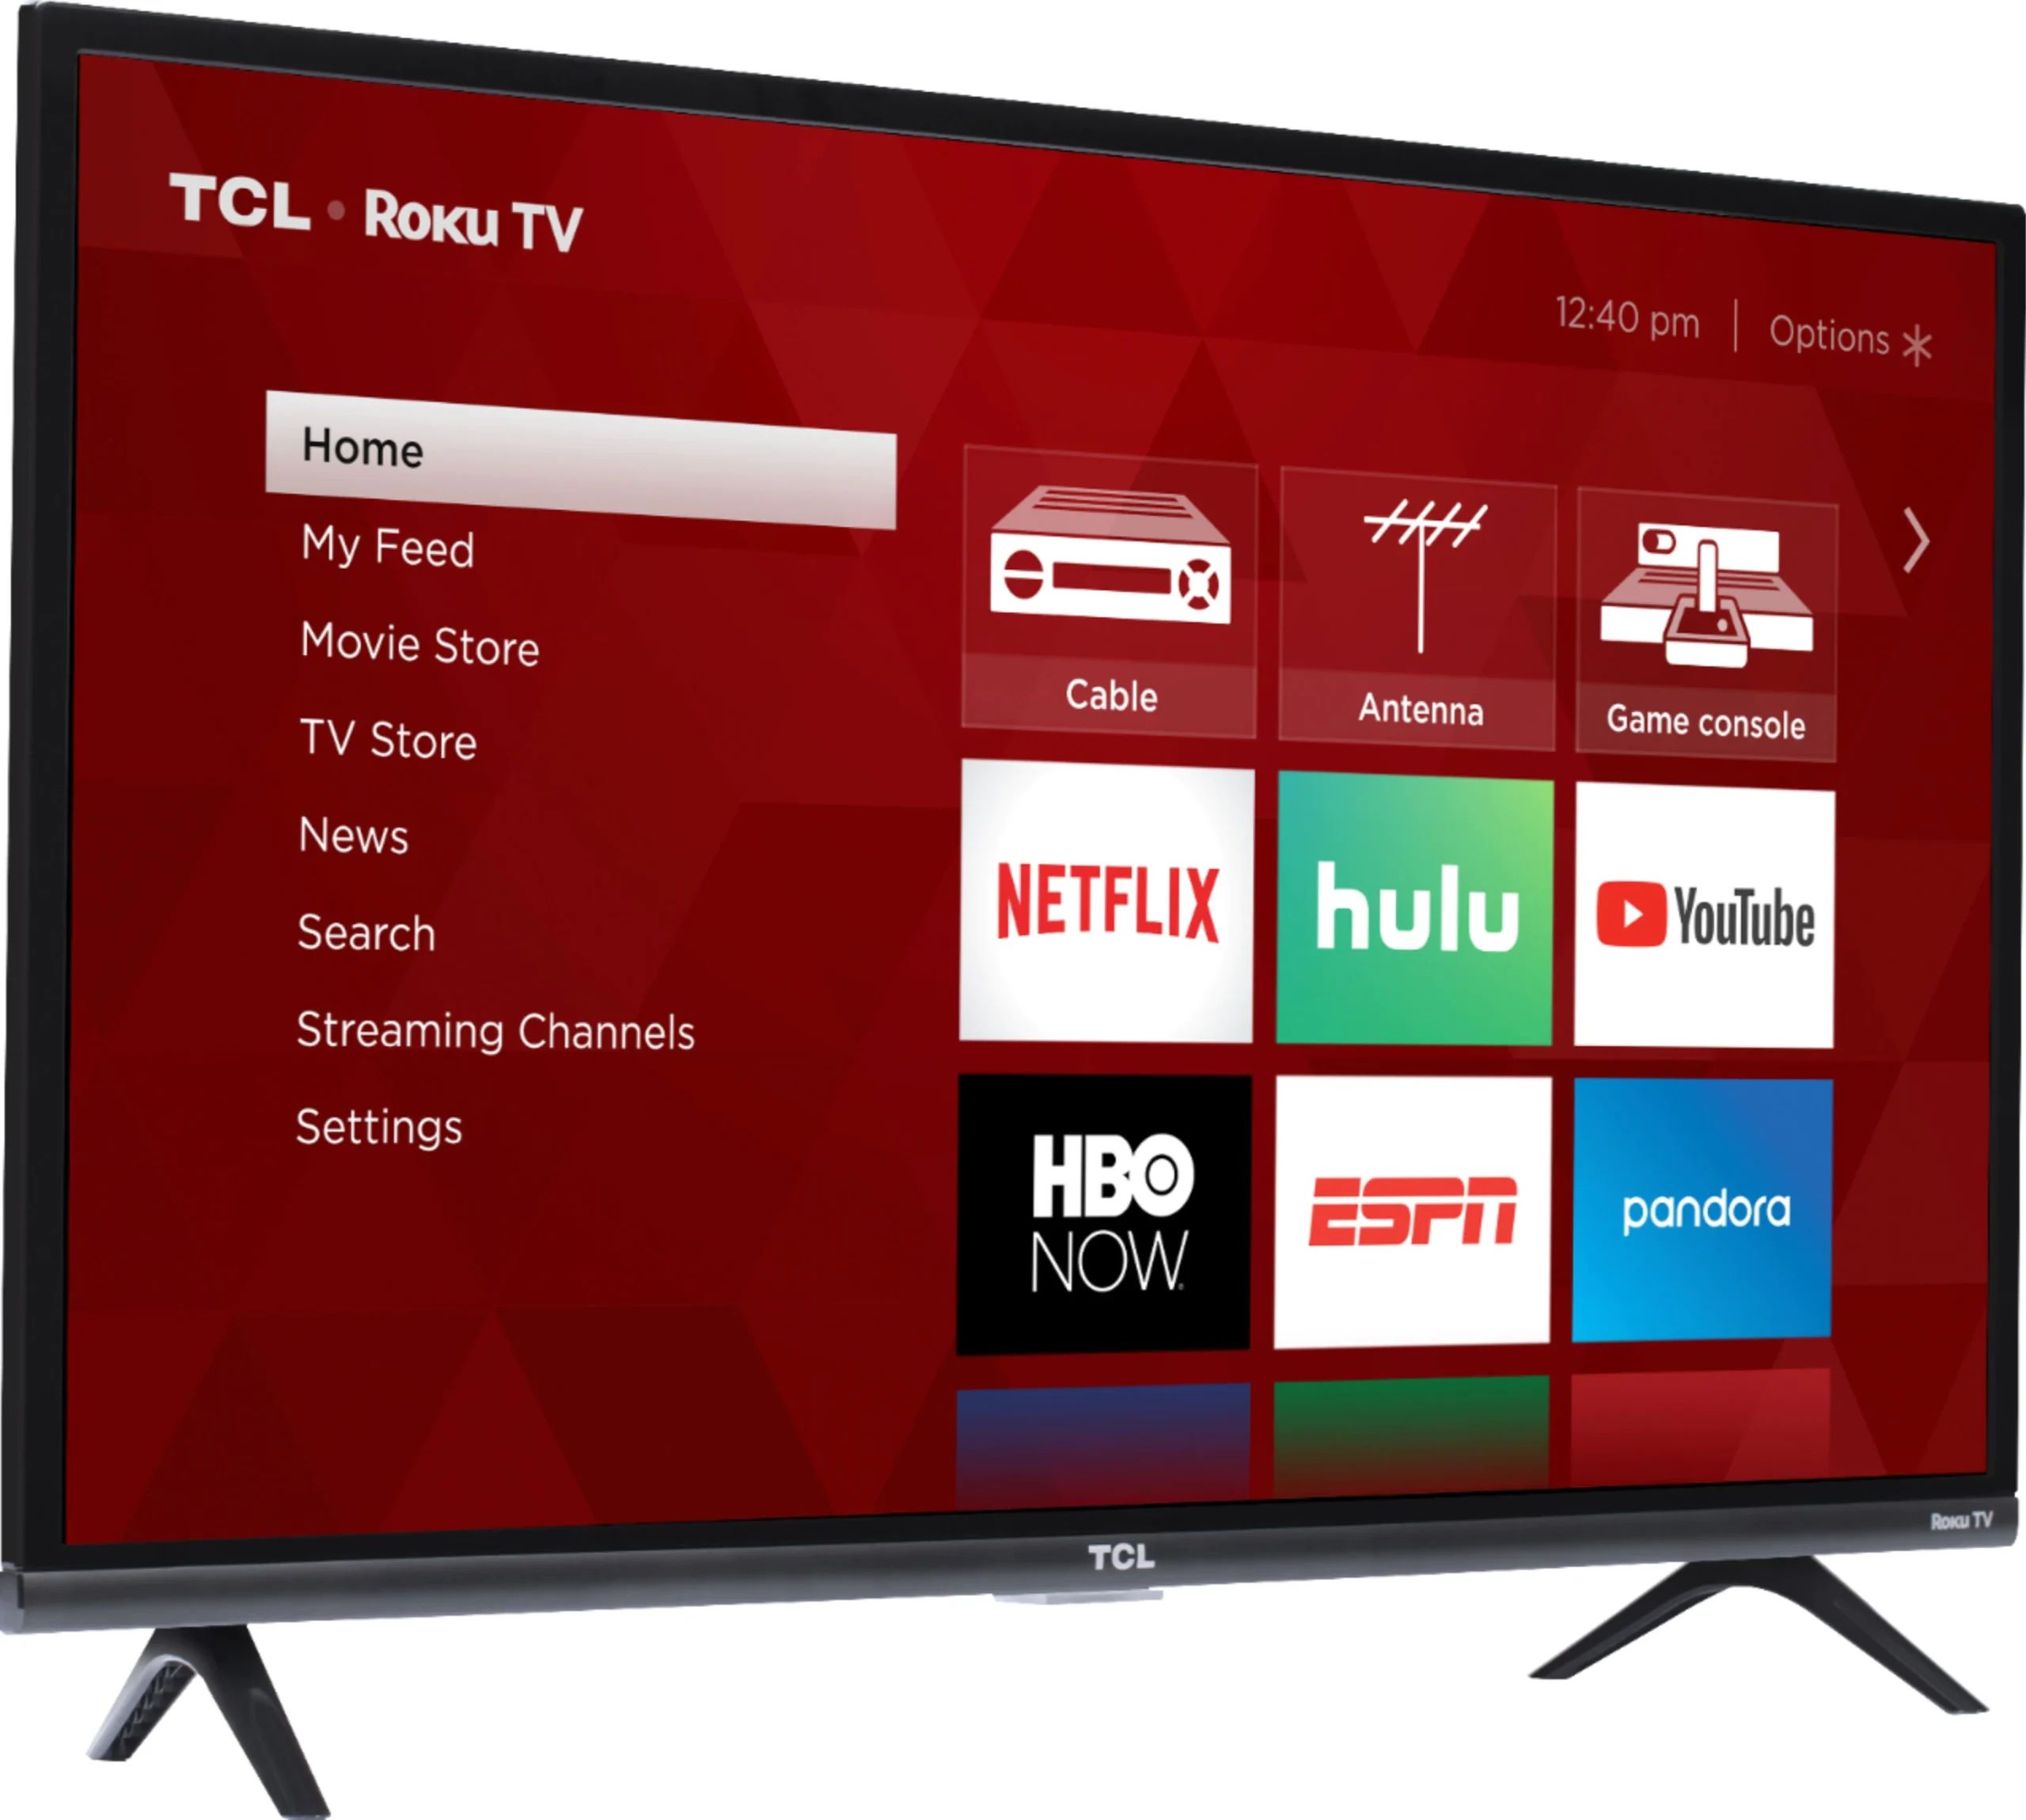
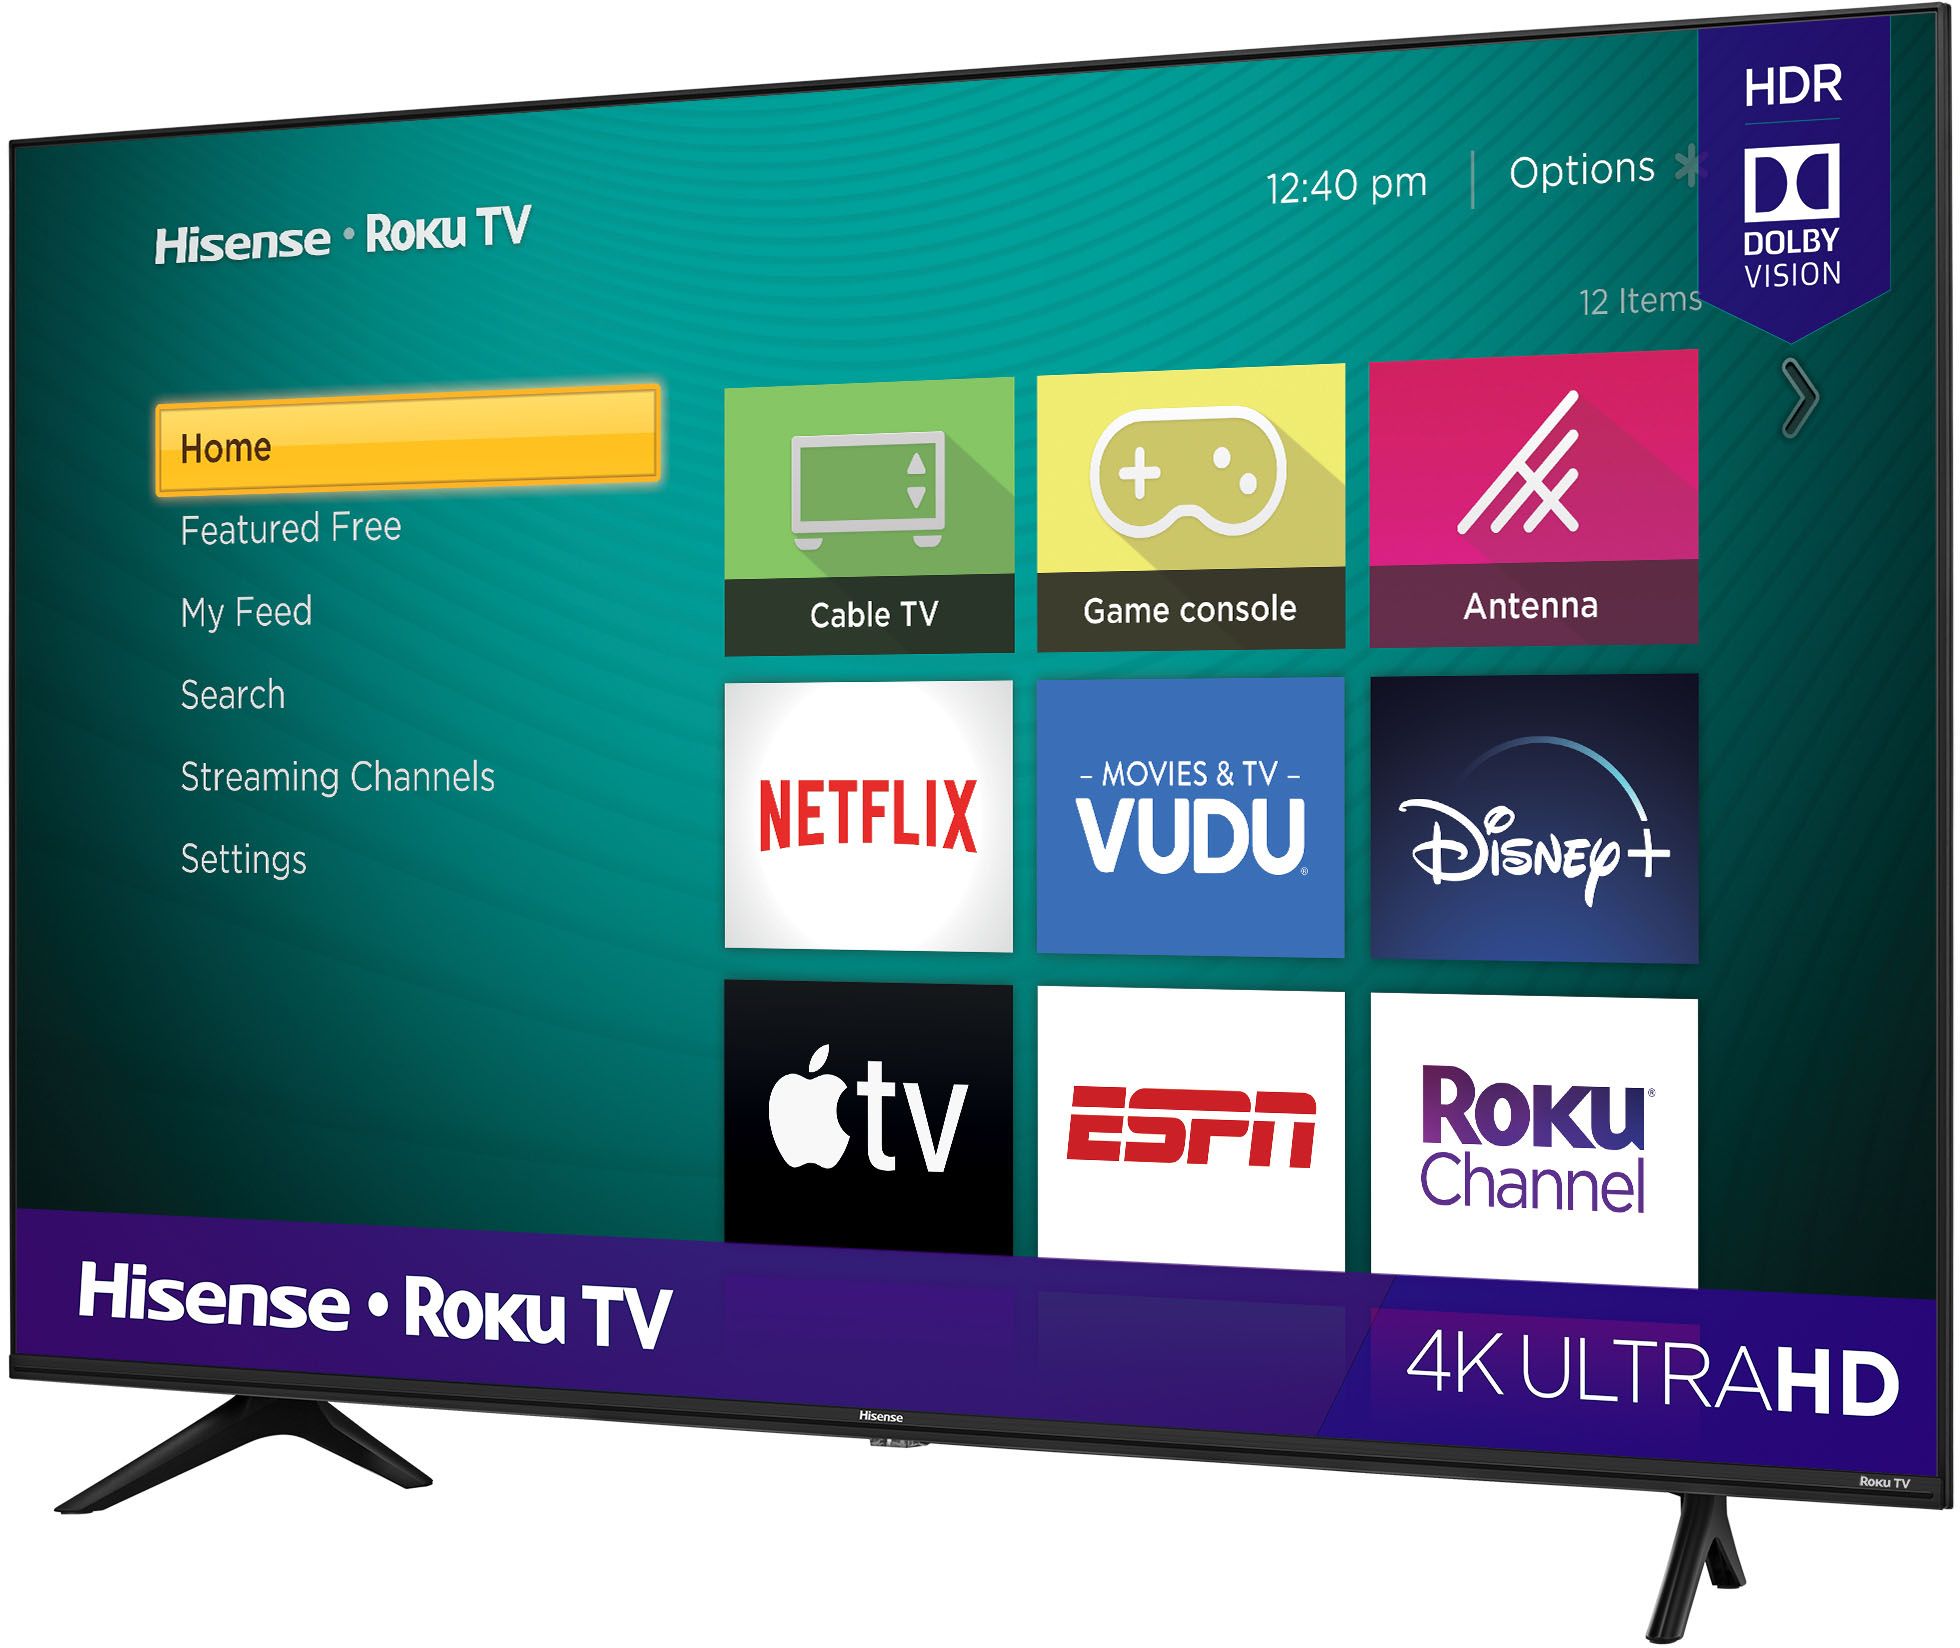
- Once your Roku TV is powered on, you’ll see the Roku logo on your screen. This indicates that your TV is ready to be set up.
It’s important to note that some Roku TV models have a standby mode, which allows the TV to power on instantly from low power consumption. If your TV has this feature, you can enable it in the settings to reduce power consumption when the TV is not in use.
If you’re unable to turn on your Roku TV or if you encounter any issues during the power-on process, make sure that the power cable is securely connected to the TV and the electrical outlet. Additionally, check if the power outlet is functioning properly by plugging in another device. If the issue persists, refer to the troubleshooting section of this guide for further assistance.
Now that you’ve successfully powered on your Roku TV, it’s time to proceed with the setup process. In the next section, we’ll guide you through the steps of using the remote control to navigate the Roku TV interface.
Using the Remote Control
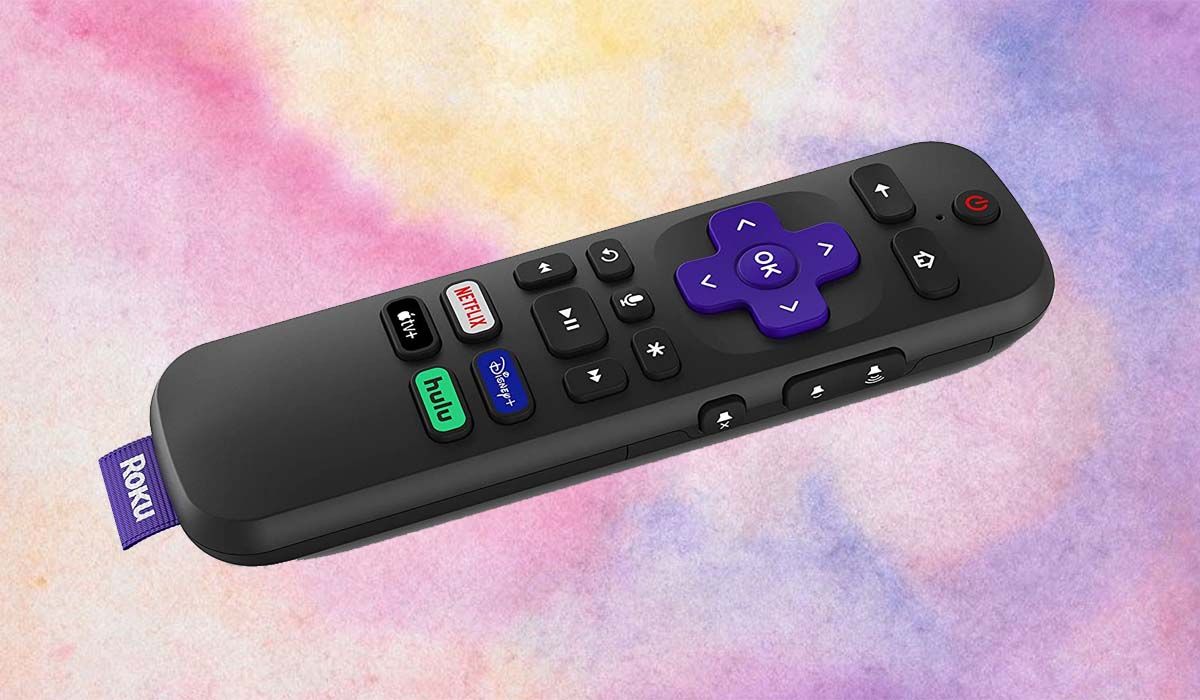
The remote control is your gateway to navigating the Roku TV interface and accessing all its features. Here’s how you can use the remote control effectively:
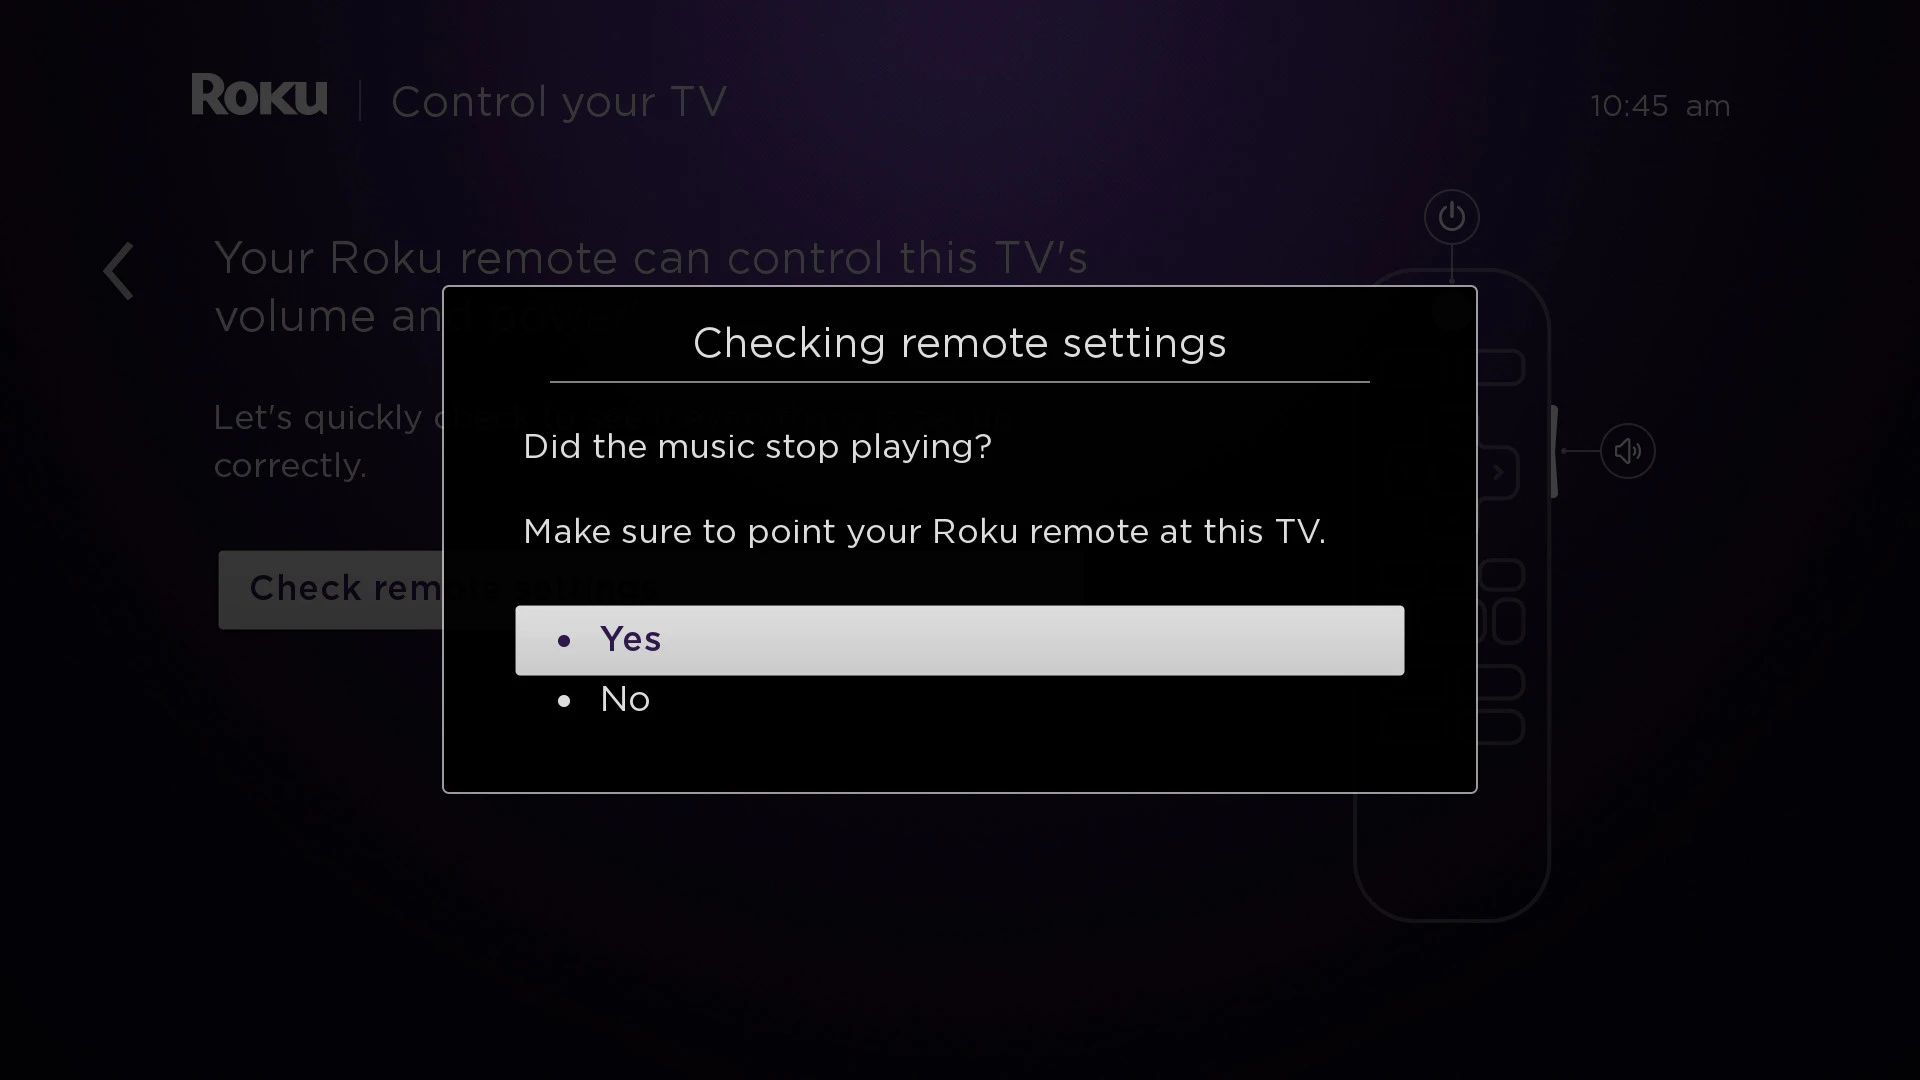
- Make sure the remote control is paired with your Roku TV. If not, follow the on-screen instructions to pair it.
- Use the directional pad on the remote control to navigate through the options on the screen. The up, down, left, and right buttons allow you to move around and select different options.
- Press the “OK” or “Select” button in the center of the directional pad to confirm your selection.
- Use the “Back” button to go back to the previous screen or exit from an app or menu.
- Access the home screen at any time by pressing the home button. This will bring you back to the main interface where you can access your apps and settings.
- Navigate through the menus and channels using the arrow buttons and the OK button to make selections.
- Use the volume buttons to adjust the volume level of your Roku TV.
- Access the options menu by pressing the * button. This menu allows you to access additional settings and features for the current screen.
Additionally, you can enhance your Roku TV experience by utilizing the voice control feature if your remote control supports it. Simply press the voice control button and speak your command to search for content or control certain features of your Roku TV.
It’s worth noting that if you misplace your remote control, you can also control your Roku TV using the Roku mobile app, which is available for iOS and Android devices. This app allows you to navigate the interface, control playback, and even cast content from your mobile device to your Roku TV.
Now that you know how to use the remote control effectively, let’s move on to the next step of connecting your Roku TV to the internet.
Connecting to the Internet
In order to access the vast array of streaming content, it’s essential to connect your Roku TV to the internet. Here’s how you can do it:
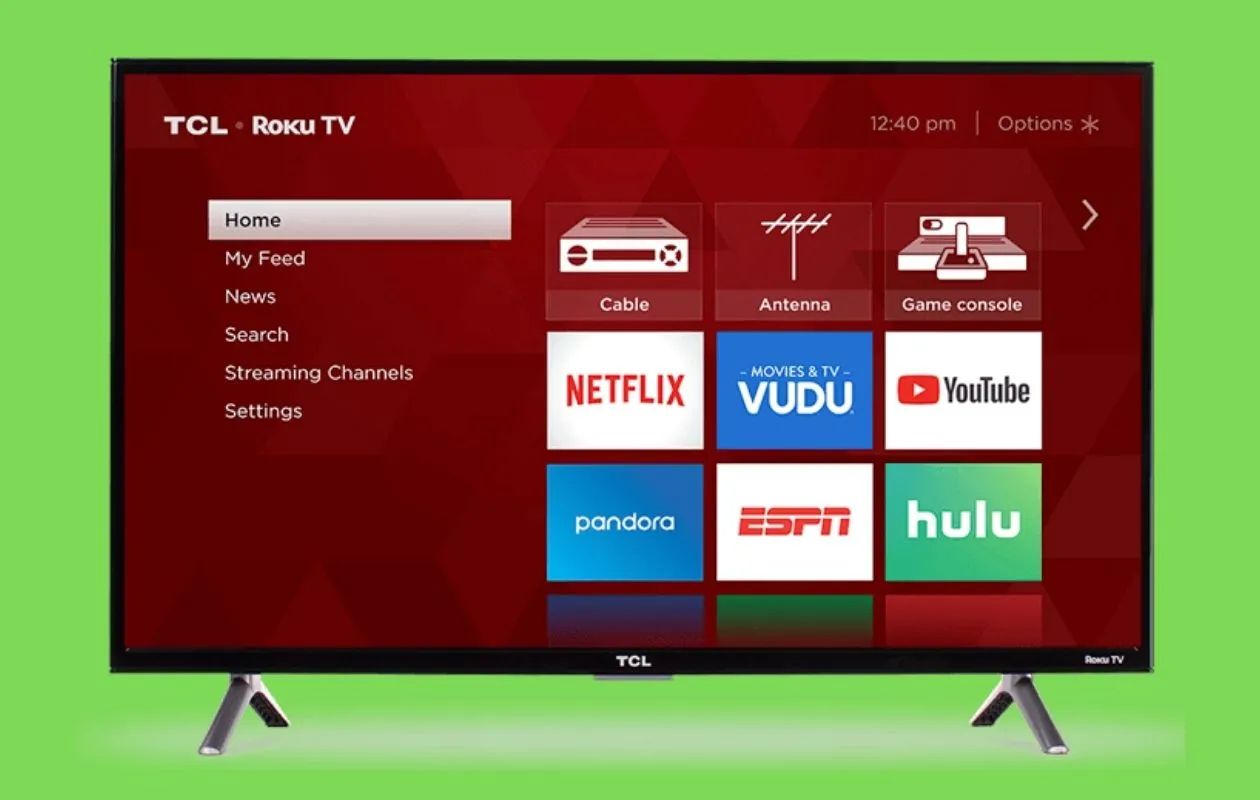
- Using the remote control, navigate to the home screen and select “Settings.”
- Scroll down and select “Network.”
- Choose “Wireless (Wi-Fi)” or “Wired” as your preferred connection type.
- If you select “Wireless,” your Roku TV will scan for available Wi-Fi networks. Select your home Wi-Fi network from the list.
- Enter your Wi-Fi password if prompted.
- Allow your Roku TV to establish a connection with your Wi-Fi network.
- If you select “Wired,” connect one end of an Ethernet cable to your Roku TV and the other end to your internet router.
- Wait for your Roku TV to establish a connection with your internet network.
Once your Roku TV is successfully connected to the internet, it will automatically download the latest software updates, ensuring that you have access to the latest features and improvements.
If you encounter any issues while connecting to the internet, make sure your Wi-Fi password is entered correctly, and your router is functioning properly. If using a wired connection, check that the Ethernet cable is securely connected to both your Roku TV and your router. It may also be helpful to restart your router and try the connection process again.
Now that your Roku TV is connected to the internet, it’s time to set up your Roku account to unlock the full potential of your streaming experience. In the next section, we’ll guide you through the process of creating and setting up your Roku account.
Setting Up the Roku Account
In order to fully utilize the features and benefits of your Roku TV, you’ll need to set up a Roku account. Follow these steps to create and set up your Roku account:
- On your Roku TV, navigate to the home screen and select “Sign In.”
- Select “Create Account” to begin the account creation process.
- Provide your personal information, including your name and email address. Create a secure password for your account.
- Agree to the terms and conditions, privacy policy, and other required agreements.
- Choose your preferred payment method. This is necessary in case you decide to purchase premium channels or rent/buy movies or TV shows in the future. You can also choose to skip this step if you solely want to access free content.
- Complete the account setup process by following the on-screen prompts.
- Once your Roku account is set up, you’ll receive a confirmation email with a link to verify your account. Click on the link to verify your email address.
- Return to your Roku TV and sign in using your newly created Roku account credentials.
Setting up a Roku account enables personalized recommendations, allows you to add channels, and syncs your preferences across multiple Roku devices.
If you already have a Roku account, simply sign in using your existing credentials on your Roku TV to link it to your account.
It’s important to note that Roku does not charge any fees for the creation or use of a Roku account. However, there may be fees associated with certain premium channels or rental/purchase of content.
Now that your Roku account is set up, let’s move on to the next step of adding channels to your Roku TV.
Adding Channels to Your Roku TV
One of the key advantages of Roku TV is the ability to add and stream a wide variety of channels. Here’s how you can add channels to your Roku TV:
- From the home screen, navigate to the Roku Channel Store.
- Browse through the various categories or use the search function to find the channel you want to add.
- Select the channel to view more information.
- Choose “Add Channel” to add it to your Roku TV.
- Wait for the channel to download and install on your Roku TV. This may take a few moments.
- Repeat the process to add any additional channels you desire.
Once a channel is added to your Roku TV, it will appear on the home screen and can be accessed at any time. Some channels may require you to sign in with your account credentials to access the content.
In addition to the thousands of free channels available, there are also paid options for premium channels, such as HBO, Showtime, and ESPN+. To add these channels, you may need to subscribe and pay a monthly fee or purchase a one-time pass.
If you no longer wish to have a particular channel on your Roku TV, you can easily remove it by highlighting the channel on the home screen, pressing the * button on your remote control, and selecting “Remove Channel.”
Now that you know how to add channels to your Roku TV, let’s move on to the next step of updating the Roku software to ensure optimal performance and access to new features.
Updating the Roku Software
Keeping your Roku software up to date is essential for a smooth and enhanced streaming experience. The Roku software updates bring new features, improvements, and bug fixes. Here’s how you can update the software on your Roku TV:
- From the home screen, navigate to the Roku settings.
- Select “System.”
- Choose “System update.”
- Select “Check now” to initiate a manual check for software updates.
- If there are any updates available, your Roku TV will download and install them automatically.
- Wait for the update process to complete. Your Roku TV may restart during the update.
It’s recommended to keep your Roku TV connected to the internet to ensure that it automatically checks for and installs updates. You can also enable the “Auto-update” feature in the settings to have your Roku TV update itself whenever new software is available.
Updating the software not only ensures you have access to the latest features and improvements but also enhances the security of your Roku TV.
If you encounter any issues during the software update process or if your Roku TV fails to update, it may be due to a weak internet connection. Make sure you have a stable internet connection and try the update process again.
Now that your Roku software is up to date, let’s move on to the next step of customizing your Roku TV to suit your preferences.
Customizing Your Roku TV
Roku TV offers various customization options to personalize your streaming experience. Here are some ways to customize your Roku TV:
- Arrange the channel icons on your home screen: Use the “Move channel” option to rearrange the placement of the channel icons on your home screen. This allows you to prioritize your most frequently used channels.
- Enable theme customization: Choose from a range of themes available in the Roku Channel Store to customize the look and feel of your Roku TV interface. From nature-inspired themes to minimalistic designs, you can select the theme that suits your style.
- Optimize display settings: Access the Roku settings to adjust the display settings such as screen resolution, picture mode, and audio settings. This allows you to calibrate the display based on your preferences and the capabilities of your TV.
- Create a PIN: If you have children or want to restrict access to certain channels, you can create a PIN code to prevent unauthorized access. This ensures a safe and controlled viewing experience.
- Manage channel subscriptions: In the Roku settings, you can view and manage your channel subscriptions. This allows you to easily cancel or modify your subscription plans as per your preferences.
- Use screensavers and standby mode: Customize your Roku TV by selecting screensavers to display when your TV is idle. You can also enable the standby mode to minimize power consumption when the TV is not in use.
- Explore additional features: Check out the Roku Channel Store for additional features and apps that can enhance your streaming experience. From weather updates to news channels, there are plenty of options to personalize your Roku TV.
By utilizing the customization options available on your Roku TV, you can tailor your streaming experience to suit your preferences and create a personalized entertainment hub.
Now that you know how to customize your Roku TV, you are all set to enjoy your favorite shows, movies, and channels in a way that reflects your style and preferences.
Troubleshooting Common Issues
While Roku TV offers a seamless streaming experience, you may encounter certain issues from time to time. Here are some common problems and troubleshooting steps to resolve them:
- Connection Issues: If you’re experiencing issues with your Wi-Fi connection, try restarting your router and your Roku TV. Also, ensure that your Roku TV is within range of your Wi-Fi network. If using a wired connection, check the Ethernet cable’s connections on both ends.
- No Signal: If your Roku TV displays a “No Signal” message, ensure that the TV is set to the correct input source. Check the connections between your Roku TV and your devices (e.g., cable box, gaming console) to make sure they are securely plugged in.
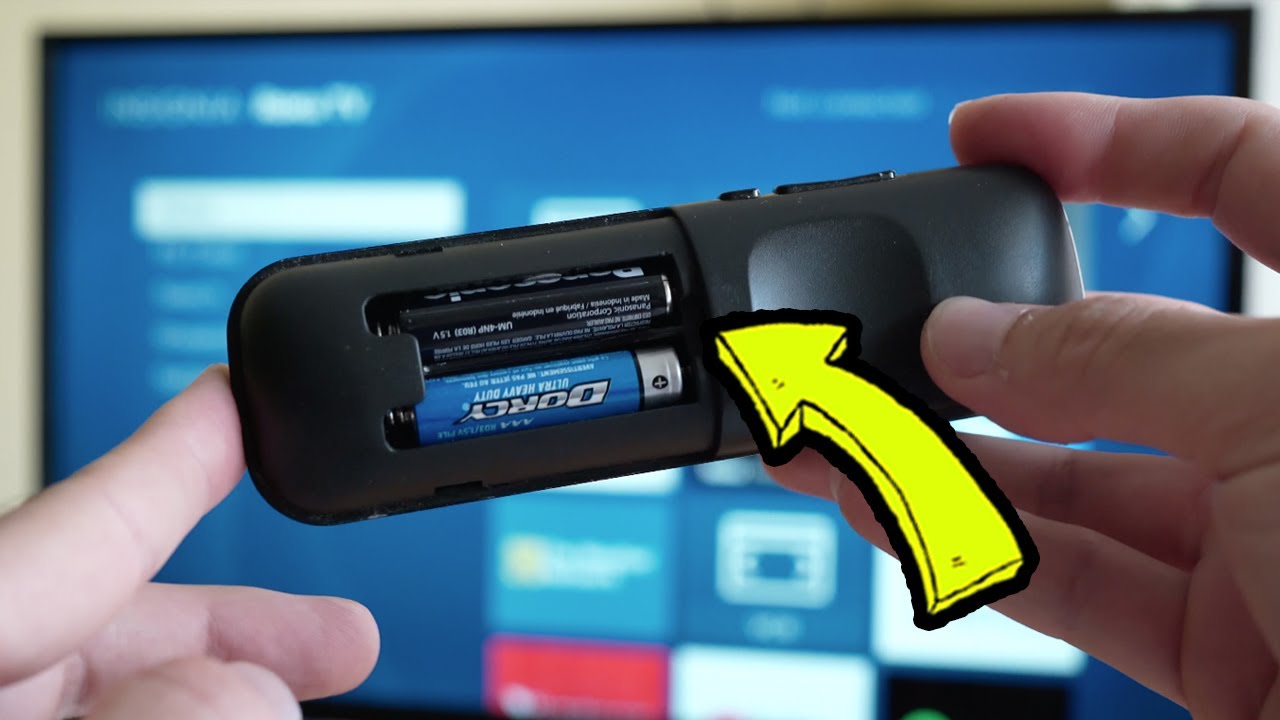
- Remote Control Not Working: If your remote control is not responding, check the batteries and make sure they are properly inserted. Try resetting the remote control by removing the batteries, waiting for a few moments, and reinserting them. You can also pair your remote control again by following the on-screen instructions.
- Poor Streaming Quality: If you’re experiencing buffering or low-quality streams, check your internet connection. Ensure that your Roku TV is connected to a stable and high-speed internet connection. You may also try moving your router closer to your Roku TV or using an Ethernet connection for a more stable connection.
- App Crashes or Freezes: If a specific app is crashing or freezing, first try closing and reopening the app. If the problem persists, uninstall and reinstall the app to resolve any potential software conflicts. Alternatively, perform a system restart on your Roku TV.
- Audio or Sound Issues: If you’re experiencing audio problems, check the TV volume and ensure it is not muted or set too low. Make sure that the HDMI or audio cables are securely connected. Additionally, adjust the audio settings on your Roku TV and verify the settings on your external audio devices (if used).
If you are still experiencing issues after trying the troubleshooting steps above, refer to the Roku support website or contact Roku customer support for further assistance. They will be able to provide specific guidance based on your situation.
Remember, troubleshooting steps may vary depending on your specific Roku TV model and software version.
By following these troubleshooting tips, you can effectively resolve common issues and ensure a smooth streaming experience on your Roku TV.
Conclusion
Congratulations! You are now equipped with the knowledge and skills to maximize your Roku TV experience. We’ve covered the essential steps of turning on your Roku TV, using the remote control, connecting to the internet, setting up your Roku account, adding channels, updating the software, and customizing your Roku TV to suit your preferences. We’ve also provided troubleshooting tips to help you resolve common issues that you may encounter along the way.
With Roku TV, you have access to a vast selection of streaming channels, allowing you to enjoy your favorite shows, movies, sports, and more, all in one convenient place. The intuitive interface and user-friendly remote control make navigation a breeze, and the ability to customize themes and organize channel icons adds a personal touch to your streaming experience.
Remember to keep your Roku TV software up to date to enjoy the latest features and improvements. Explore the Roku Channel Store to discover new channels and content that cater to your interests. And if you run into any issues, refer to the troubleshooting section or contact Roku customer support for assistance.
So, sit back, relax, and let your Roku TV bring entertainment straight to your living room. Enjoy endless hours of streaming enjoyment and discover a world of content with Roku TV!