Introduction
Welcome to our guide on how to control your TV with a Roku remote. Roku devices have become increasingly popular for streaming entertainment, providing users with access to a wide range of channels and content. One of the great features of Roku is the ability to control your TV directly from the Roku remote, eliminating the need for multiple remotes cluttering up your living space.
By following a few simple steps, you can easily connect your Roku remote to your TV and enjoy the convenience of controlling both your streaming and TV functions from one device. Whether you want to adjust the volume, change channels, or even power your TV on or off, the Roku remote has you covered.
In this guide, we will walk you through the process of connecting the Roku remote to your TV and explain the basic functions it offers. We will also delve into navigating through the Roku interface and controlling your TV’s power and volume. Additionally, we will cover programming the Roku remote specifically for your TV and troubleshooting any common issues that may arise.
So, if you’re tired of fumbling around with multiple remotes and want a simple and efficient way to control your TV, let’s dive into the world of Roku remotes and discover how you can make the most of this handy device.
Connecting the Roku Remote to Your TV
Before you can start controlling your TV with the Roku remote, you’ll need to ensure that it is properly connected. Follow these steps to set up the connection:
- Insert batteries: Open the battery compartment on the back of your Roku remote and insert the provided batteries. Ensure that they are properly aligned with the correct polarity.
- Turn on your TV: Press the power button on your TV or use your TV’s remote to power it on.
- Connect Roku to your TV: Using an HDMI cable, connect your Roku device to an HDMI port on your TV. Make sure to note the HDMI port number you used for future reference.
- Select the input source: Use your TV’s remote to navigate to the input/source selection menu. Choose the HDMI input that corresponds to the port where your Roku device is connected.
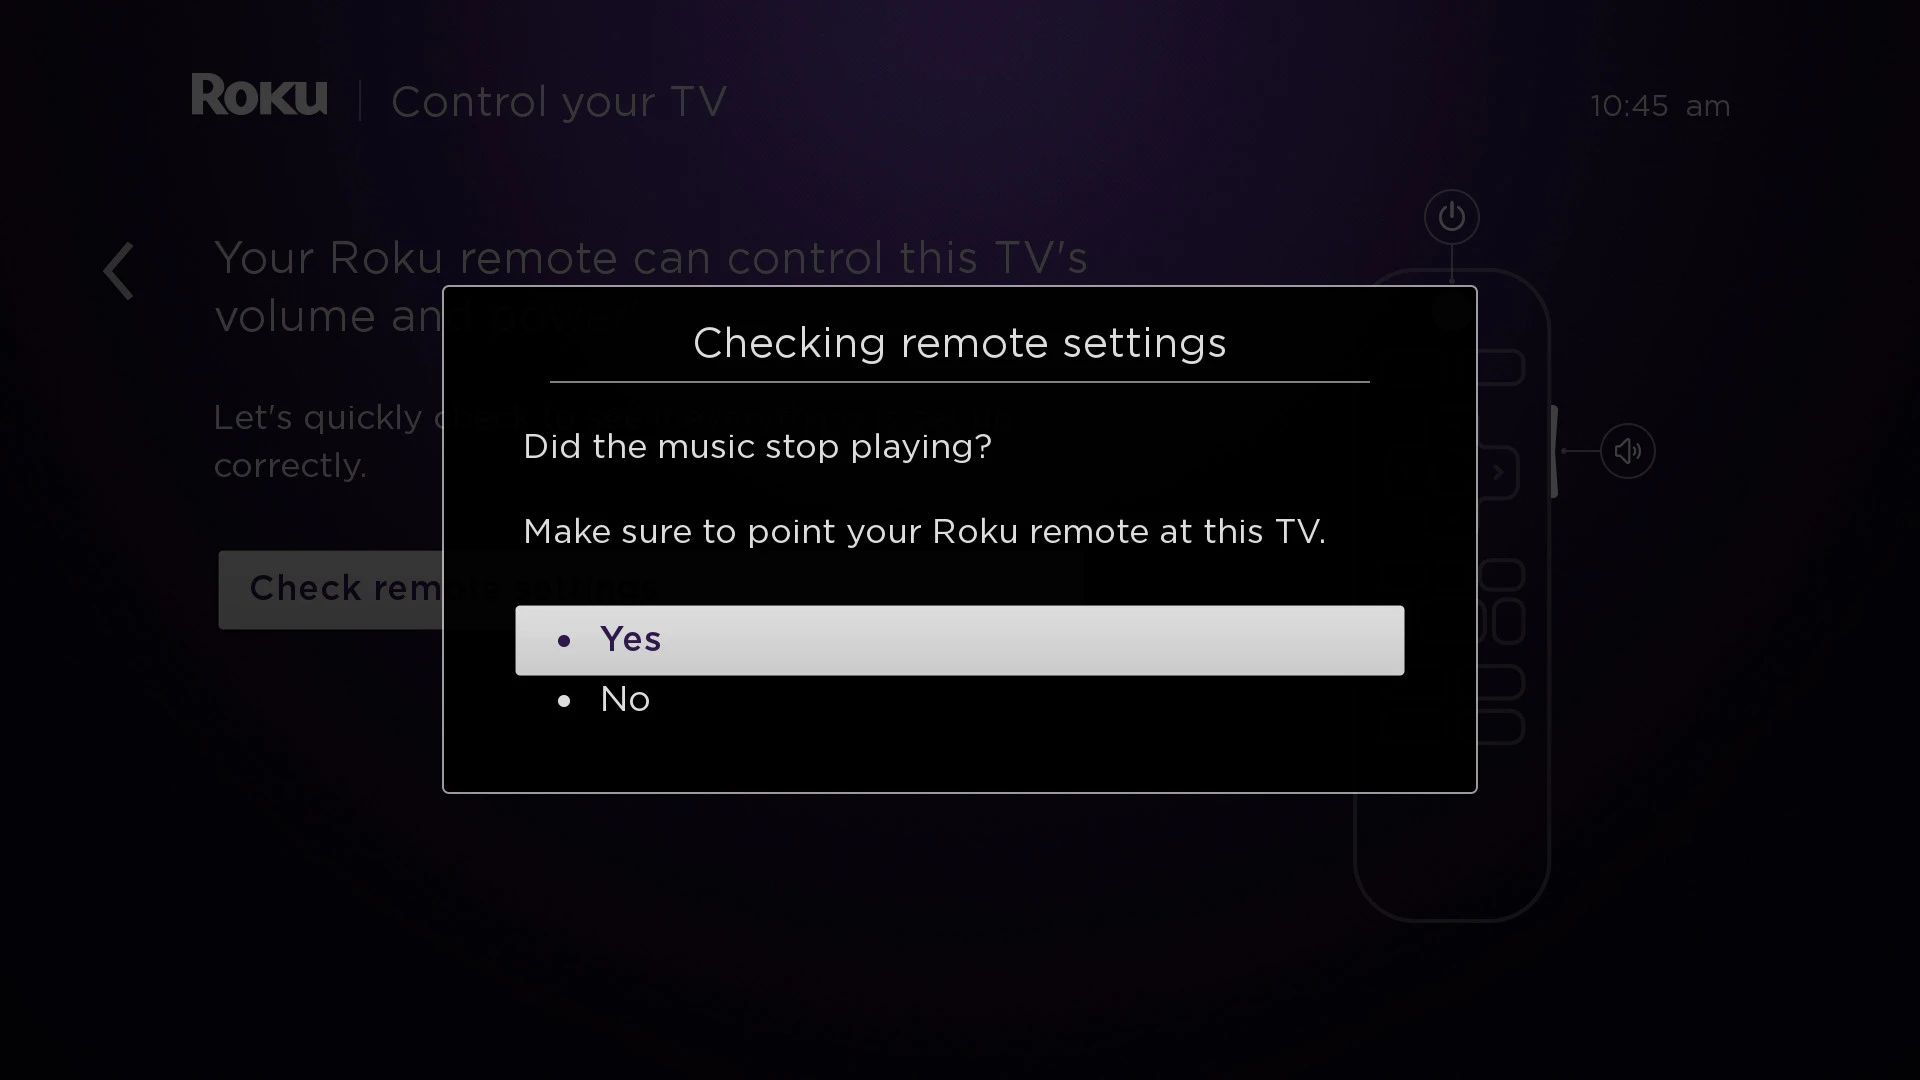
- Pair the remote: Once your Roku device boots up, you’ll need to pair the remote with the TV. Aim the Roku remote at your TV and press any button to initiate the pairing process. Follow the on-screen instructions to complete the pairing.
Once the pairing is successful, your Roku remote will now be able to control your TV functions.
It’s worth noting that some Roku models offer enhanced remote features, such as voice control or a headphone jack for private listening. Refer to your Roku device’s manual or the Roku website for instructions on how to set up these additional features.
With the Roku remote now connected to your TV, let’s explore its basic functions and how you can use it to navigate through the Roku interface.
Basic Functions of the Roku Remote
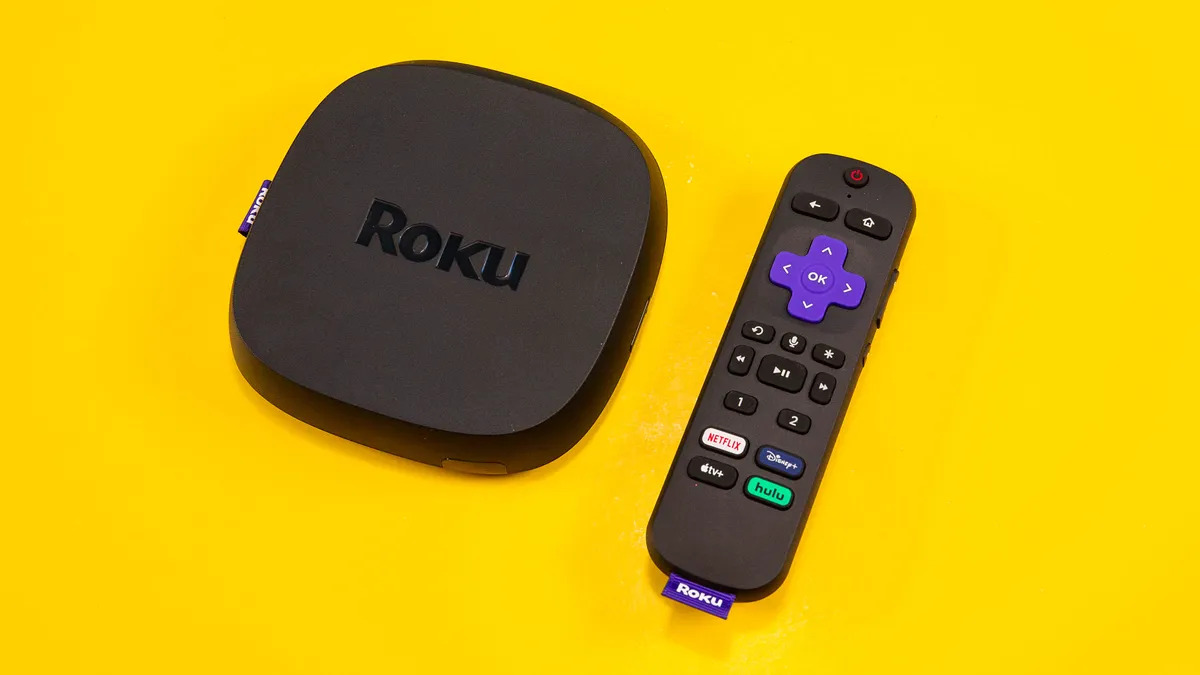
The Roku remote provides a range of functions that allows you to control both your Roku device and your TV. Here are the essential functions you need to know:
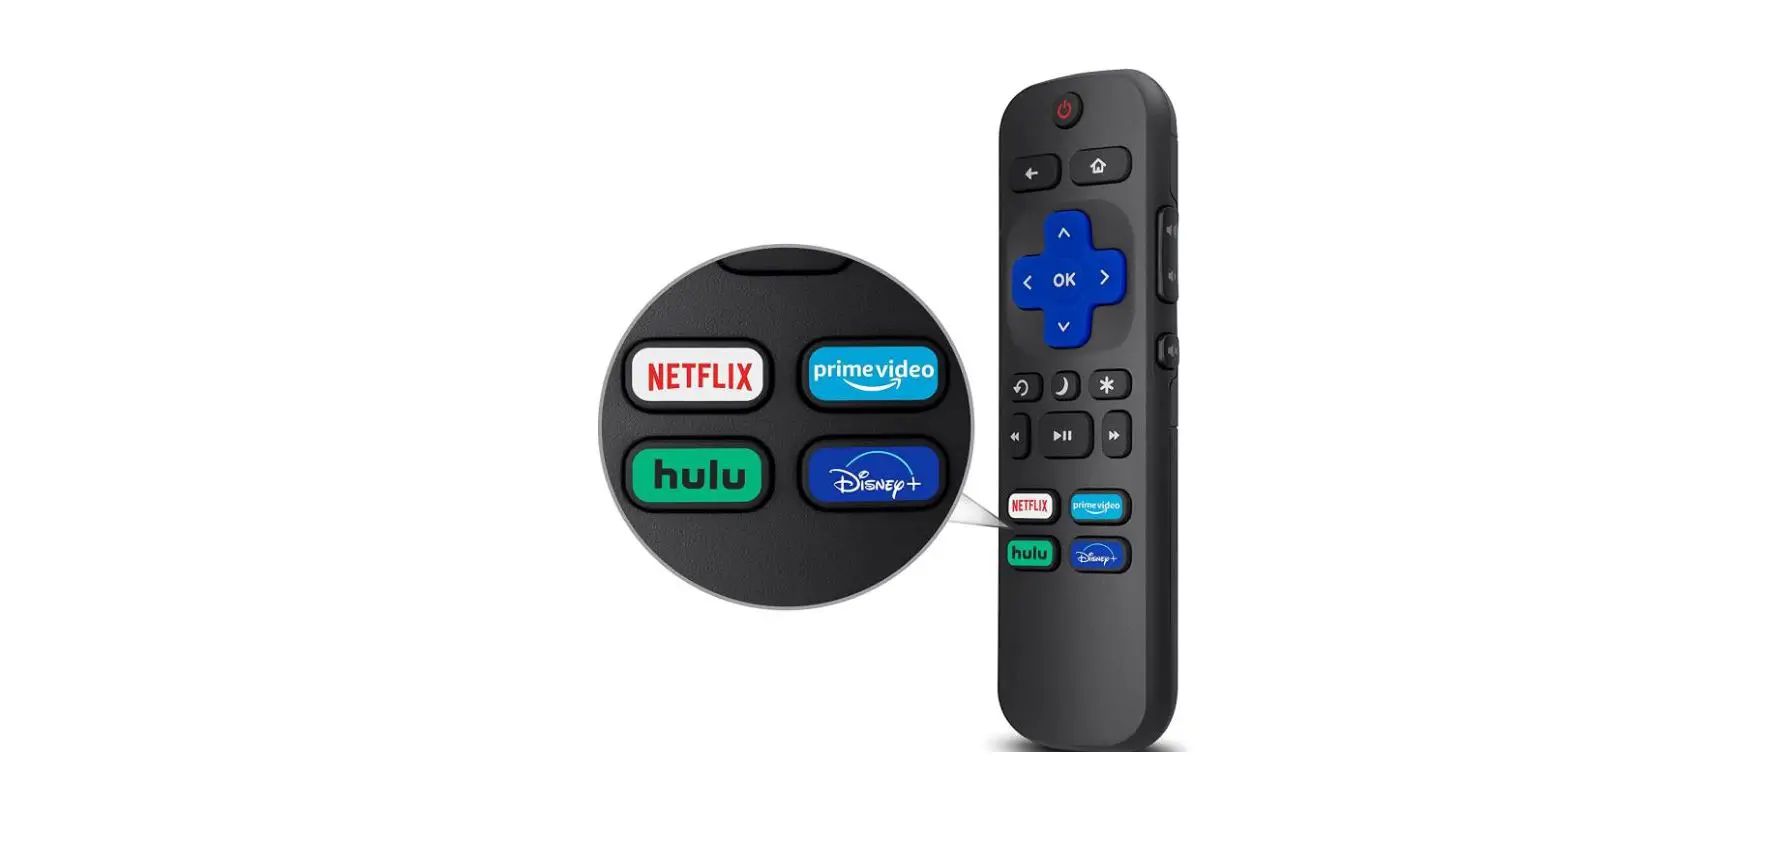
- Power button: The power button turns your TV on or off. Pressing this button will directly control the power state of your TV.
- Navigation buttons: The Roku remote features a directional pad with up, down, left, and right buttons. These buttons allow you to navigate through menus and select options on both the Roku interface and certain TV menus.
- OK button: The OK button, located in the center of the directional pad, is used to confirm selections and make a choice when navigating through menus.
- Home button: Pressing the home button takes you to the Roku home screen, where you can access all the apps and channels available on your Roku device.
- Back button: The back button, denoted by a left-pointing arrow, allows you to go back to the previous screen or menu.
- Volume buttons: Depending on your Roku model and TV compatibility, you may have volume buttons on your remote. These buttons let you control the volume directly from the remote, eliminating the need for a separate TV remote.
- Mute button: The mute button allows you to quickly mute the volume of your TV. Press it once to mute the sound and press it again to unmute.
These are the fundamental functions of the Roku remote that enable you to control your TV and navigate through the Roku interface. Familiarize yourself with these buttons, as they will be your primary means of controlling your TV with the remote.
In the next section, we will delve into the process of navigating through the Roku interface using your remote’s navigation buttons.
Navigating Through the Roku Interface
Once your Roku remote is connected to your TV and you are familiar with its basic functions, it’s time to explore how to navigate through the Roku interface. The Roku interface is designed to be user-friendly, allowing you to easily access your favorite channels and apps. Here’s a guide to help you navigate through the Roku interface:
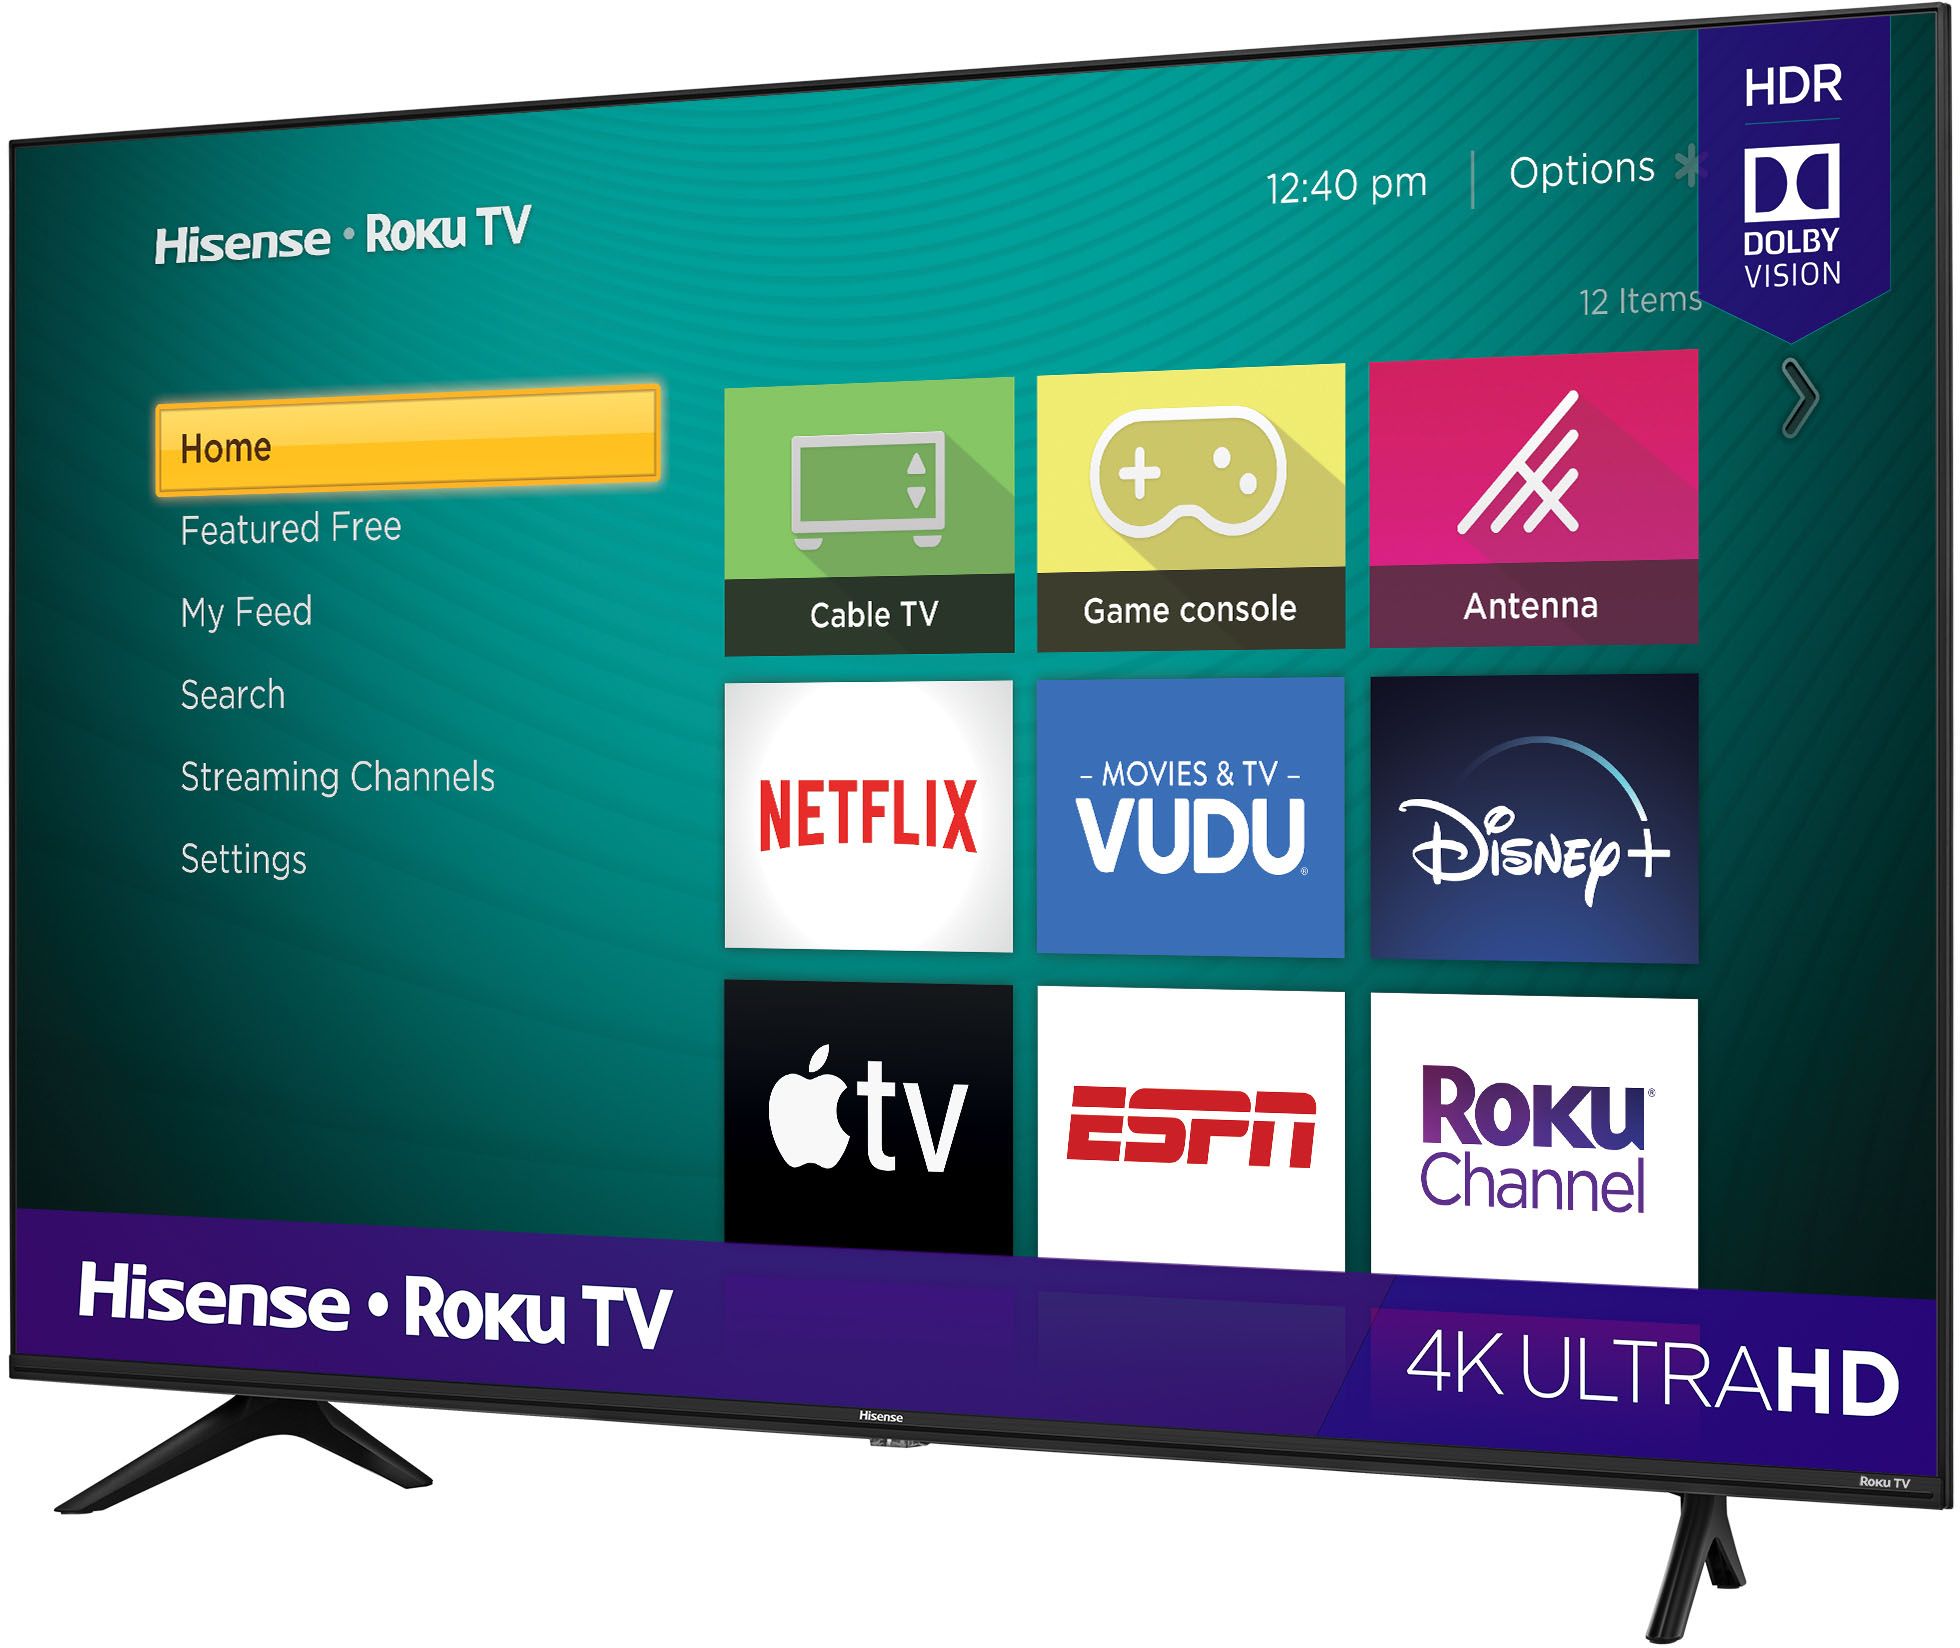
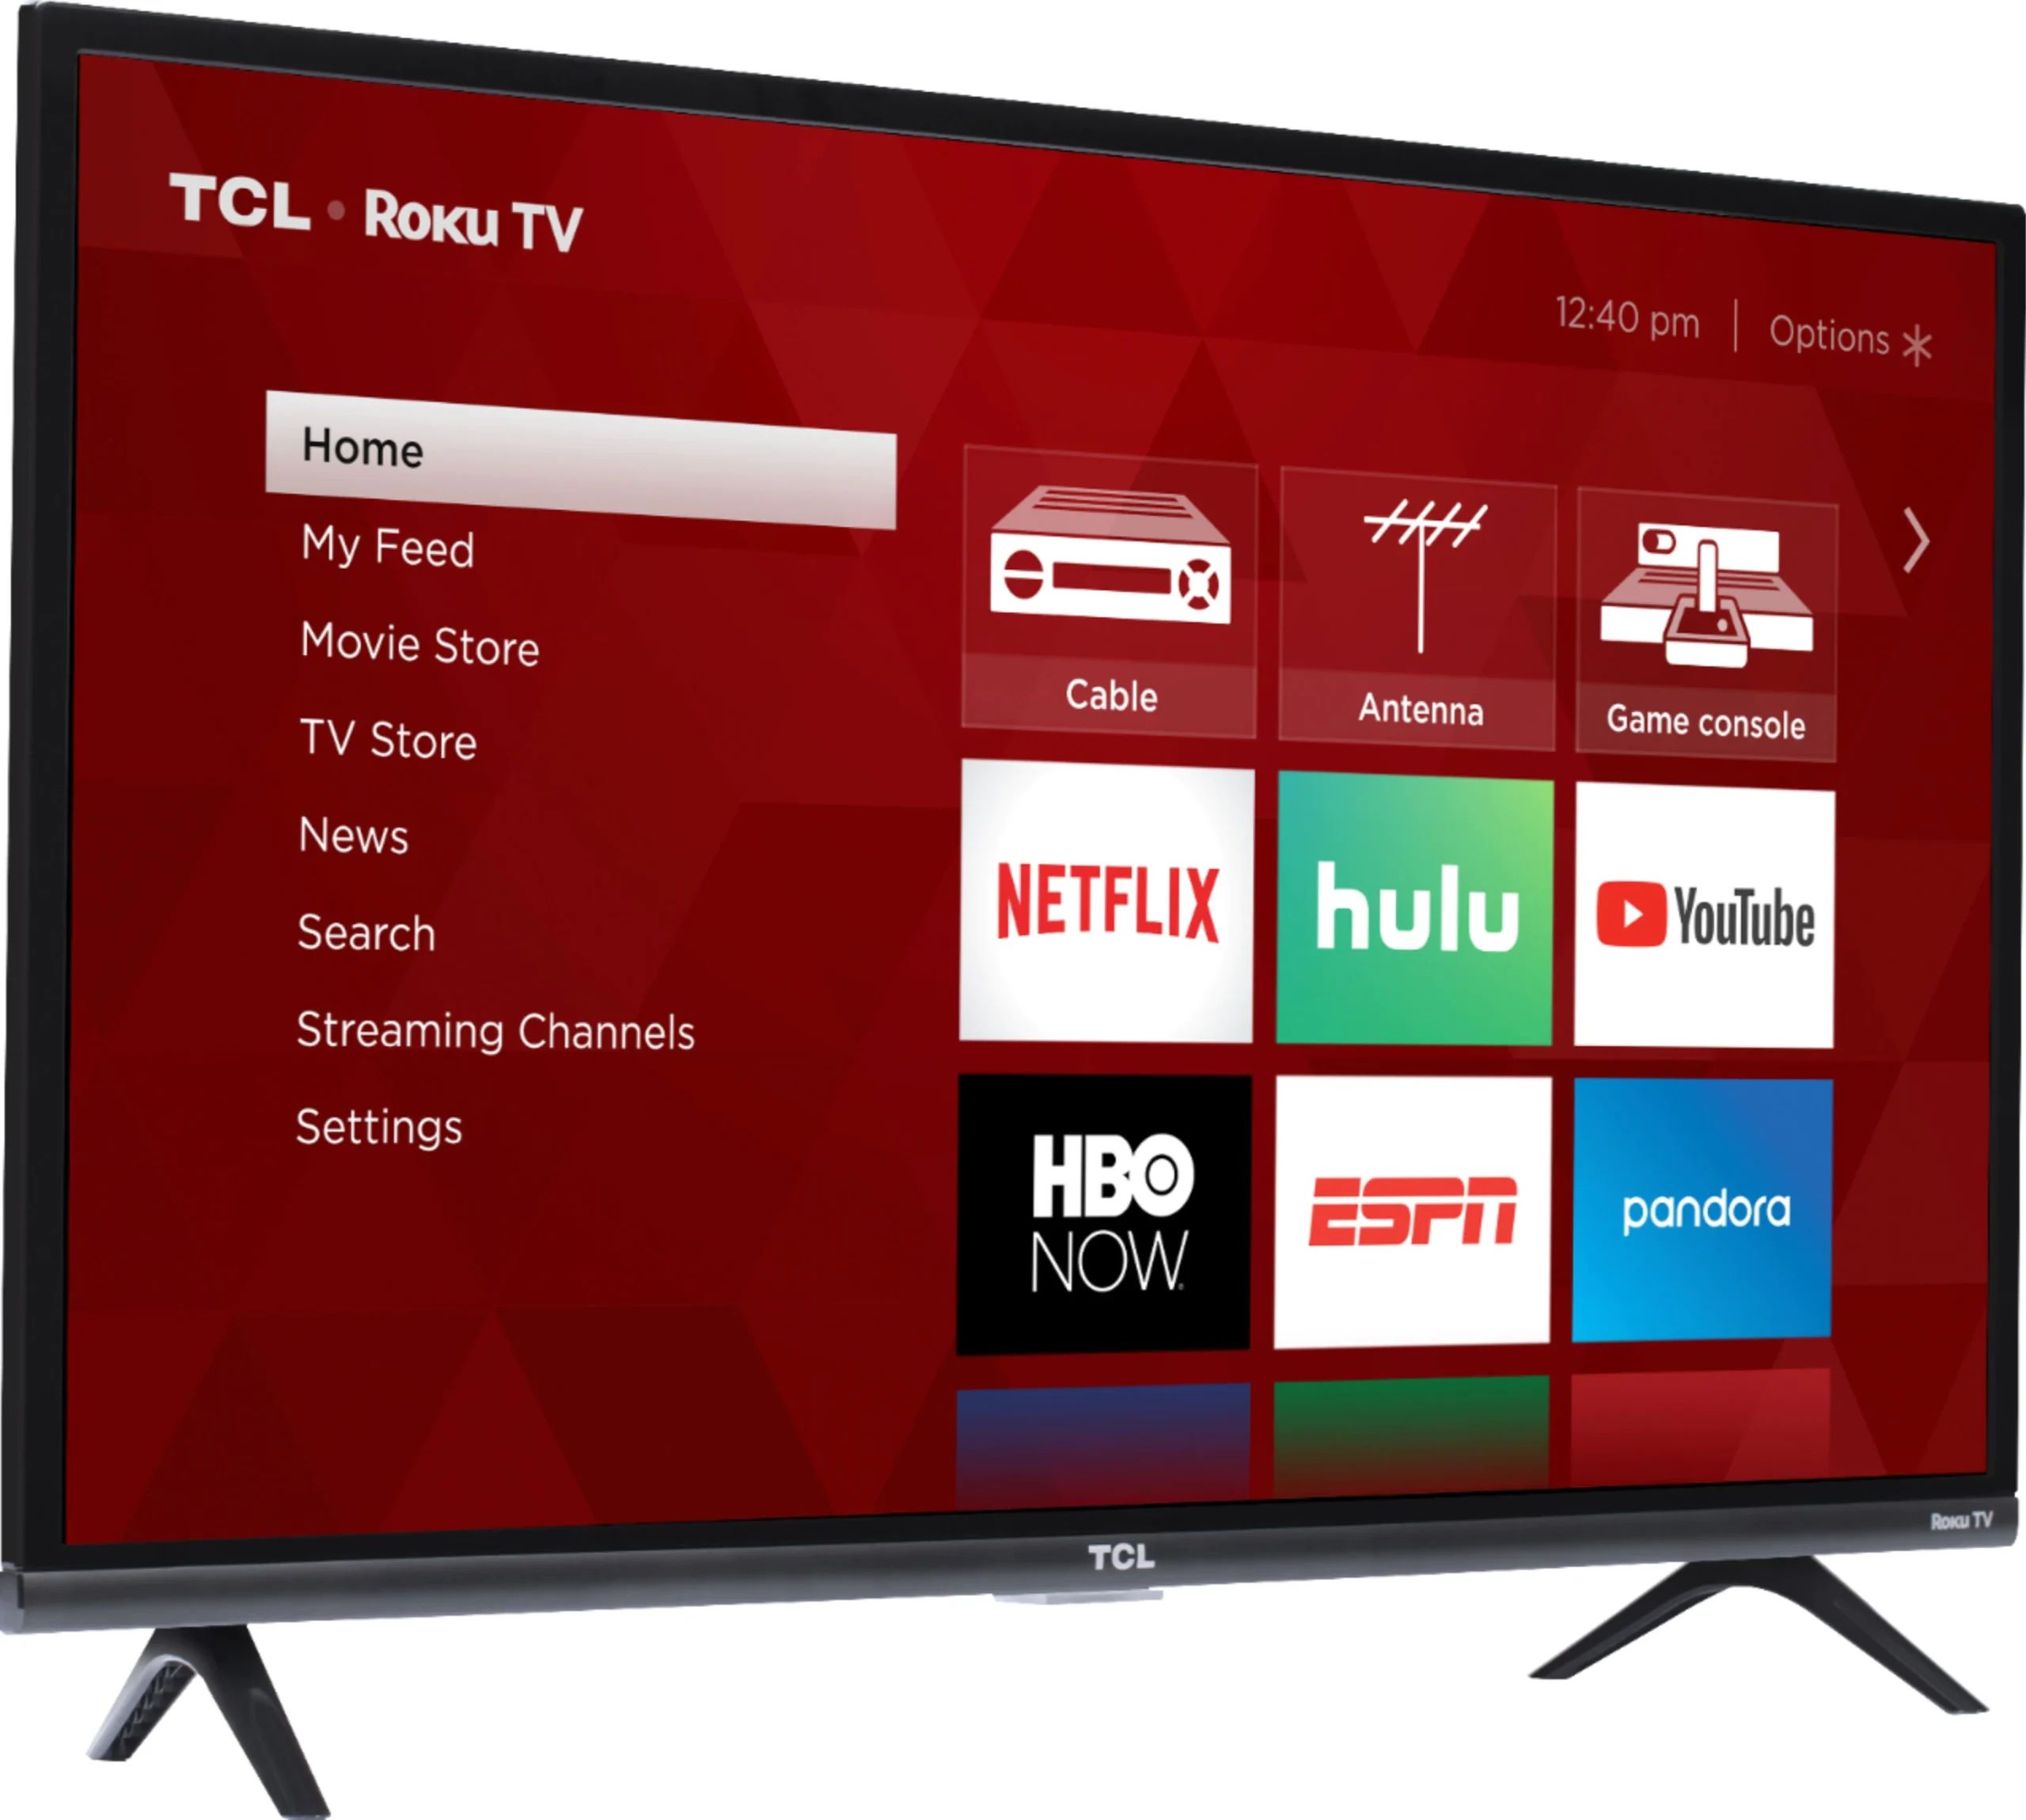
1. Home screen: Press the Home button on your Roku remote to go to the home screen. The home screen displays various channels, apps, and settings options.
2. Navigation: Use the directional pad on your remote to navigate through the different menu options on the home screen. The up, down, left, and right buttons allow you to move the cursor and highlight different options.
3. Selecting options: Once you have highlighted an option, press the OK button in the center of the directional pad to select it. This will take you to the respective channel or app.
4. Scroll through options: If there are many options on the screen, you can scroll up and down by pressing the up and down buttons on your remote. This allows you to view more channels or apps.
5. Channel store: If you want to explore additional channels, navigate to the “Channel Store” option on the home screen. From there, you can browse through various categories and install new channels to your Roku device.
6. Returning to the previous screen: If you need to go back to the previous screen or menu, press the Back button on your remote. This is useful when you want to explore different options or return to the previous channel.
7. Exiting an app or channel: To exit an app or channel and go back to the home screen, press the Home button. This will take you out of the current app and return you to the main menu.
With these navigation tips, you should be able to effortlessly browse through the Roku interface using your Roku remote. In the next section, we will explore how you can control the volume and power of your TV directly from the remote.
Volume Control and Muting
Controlling the volume of your TV while using the Roku remote is a convenient feature that eliminates the need for a separate remote. Here’s how you can adjust the volume and mute your TV using the Roku remote:
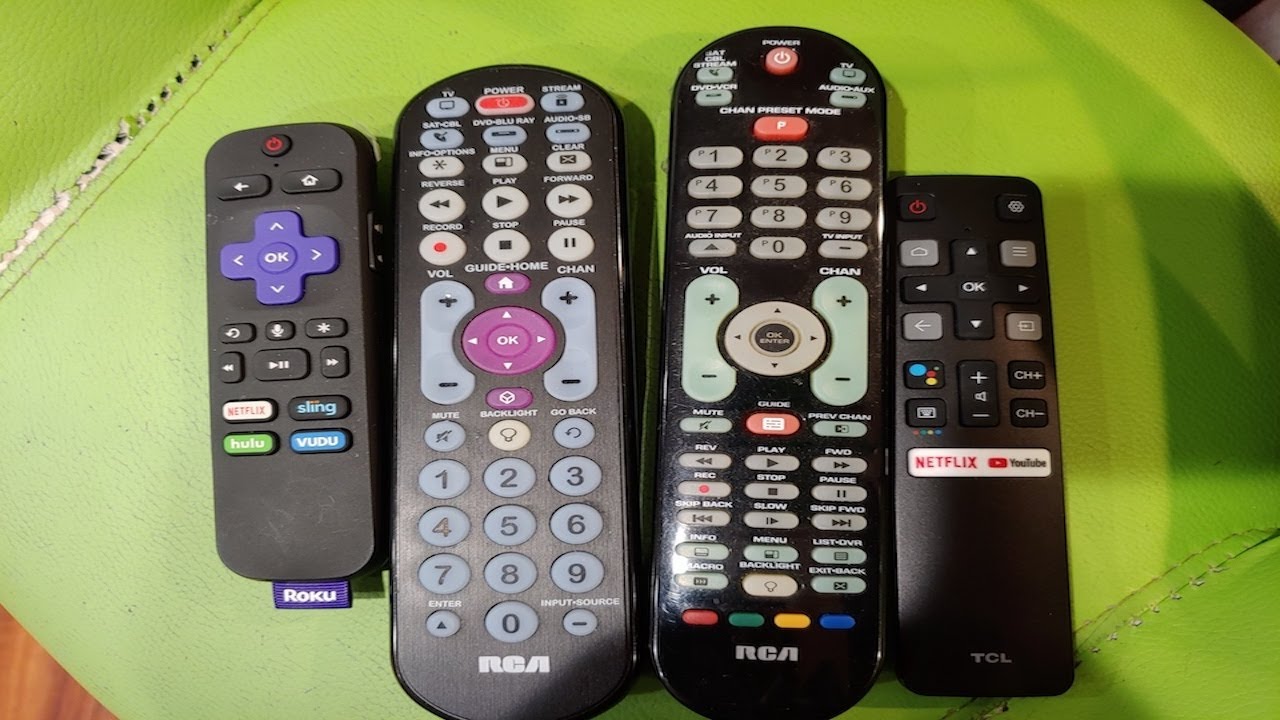
1. Volume control buttons: Depending on your Roku remote model, you may have dedicated volume control buttons. Use the volume up (+) and volume down (-) buttons to increase or decrease the volume level on your TV. Each press of the button will adjust the volume accordingly.
2. TV volume control: If your Roku remote doesn’t have dedicated volume buttons, you can still control the volume using the Roku interface. During video playback or while in a streaming app, press the star (*) button on your remote to access the options menu. From there, select the “Volume mode” option and use the directional pad to adjust the volume.
3. Muting the volume: To mute the volume of your TV, press the dedicated mute button on your remote, if available. Alternatively, if your remote doesn’t have a mute button, you can use the volume control buttons to decrease the volume to zero.
4. Unmuting the volume: To unmute the volume, press the mute button again or increase the volume using the volume control buttons. This will restore the sound on your TV.
It’s important to note that the volume control feature on the Roku remote works directly with your TV and not with external audio devices connected to your TV, such as soundbars or home theater systems. For adjusting the volume on such devices, you will need to use the respective remote or the controls provided by the device itself.
Now that you know how to control the volume and mute your TV with the Roku remote, let’s move on to understanding how to power your TV on or off using the remote.
Controlling Your TV’s Power
With the Roku remote, you have the convenience of controlling your TV’s power directly from the remote. Here’s how you can power your TV on and off using the Roku remote:
1. Powering on your TV: To turn on your TV, simply press the power button on your Roku remote. This button is usually located at the top or bottom of the remote and is denoted by a power icon. When you press this button, it sends a signal to your TV to power it on. Your TV should respond and display the content from your Roku device.
2. Powering off your TV: To turn off your TV, press the power button on the remote once again. This will send a signal to your TV to power it off. The screen will go blank, and your TV will enter standby mode. It’s worth noting that the power button on the Roku remote can only turn off your TV if it was turned on using the same remote.
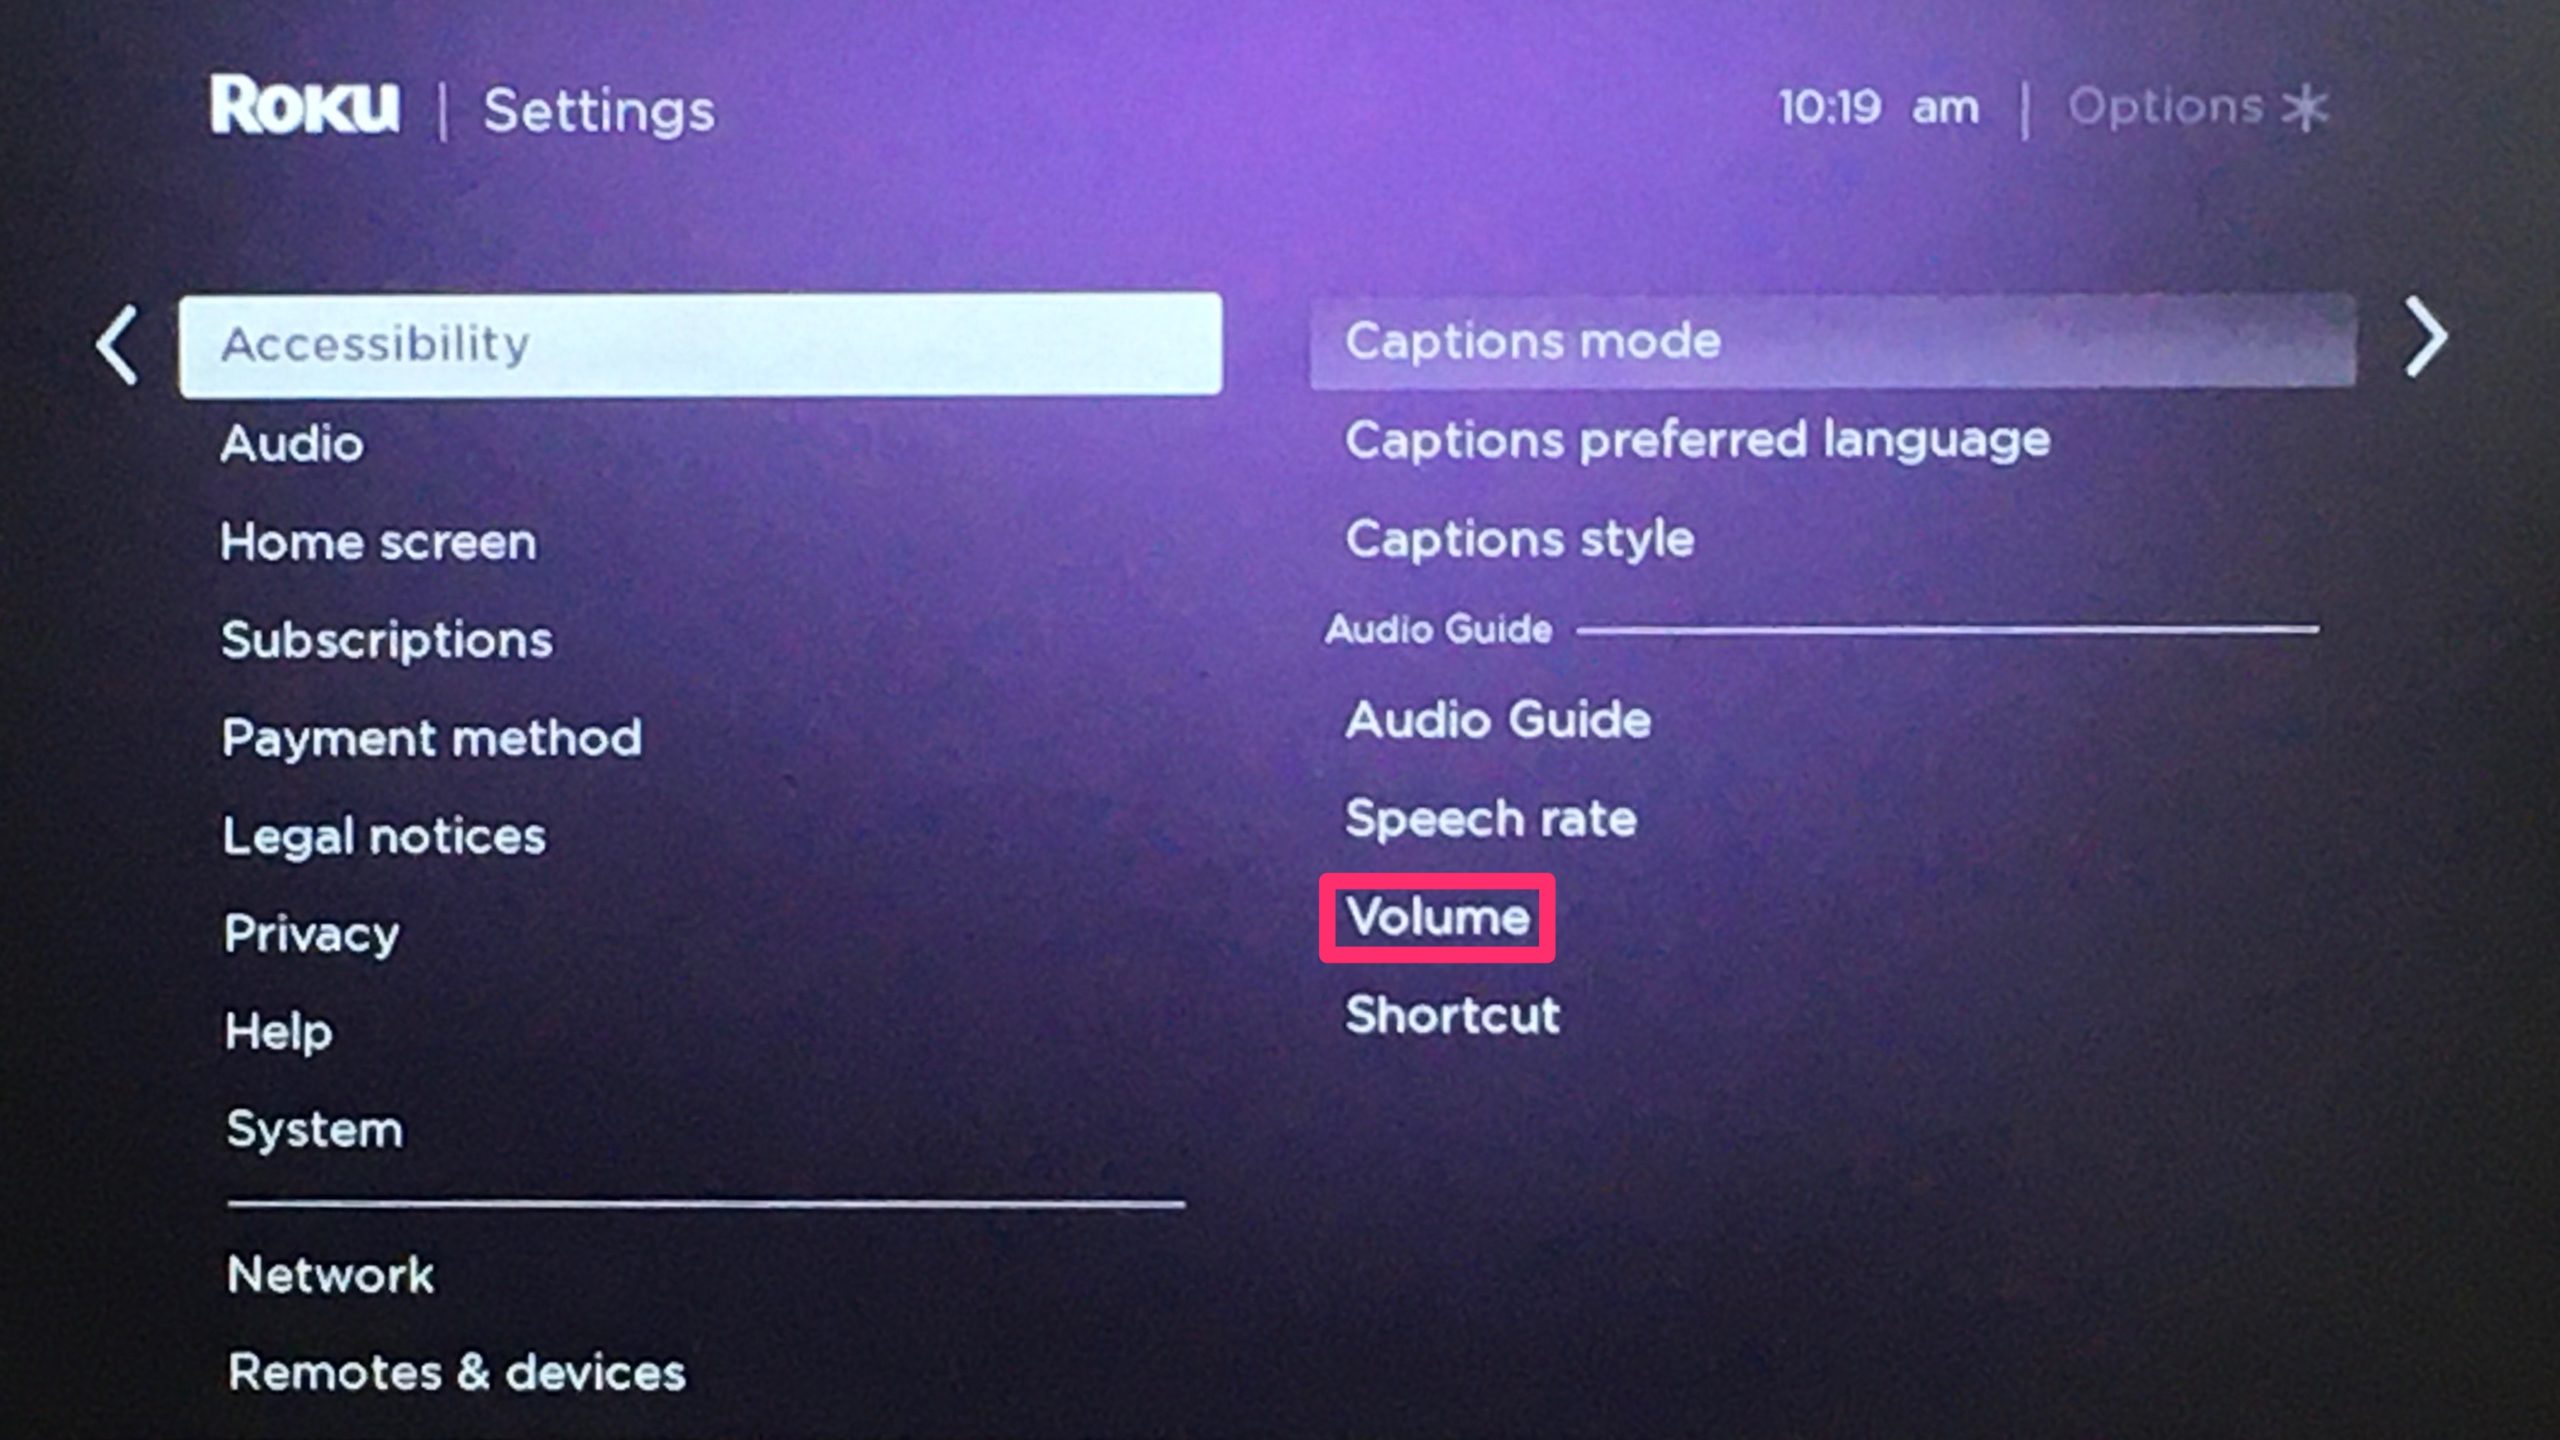
3. TV power toggle: If your Roku remote doesn’t have a dedicated power button, you can still control the power of your TV using the Roku interface. Press the home button on your remote to go to the Roku home screen, and then navigate to the “Settings” option. From there, select “System” and then “Power” to access the power settings. In this menu, you can find the option to power off your TV.
It’s important to note that the power control feature on the Roku remote relies on your TV’s compatibility and the HDMI-CEC (Consumer Electronics Control) protocol. Not all TVs support this feature, so make sure to check your TV’s manual or consult the manufacturer’s website for compatibility information.
Now that you know how to control your TV’s power using the Roku remote, let’s move on to the process of programming the remote for your specific TV model.
Programming the Roku Remote for Your TV
If you want to further enhance the functionality of your Roku remote, you can program it specifically for your TV model. This allows you to control additional features of your TV, such as input selection, power, and volume, directly from the Roku remote. Follow these steps to program your Roku remote:
- Identify your TV manufacturer code: Refer to the Roku remote’s manual or the Roku website to find the manufacturer code for your TV. This code is a numerical value assigned to each TV manufacturer.
- Access the remote settings: Navigate to the Roku home screen using your remote, and then go to the “Settings” option.
- Select “Remote & devices”: From the settings menu, choose “Remote & devices” to access the remote settings.
- Select “Remote”: In the “Remote & devices” menu, select “Remote” to customize the settings related to your Roku remote.
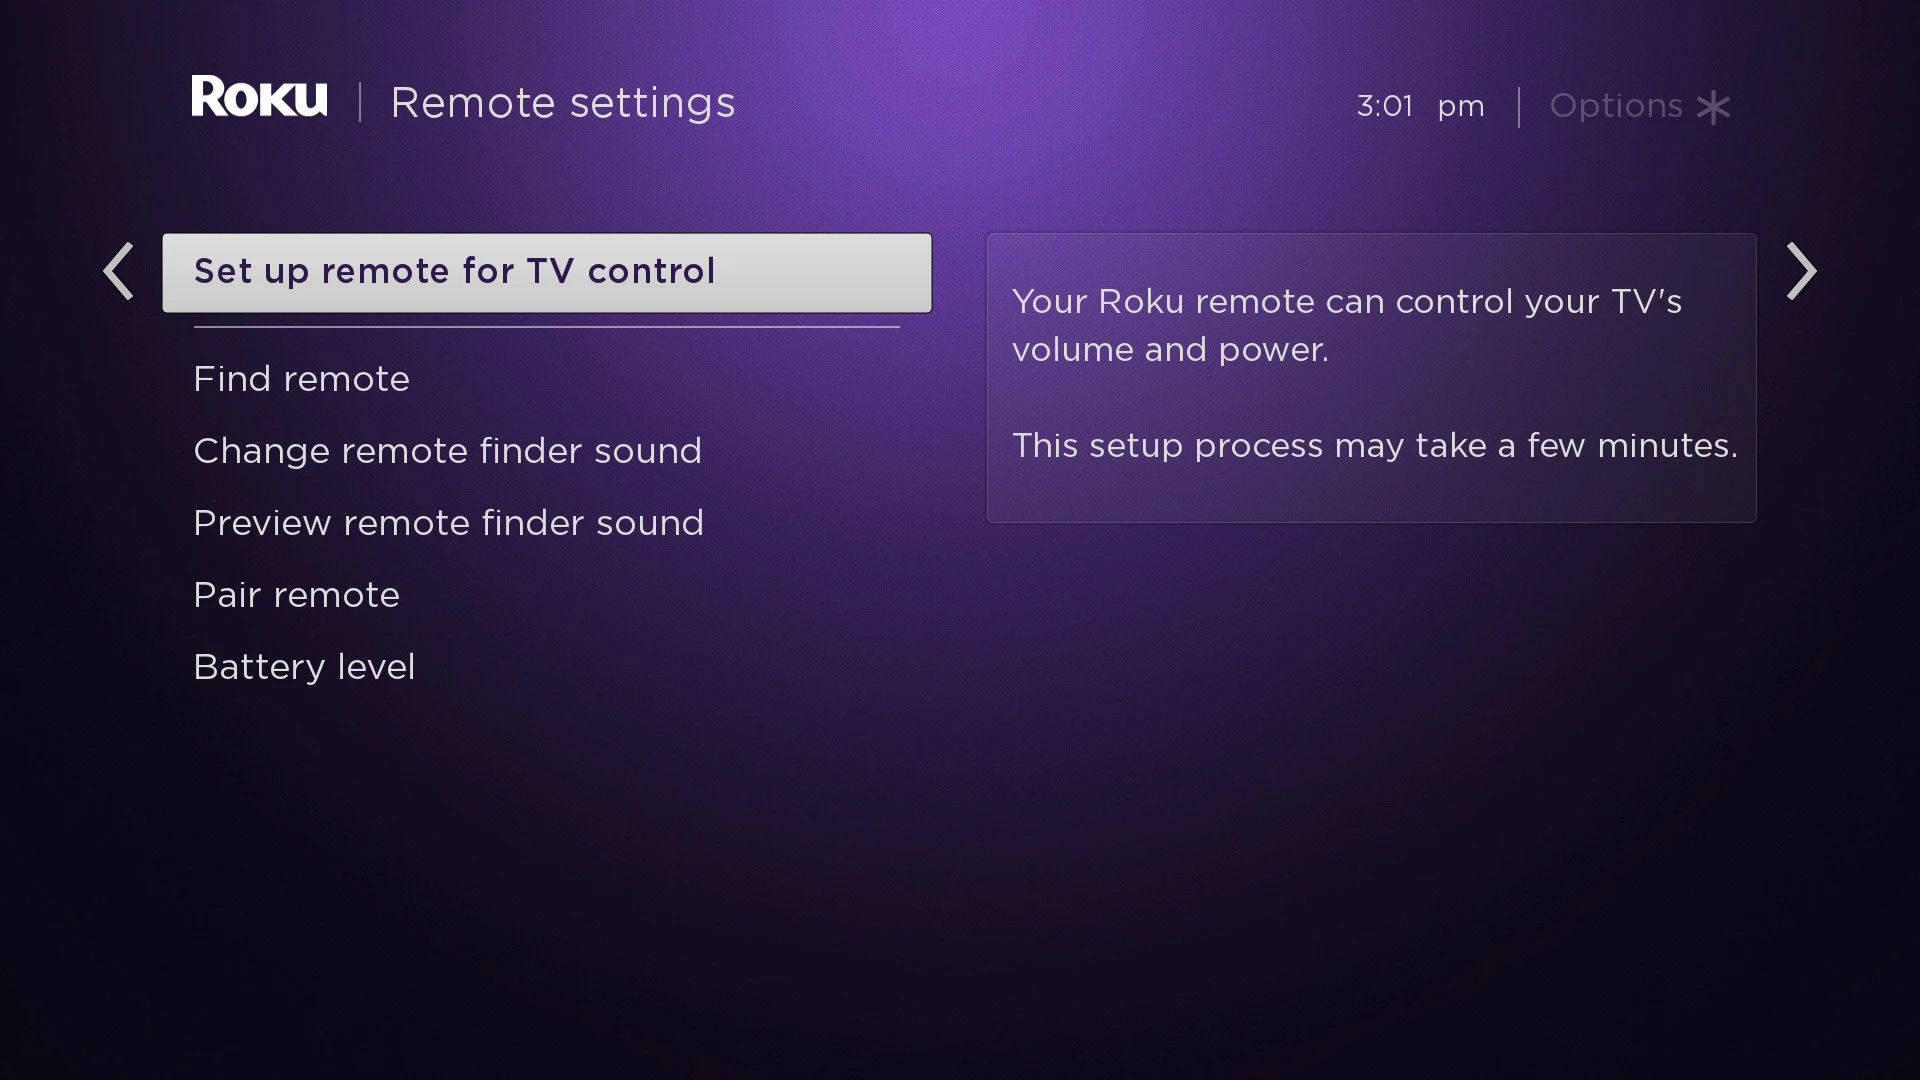
- Program the remote: Within the “Remote” menu, select the option to “Set up remote for TV control” or a similar option. You will be prompted to enter the manufacturer code for your TV.
- Enter the manufacturer code: Using the Roku remote, enter the manufacturer code you identified in step 1. Follow the on-screen instructions to complete the programming process.
- Test the remote: Once the programming is successful, test the remote to see if it now controls your TV’s additional functions, such as input selection and power.
It’s worth noting that the process of programming the Roku remote may vary slightly depending on your Roku model and firmware version. Be sure to refer to your device’s manual or the Roku support website for specific instructions.
If you encounter any issues during the programming process or if the remote doesn’t function as expected, consult the troubleshooting section or contact Roku support for assistance.
Now that you have successfully programmed your Roku remote for your TV, let’s move on to the next section where we will address common issues you may encounter and how to troubleshoot them.
Troubleshooting Common Issues
While using the Roku remote to control your TV, you may come across some common issues. Here are a few troubleshooting tips to help you resolve them:
1. Remote not responding: If the Roku remote is not responding, ensure that the batteries are properly inserted and have enough charge. Try replacing the batteries with fresh ones. If the issue persists, restart your Roku device by unplugging it from the power source, waiting for a few seconds, and plugging it back in. This can often resolve minor connectivity issues.
2. Remote not controlling TV: If the Roku remote isn’t controlling your TV, check the remote settings to ensure that it is programmed correctly for your TV model. Verify that you entered the correct manufacturer code during the setup process. If the problem continues, try reprogramming the remote following the steps outlined in the “Programming the Roku Remote for Your TV” section.
3. Volume or power not working: If the volume or power buttons on the Roku remote are not functioning, make sure that your TV is compatible with HDMI-CEC. Check your TV’s manual or contact the manufacturer to confirm its compatibility. If HDMI-CEC is supported but not working, access your TV’s settings and enable HDMI-CEC or a similar feature. This will allow the Roku remote to communicate with the TV for volume and power control.
4. Remote range issues: If the remote has limited range and doesn’t work from a certain distance, ensure that there are no obstructions between the remote and the Roku device. Move closer to the device and try again. Additionally, check for any interference from other electronic devices in the vicinity, such as Wi-Fi routers or cordless phones, and try relocating them to minimize interference.
5. Remote unpairing: If your remote becomes unpaired from your Roku device, you may need to re-pair them. Refer to your Roku device’s manual or the Roku website for detailed instructions on how to pair your remote with the device. Usually, you’ll need to hold down a specific button on the remote and follow the on-screen prompts to complete the pairing process.
If none of these troubleshooting steps resolve your remote issues, you may need to contact Roku support for further assistance or consider getting a replacement remote if necessary.
Now that you are equipped with troubleshooting knowledge, you can confidently overcome common issues and continue enjoying the convenience of controlling your TV with the Roku remote.
Conclusion
Controlling your TV with a Roku remote provides a convenient and streamlined experience for managing both your streaming and TV functions. By properly connecting and programming your Roku remote, you can enjoy the benefits of consolidated control, eliminating the need for multiple remotes cluttering your living space.
In this guide, we have covered the essential steps to connect the Roku remote to your TV, explaining the basic functions it offers. We explored how to navigate through the Roku interface, control volume and mute your TV, and even power your TV on and off using the remote. Additionally, we discussed the importance of programming the remote for your specific TV model and provided troubleshooting tips for common issues that may arise.
Remember to refer to your Roku device’s manual or the Roku support website for specific instructions pertaining to your remote model and TV compatibility. If you encounter any difficulties or need further assistance, don’t hesitate to reach out to Roku support or consult their comprehensive online resources.
Now that you have the knowledge and tools to control your TV with a Roku remote, go ahead and enjoy the convenience and simplicity it offers. Sit back, relax, and immerse yourself in your favorite shows and channels, all with the ease of a single remote control.