Introduction
Welcome to our step-by-step guide on how to pair your Roku remote to your smart TV. The Roku remote is an essential accessory that allows you to control your Roku streaming device, browse through channels, and adjust settings. Pairing your remote to your smart TV ensures a seamless and hassle-free entertainment experience. Whether you’ve just purchased a new Roku device or you’re encountering issues with your existing remote, this guide will walk you through the process of pairing it with your smart TV.
Before we dive into the steps, it’s important to note that the Roku remote uses wireless technology to communicate with your streaming device. This means that you won’t need to point the remote directly at the TV or the Roku device to use it. As long as you’re within the range of your wireless network, you can control your Roku device with ease.
In the following sections, we’ll go through the step-by-step process of pairing your Roku remote to your smart TV. These instructions are applicable to most Roku remote models and popular smart TV brands. However, slight variations may exist depending on the specific remote and TV model you have. With that said, let’s get started!
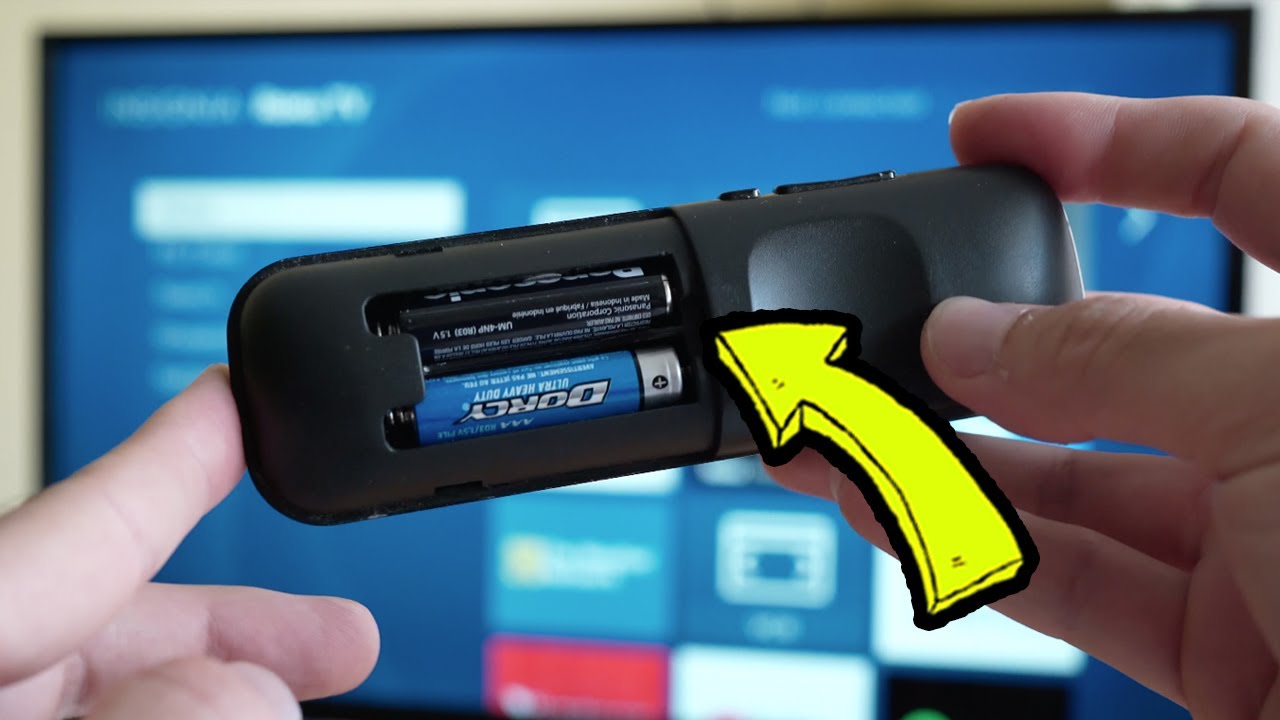
Step 1: Check the batteries
The first thing you should do when encountering issues with your Roku remote is to ensure that the batteries are working properly. A weak or dead battery can cause the remote to malfunction or fail to pair with your smart TV. Here’s what you need to do:
- Flip the remote over to access the battery compartment.
- Remove the batteries and inspect them for any signs of leakage or corrosion. If you notice any damage, replace the batteries with new ones.
- If the batteries are in good condition, reinsert them into the remote and make sure they are correctly aligned with the positive (+) and negative (-) terminals.
- Close the battery compartment securely.
Once you’ve checked and replaced the batteries (if necessary), try using the remote to see if the issue has been resolved. If the remote is still unresponsive, proceed to the next step.
It’s worth noting that the type of batteries you use can also affect the performance of your Roku remote. It is recommended to use alkaline batteries for optimal functionality. Avoid using rechargeable or zinc carbon batteries, as they may not provide the necessary power for the remote to function correctly.
Step 2: Locate the pairing button
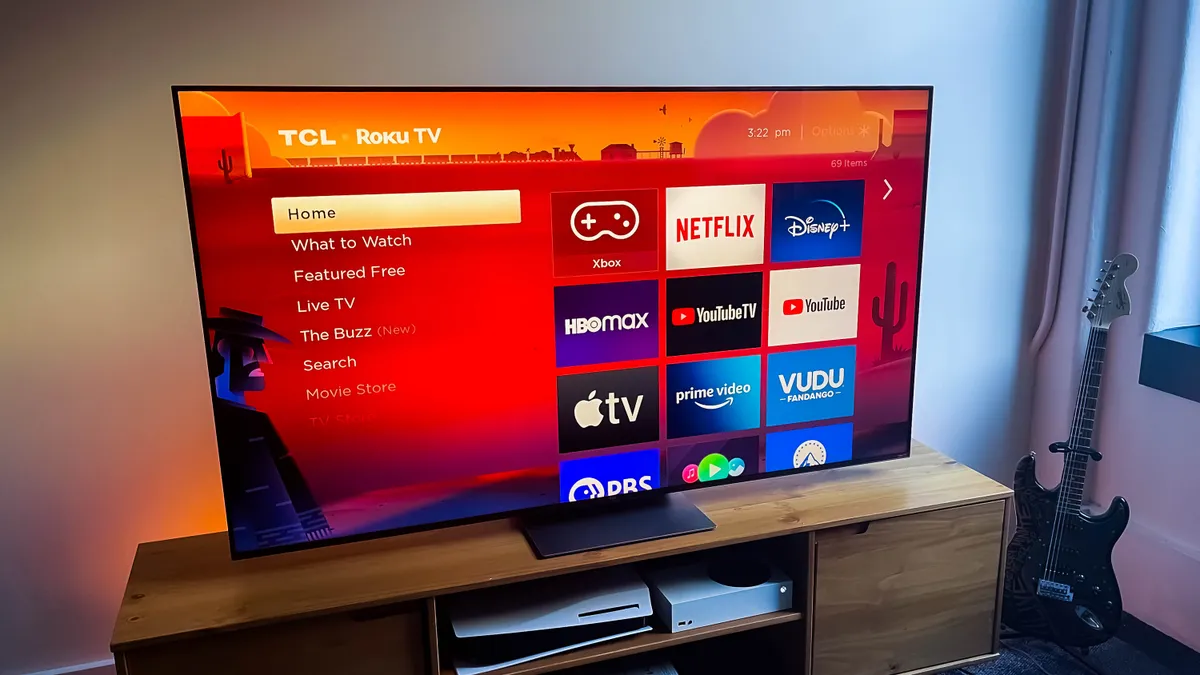
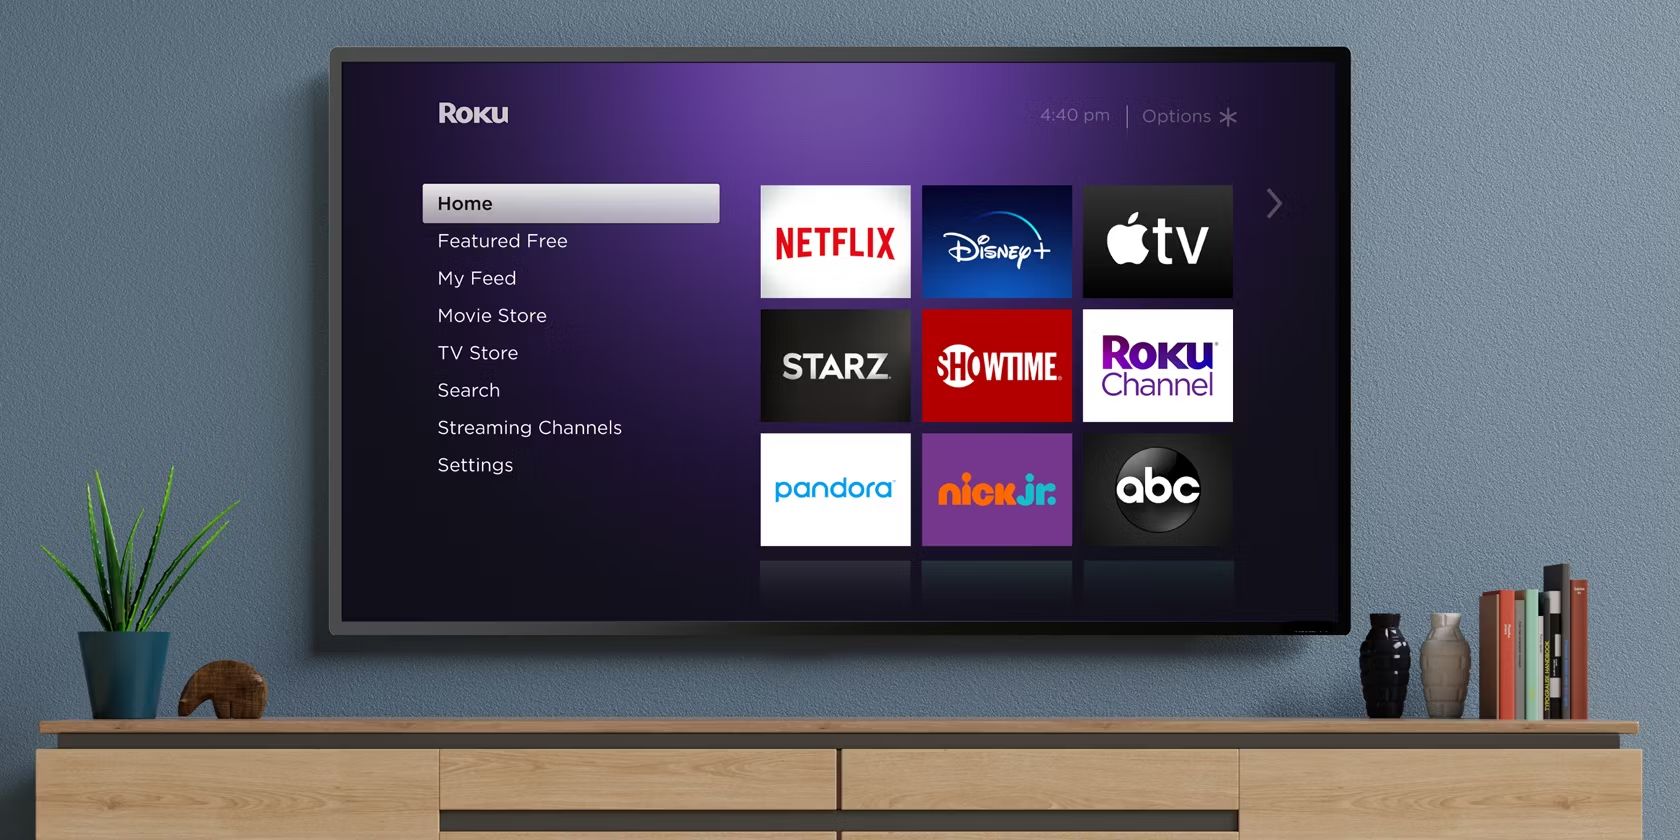
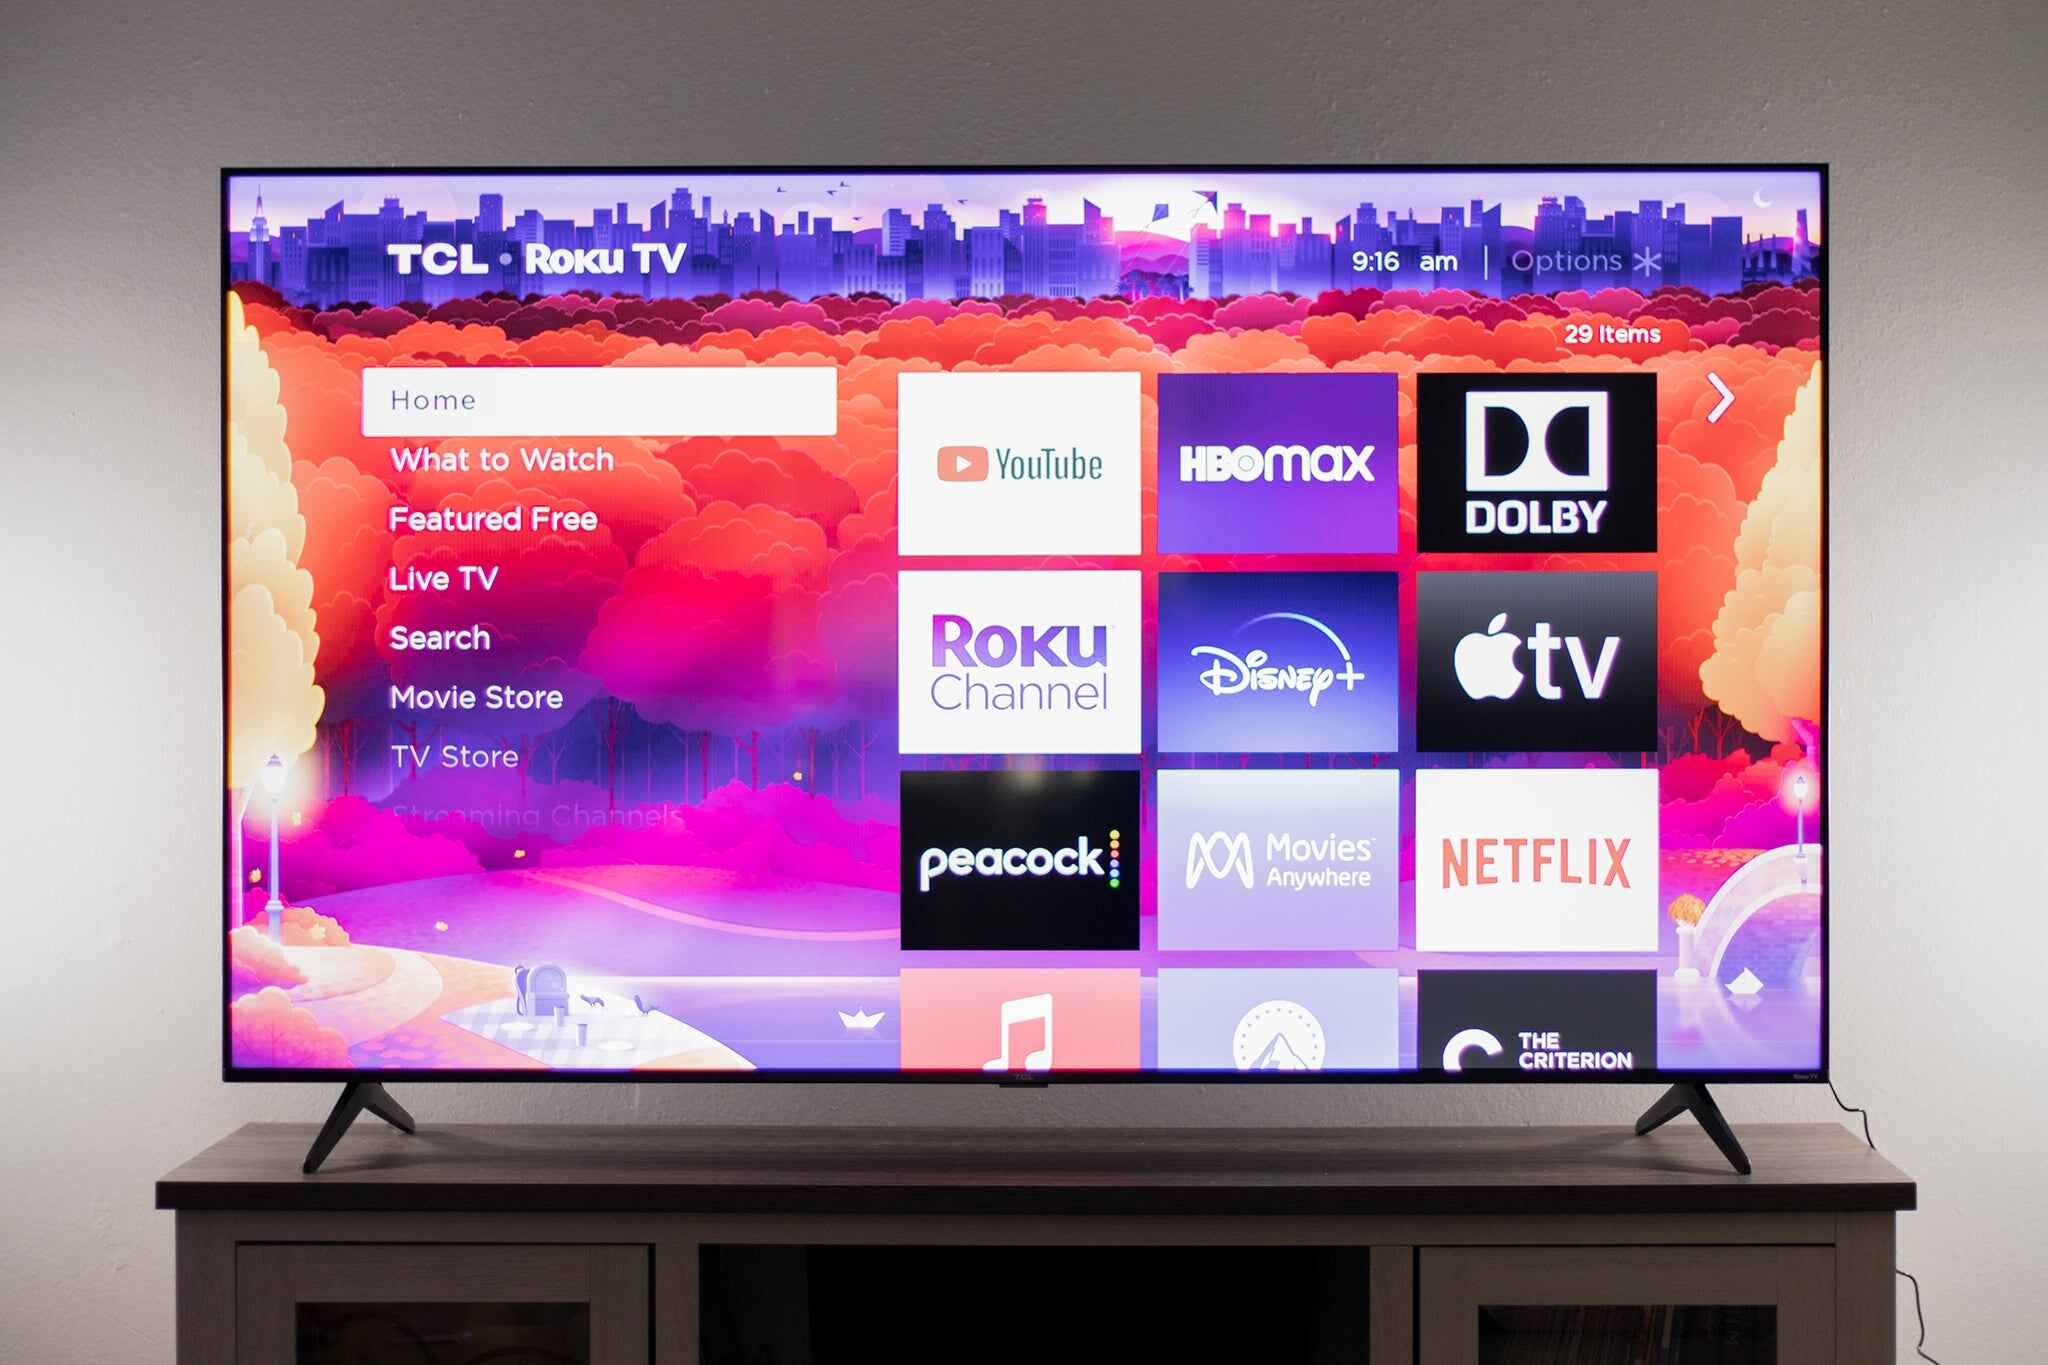
In order to pair your Roku remote with your smart TV, you’ll need to locate the pairing button on both the remote and the TV. Here’s what you need to do:
- On the Roku remote, flip it over to the back and look for a small button or a pinhole labeled “Pairing” or “Reset”. The location of this button may vary depending on the Roku remote model you have. If you have a Roku Stick, the pairing button may be located inside the battery compartment.
- On your smart TV, check the user manual or look for a similar pairing button or a pinhole labeled “Pair” or “Connect”. Again, the exact location may differ depending on the TV brand and model.
Once you’ve located the pairing buttons on both the remote and the TV, you’re ready to proceed to the next step. Keep in mind that some Roku remotes have a built-in pairing button, while others require you to use a paperclip or a small object to press the reset button inside the pinhole.
If you’re unable to find the specific pairing button on your remote or TV, refer to the manufacturer’s instructions or visit the official Roku support website for more information. Remember, the process may vary slightly depending on your remote model and TV brand.
Step 3: Put the Roku remote into pairing mode
Now that you’ve located the pairing button on your Roku remote, it’s time to put the remote into pairing mode. Follow these simple steps:
- Press and hold down the pairing button on the Roku remote. The LED light on the remote will start flashing, indicating that it has entered pairing mode.
- While holding down the pairing button, wait for the LED light to stop flashing and remain solid. This usually takes a few seconds.
- Release the pairing button once the LED light has stopped flashing.
By following these steps, you’ve successfully put your Roku remote into pairing mode. The next step is to turn on your smart TV.
Putting the remote into pairing mode allows it to actively search for available devices to connect to. This is an essential step in the pairing process and ensures that the remote can establish a stable connection with your smart TV.
If you encounter any issues during this step, make sure you’re holding down the correct button on the remote and refer to your remote’s user manual or the Roku support website for further troubleshooting steps.
Step 4: Turn on your Smart TV
With your Roku remote in pairing mode, it’s time to turn on your smart TV. Follow these simple steps:
- Locate the power button on your TV’s remote control or on the TV itself.
- Press the power button to turn on your smart TV. You should see the screen light up and display the startup logo or the home screen.
- Wait for your smart TV to fully boot up and be ready for use. This may take a few moments.
Turning on your smart TV is an important step in the pairing process, as it allows the TV to establish a connection with the Roku remote. Make sure that your TV is connected to a stable power source and that it is properly set up to function.
If you encounter any issues during this step, ensure that the power source is functioning correctly, and consult your TV’s user manual or the manufacturer’s website for further troubleshooting guidance.
Once your smart TV is turned on and fully operational, you can proceed to the next step to pair the Roku remote with your TV.
Step 5: Press the pairing button on your Smart TV
Now that your smart TV is turned on and ready, it’s time to press the pairing button on your TV to establish a connection with the Roku remote. Here’s how to do it:
- Locate the pairing button on your smart TV. The exact location of the button may vary depending on your TV brand and model. Refer to your TV’s user manual or the manufacturer’s website for specific instructions.
- Press and hold down the pairing button on your smart TV. Keep holding it until the LED light on the TV starts flashing or a pairing prompt appears on the screen.
- Release the pairing button once the LED light on the TV stops flashing or the pairing prompt appears on the screen.
By pressing the pairing button on your smart TV, you’re allowing it to search for available devices to pair with. This includes your Roku remote, which is currently in pairing mode.
If you’re unable to locate the pairing button on your smart TV or you’re having trouble with this step, refer to your TV’s user manual or contact the manufacturer’s customer support for assistance. They will be able to provide you with the specific instructions and guidance you need.
Once you’ve successfully pressed the pairing button on your smart TV, you’re ready to proceed to the next step, where the actual pairing process takes place.
Step 6: Wait for the pairing process to complete
After pressing the pairing button on your smart TV, you’ll need to wait for the pairing process to complete. The duration of this process can vary depending on your TV model and the speed of your wireless network. Here’s what you should expect:
- Once the pairing button is pressed, the TV will start searching for available devices to pair with.
- During this time, the LED light on the TV may continue flashing or a pairing progress indicator may be displayed on the screen.
- Wait patiently while the TV establishes a connection with the Roku remote. This process typically takes around 10-30 seconds.
- Once the pairing process is complete, you’ll see a confirmation message on the TV screen or the LED light will stop flashing.
It’s important to avoid interrupting the pairing process by pressing any additional buttons or turning off the TV during this time. Allow the TV and the Roku remote to communicate and establish a secure connection.
If the pairing process takes longer than expected or doesn’t complete successfully, you may need to repeat the previous steps or consult your TV’s user manual for troubleshooting instructions. Additionally, ensuring a stable wireless network connection can help facilitate the pairing process.
Once the pairing process is complete and you see a confirmation message, you’re almost there! It’s time to move on to the final step of testing the remote control functionality.
Step 7: Test the remote control functionality
Now that the pairing process is complete, it’s time to test the functionality of your Roku remote. Follow these steps to ensure that the remote is working properly:
- Pick up your Roku remote and aim it towards your smart TV.
- Press various buttons on the remote, such as the directional buttons, volume control, or the “Home” button, and observe if they are responding on the TV screen.
- Check if the remote is able to navigate through the Roku interface, launch channels, and control playback.
- If the remote is not functioning as expected, try moving closer to the TV and ensure there are no obstacles or interference between the remote and the TV.
- If you’re still experiencing issues, remove the batteries from the remote, wait for a few seconds, and reinsert them. This can help reset the remote and resolve minor connectivity problems.
By testing the functionality of your Roku remote, you can ensure that it is successfully paired with your smart TV and that all the buttons and features are working correctly. If everything is functioning as expected, congratulations! You have successfully paired your Roku remote to your smart TV.
However, if you’re still encountering issues with the remote control functionality, refer to the troubleshooting section of the Roku user manual or visit the official Roku support website for further assistance. They provide helpful resources and support to troubleshoot and resolve any remote-related problems.
Remember to keep the area around your TV free from any potential barriers or sources of interference to ensure optimal performance of your Roku remote.
Conclusion
Pairing your Roku remote to your smart TV is a straightforward process that allows you to control your Roku streaming device effortlessly. By following the steps outlined in this guide, you can successfully pair your remote and ensure a seamless entertainment experience.
We began by checking the batteries in the remote to ensure they are in good condition. Then, we located the pairing button on both the remote and the smart TV. We proceeded to put the Roku remote into pairing mode and turned on the smart TV. After that, we pressed the pairing button on the smart TV and waited for the pairing process to complete. Finally, we tested the functionality of the remote control to ensure it was working as intended.
If you encountered any issues during the process, it’s important to consult the user manual of your Roku remote and smart TV or visit the official Roku support website for further instructions and troubleshooting tips.
Remember, a stable wireless network connection is essential for the pairing process to be successful. Ensure that your Wi-Fi network is functioning correctly and that your Roku streaming device and smart TV are connected to the same network.
Now that you’ve successfully paired your Roku remote to your smart TV, you can enjoy a wide range of streaming options, control your device with ease, and make the most of your entertainment experience. Sit back, relax, and enjoy your favorite movies, TV shows, and more!