Introduction
Welcome to our step-by-step guide on how to connect a new Roku remote to your Roku TV. If you’ve recently purchased a replacement remote for your Roku device or are setting up a new Roku TV, this article will provide you with all the instructions you need to get started.
Having a functional remote is crucial for controlling your Roku TV and accessing all the amazing streaming features it offers. Whether your old remote got lost, broken, or you simply want to connect a new remote for convenience, the process is simple and can be done in just a few minutes.
Before we dive into the steps, make sure that you have your new Roku remote handy, as well as a working Roku TV or streaming device. Additionally, ensure that the batteries in the new remote are properly inserted and have sufficient power.
In the following sections, we will guide you through the process of preparing the new Roku remote, turning on your Roku TV, pairing the new remote with your TV, and testing the functionality of the remote.
By the end of this guide, you’ll be able to use your new Roku remote to control your Roku TV and enjoy all your favorite entertainment.
Step 1: Prepare the new Roku remote
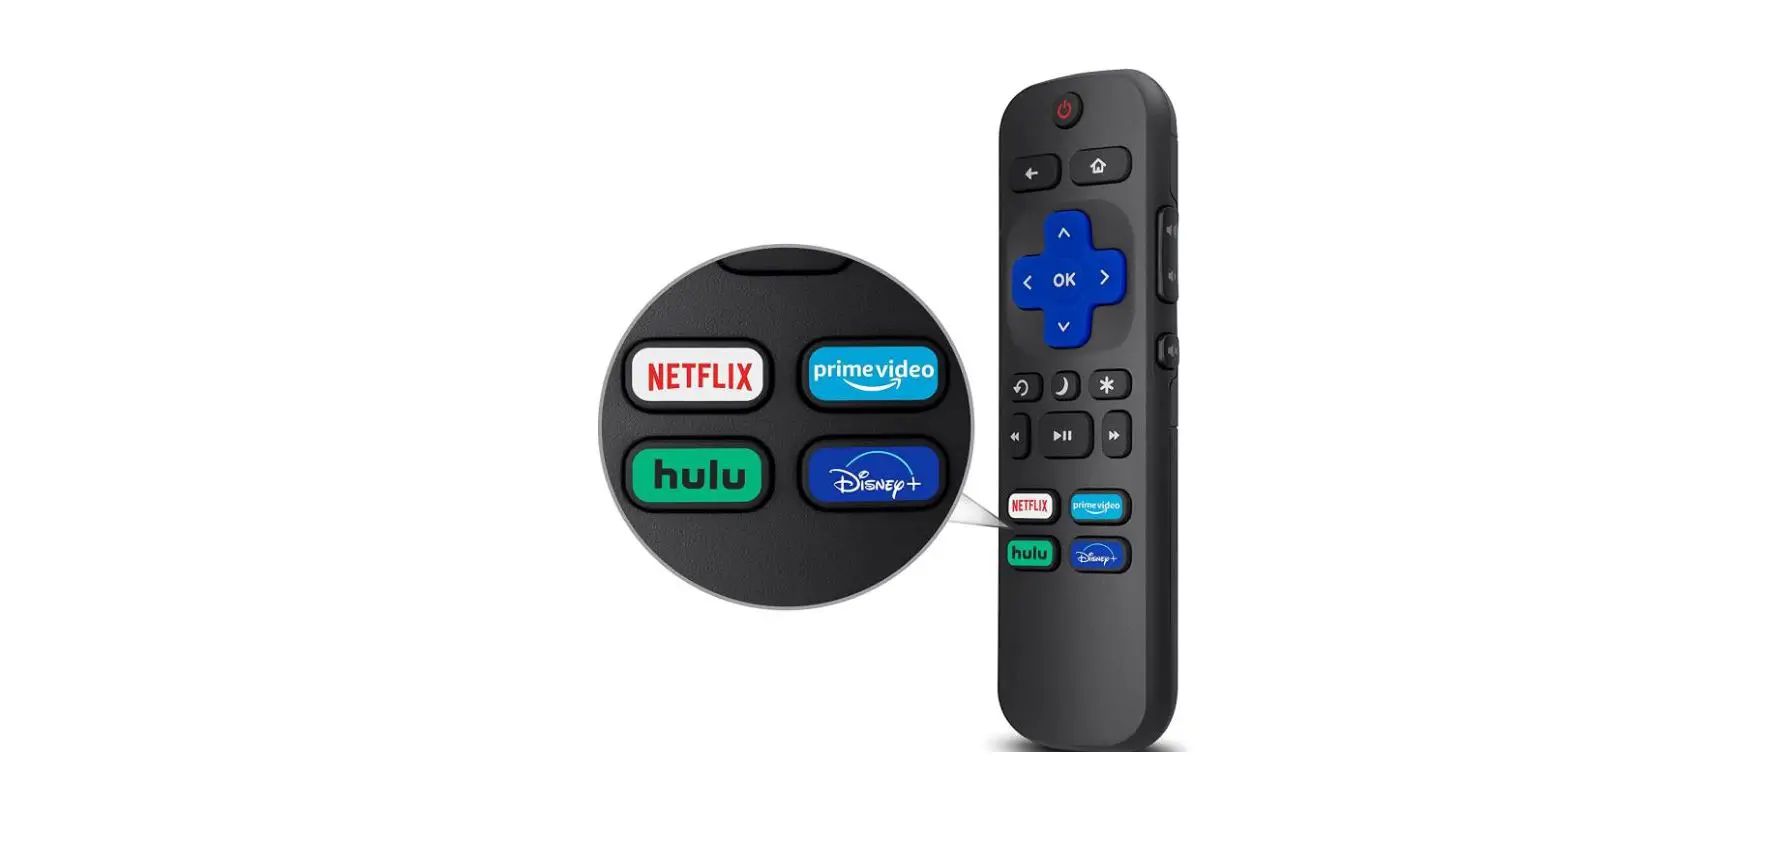
The first step in connecting your new Roku remote to your Roku TV is to prepare the remote for pairing. Here’s what you need to do:
- Insert the batteries: Open the battery compartment on the back of the remote and insert the provided batteries, making sure to match the positive and negative signs.
- Check the LED light: Once the batteries are inserted, check if the LED light on the front of the remote starts blinking. This indicates that the remote is ready for pairing.
- Use the pairing button (if applicable): Some Roku remotes have a pairing button located in the battery compartment. If your remote has one, press and hold the pairing button for a few seconds until the LED light starts flashing rapidly.
- Remove any obstacles: It’s important to remove any objects or obstructions that could interfere with the pairing process. Make sure there are no physical barriers between the remote and the Roku TV.
Once you’ve completed these steps, your new Roku remote will be prepared and ready to be paired with your Roku TV. Keep in mind that the exact steps may vary slightly depending on the model of your Roku remote, so refer to the user manual or instructions that came with your specific remote if you encounter any discrepancies.
Step 2: Turn on your Roku TV
With your new Roku remote prepared, the next step is to turn on your Roku TV. Follow these simple instructions:
- Locate the power button: On your Roku TV or the Roku device connected to your TV, find the power button. It is usually located either on the front or back of the TV.
- Press the power button: Press the power button on your Roku TV or remote to turn on your TV. Wait for a few seconds for the TV to boot up completely.
- Select the correct input source: If you have multiple input sources connected to your TV, such as cable or gaming consoles, use the input or source button on either your TV or the Roku remote to select the appropriate HDMI or AV input.
After these steps, your Roku TV should be powered on and ready for the next phase of the setup process. Make sure to switch your TV to the correct input source so that you can see the Roku home screen on your TV.
If you encounter any issues with turning on your Roku TV, double-check the power connections, ensure the power outlet is working, and consult your TV’s user manual for further troubleshooting steps.
Step 3: Pair the new Roku remote with the Roku TV
Now that your Roku TV is turned on, it’s time to pair your new Roku remote with the TV. Follow these instructions to complete the pairing process:
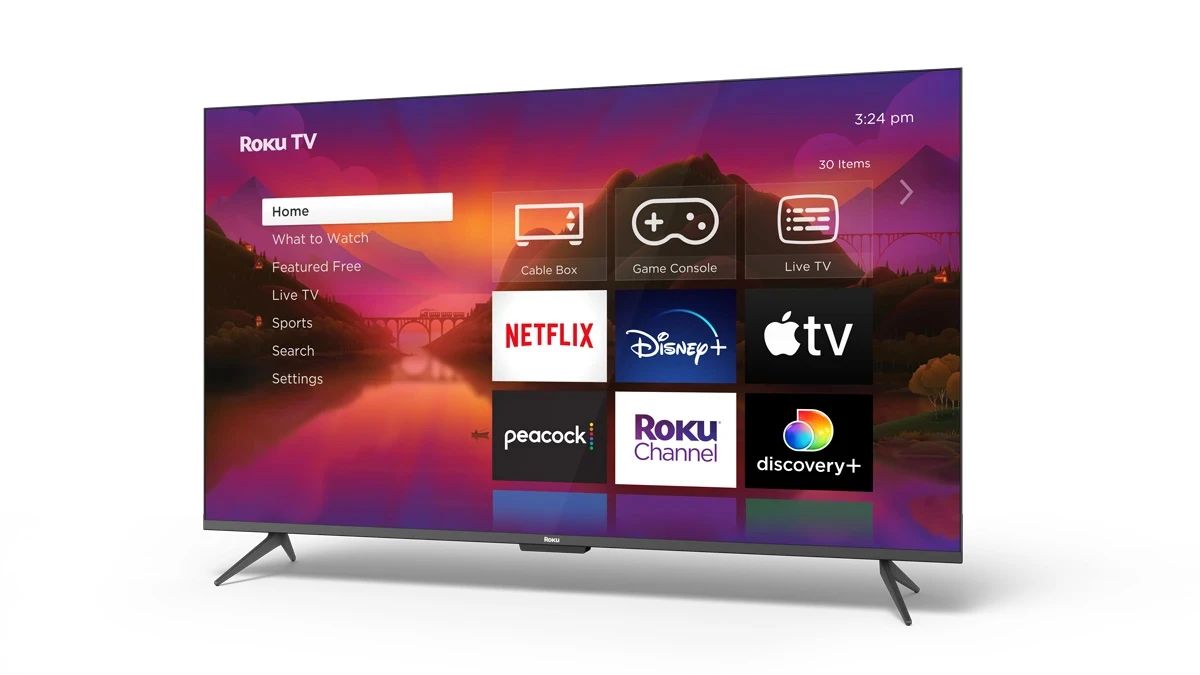
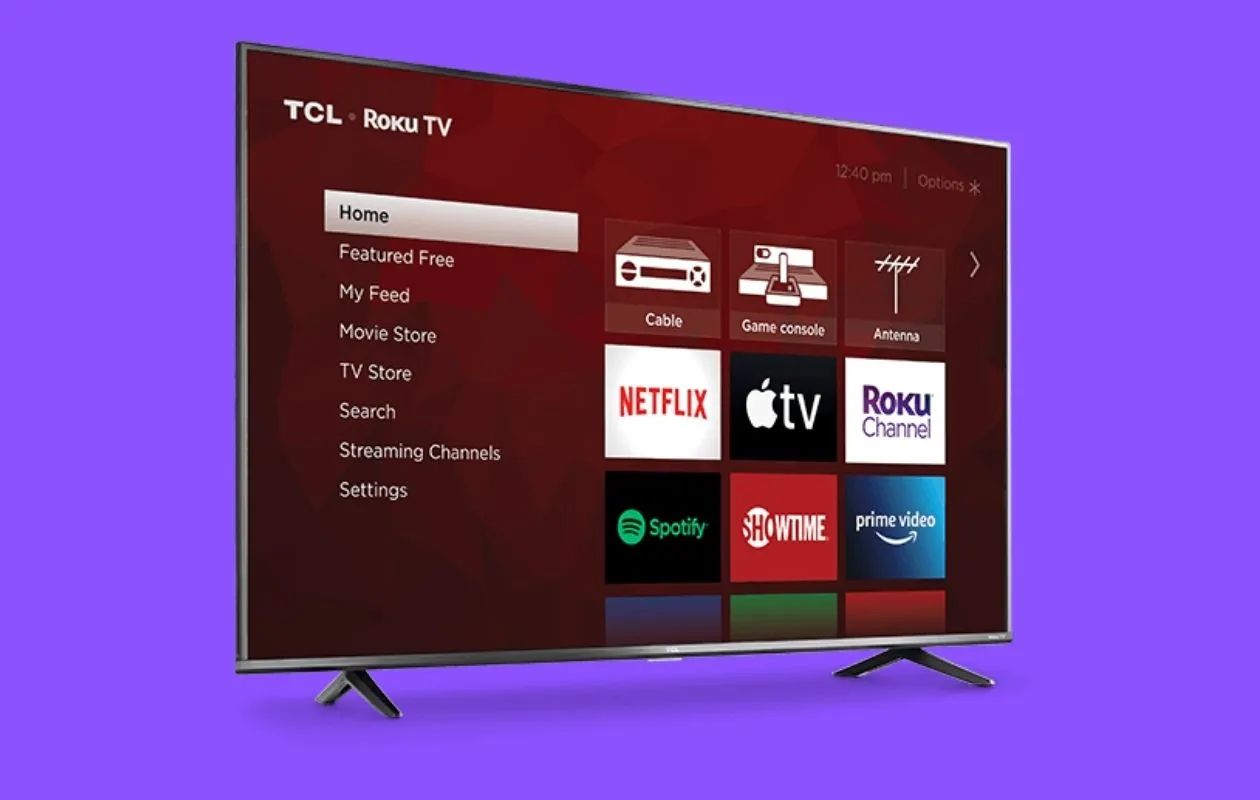
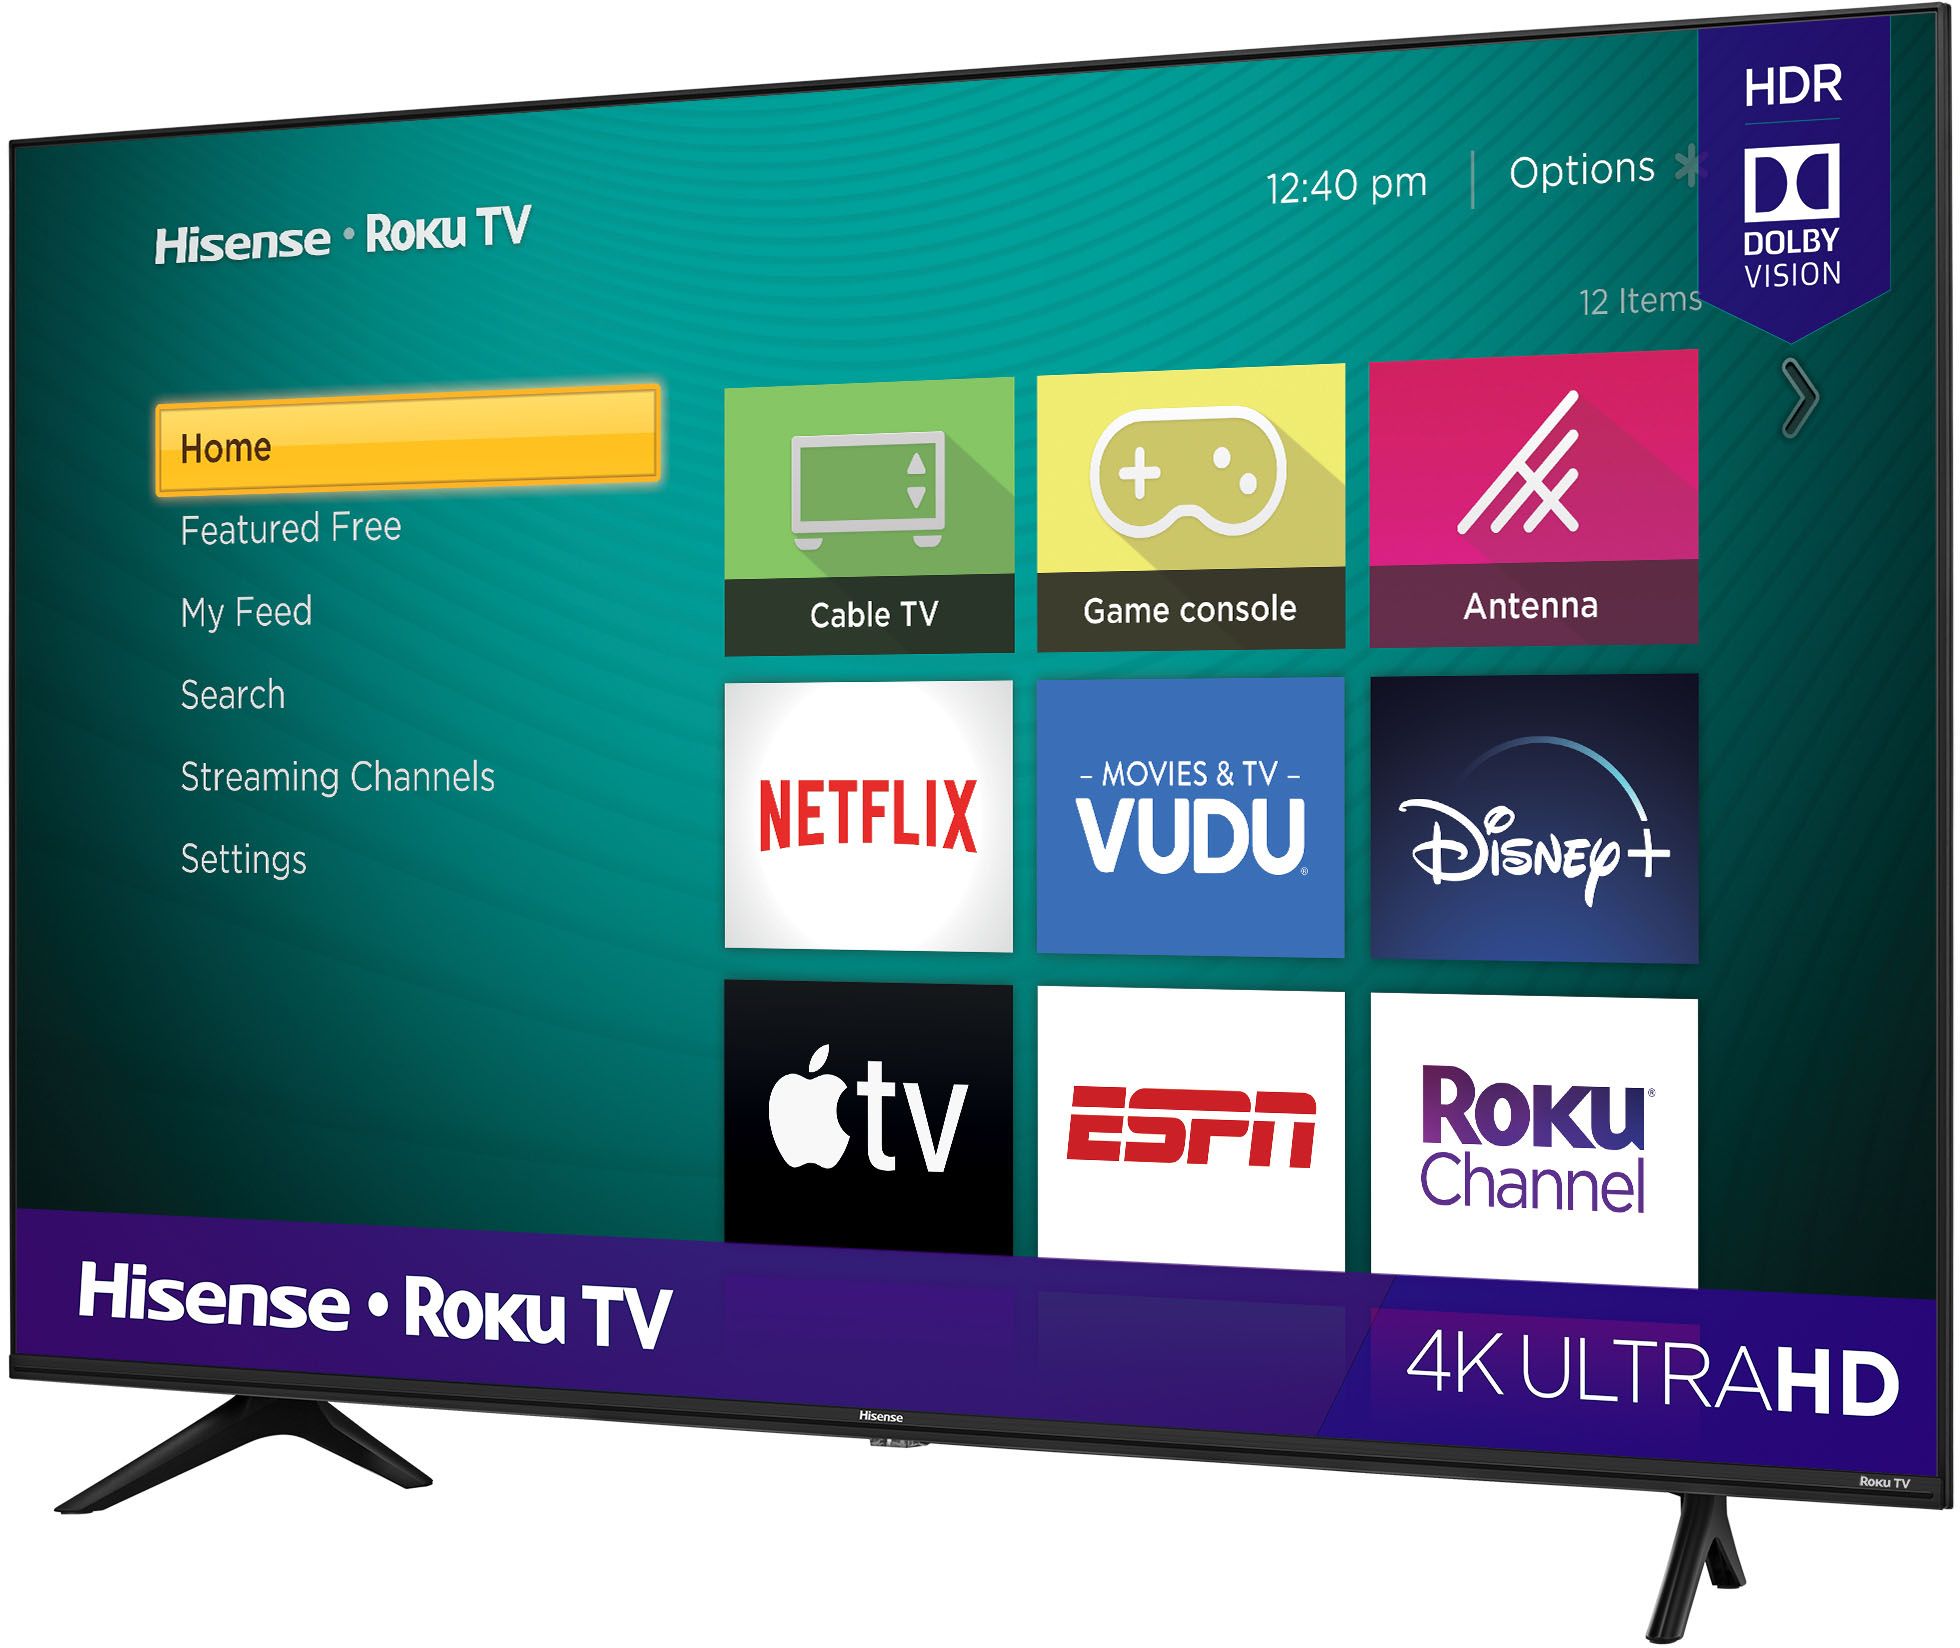
- Ensure your Roku TV is on the home screen: Make sure that your Roku TV is displaying the home screen, which features the Roku logo and various app icons.
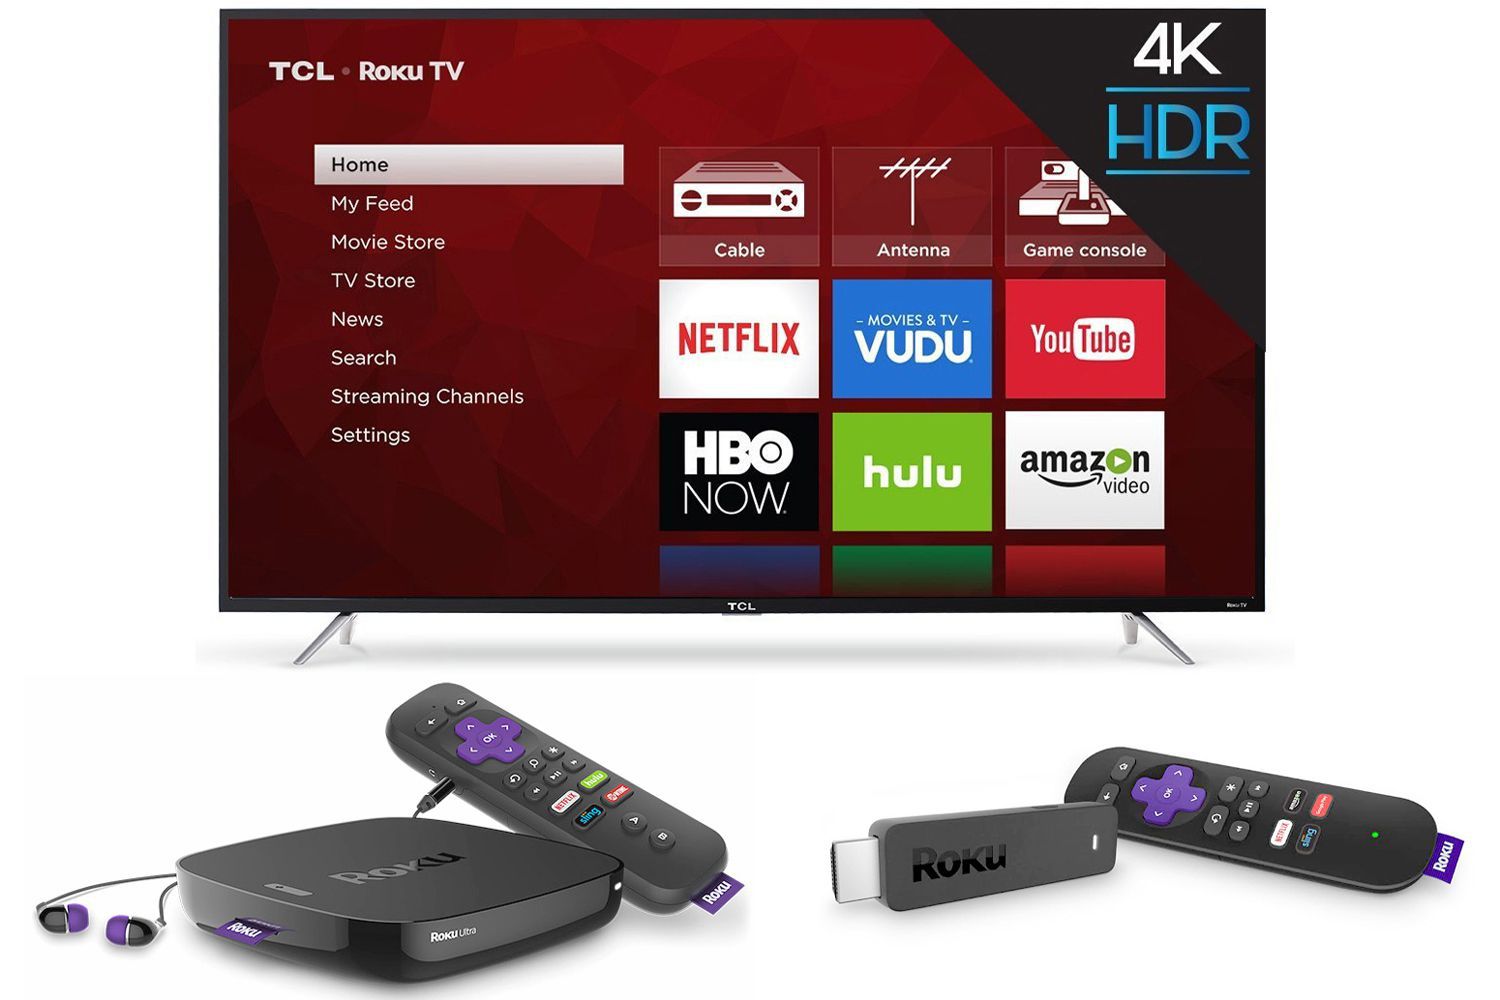
- Put the remote in pairing mode: On your new Roku remote, press and hold the pairing button located near the batteries. The pairing button may be labeled as “Pairing,” “Pair,” or have an icon resembling two curved arrows. Hold the button until the pairing LED light on the remote starts flashing.
- Wait for the TV to detect the remote: Your Roku TV will automatically start scanning and detecting the available remotes. Allow a few seconds for the TV to recognize the new remote in pairing mode.
- Connect the remote to your Roku TV: Once the TV detects the remote, it will display a message or an on-screen prompt asking you to press a specific button on the remote to complete the pairing process. Follow the on-screen instructions and press the suggested button.
- Wait for the pairing process to finish: After pressing the required button, wait for the TV to finalize the pairing process. Once completed, you should see an on-screen confirmation message.
Following these steps will successfully pair your new Roku remote with your Roku TV. If you have multiple Roku devices or TVs in the same vicinity, ensure that you are pairing the remote with the correct TV.
If the pairing process fails, make sure that the batteries in the remote have sufficient power and that no obstacles are blocking the communication between the remote and the TV. Restarting both the TV and the remote may also resolve any connectivity issues.
Step 4: Test the new Roku remote
After successfully pairing your new Roku remote with your Roku TV, it’s time to test whether the remote is functioning properly. Follow these steps to ensure that all the buttons and features of the remote are working:
- Navigate the Roku home screen: Use the directional buttons on the remote to navigate through the various menu options on the Roku home screen. Verify that the cursor moves smoothly and accurately.
- Select an app or channel: Choose an app or channel from the Roku home screen and press the OK or select button on the remote to launch it. Ensure that the selected app opens and starts playing without any issues.
- Test the playback controls: While streaming a video or media content, test the playback controls on the remote. Check if the play, pause, rewind, and fast forward buttons function as expected.
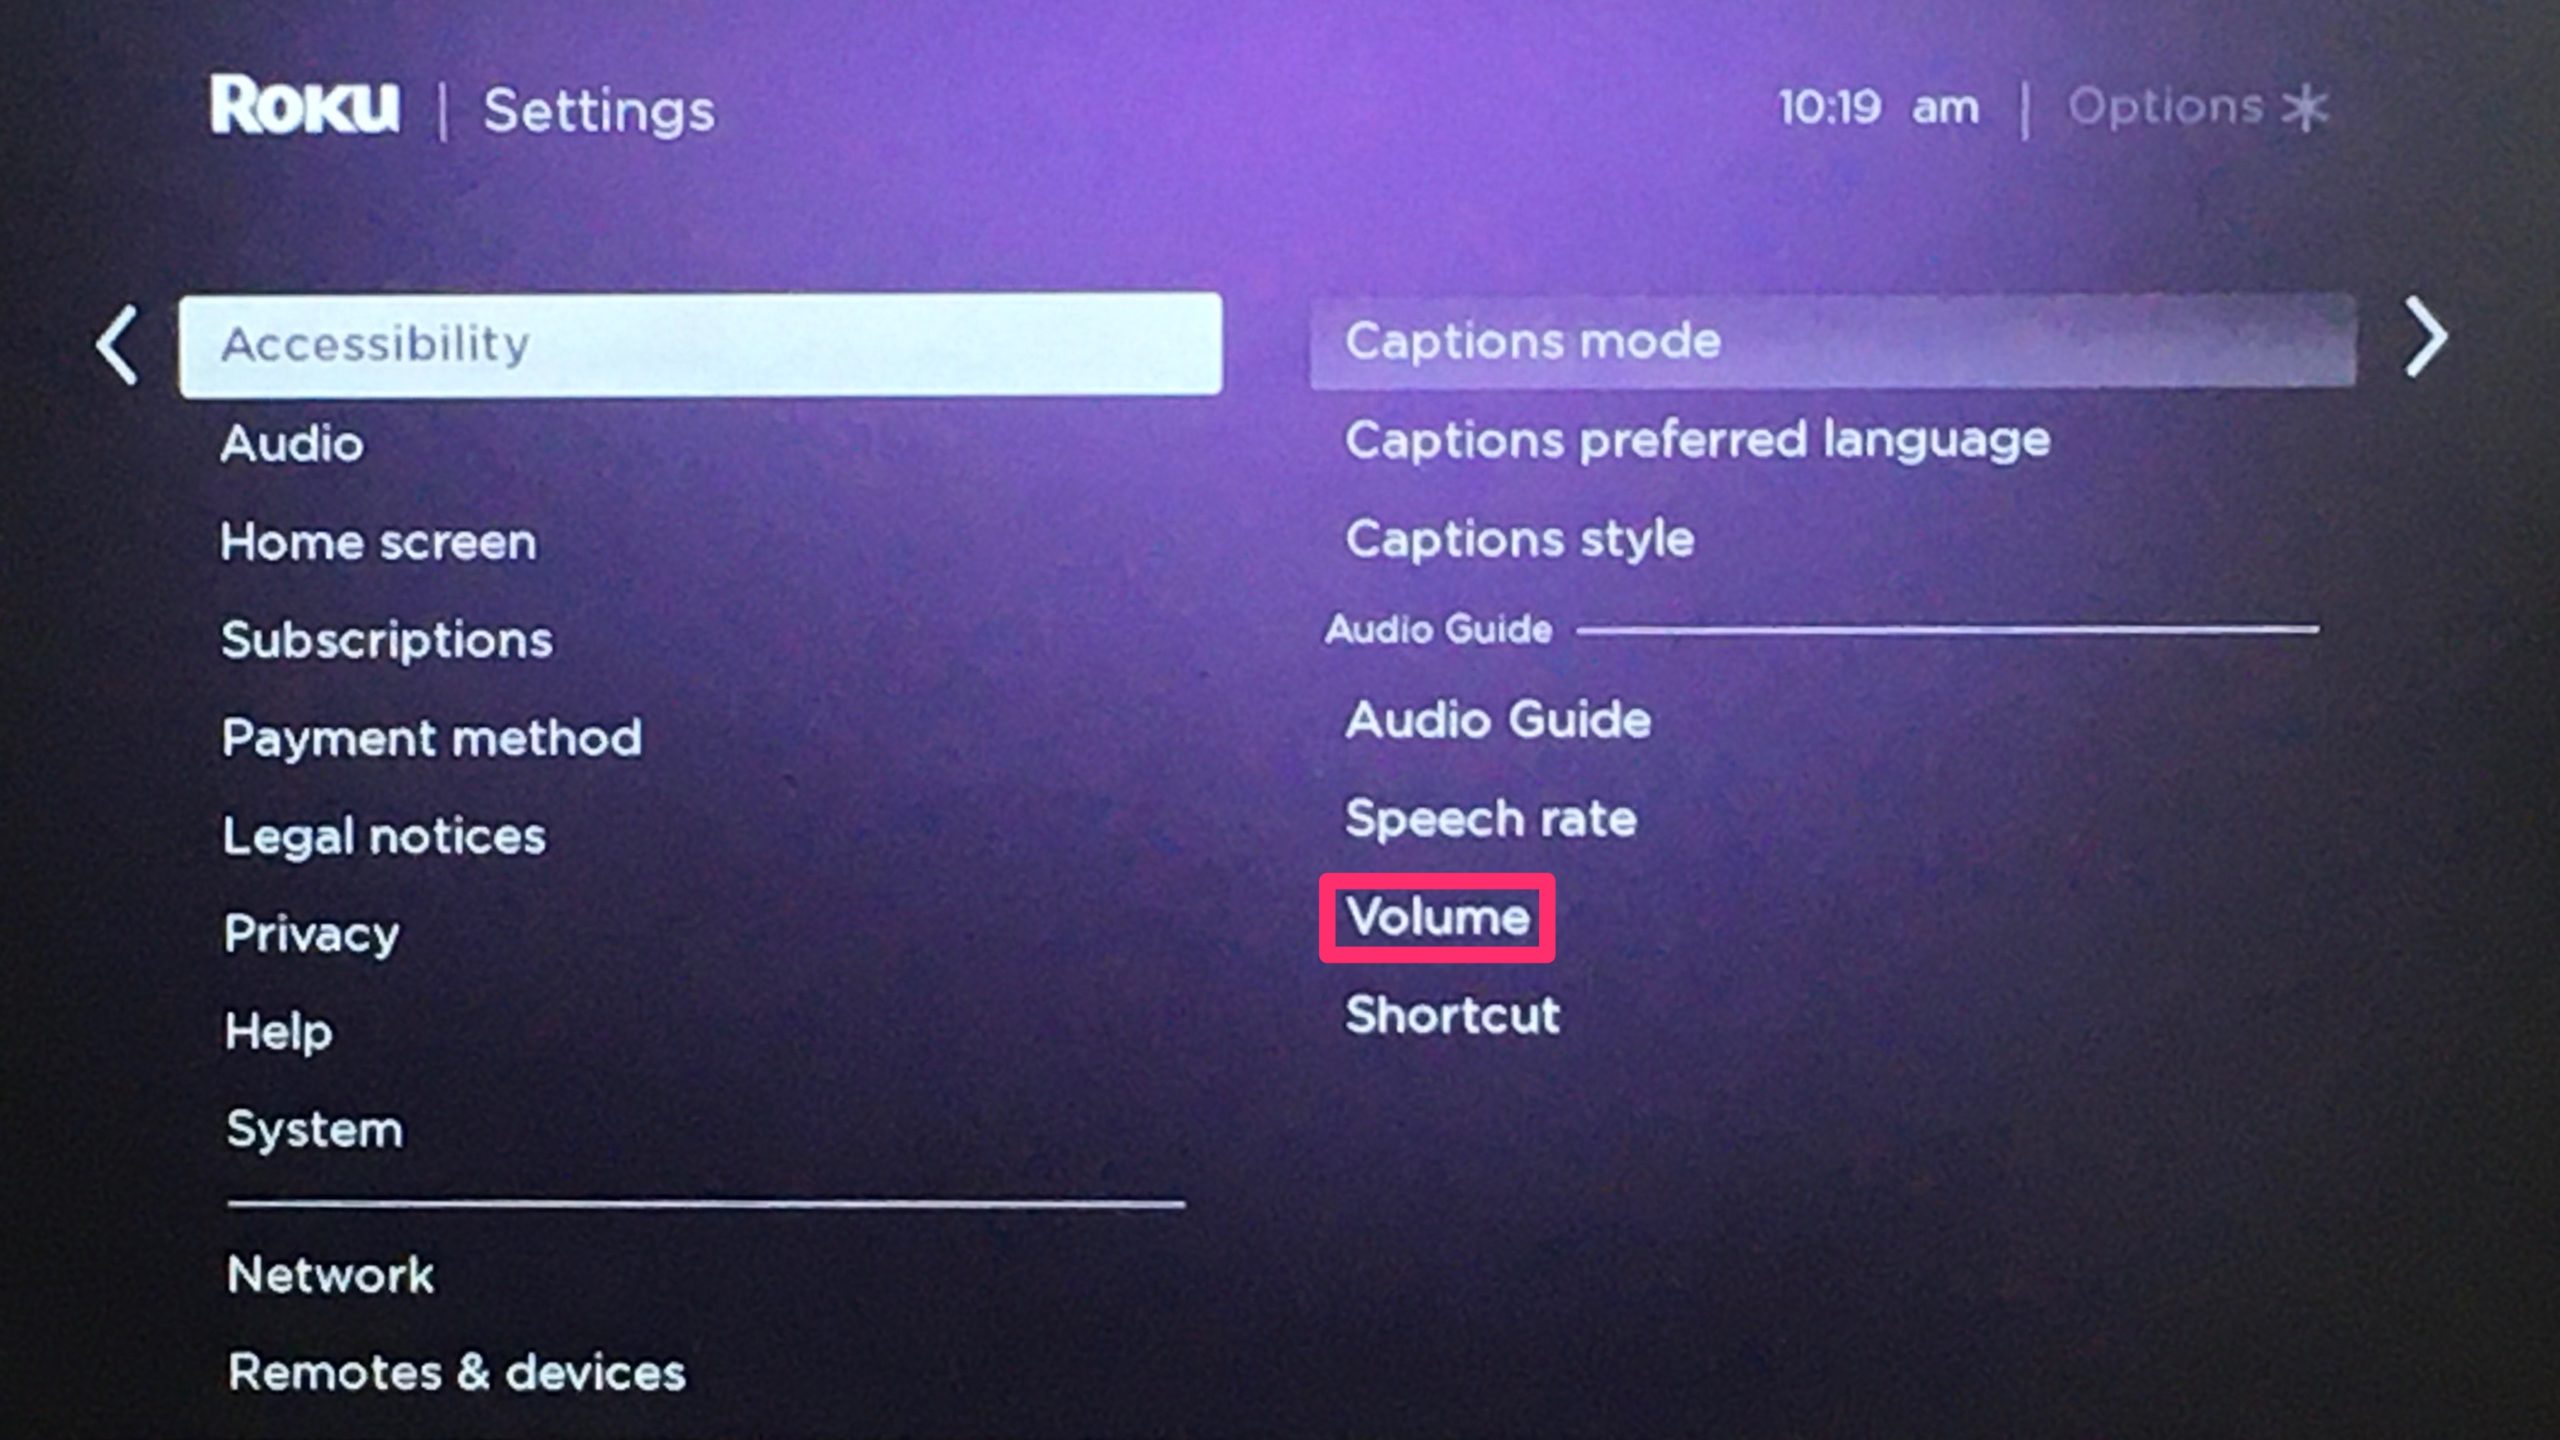
- Adjust the volume: Try adjusting the volume using the volume buttons on the remote. Ensure that the TV’s volume level changes accordingly.
- Access additional features: Explore any additional buttons or features on the remote, such as the home, back, options, or settings buttons. Test their functionality and make sure they perform the intended actions.
If you encounter any issues during the testing process, double-check the batteries in the remote to ensure they are properly inserted and have enough power. Additionally, verify that the remote is within the range of the Roku TV and that there are no obstructions blocking the signal.
If the remote still doesn’t work as expected, refer to the troubleshooting section in your Roku TV’s manual or contact Roku support for further assistance.
Congratulations! You have successfully connected and tested your new Roku remote with your Roku TV. Now you can enjoy the convenience of controlling your TV and accessing all the entertainment options at your fingertips.
Conclusion
Connecting a new Roku remote to your Roku TV is a straightforward process that allows you to regain control over your entertainment experience. By following the steps outlined in this guide, you can easily pair your remote with your TV and enjoy all the features and functionality Roku has to offer.
We began by preparing the new Roku remote, ensuring that the batteries were inserted correctly and any necessary buttons were activated. Then, we learned how to turn on the Roku TV and select the correct input source for optimal functionality.
Next, we explored the process of pairing the new Roku remote with the TV. By putting the remote in pairing mode and following the on-screen prompts, we successfully established a connection between the remote and the TV.
Finally, we tested the functionality of the new remote, ensuring that all buttons and features were working as intended. By navigating the Roku home screen, selecting apps or channels, and testing playback and volume controls, we confirmed that the new remote was fully operational.
If you encounter any difficulties during the setup or pairing process, refer to the user manual or troubleshooting section of your Roku TV. Additionally, don’t hesitate to reach out to Roku support for further assistance.
Now that you have successfully connected and tested your new Roku remote, you can enjoy the convenience and ease of controlling your Roku TV. Sit back, relax, and explore the vast entertainment options available at your fingertips.