Introduction
Are you a proud owner of a Roku TV and a Nintendo Wii gaming console? If so, you may be wondering how to connect your Wii to your Roku TV to enjoy your favorite games on the big screen. Look no further – this article will guide you through the step-by-step process of connecting your Wii to your Roku TV, allowing you to experience gaming in a whole new way.
The combination of the Wii’s motion-controlled gameplay and the high-definition display of a Roku TV creates an immersive gaming experience that the whole family can enjoy. Whether you want to revisit classic Wii games or explore new titles, connecting your Wii to your Roku TV opens up a world of entertainment possibilities. Plus, with the wide range of streaming services available on Roku, you can seamlessly transition from gaming to streaming your favorite TV shows and movies.
Before we dive into the step-by-step instructions, it’s important to note that not all Roku TVs are compatible with the Wii. However, most Roku TVs have at least one set of composite or component video inputs, which are required for connecting the Wii. It’s always a good idea to check the compatibility of your TV and the available input options before proceeding. Once you’ve determined compatibility, gather the necessary equipment, and get ready to embark on this exciting gaming journey.
Step 1: Check the TV and Wii compatibility
Before you begin, it’s crucial to ensure that your Roku TV and Nintendo Wii are compatible with each other. While most Roku TVs support Wii connectivity, it’s always a good idea to double-check to avoid any disappointment. Here’s how you can check the compatibility:
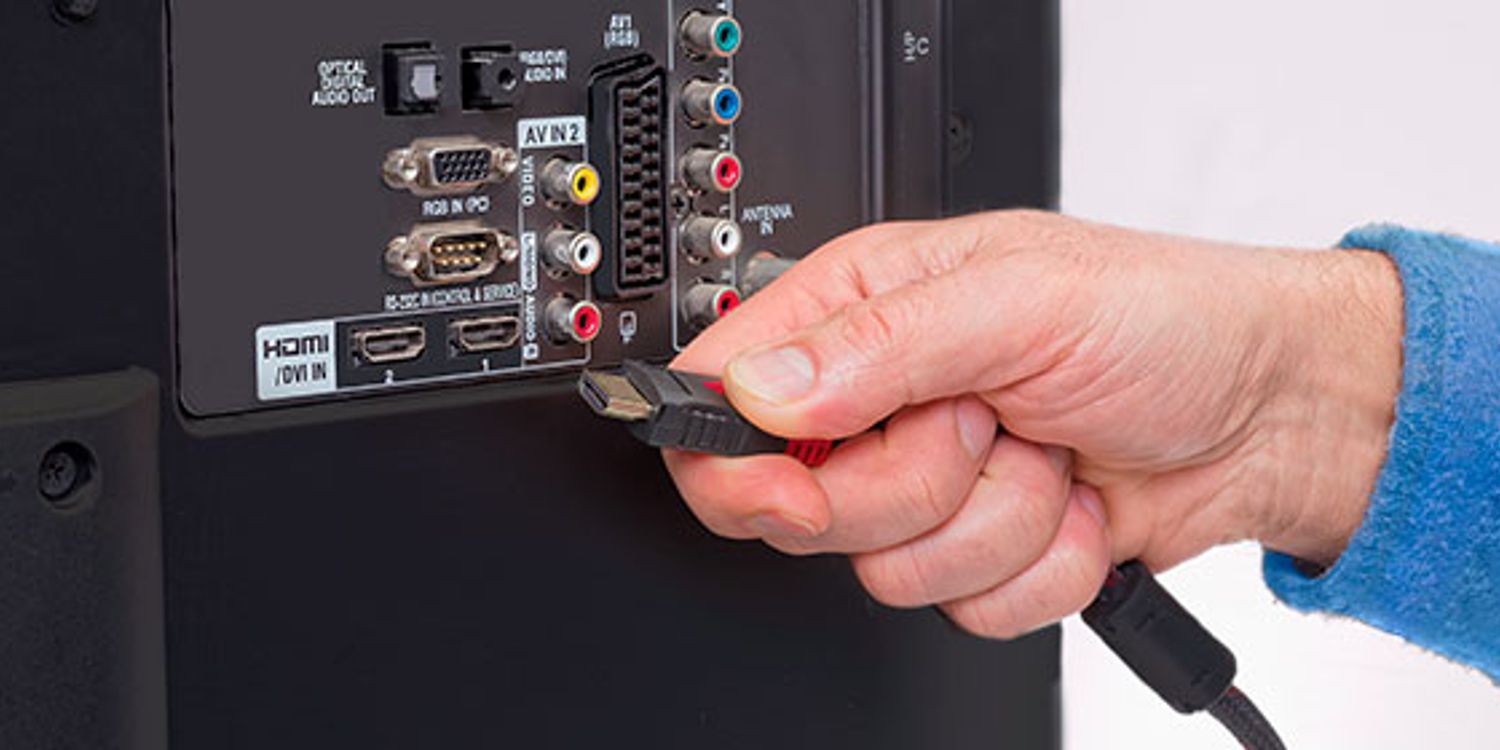
1. Examine your Roku TV’s input options: Look at the back of your Roku TV and identify the available inputs. The Wii requires either composite or component video inputs, usually denoted by colored jacks – red, white, and yellow for composite, and red, green, blue, red, and white for component. If your Roku TV doesn’t have these inputs, it may not be compatible with the Wii.
2. Check the model of your Wii: Take a look at the back of your Wii console and find the model number. Older Wii models have a dedicated AV Multi Out port, while newer models may have a proprietary Wii AV port. Ensure that your Wii’s output matches the input options on your Roku TV to establish a successful connection.
3. Consult the user manuals: If you’re still uncertain about compatibility, refer to the user manuals for both your Roku TV and Nintendo Wii. These manuals often provide details about the supported connections and any specific instructions for integrating devices.
By confirming the compatibility of your Roku TV and Wii, you’ll ensure a seamless connection process without any unexpected roadblocks. If your devices are compatible, move on to the next step where we’ll gather the necessary equipment for the connection process.
Step 2: Gather the necessary equipment
Now that you’ve confirmed the compatibility of your Roku TV and Nintendo Wii, it’s time to gather the necessary equipment for the connection. Here’s what you’ll need:
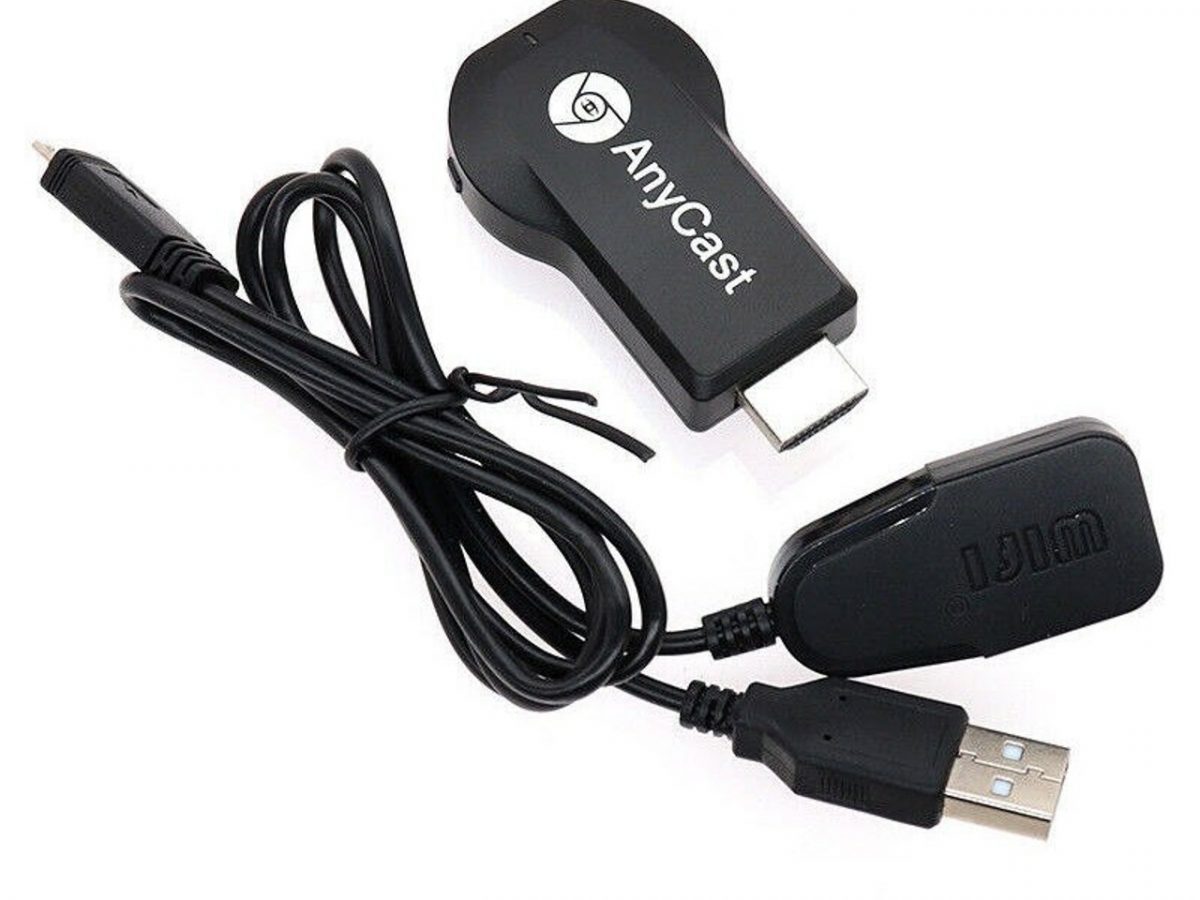
1. HDMI cable (optional): If your Roku TV and Wii support HDMI connectivity, you can use an HDMI cable for a high-definition gaming experience. This is recommended if both your devices have HDMI ports. However, if your Roku TV or Wii only has composite or component video inputs, you won’t need an HDMI cable.
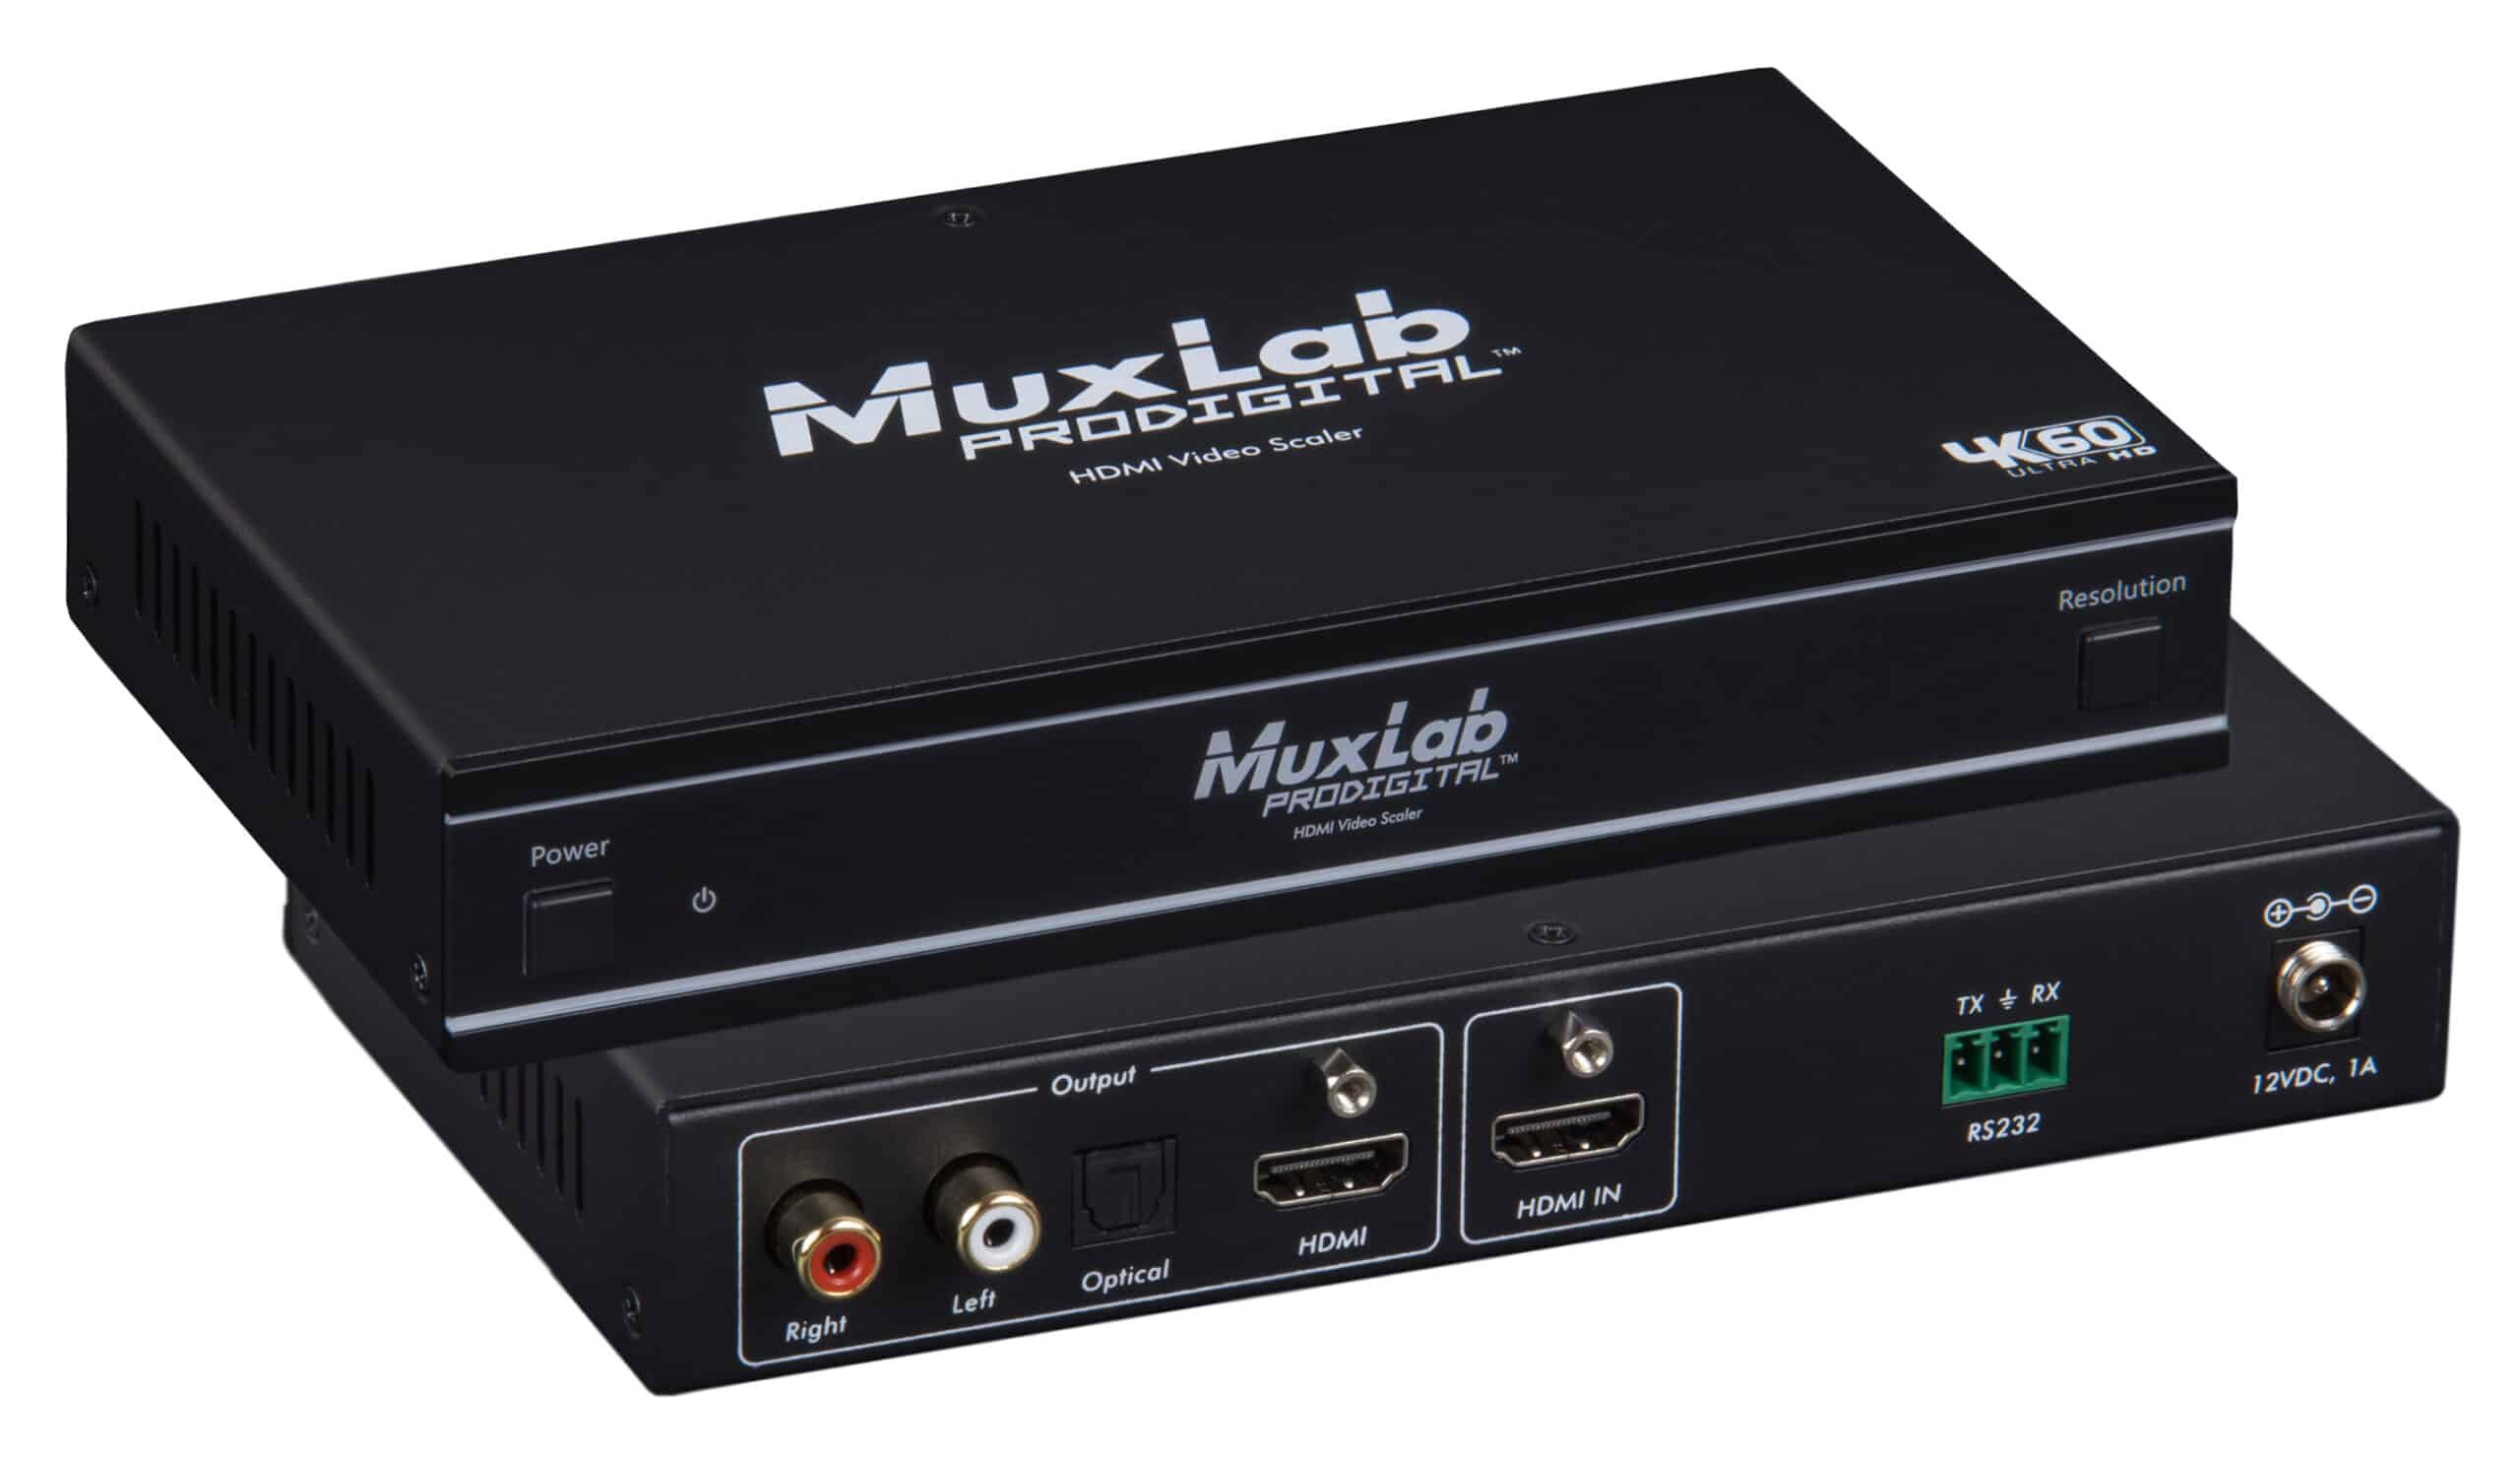
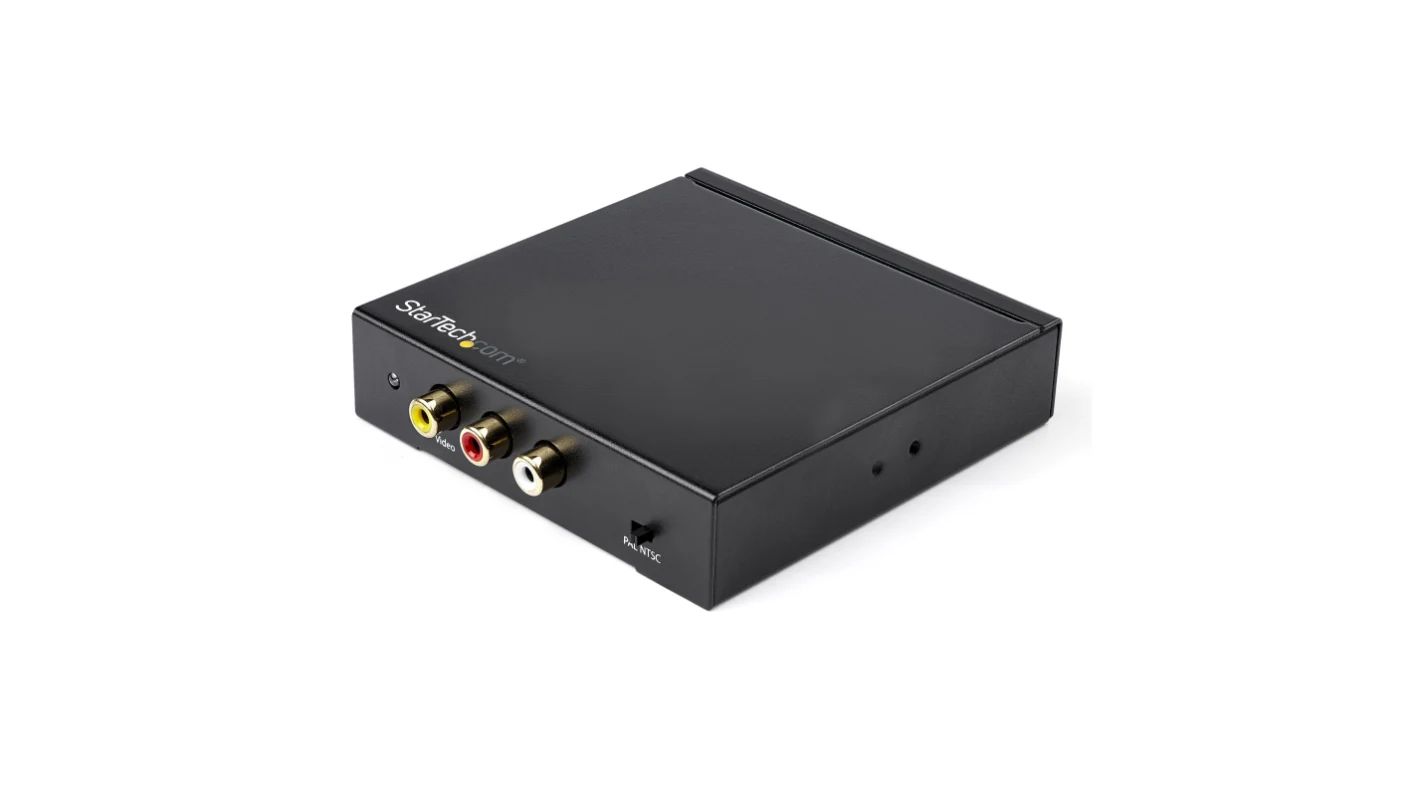
2. Composite or component video cables: These cables are essential for connecting your Wii to your Roku TV. If your Roku TV has composite inputs, you’ll need a composite video cable, which has yellow, white, and red connectors. If your Roku TV has component inputs, you’ll need a component video cable with red, green, and blue connectors for video, and red and white connectors for audio.
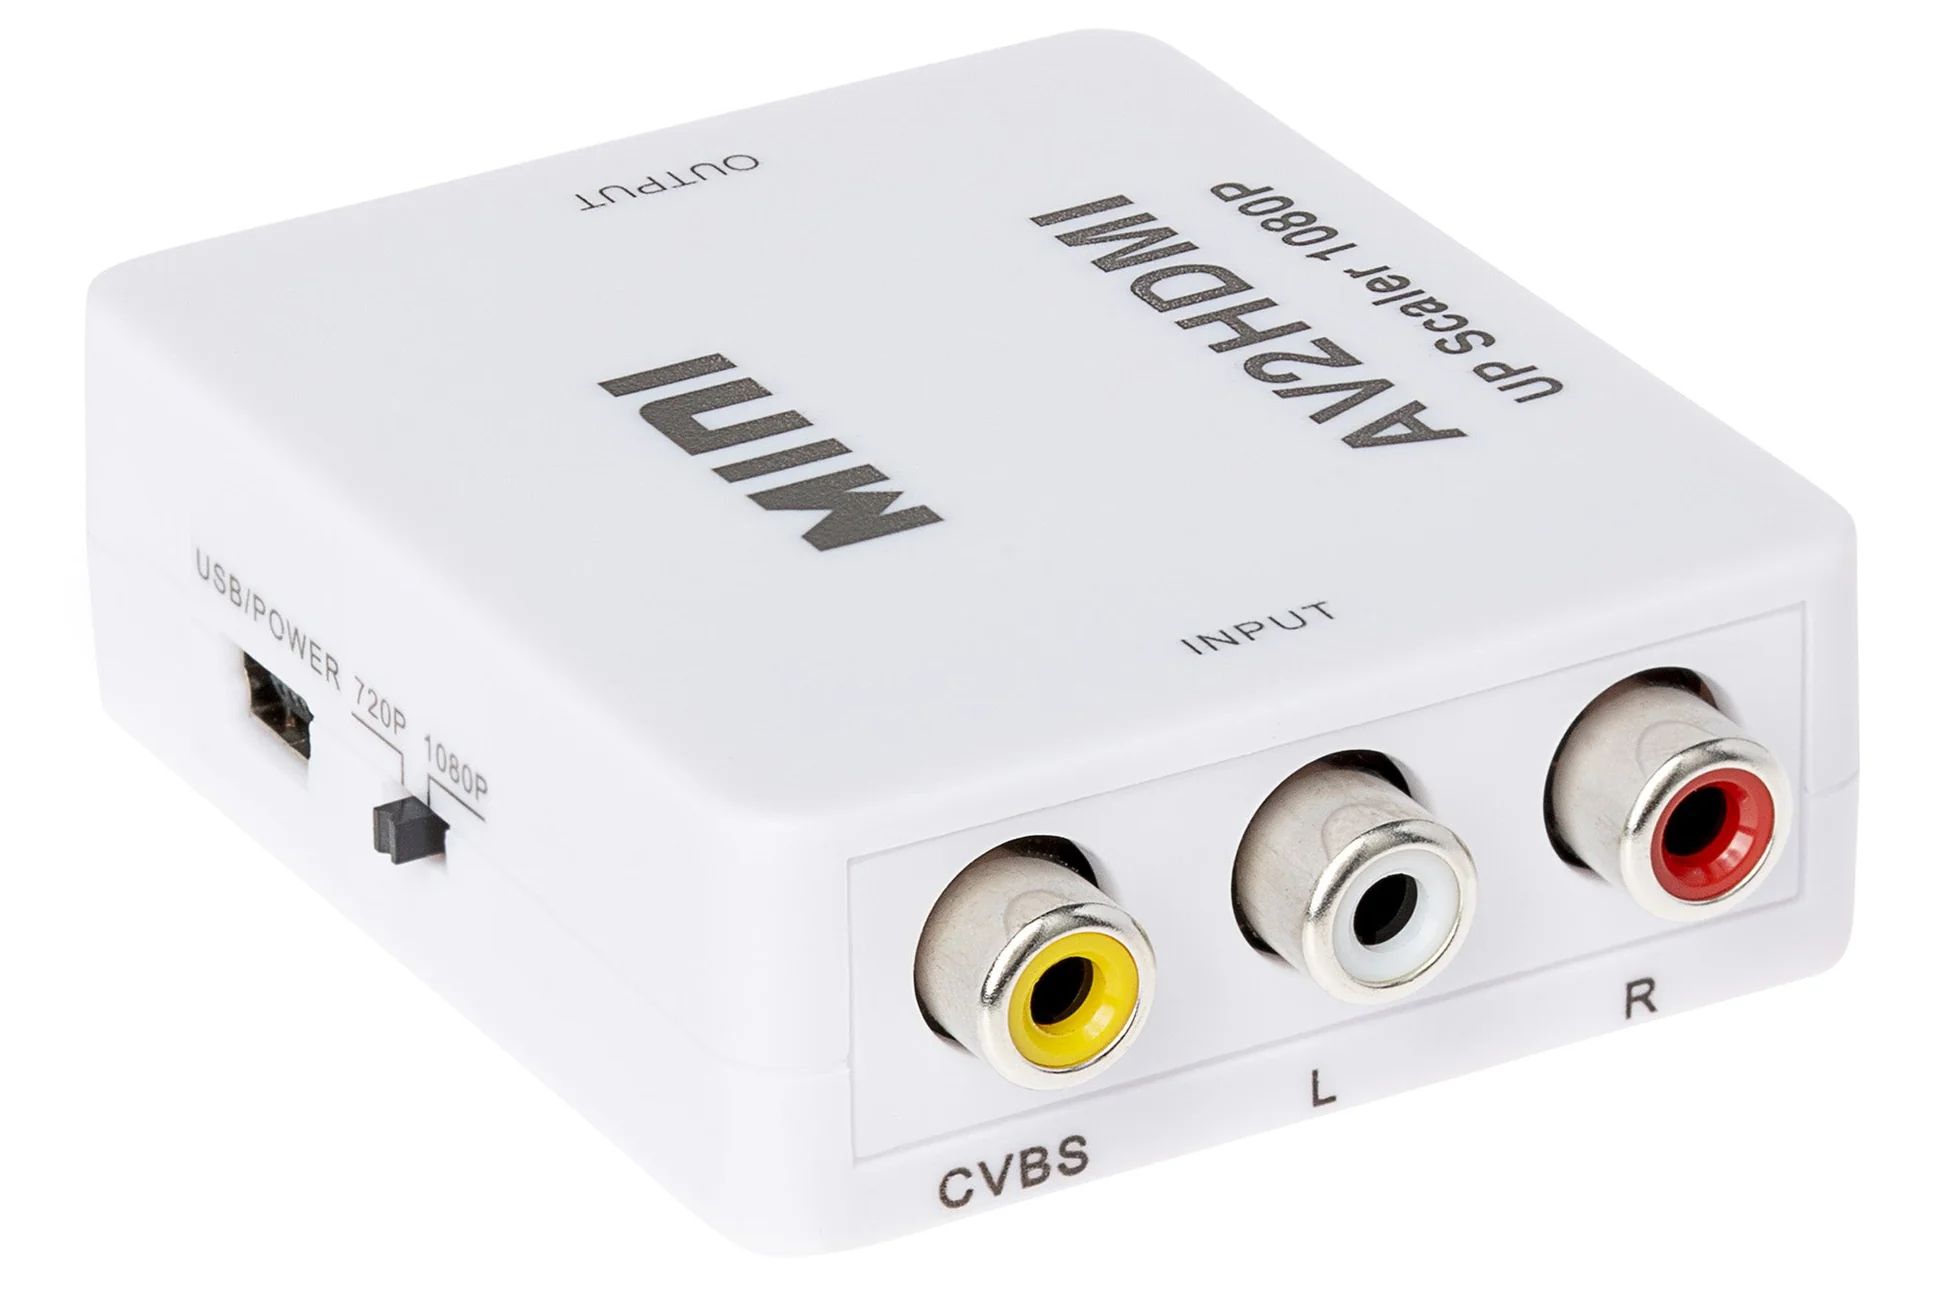
3. Audio adapter (optional): Some newer Roku TVs may not have separate audio inputs for the Wii. In this case, you’ll need an audio adapter that combines the audio from the Wii’s AV Multi Out or Wii AV port into a single audio input on your Roku TV.
4. Power cables: Ensure you have the power cables for both your Roku TV and Wii readily available. These cables are necessary for providing power to your devices.
5. Wii sensor bar: Don’t forget to locate your Wii sensor bar. This is crucial for accurately detecting the Wii Remote’s movements during gameplay. The Wii sensor bar usually comes with the Wii console, but if you can’t find it, you can purchase a replacement online or in electronics stores.
By gathering these essential items, you’ll be fully equipped to proceed with connecting your Wii to your Roku TV. Ensuring that you have all the necessary equipment beforehand will save you time and frustration during the installation process. Now, let’s move on to the next step, which involves connecting the Wii to your Roku TV.
Step 3: Connect the Wii to the Roku TV
Now that you have gathered all the necessary equipment, it’s time to connect your Nintendo Wii to your Roku TV. Follow these step-by-step instructions to establish the connection:
1. Locate the AV Multi Out or Wii AV port on the back of your Wii console. If you’re using an HDMI cable, connect one end to the HDMI port on your Wii instead.
2. Identify the composite or component video inputs on your Roku TV. These are usually color-coded and labeled “AV IN,” “Composite IN,” or “Component IN.”
3. Connect the appropriate video cable (composite or component) from the AV Multi Out or Wii AV port on your Wii to the corresponding video inputs on your Roku TV. If you’re using an HDMI cable, connect one end to the HDMI port on your Roku TV.
4. If you’re using a separate audio adapter, connect the audio cables from the Wii’s AV Multi Out or Wii AV port to the audio input on your Roku TV. If your Roku TV has a dedicated audio input, you can connect the audio cables directly.
5. Plug in the power cables for both your Wii and Roku TV and turn them on. Ensure that your Roku TV is set to the correct input source for the Wii.
6. Place the Wii sensor bar above or below your Roku TV. This will allow the Wii Remote to accurately detect your movements during gameplay.
With these steps completed, you have successfully connected your Nintendo Wii to your Roku TV. Now, it’s time to move on to the next step – configuring the input settings on your Roku TV to ensure optimal display quality while using the Wii.
Step 4: Configure the input settings on Roku TV
Now that you have connected your Wii to your Roku TV, it’s important to configure the input settings on your Roku TV to ensure the best display quality for your gaming experience. Follow these steps to optimize your input settings:
1. Turn on your Roku TV and navigate to the home screen by pressing the Home button on your Roku TV remote.
2. Using the arrow keys on your remote, scroll and select “Settings” from the Roku TV home screen.
3. In the Settings menu, select “TV Inputs” and then choose the input source that corresponds to the Wii connection.
4. Once you have selected the input source, you will see options to adjust the picture settings. It’s recommended to set the display mode to “Normal” or “Full” for optimal picture quality.
5. If your Roku TV has advanced picture settings, you can further fine-tune the display by adjusting settings like brightness, contrast, and color saturation. Experiment with these settings until you find your desired display configuration.
6. Additionally, you may find an option to enable “Game Mode” or a similar setting. Enabling Game Mode can help reduce input lag, resulting in a more responsive gaming experience.
By configuring the input settings on your Roku TV, you can enhance the visual quality of your Wii gameplay. Don’t be afraid to experiment with different settings and find the configuration that suits your preferences. Once you have adjusted the input settings, you’re ready to move on to the next step – setting up the Wii on your Roku TV system menu.
Step 5: Set up the Wii on the Roku TV
After configuring the input settings on your Roku TV, it’s time to set up the Wii on your Roku TV’s system menu. Follow these steps to complete the setup process:
1. Grab your Wii Remote and press the power button to turn on the Wii console.
2. On your Roku TV remote, press the Home button to access the Roku TV home screen.
3. Navigate to the Roku TV system menu by selecting “Settings” and then “System” from the home screen.
4. In the system menu, choose “Input devices” and select “Wii” as the connected input device.
5. Follow the on-screen prompts to complete the setup process for the Wii. This may include activities such as syncing the Wii Remote, calibrating motion controls, or setting up a Wii Shop account, if necessary. Pay attention to any specific instructions displayed on your Roku TV screen and follow them accordingly.
6. Once the setup process is complete, you should see the Wii menu displayed on your Roku TV screen. You are now ready to start enjoying your favorite Wii games on your Roku TV.
It’s worth noting that some Wii games may require additional setup steps or adjustments within the game itself. Follow the instructions provided with each game to ensure optimal gameplay.
With the Wii successfully set up on your Roku TV, you’re almost ready to embark on a gaming adventure. However, before you fully dive in, make sure to test the connection and adjust any necessary settings to ensure the best possible gaming experience. This will be covered in the next step.
Step 6: Test the connection and adjust settings
Now that you have set up your Wii on your Roku TV, it’s important to test the connection and make any necessary adjustments to ensure a smooth gaming experience. Follow these steps to test the connection and fine-tune the settings:
1. Grab your Wii Remote and navigate through the Wii menu to find a game or application that you want to play. Launch the game or application and check if it loads properly on your Roku TV screen.
2. Play a game or interact with the Wii application to test the responsiveness of the Wii Remote. Ensure that the Wii Remote accurately detects your movements and actions.
3. Check the audio output of your Wii on your Roku TV. Adjust the volume settings on your Roku TV remote to ensure clear and audible sound during gameplay.
4. If you encounter any issues, such as lagging, audio distortion, or visual anomalies, try adjusting the picture and audio settings on your Roku TV. Experiment with different configurations, such as brightness, contrast, and audio equalizer settings until you find the optimal settings for your gameplay.
5. Take note of any specific gameplay preferences or settings within the Wii games themselves. Some games may offer options to adjust controls, display settings, or sound options. Explore the settings within each game to personalize your gaming experience.
By testing the connection and adjusting the settings, you can ensure an optimal gaming experience on your Roku TV. Take your time to explore different configurations and fine-tune the settings to achieve the best possible visuals, audio, and gameplay responsiveness.
Now that you have successfully connected and tested your Wii on your Roku TV, you can enjoy hours of immersive gaming fun. Gather your favorite Wii games, invite friends or family to join, and unlock the full potential of your gaming experience on the big screen. Happy gaming!
Conclusion
Connecting your Nintendo Wii to your Roku TV opens up a whole new world of gaming possibilities. With the immersive display and seamless integration, you can now enjoy your favorite Wii games on a larger screen with enhanced visuals and audio. By following the step-by-step guide in this article, you have successfully connected your Wii to your Roku TV and configured the settings for optimal performance.
The process involved checking the compatibility of your TV and Wii, gathering the necessary equipment, connecting the devices, configuring the input settings, setting up the Wii on the Roku TV system menu, testing the connection, and adjusting the settings as needed. Each step was designed to ensure a smooth and enjoyable gaming experience.
Remember, as you play games, you may encounter different gameplay preferences or specific options within each Wii game. Take the time to explore these settings to personalize your experience further. With the Wii connected to your Roku TV, you can now enjoy hours of fun gaming sessions, whether you choose to play alone, with friends, or with your family.
So, fire up your favorite Wii games, grab your Wii Remote, and immerse yourself in a world of gaming adventure on your Roku TV. Whether you’re a seasoned gamer or just starting your gaming journey, connecting your Wii to your Roku TV will undoubtedly elevate your gaming experience and provide countless hours of entertainment.
Now, go ahead and enjoy the excitement, thrills, and challenges that the world of Wii gaming has to offer on your Roku TV!