Introduction
Welcome to the world of Roku, where endless entertainment awaits at the click of a button. One of the great features of Roku devices is the ability to customize various settings, including the name of your Roku TV. Whether you want to personalize it to reflect your personality or make it easier for others to identify your device on the network, changing the Roku TV name is a simple process that can be done in just a few steps.
By changing the name of your Roku TV, you can easily differentiate it from other devices on your network. This can be particularly helpful if you have multiple Roku devices or if you’re sharing a network with other Roku users. Additionally, changing the Roku TV name can give it a personal touch, making it feel more like your own and adding a touch of uniqueness.
If you’re new to Roku or just unfamiliar with the process, don’t worry – we’ve got you covered! In this guide, we’ll take you through the step-by-step process of changing the name of your Roku TV. Whether you’re using a Roku streaming stick, Roku Express, or any other Roku device, the process is the same.
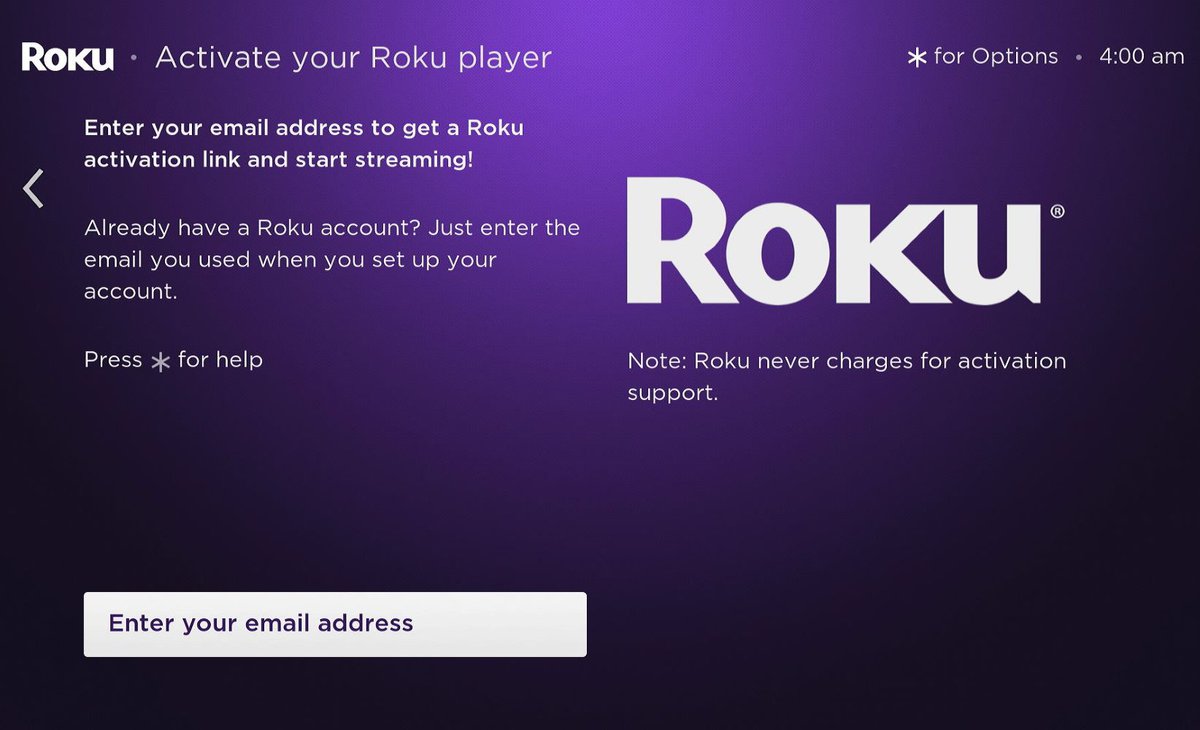
Before we dive into the steps, it’s worth noting that you’ll need to have a Roku account and be signed in to your device to make changes to the TV name. If you haven’t set up a Roku account yet, don’t worry; it’s a quick and easy process. Simply visit the Roku website and follow the instructions to create an account and link your device.
Now that you’re ready, let’s get started on changing the name of your Roku TV!
Step 1: Access the Roku settings menu
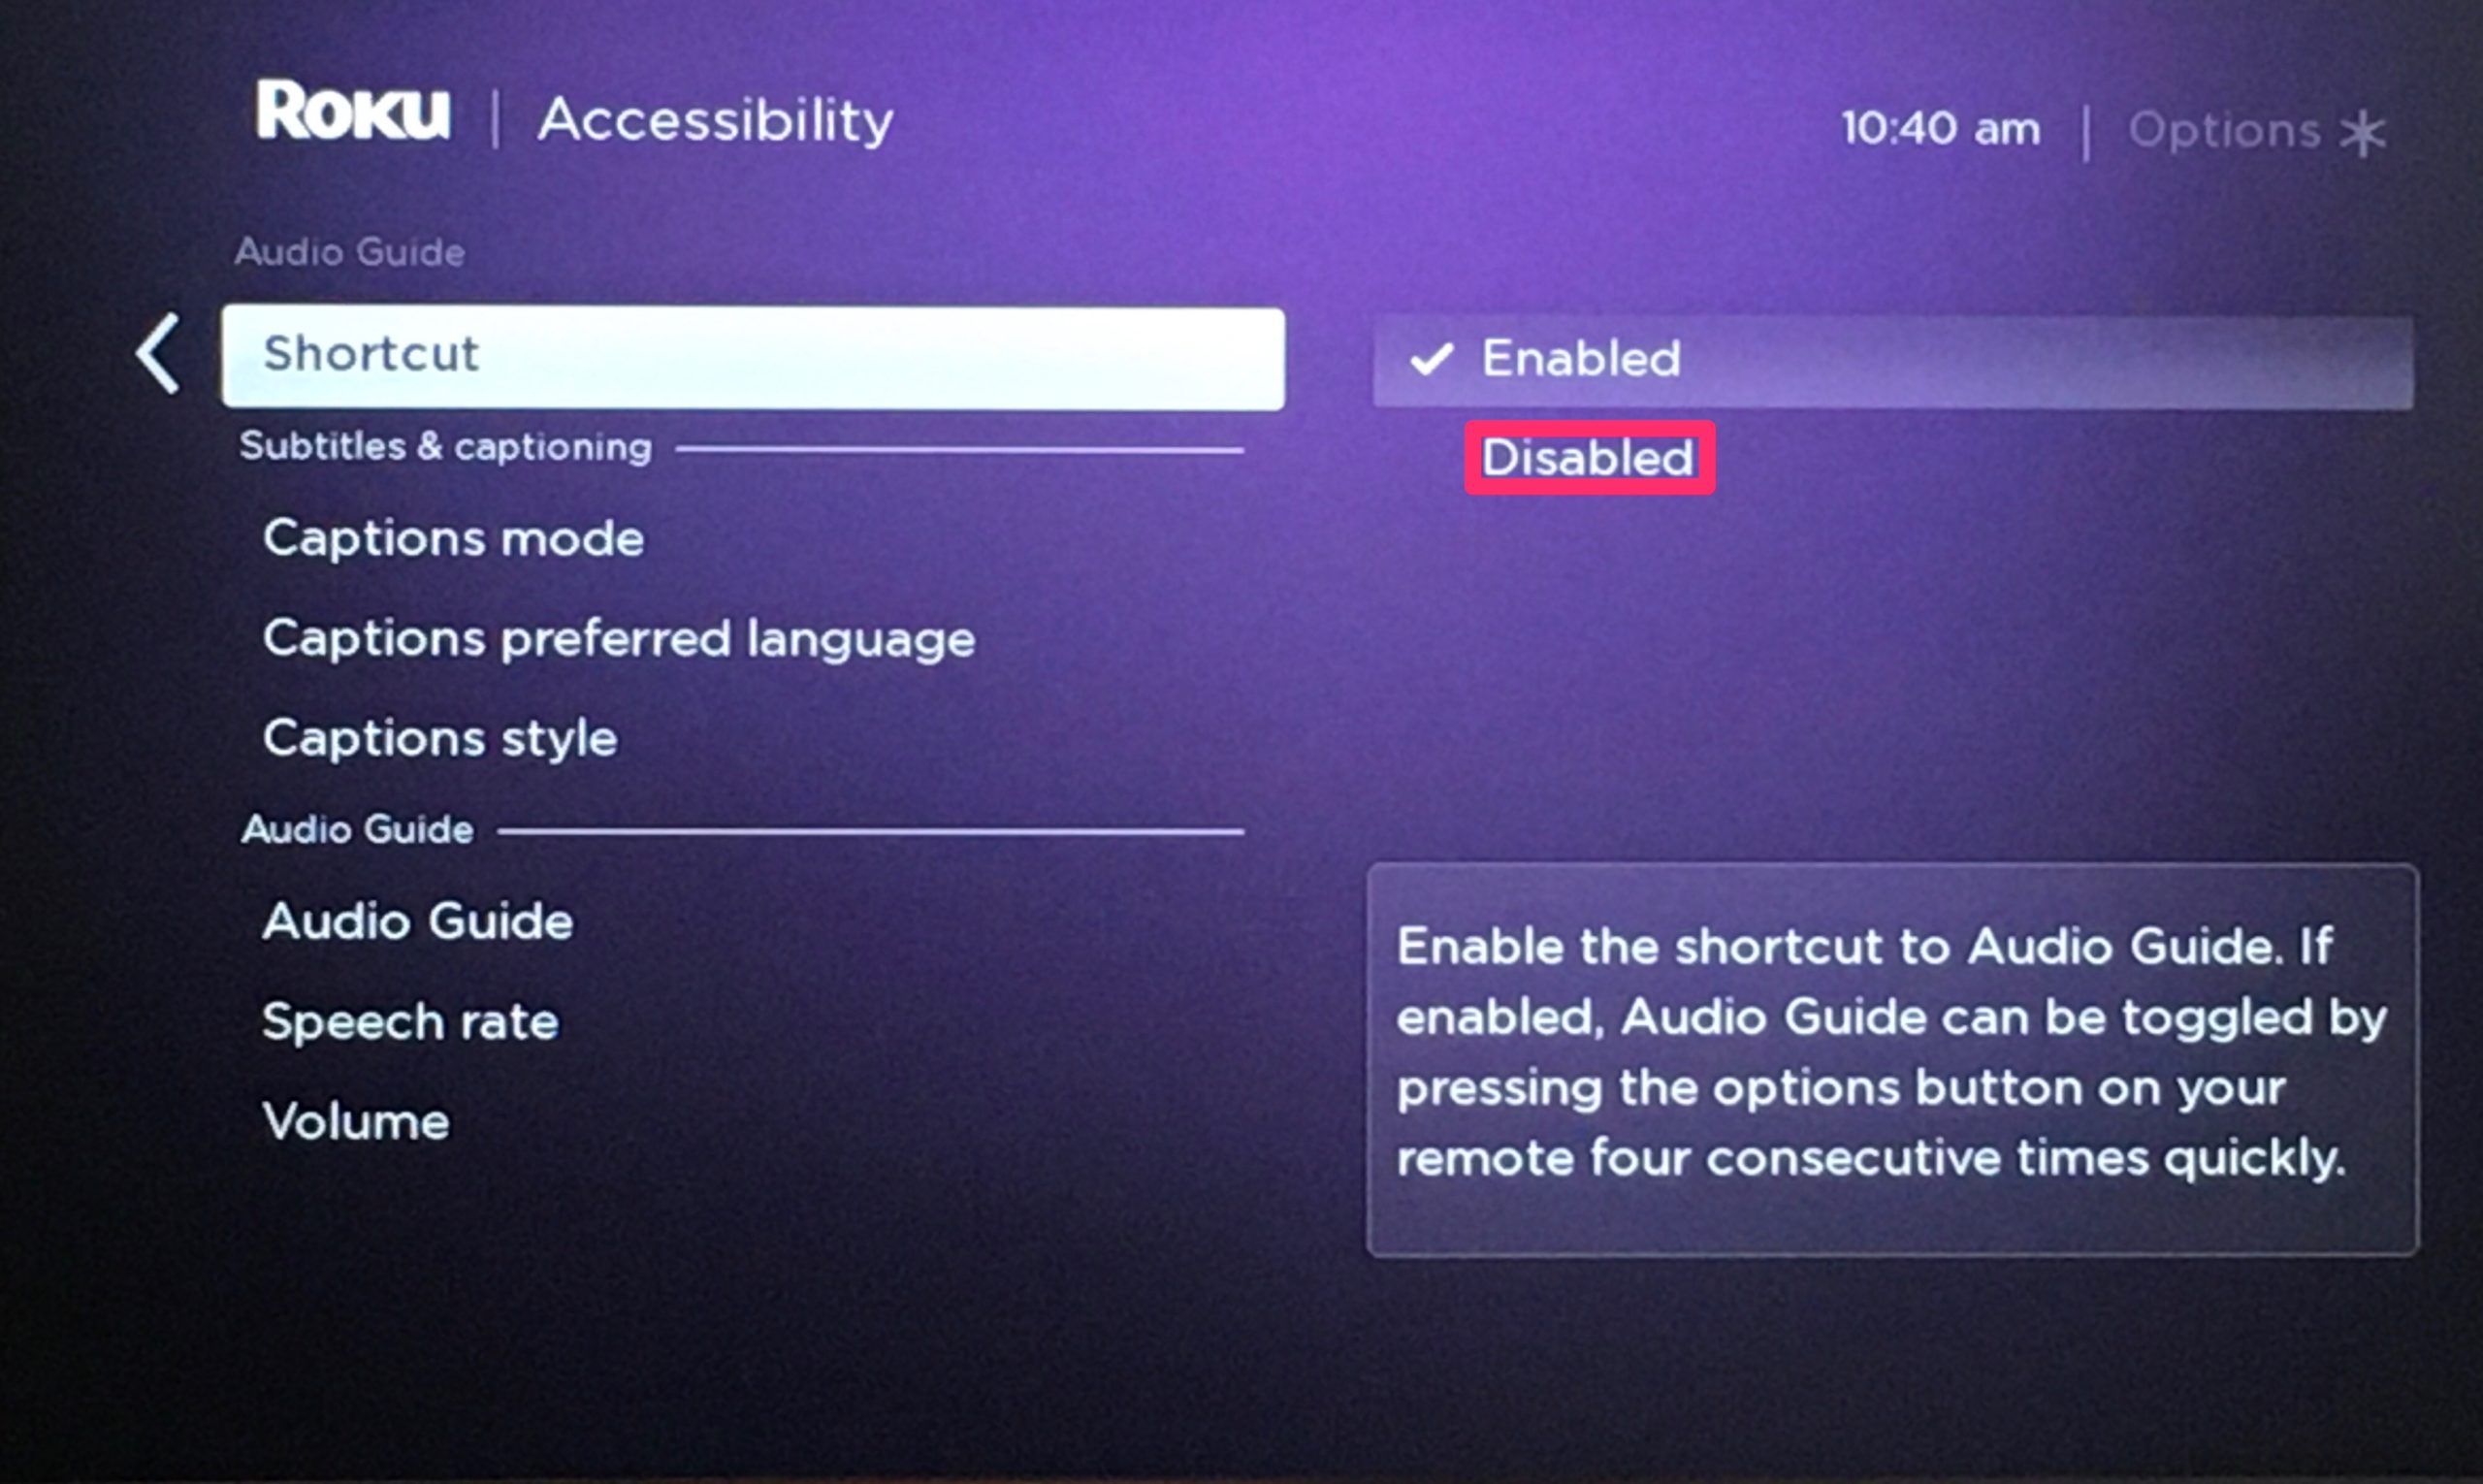
The first step in changing the name of your Roku TV is to access the settings menu. This is where you can make various adjustments and customization options for your Roku device.
To access the settings menu, start by turning on your Roku TV and grabbing the remote control. Make sure you’re within range and that the remote is paired with your device. Once you’re ready, follow these simple steps:
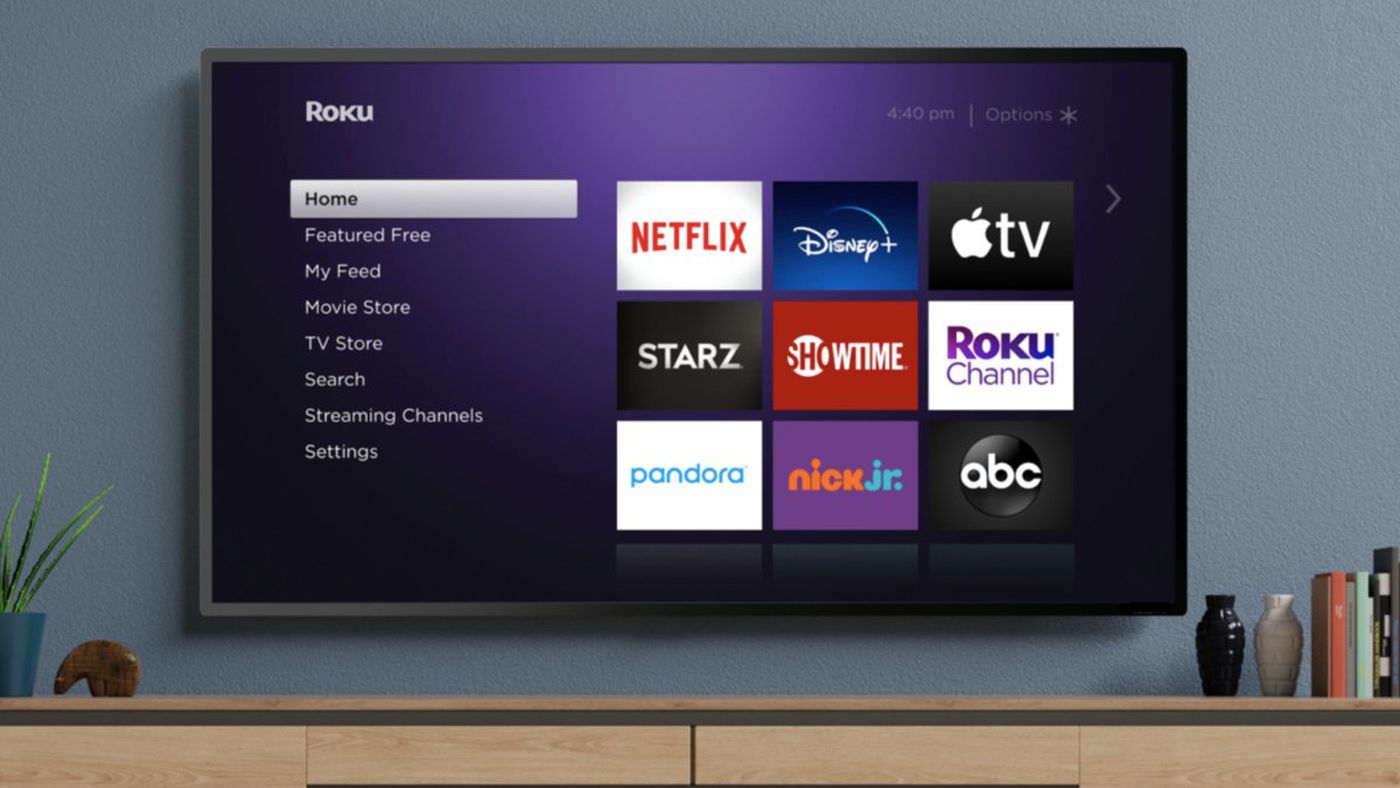
- Press the Home button on your Roku remote to navigate to the home screen.
- Using the arrow keys on the remote, scroll to the left or right to highlight the “Settings” option.
- Once “Settings” is highlighted, press the OK button to enter the settings menu.
By following these steps, you’ll now be within the settings menu of your Roku TV. The settings menu is where you can make adjustments to various aspects of your device, such as network settings, display settings, audio settings, and more.
Now that you have successfully accessed the settings menu, you’re one step closer to changing the name of your Roku TV. In the next step, we’ll walk you through the process of selecting the specific settings option where you can edit the TV name.
Step 2: Select “Settings”
Now that you’re in the settings menu of your Roku TV, it’s time to navigate to the specific option that allows you to edit the TV name. This step will guide you through the process of selecting the “Settings” option within the menu.
Follow the steps below to select “Settings”:
- Using the arrow keys on your Roku remote, scroll up or down to navigate through the different settings options.
- Keep scrolling until you reach the option labeled “Settings.”
- Once “Settings” is highlighted, press the OK button on your remote to enter the settings submenu.
By selecting “Settings,” you will be able to access a wide range of customization options for your Roku TV. These settings include network settings, display settings, audio settings, and much more. However, for now, our focus is on changing the name of your Roku TV, so let’s continue to the next step.
Step 3: Choose “System”
After accessing the settings menu, the next step in changing the name of your Roku TV is to navigate to the “System” option. This section contains essential settings related to the overall functionality and performance of your Roku device.
To choose “System,” follow these simple steps:
- Using the arrow keys on your Roku remote, scroll through the settings submenu until you find the option labeled “System.”
- Once “System” is highlighted, press the OK button on your remote to enter the system settings.
The system settings provide various options for managing your Roku TV, including software updates, power settings, and more. By adjusting these settings, you can optimize the performance and user experience of your device.
Now that you have successfully chosen “System,” you’re one step closer to changing the name of your Roku TV. In the following step, we’ll guide you through selecting the “About” option, where you can find additional device information and settings.
Step 4: Select “About”
Once you have accessed the system settings on your Roku TV, the next step in changing the name of your device is to select the “About” option. This section provides essential information about your Roku TV, including the current software version, network details, and more.
To select “About,” follow these simple steps:
- Using the arrow keys on your Roku remote, scroll through the system settings until you find the option labeled “About.”
- Once “About” is highlighted, press the OK button on your remote to enter the about settings.
The “About” section provides valuable information about your Roku TV, such as the model, serial number, and software version. It also displays your network connection status, including whether you are connected via Wi-Fi or wired Ethernet.
By selecting “About,” you will gain access to important details about your Roku TV, but most importantly, this is where you will find the option to customize the name of your device. In the next step, we will guide you through the process of selecting the “Network” option within the “About” section.
Step 5: Click on “Network”
After accessing the “About” section in the system settings of your Roku TV, the next step in changing the device name is to click on the “Network” option. This section provides configuration settings related to your network connection, allowing you to make adjustments and modifications as needed.
To click on “Network,” follow these simple steps:
- Using the arrow keys on your Roku remote, scroll through the about settings until you find the option labeled “Network.”
- Once “Network” is highlighted, press the OK button on your remote to enter the network settings.
The “Network” section provides you with the necessary tools to manage and configure your network connection settings. From here, you can view your current network information, such as the IP address, signal strength, and Wi-Fi network name.
By clicking on “Network,” you are preparing to access the specific network settings that will allow you to change the name of your Roku TV. In the next step, we will guide you through selecting the “Wireless” option within the “Network” section.
Step 6: Choose “Wireless”
Once you’ve accessed the network settings of your Roku TV, the next step in changing the device name is to choose the “Wireless” option. This section allows you to manage and configure the wireless connection settings of your device, ensuring a stable and reliable network connection.
To choose “Wireless,” follow these simple steps:
- Using the arrow keys on your Roku remote, scroll through the network settings until you find the option labeled “Wireless.”
- Once “Wireless” is highlighted, press the OK button on your remote to enter the wireless settings.
The “Wireless” section provides you with the tools to connect your Roku TV to your Wi-Fi network. From here, you can view the available wireless networks, enter the network password, and manage other wireless connection options.
By choosing “Wireless,” you’re one step closer to changing the name of your Roku TV. In the following step, we’ll guide you through selecting your network name, also known as the SSID (Service Set Identifier).
Step 7: Select your network name
Once you have accessed the wireless settings of your Roku TV, the next step in changing the device name is to select your network name, also known as the SSID (Service Set Identifier). This is the unique name that identifies your Wi-Fi network and allows your Roku TV to connect to it.
To select your network name, follow these simple steps:
- Using the arrow keys on your Roku remote, scroll through the wireless settings until you find your network name.
- Once your network name is highlighted, press the OK button on your remote to select it.
The network name is usually displayed alongside other networks available in your area. It typically consists of a combination of letters, numbers, or other characters chosen when you set up your Wi-Fi network. Selecting your network name is crucial for your Roku TV to establish a secure and stable connection.
By selecting your network name, you have completed an essential step in the process of changing the device name. In the upcoming step, we will guide you through the process of changing the network name to your preferred choice.
Step 8: Change the network name
Now that you have selected your network name, it’s time to change it to your preferred choice. This step allows you to customize the name of your Roku TV, making it unique and easily recognizable on your network.
To change the network name, follow these straightforward steps:
- Using the arrow keys on your Roku remote, navigate to the option that allows you to edit the network name. This is usually labeled as “Edit Network Name” or something similar.
- Once the option is highlighted, press the OK button on your remote to enter the editing mode.
- Using the on-screen keyboard, input your desired network name. You can use a combination of letters, numbers, and some special characters, depending on your device’s limitations.
Take your time to choose a network name that reflects your preferences or makes it easier for you to distinguish your Roku TV from other devices. It can be something personal or a name that represents a specific location, theme, or purpose.
Remember to keep the network name concise, clear, and easy to remember. Avoid using any sensitive or personal information that could compromise your security.
Once you have finished inputting the new network name, proceed to the next step to confirm the changes you’ve made.
Step 9: Confirm the changes
After you have changed the network name to your desired choice, the final step in the process of changing the name of your Roku TV is to confirm the changes. This step ensures that the new network name is saved and applied to your device.
To confirm the changes, follow these simple steps:
- Using the arrow keys on your Roku remote, navigate to the option that allows you to confirm the changes. This may be labeled as “Save,” “Apply,” or something similar.
- Once the option is highlighted, press the OK button on your remote to confirm the changes.
By confirming the changes, your Roku TV will update the network settings with the new name you have chosen. The device will now be identified by the updated network name when viewing available networks or connecting to your Wi-Fi.
It’s important to note that after changing the network name, you may need to reconnect other devices that were previously connected to your Roku TV. These devices will recognize the new network name and will require you to enter the updated credentials to establish a connection.
With the changes confirmed, you have successfully completed the process of changing the name of your Roku TV. The device will now be identified by the updated network name, reflecting your personalization and making it easier to distinguish from other devices on your network.
Conclusion
Changing the name of your Roku TV is a simple process that allows you to customize your device and make it stand out on your network. With just a few steps, you can personalize the network name to reflect your preferences or make it easier for you to identify your Roku TV.
Throughout this guide, we walked you through the step-by-step process of changing the name of your Roku TV. From accessing the settings menu to selecting the network options and confirming the changes, each step was designed to help you navigate the process with ease.
By changing the Roku TV name, you not only add a personal touch but also make it easier to identify your device, especially if you have multiple Roku devices or share a network with other Roku users. The customized name creates a unique connection between you and your Roku TV.
Remember, before making any changes to your Roku TV settings, ensure that you have a Roku account and are signed in to your device. This will allow you to make the necessary modifications and personalize your device to your liking.
Now that you’ve completed the process of changing the name of your Roku TV, take a moment to appreciate your personalized device. Whether you chose a name that reflects your personality, interests, or simply makes it easier to recognize, you have successfully added a personal touch to your Roku TV experience.
Enjoy exploring the endless entertainment possibilities that Roku offers, and make the most out of your customized device!