Introduction
So, you’ve just purchased a shiny new Roku Stick and you’re excited to unlock a world of endless entertainment right from the comfort of your own living room. Congratulations! The Roku Stick is a powerful streaming device that allows you to transform your television into a smart TV, giving you access to a wide range of streaming services, including popular ones like Netflix, Hulu, and Amazon Prime Video.
Setting up your Roku Stick may seem a bit daunting at first, but fear not! In this guide, we will walk you through the step-by-step process of unboxing and assembling your Roku Stick, connecting it to your TV, configuring your Wi-Fi network, and adding channels to personalized the content to your liking.
Whether you’re a tech-savvy guru or a newbie to the streaming world, this article is here to help. By the end of this guide, you’ll be streaming your favorite movies, TV shows, and music in no time!
Step 1: Unboxing and Assembling the Roku Stick
Before you can start enjoying the streaming goodness of the Roku Stick, you’ll need to unbox and assemble it. Let’s get started!
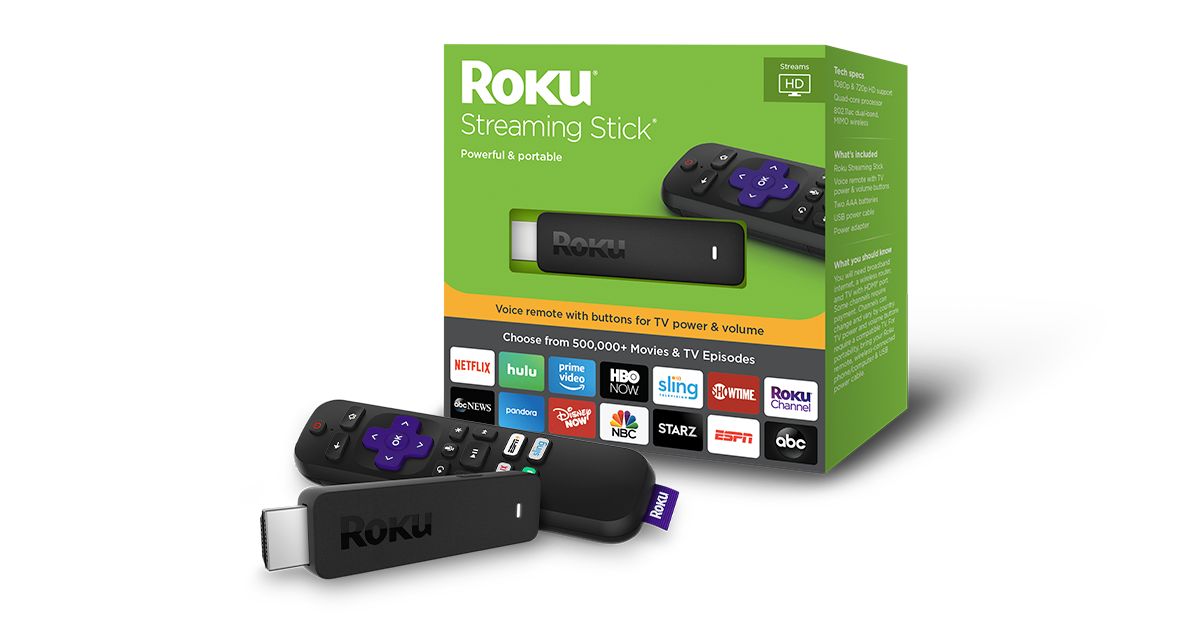
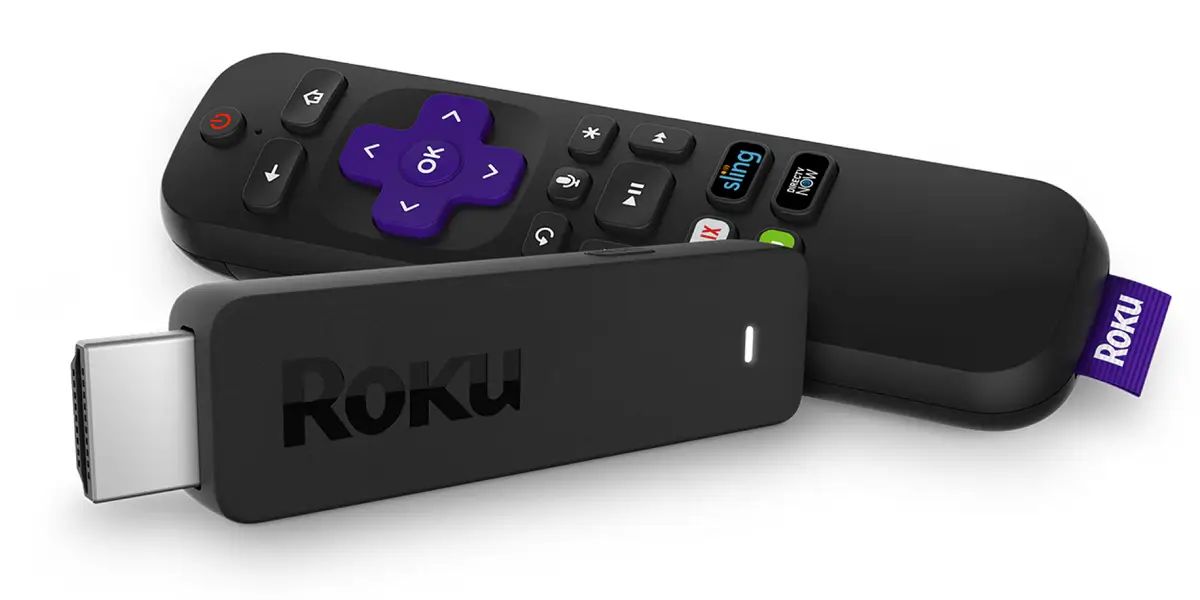
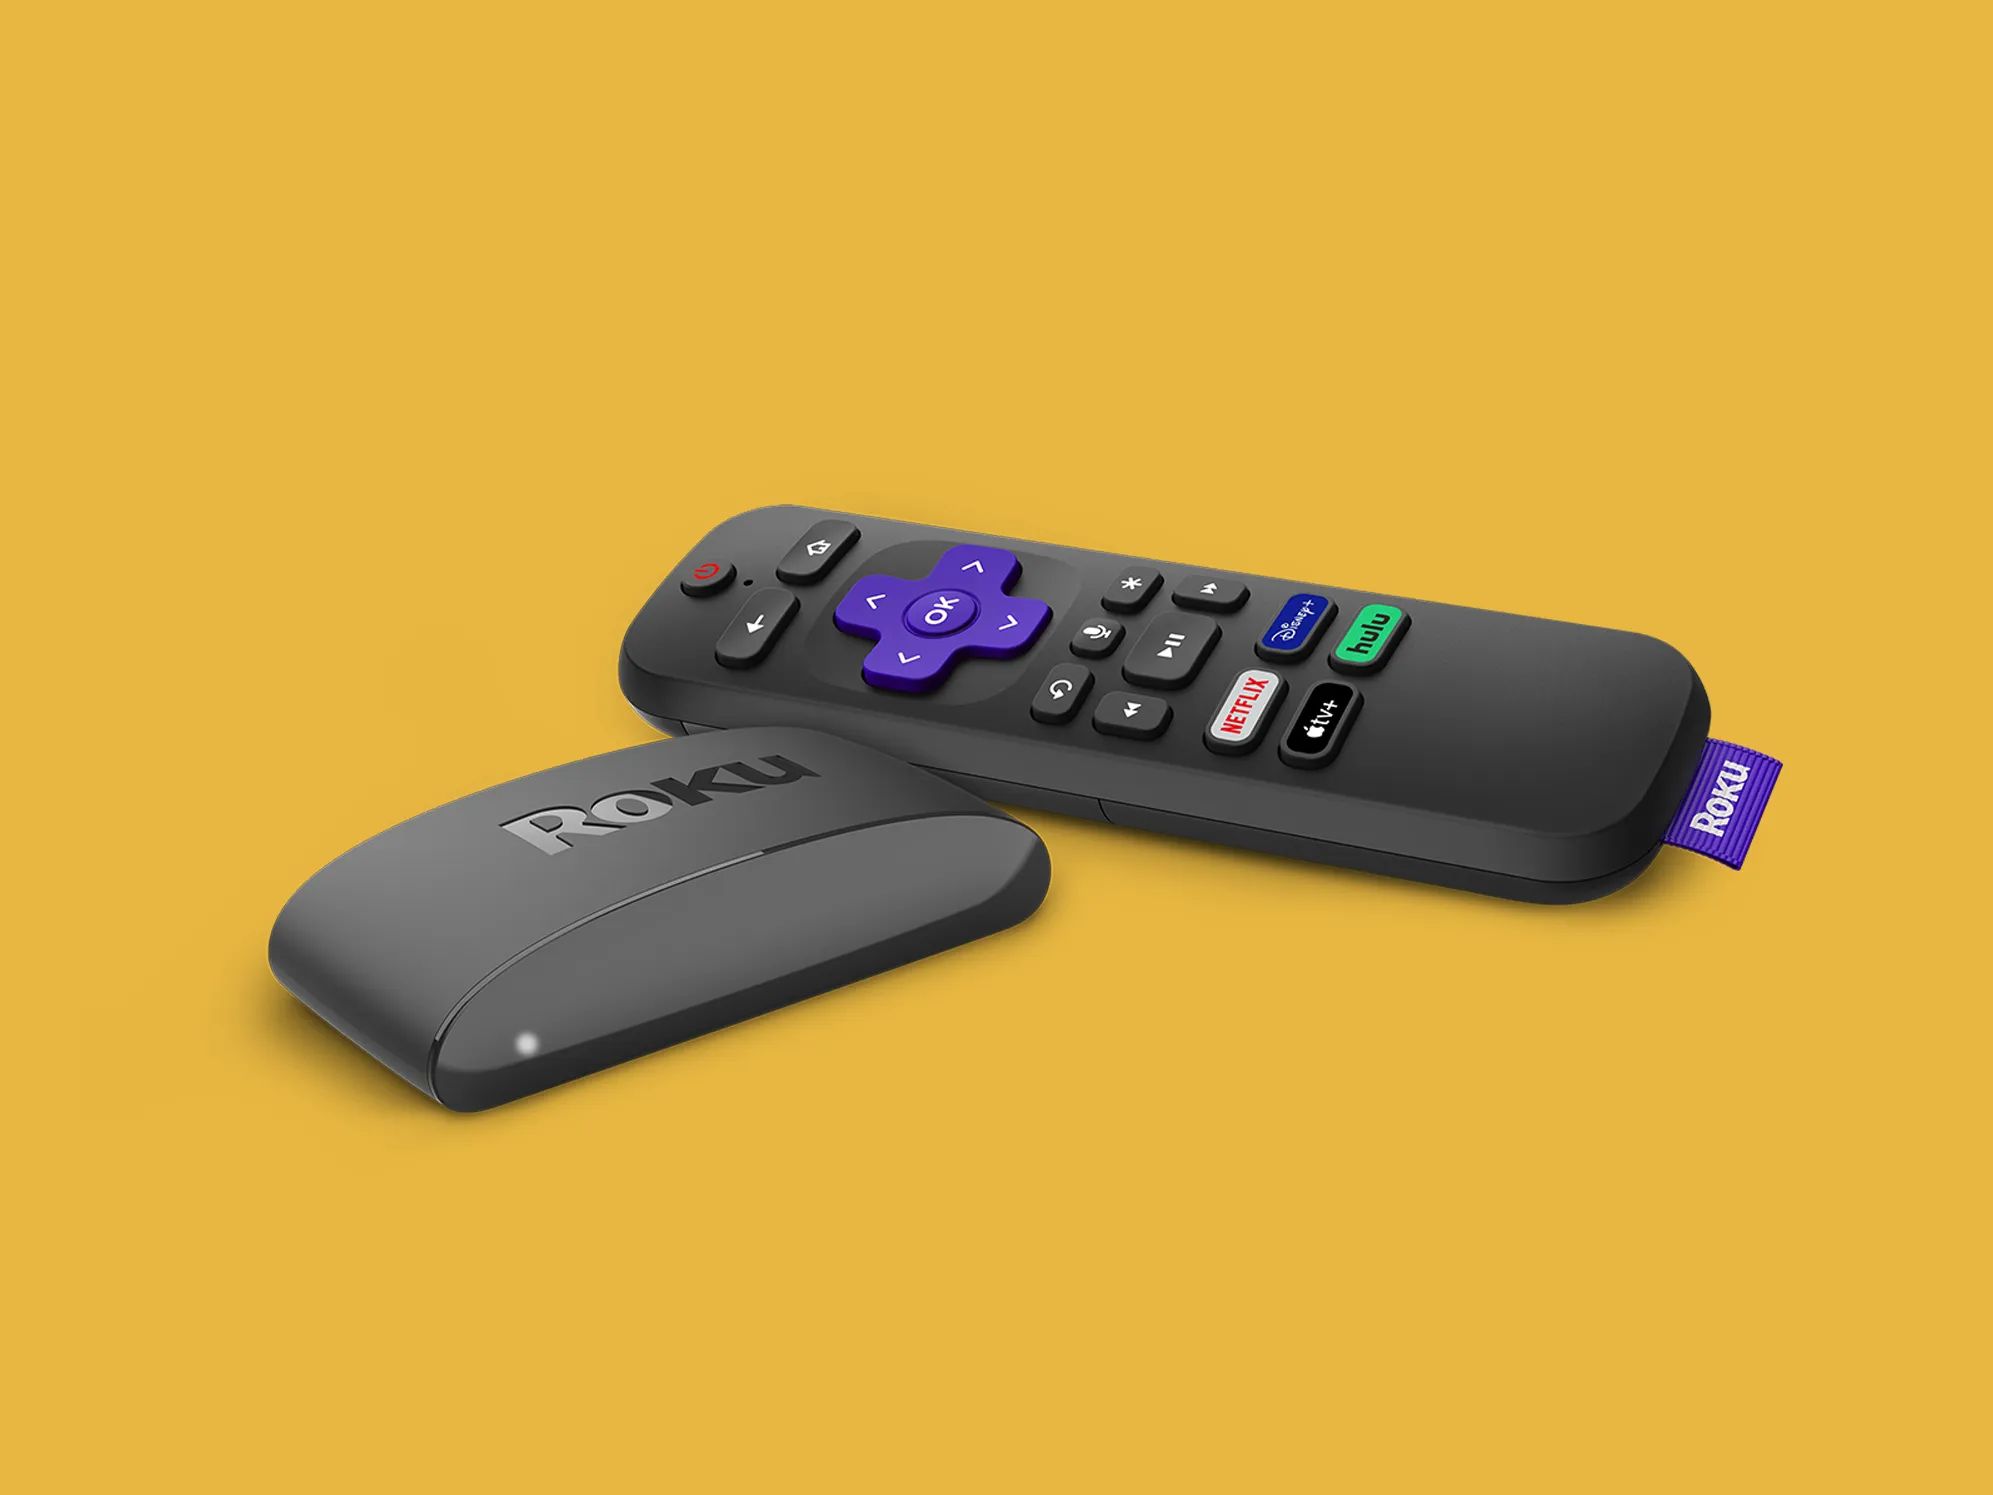
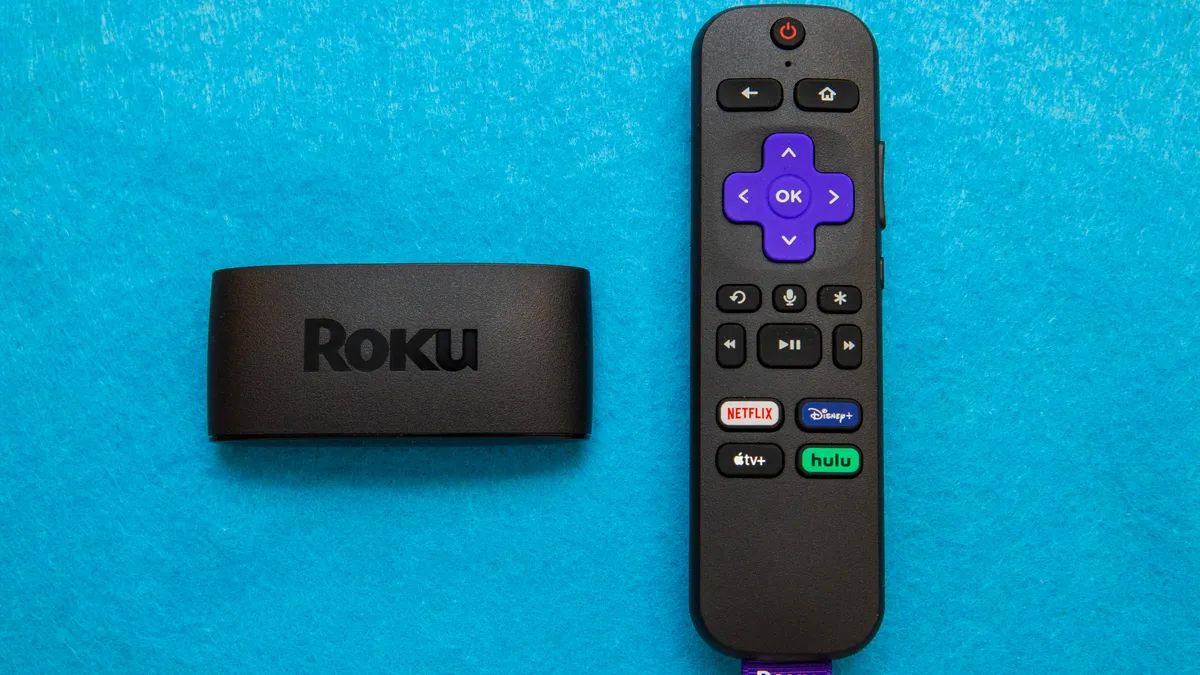
First, open the box containing your brand new Roku Stick. Inside, you’ll find the Roku Stick itself, a remote control with batteries included, a power adapter, and an HDMI extender.
To assemble the Roku Stick, simply insert it into the HDMI port on your TV. If your TV’s HDMI port is difficult to access or if you’re experiencing signal interference, you can use the included HDMI extender to improve the connection quality.
Next, connect the power adapter to the Roku Stick and plug it into a power outlet. This will provide the necessary power for the device to function.
Once you’ve completed the physical assembly, grab the remote control and remove the plastic tab that’s covering the batteries. This will activate the remote and allow you to use it to control the Roku Stick.
Now that you’ve successfully unboxed and assembled your Roku Stick, you’re one step closer to enjoying unlimited entertainment. In the next step, we’ll cover how to connect the Roku Stick to your TV.
Step 2: Connecting the Roku Stick to the TV
Now that you have your Roku Stick assembled, it’s time to connect it to your TV. Follow these simple steps:
- Locate the HDMI port on your TV. It is usually found on the back or side panel.
- Insert one end of the HDMI cable into the HDMI port on your TV and the other end into the HDMI port of the Roku Stick. Ensure a snug fit, so the connection is secure.
- Turn on your TV and use the remote to select the HDMI input where you connected the Roku Stick. This will vary depending on your TV model.
- Once you’ve selected the correct HDMI input, you will see the Roku logo appear on your TV screen. This indicates that the Roku Stick is successfully connected.
It’s important to note that if you are using an older TV that lacks an HDMI port, the Roku Stick may not be compatible. In this case, you may need to consider using a different Roku device that supports alternative connection options.
With the Roku Stick successfully connected to your TV, you’re now ready to power it on and proceed to the next step. Stay tuned!
Step 3: Powering on the Roku Stick
Now that you have connected the Roku Stick to your TV, it’s time to power it on and get things running. Follow these simple steps:
- Make sure your TV is turned on and set to the correct HDMI input where you connected the Roku Stick.
- Using the Roku remote control, press the power button. The Roku Stick will boot up and display the Roku logo on your TV screen.
- Wait for the Roku Stick to finish booting up. This process may take a few moments, so be patient.
- Once the boot-up process is complete, the Roku Stick welcome screen will appear. This screen will prompt you to pair the remote control with the Roku Stick. Follow the on-screen instructions to complete the pairing process.
- After successfully pairing the remote, you will be directed to the Roku home screen, where you can access a wide range of streaming options.
It’s worth noting that some TVs have a feature called HDMI-CEC (Consumer Electronics Control) that allows you to control the Roku Stick using your TV remote. If your TV supports this feature, you may be prompted to enable it during the initial setup process.
With the Roku Stick powered on and the remote control paired, you’re now ready to proceed to the next step and connect the device to your Wi-Fi network. Stay tuned!
Step 4: Connecting to Your Wi-Fi Network
Now that your Roku Stick is powered on, it’s time to connect it to your Wi-Fi network. Follow these simple steps:
- On the Roku home screen, navigate to the “Settings” option using the arrow keys on your remote control. Press the “OK” button to select it.
- In the Settings menu, select “Network” and then choose “Wireless (Wi-Fi)”.
- A list of available Wi-Fi networks will appear on the screen. Select your Wi-Fi network from the list.
- If your Wi-Fi network is password-protected, you will be prompted to enter the password. Use the on-screen keyboard to enter the password, and then select “Connect”.
- Wait for the Roku Stick to establish a connection with your Wi-Fi network. Once connected, you will see a confirmation message on the screen.
If you encounter any issues while connecting to your Wi-Fi network, double-check that you have entered the correct password and that your Wi-Fi signal is strong enough. You may also want to try restarting your router and the Roku Stick to resolve any potential connectivity issues.
Connecting to your Wi-Fi network is crucial as it allows the Roku Stick to access the internet and stream your favorite content. With the Roku Stick successfully connected to your Wi-Fi network, you’re now ready to move on to the next step and update the device. Exciting times ahead!
Step 5: Updating the Roku Stick
After connecting your Roku Stick to your Wi-Fi network, it’s important to ensure that the device is running on the latest software version. Roku regularly releases updates with new features, bug fixes, and security enhancements. Follow these steps to update your Roku Stick:
- On the Roku home screen, go to “Settings” and select “System”.
- Next, choose “System update” and then select “Check now”.
- Roku will now check for any available updates. If an update is found, select “Yes” to begin the update process.
- The update may take several minutes to complete. Ensure that the Roku Stick remains powered on and connected to your Wi-Fi network throughout the update process.
- Once the update is finished, the Roku Stick will automatically restart and display the updated software version on the screen.
Updating your Roku Stick is important to ensure that you have access to the latest features and improvements. It also helps to keep your device secure and running smoothly. Roku makes it easy to stay up to date with software updates, so be sure to check for updates regularly.
With your Roku Stick updated and running on the latest software version, you’re now ready to proceed to the next step and create a Roku account. Let’s keep the momentum going!
Step 6: Creating a Roku Account
In order to fully enjoy the features and functionalities of your Roku Stick, you’ll need to create a Roku account. Follow these simple steps to create your account:
- On the Roku home screen, select “Link your device” or “My account” option.
- You will see a unique code displayed on your TV screen. Take note of this code as you will need it later to link your Roku Stick to your account.
- Using a web browser on your computer or smartphone, go to the Roku website (www.roku.com) and click on “Sign In” or “Create account”.
- Follow the on-screen instructions to complete the account creation process. Provide your personal details, including your name, email address, and a password.
- Once you have created your account, you will be prompted to enter the unique code displayed on your TV screen to link your Roku Stick to your account.
- After entering the code, click on “Submit” or “Continue” to complete the linking process.
Creating a Roku account is necessary as it allows you to access and manage your channel subscriptions, preferences, and settings. It also enables features like channel customization, cross-device syncing, and parental controls.
Remember to keep your Roku account login details secure and do not share them with others. If you forget your password, you can easily reset it using the account recovery options provided by Roku.
With your Roku Stick successfully linked to your account, you’re now ready to personalize your streaming experience by configuring your display preferences. Let’s dive in!
Step 7: Configuring Display Preferences
Now that your Roku Stick is linked to your account, it’s time to personalize your streaming experience by configuring your display preferences. Follow these steps:
- On the Roku home screen, navigate to “Settings” and select “Display type”.
- Roku will automatically detect the display resolution supported by your TV. If you’re satisfied with the detected resolution, select “OK” to confirm.
- If you want to manually change the display resolution, select “Manual” and choose the desired resolution from the list. Keep in mind that not all resolutions may be supported by your TV.
- You can also adjust other display settings, such as aspect ratio and screen size, based on your personal preferences and TV capabilities.
- Once you have configured your display preferences, navigate back to the Roku home screen to apply the changes.
Configuring your display preferences allows you to optimize the viewing experience and ensure that the content is displayed in the best possible quality. Take the time to experiment with different settings and resolutions to find the one that suits your needs.
It’s worth noting that some streaming channels may have their own specific display settings that can be adjusted within the channel itself. These settings may vary from channel to channel, so feel free to explore the options provided by your favorite streaming services.
With your display preferences configured, you’re now ready to move on to the next step and start adding channels to your Roku Stick. Get ready for a whole new level of entertainment!
Step 8: Adding Channels to Your Roku Stick
With your Roku Stick all set up, it’s time to start adding channels and expanding your streaming options. Follow these simple steps to add channels to your Roku Stick:
- On the Roku home screen, navigate to the “Streaming Channels” option and select “Channel Store”.
- Explore the wide range of channel categories or use the search function to find specific channels.
- Once you’ve found a channel you want to add, select it to view the channel details.
- On the channel details page, select “Add Channel” to install the channel on your Roku Stick.
- The channel will begin installing, and once it’s complete, you will see a confirmation message.
- You can repeat these steps to add as many channels as you like, customizing your streaming experience to suit your interests.
It’s important to note that while some channels are free to install and use, others may require a subscription or one-time payment. Be sure to read the channel details and any associated costs before adding them to your Roku Stick.
Roku offers a vast selection of channels, including popular streaming services like Netflix, Hulu, Amazon Prime Video, and many more. Additionally, there are numerous free channels available that offer a variety of content, including news, sports, and entertainment.
With your preferred channels added to your Roku Stick, you can now enjoy a wide range of streaming content at your fingertips. In the next step, we’ll guide you on how to use the Roku Stick remote to navigate through your channels and find what you want to watch. Let’s keep the entertainment rolling!
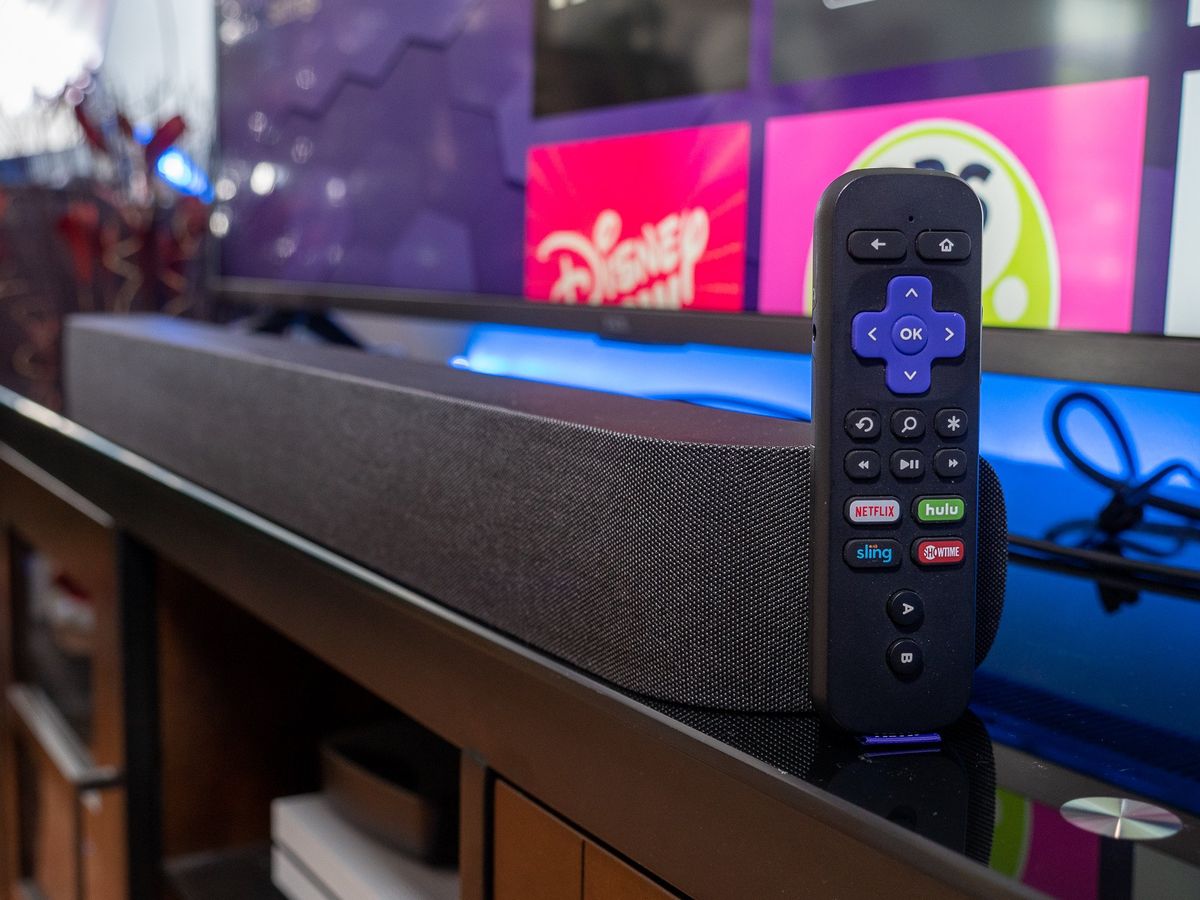
Step 9: Using the Roku Stick Remote
Now that you have added channels to your Roku Stick, it’s time to explore and navigate through them using the Roku Stick remote. Here’s how to make the most out of your remote:
- Navigation: Use the arrow keys on the remote to navigate through menus, options, and channels. Press the “OK” button to make selections.
- Home Button: Pressing the home button takes you back to the Roku home screen at any time. This is a convenient way to start fresh or switch between different apps and channels.
- Back Button: The back button allows you to go back one step within menus or return to the previous screen.
- Options Button: Pressing the options button (represented by three dots or lines) brings up additional settings and options specific to the selected channel or content.
- Play/Pause, Rewind, Fast Forward: These buttons allow you to control your media playback. Use the play/pause button to start or pause playback, and the rewind/fast forward buttons to skip or navigate within the content.
- Volume Control: The Roku remote may also include volume control buttons, allowing you to adjust the volume directly from the remote. Please note that this feature is available only on select models.
As you navigate through channels, you will discover different layouts and features. Each channel may have its own unique interface, allowing you to browse through content, access settings, and personalize your experience.
Lastly, keep in mind that the Roku remote is compatible with select TV models and can be programmed to control power, volume, and input selection. Refer to the Roku manual or support documentation for instructions on syncing your Roku remote with your TV.
With your Roku Stick remote in hand, you’re all set to explore the vast world of streaming content. In the final step, we’ll cover some common troubleshooting tips to help you overcome any potential issues that may arise. Let’s dive in!
Step 10: Troubleshooting Common Issues
While using your Roku Stick, you may encounter some common issues or errors. Here are a few troubleshooting tips to help you resolve them:
- No Signal: If your TV displays a “No Signal” message, ensure that the HDMI cable is securely connected to both the Roku Stick and the TV. Also, check that you have selected the correct HDMI input on your TV.
- Network Connection Issues: If you’re experiencing connectivity problems, verify that your Wi-Fi network is working properly. Try restarting your router, ensuring a strong signal, or even resetting your network settings on the Roku Stick.
- Freezing or Slow Performance: If your Roku Stick freezes or exhibits sluggish performance, restart the device by going to “Settings”, selecting “System”, and choosing “System Restart”. You can also remove any unnecessary channels or apps to free up memory.
- Audio/Video Sync Issues: If you notice that the audio and video are not in sync, try adjusting the audio offset settings within the channel or app you’re using.
- Poor Video Quality: If you’re experiencing low video quality, ensure that your Wi-Fi signal strength is strong. You can also adjust the display settings on your Roku Stick to match the capabilities of your TV.
- Remote Control Not Responding: If your Roku remote is not responding, check that the batteries are properly inserted. You can also try re-pairing the remote by removing the batteries, waiting for a few seconds, and then reinserting them.
If the above troubleshooting tips do not resolve the issue, you can refer to the Roku support website or contact their customer support for further assistance. They have a dedicated team ready to help you troubleshoot and resolve any technical problems you may encounter.
By following these troubleshooting steps, you can overcome common issues and enjoy uninterrupted streaming on your Roku Stick. Now that you’re equipped with troubleshooting knowledge, you can fully embrace the world of entertainment at your fingertips!
Conclusion
Congratulations on successfully setting up your Roku Stick! You have now unlocked a world of endless entertainment right from the comfort of your own living room. With its easy-to-use interface, wide range of streaming channels, and powerful features, the Roku Stick offers a seamless streaming experience for all your favorite movies, TV shows, and more.
In this guide, we have walked you through each step of the setup process, from unboxing and assembling the Roku Stick to connecting it to your TV, configuring your Wi-Fi network, and adding channels to personalize your streaming experience. We have also covered troubleshooting tips to help you overcome common issues that may arise.
Now that you’re familiar with the setup process and have a clear understanding of how to use your Roku Stick, it’s time to sit back, relax, and indulge in the vast array of streaming content available to you. From popular streaming services like Netflix and Hulu to a wide variety of free channels, there’s something for everyone.
Remember to explore the different features, customize your channel lineup, and take advantage of any additional settings offered by your favorite streaming services. The more you use your Roku Stick, the more you’ll discover its capabilities and how it can enhance your entertainment experience.
If you ever encounter any issues or have questions, don’t hesitate to refer to the Roku support website or reach out to their customer support for assistance. They are there to help you make the most out of your Roku Stick.
So, grab your remote, cozy up on the couch, and get ready to embark on a journey of endless entertainment with your Roku Stick. Happy streaming!