Introduction
Smart TVs have become an integral part of modern living, bringing entertainment, information, and connectivity right into our living rooms. These advanced televisions are equipped with internet capabilities, allowing users to seamlessly access online content, stream their favorite shows and movies, and engage with various digital platforms. If you have recently purchased a smart TV or are considering investing in one, you might be wondering how to connect it to the internet. In this article, we will explore the different methods you can use to put the internet on your smart TV and enjoy a world of online entertainment at your fingertips.
A smart TV combines the traditional features of a television with the advanced functionality of a computer. By connecting to the internet, these TVs provide a range of benefits, such as on-demand streaming services, web browsing, and access to various apps and services. Whether you want to catch up on your favorite series, browse through social media, or watch YouTube videos on the big screen, having an internet connection is essential.
There are several ways to connect your smart TV to the internet, and the method you choose will depend on the available options and your specific requirements. The most common methods include using Wi-Fi, Ethernet, or an HDMI cable with a streaming device. Each method has its own advantages and considerations, so it’s important to understand the differences and choose the one that best suits your needs.
In the following sections, we will delve into each of these methods in more detail, guiding you through the process of connecting your smart TV to the internet. We will also provide troubleshooting tips for common connection issues, ensuring that you can enjoy uninterrupted streaming and browsing experiences. So, let’s get started and discover how to put the internet on your smart TV.
Understanding Smart TVs
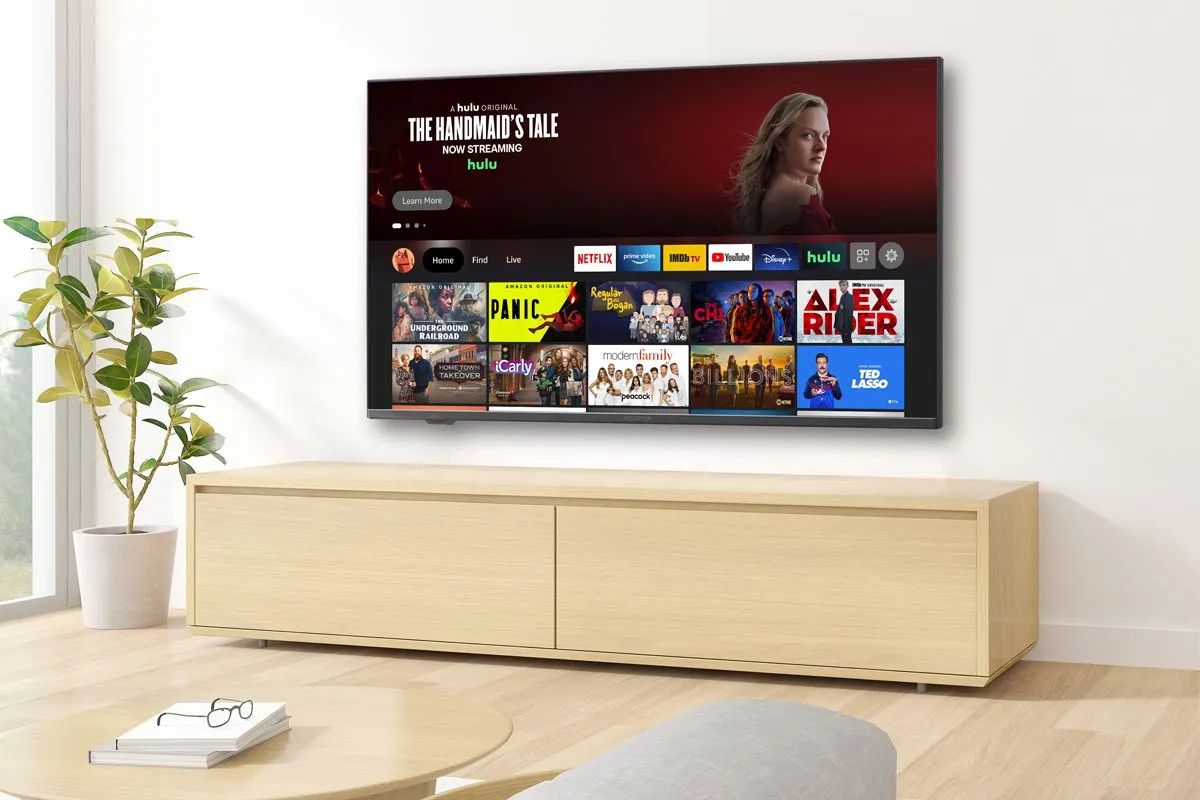
Smart TVs are a step up from traditional televisions, as they offer advanced features and internet connectivity. Essentially, a smart TV is a TV with built-in internet capabilities, allowing it to connect to the internet and access a wide range of online content. This opens up a whole new world of entertainment and convenience for users.
One of the main features of a smart TV is its ability to stream content from popular platforms like Netflix, Hulu, Amazon Prime, and more. With these streaming services, users can watch their favorite shows, movies, documentaries, and even live TV, all directly on their smart TV. This eliminates the need for additional devices such as DVD players or cable boxes, as everything is integrated into the TV itself.
But smart TVs offer more than just streaming capabilities. They also allow users to access various apps and services, similar to what you would find on a smartphone or tablet. You can browse the internet, check social media, play games, or even video chat with friends and family, all from the comfort of your living room. Smart TVs provide a convenient and immersive digital experience, right on your TV screen.
In addition to accessing online content and apps, smart TVs often come with advanced features like voice control, smart home integration, and even virtual assistants. Some models allow users to control their TV using voice commands, making it easier than ever to search for content, change settings, or even control other smart devices in your home. These features enhance the overall user experience and add a level of convenience to your daily life.
When it comes to purchasing a smart TV, there are various brands and models available, each offering different features and specifications. It’s important to consider factors such as screen size, display quality, connectivity options, and compatibility with your existing devices. Researching and comparing different models will help you find the right smart TV that meets your needs and provides an exceptional viewing experience.
Now that we have a better understanding of what smart TVs are and the features they offer, let’s explore the different ways to connect these TVs to the internet and unlock their full potential.
Different Ways to Connect to the Internet
When it comes to connecting your smart TV to the internet, there are several methods you can use, each with its own advantages and considerations. The most common ways to establish an internet connection for your smart TV are through Wi-Fi, Ethernet, or by using an HDMI cable with a streaming device. Let’s take a closer look at each of these methods.
1. Wi-Fi: Wi-Fi is the most popular and convenient option for connecting smart TVs to the internet. Most smart TVs come with built-in Wi-Fi capabilities, allowing them to connect to your home Wi-Fi network wirelessly. To connect your TV to Wi-Fi, simply go to the TV’s settings menu, locate the network settings, and follow the on-screen instructions to connect to your home network. Make sure you have the correct Wi-Fi credentials, such as the network name (SSID) and password, at hand. Wi-Fi provides flexibility, as you can place your smart TV anywhere within the range of your home network without the need for physical cables.
2. Ethernet: If you prefer a direct and stable connection, you can use an Ethernet cable to connect your smart TV to your home router. This method requires an Ethernet port on both the TV and the router. Simply connect one end of the Ethernet cable to the LAN port on your TV and the other end to an available LAN port on your router. By using Ethernet, you can enjoy a reliable and fast internet connection without the potential interference or limitations of Wi-Fi signals. However, keep in mind that this method requires placing your TV near the router or having an Ethernet cable long enough to reach the TV.
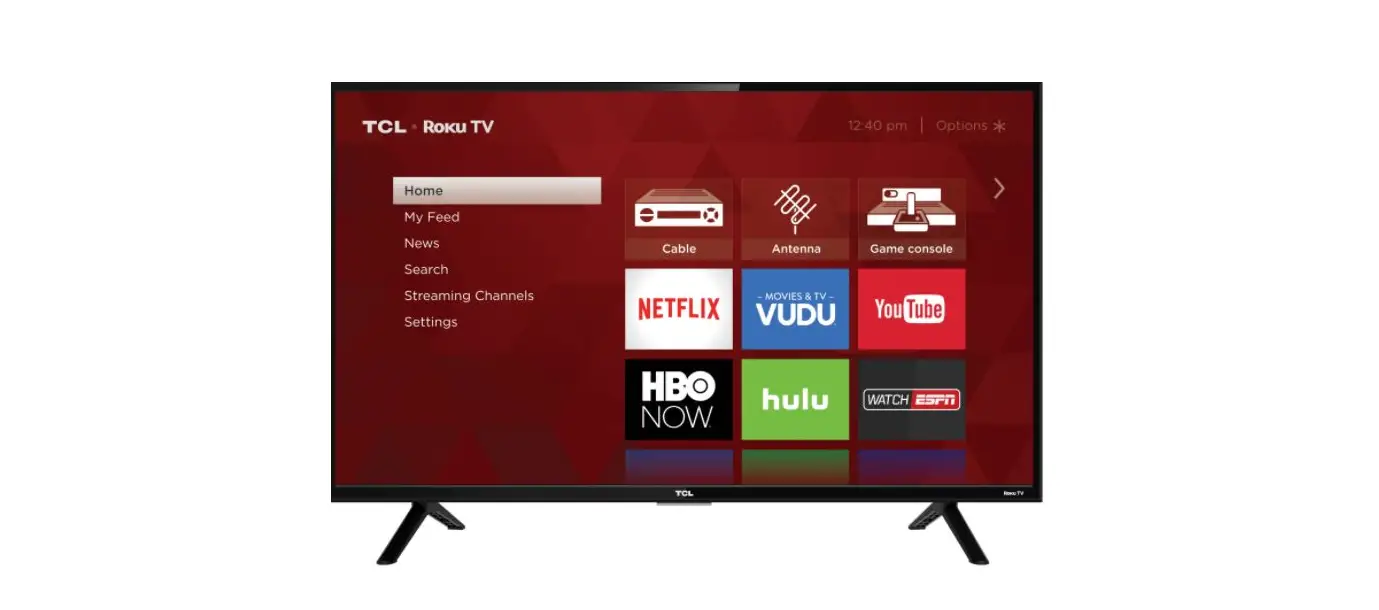
3. HDMI Cable with a Streaming Device: Another way to connect your smart TV to the internet is by using an HDMI cable with a streaming device. This option is useful if your TV doesn’t have built-in smart features or if you prefer additional features and functionality. The streaming device, such as a Roku, Apple TV, or Amazon Fire Stick, connects to your TV via HDMI and provides access to various streaming apps and services, as well as the ability to connect to the internet. You can connect the streaming device to the internet either via Wi-Fi or Ethernet, depending on your preference and available options.
There are the main methods to connect a smart TV to the internet. Each method has its own advantages and considerations, so choose the one that fits your needs and preferences. In the next sections, we will guide you through the process of setting up the internet connection using each of these methods, ensuring a seamless and enjoyable streaming experience on your smart TV.
Using Wi-Fi to Connect
Wi-Fi is the most popular and widely used method for connecting smart TVs to the internet. It provides a wireless connection, eliminating the need for physical cables and allowing you to place your TV anywhere within the range of your home network. Setting up a Wi-Fi connection for your smart TV is relatively straightforward. Here’s a step-by-step guide to help you get connected:
- Ensure that you have a Wi-Fi router set up and that it is connected to the internet.
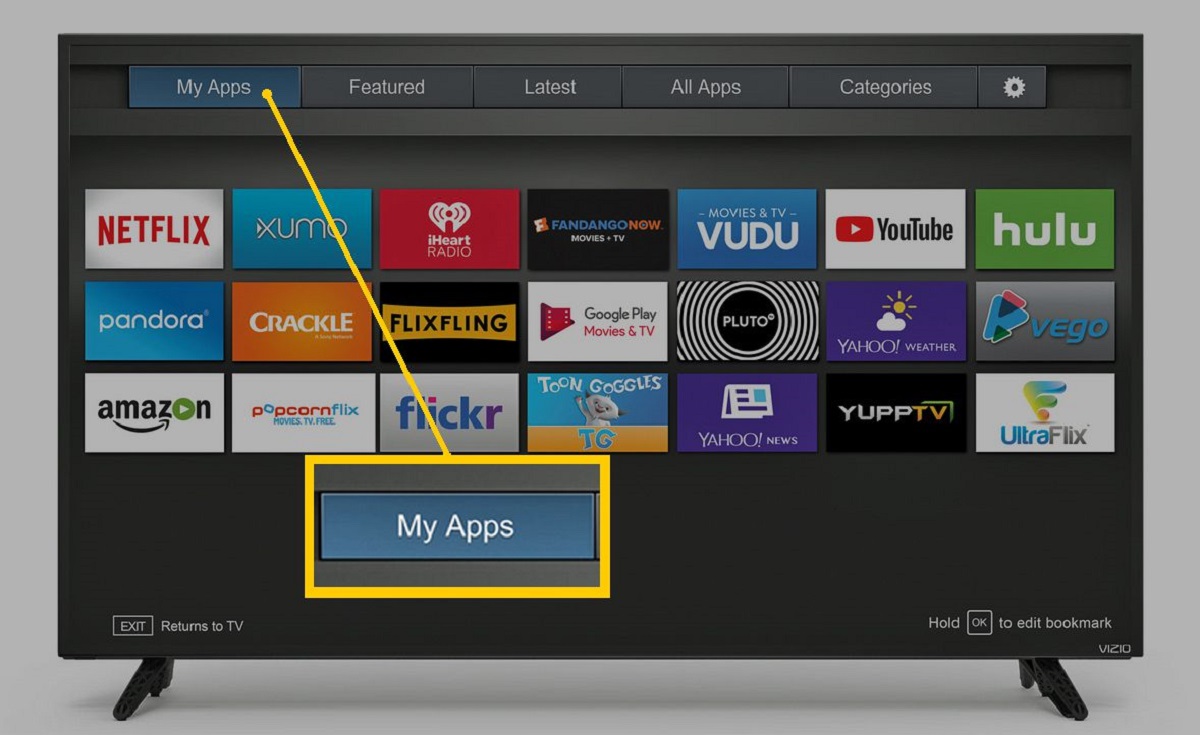
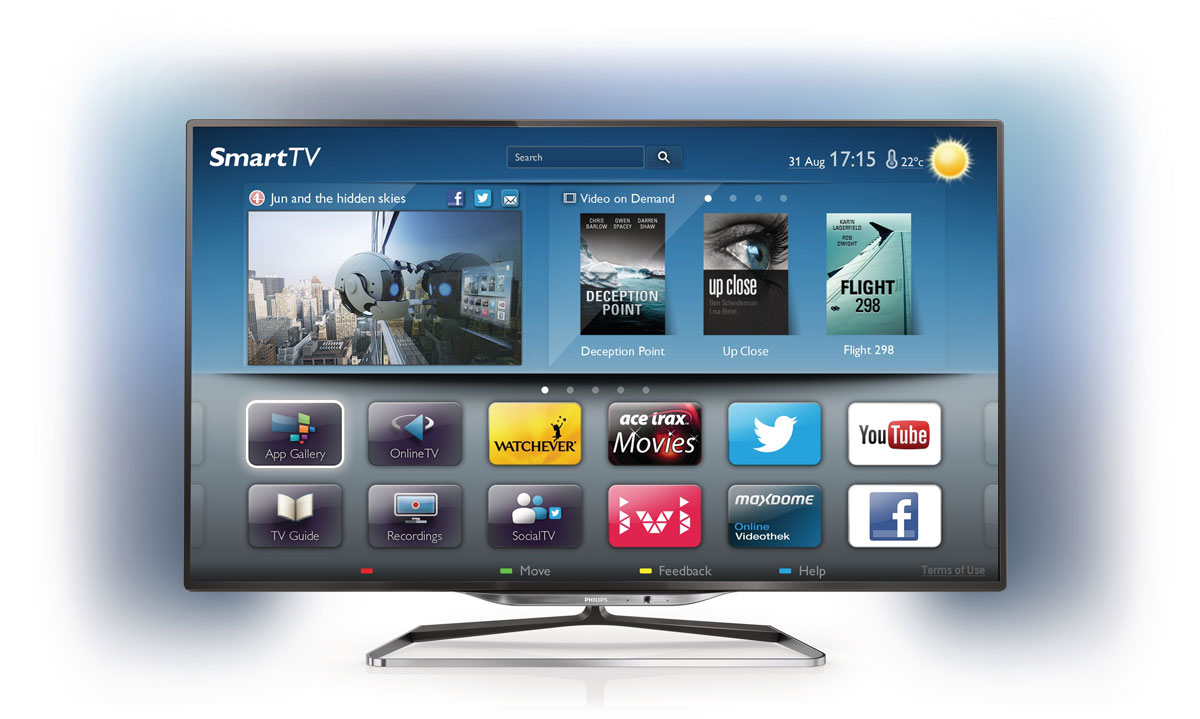
- On your smart TV, go to the settings menu. The location of the settings menu may vary depending on your TV’s brand and model. Look for an icon or option that represents settings, network, or connectivity.
- Navigate to the network settings and select “Wi-Fi.”
- Your smart TV will scan for available Wi-Fi networks in the vicinity. Select your home network from the list.
- If prompted, enter the network password. Make sure to enter the correct password to successfully connect to your Wi-Fi network.
- After entering the password, your smart TV will attempt to establish a connection to your Wi-Fi network. It may take a few moments to connect, so be patient.
- Once the connection is established, your smart TV is now connected to the internet via Wi-Fi. You can now enjoy streaming and access to online content on your smart TV.
It is important to note that Wi-Fi signals can be affected by various factors such as distance from the router, obstructions, and interference from other devices. To ensure a stable and reliable connection, consider the following tips:
- Place your smart TV within a reasonable distance from the Wi-Fi router to receive a strong signal.
- Avoid physical obstructions such as walls or large objects that can weaken the Wi-Fi signal.
- Minimize interference from other devices that operate on the same frequency, such as cordless phones, microwaves, or baby monitors.
- If you’re experiencing connection issues, try restarting your Wi-Fi router and your smart TV. Sometimes, a simple reboot can resolve connectivity problems.
- If the Wi-Fi signal is weak or inconsistent, you may consider using alternative methods such as Ethernet or a Wi-Fi extender to improve your smart TV’s internet connection.
By utilizing Wi-Fi, you can enjoy the flexibility and convenience of connecting your smart TV to the internet without the hassle of physical cables. Just ensure a stable Wi-Fi signal and follow the steps to connect your TV to your home network, and you’re ready to explore a wide variety of online content and streaming services.
Using Ethernet to Connect
If you prefer a direct and reliable connection, using an Ethernet cable is an excellent option to connect your smart TV to the internet. Ethernet provides a wired connection from your TV to your home router, ensuring a stable and fast internet connection. Here’s a step-by-step guide to help you set up an Ethernet connection for your smart TV:
- Ensure that you have an Ethernet cable long enough to reach from your smart TV to your Wi-Fi router.
- Locate the Ethernet ports on both your smart TV and your router. Most modern smart TVs have an Ethernet port on the back or side of the television.
- Connect one end of the Ethernet cable to the Ethernet port on your smart TV and the other end to an available LAN port on your router.
- Once the cable is securely connected, your smart TV should detect the wired connection automatically. If not, navigate to the network settings on your TV and select “Ethernet” as the preferred connection.
- Your smart TV will attempt to establish an Ethernet connection. This process may take a few moments, so be patient.
- Once the connection is established, your smart TV is now connected to the internet via Ethernet. You can now enjoy streaming and access to online content on your smart TV with a stable and reliable connection.
Using Ethernet to connect your smart TV offers several benefits. It provides a dedicated data connection between your TV and router, ensuring fast and consistent network performance. Ethernet is less susceptible to interference and is an ideal choice for streaming high-definition content or online gaming, where a stable and high-speed connection is crucial.
When setting up an Ethernet connection, consider the following tips to optimize your experience:
- Ensure that the Ethernet cable is securely connected to both the TV and the router to avoid any potential connection issues.
- Place your smart TV near the router or use an Ethernet cable long enough to reach your TV without straining or damaging the cable.
- If you have multiple devices connected to the Ethernet ports on your router, make sure you have enough available ports for your smart TV.
- If you’re facing any connectivity issues, verify that the Ethernet cable is working properly by testing it with other devices or replacing it if necessary.
- Consider using a high-quality Ethernet cable to ensure maximum performance and reliability.
Using Ethernet to connect your smart TV to the internet is an excellent choice if you prioritize a stable and fast connection. Whether you’re streaming content, gaming, or browsing the web, a wired connection can provide an optimal online experience on your smart TV.
Using an HDMI Cable with a Streaming Device
If your smart TV doesn’t have built-in smart features or you prefer additional functionalities, using an HDMI cable with a streaming device is an excellent option. A streaming device, such as a Roku, Apple TV, or Amazon Fire Stick, connects to your TV via HDMI and provides access to a wide range of streaming apps and services. This setup allows you to connect your smart TV to the internet and enjoy a variety of online content. Here’s how to set it up:
- Choose a streaming device that suits your preferences and requirements. Popular options include Roku, Apple TV, Amazon Fire Stick, and Google Chromecast.
- Connect one end of the HDMI cable to the HDMI port on your streaming device.
- Connect the other end of the HDMI cable to an available HDMI input on your smart TV.
- Plug in the streaming device and turn on your TV.
- Select the corresponding HDMI input on your smart TV using the TV’s remote control. You might find multiple HDMI inputs, so choose the one that you connected the streaming device to.
- Follow the on-screen prompts to set up the streaming device, including connecting it to your Wi-Fi network and creating or logging into your streaming accounts.
- Once the setup is complete, you can use the streaming device’s interface to access various streaming apps and services, providing you with an internet-connected and content-rich smart TV experience.
Using an HDMI cable with a streaming device offers several benefits. It provides an easy and convenient way to transform your regular TV into a smart TV without the need for complicated setup or purchasing a new television. With a streaming device, you can access popular streaming services, such as Netflix, Hulu, and Disney+, as well as enjoy additional features like voice control and app compatibility. You also have the option to select from a range of streaming devices that cater to specific preferences, interfaces, and features.
Here are a few tips to enhance your streaming device experience:
- Ensure that your streaming device is connected to a stable and fast internet connection, either through Wi-Fi or Ethernet. This will ensure smooth streaming and prevent buffering issues.
- Consider upgrading your streaming device or opting for a higher-end model if you require advanced features like 4K streaming, HDR support, or gaming capabilities.
- Regularly check for software updates for your streaming device and install them to ensure optimal performance and access to the latest features.
- Experiment with different streaming apps and services to discover new content and tailor your streaming experience to your preferences.
By utilizing an HDMI cable with a streaming device, you can transform your smart TV experience and access a plethora of online content and services, all from the comfort of your living room.
Setting up the Internet Connection
Once you have chosen the method to connect your smart TV to the internet, whether it is via Wi-Fi, Ethernet, or an HDMI cable with a streaming device, setting up the internet connection is essential to enjoy online content and streaming services. Here’s a general step-by-step guide on how to set up the internet connection for your smart TV:
- Ensure that your internet service is active and working properly. Contact your internet service provider if you are unsure.
- For Wi-Fi or Ethernet connections, ensure that your router is powered on and connected to the internet.
- Access the settings menu on your smart TV. The location of the settings menu may vary depending on the brand and model of your TV. Look for an option or icon that represents settings, network, or connectivity.
- Navigate to the network settings and select the appropriate connection type, such as “Wi-Fi,” “Ethernet,” or “Network Setup.”
- If you are connecting via Wi-Fi, your smart TV will display a list of available Wi-Fi networks. Select your home network from the list.
- If prompted, enter the network password. Ensure that you enter the correct password to establish the connection successfully.
- If you are connecting via Ethernet, ensure that the Ethernet cable is securely connected to both your smart TV and your router.
- Follow any on-screen instructions or prompts to complete the network setup process. Your smart TV will attempt to connect to the internet using the selected method.
- Wait for the connection to be established. This process may take a few moments, so be patient.
- Once the internet connection is established, you can verify the connection by accessing an app or website that requires an internet connection.
It’s important to note that the steps may differ slightly depending on your TV’s brand and model. Refer to the user manual or online guides provided by the manufacturer for specific instructions tailored to your device.
During the setup process, you may encounter certain troubleshooting issues, such as incorrect network passwords, weak signals, or incompatible settings. Here are a few tips to address common connection problems:
- Ensure that you have entered the correct network name (SSID) and password for Wi-Fi connections.
- Check the placement of your Wi-Fi router or consider using a Wi-Fi extender or booster if the signal strength is weak in the location of your smart TV.
- If you are using an Ethernet connection, ensure that both ends of the cable are securely connected and that the cable itself is not damaged.
- Restart your smart TV and your router if you are experiencing connectivity issues. Sometimes, a simple reboot can resolve temporary glitches.
By following the appropriate setup instructions for your chosen method and troubleshooting any issues that arise, you can establish a stable and reliable internet connection for your smart TV.
Troubleshooting Common Connection Issues
While setting up the internet connection for your smart TV, you may encounter common connection issues that can disrupt your streaming and online experience. Here are some troubleshooting tips to help you resolve these issues and ensure a smooth and uninterrupted internet connection:
1. Weak Wi-Fi Signal: If your smart TV is experiencing a weak Wi-Fi signal, there are several steps you can take to improve it. First, make sure that your TV is within range of the Wi-Fi router. If possible, move the router closer to your TV or vice versa. Additionally, reducing interference from other devices, such as microwaves or cordless phones, can strengthen the Wi-Fi signal. You can also consider using a Wi-Fi extender or booster to enhance the Wi-Fi coverage in your home.
2. Incorrect Wi-Fi Password: Double-check that you have entered the correct Wi-Fi password during the setup process. Wi-Fi passwords are case-sensitive, so ensure that you are entering uppercase and lowercase characters correctly. If you are unsure of the password, you can find it on the back or underside of your Wi-Fi router or contact your internet service provider for assistance.
3. Ethernet Connection Issues: If you are connecting your smart TV via Ethernet and experiencing connection problems, ensure that the Ethernet cable is securely plugged into both the TV and the router. Try using a different Ethernet cable or port on the router to rule out any cable or port issues. Additionally, restarting your router and smart TV can help resolve temporary glitches and connection conflicts.
4. Outdated Firmware: Firmware updates for your smart TV can often resolve connectivity issues and improve performance. Check for any available firmware updates for your TV model and install them according to the manufacturer’s instructions. Regularly updating the firmware ensures that your TV has the latest features and bug fixes.
5. Restarting the Router and TV: If you are experiencing general connectivity issues or your smart TV is not connecting to the internet, a simple restart of both the router and the TV can sometimes resolve the problem. Turn off both devices, wait for a few minutes, and then power them back on. Allow them to restart fully before attempting to connect again.
6. Contacting Your Internet Service Provider: If you have tried the above troubleshooting steps and are still experiencing connection issues, it may be worth contacting your internet service provider (ISP) for assistance. They can help diagnose any broader network issues or address specific problems related to your internet connection.
By following these troubleshooting tips, you can overcome common connection issues and ensure a reliable and consistent internet connection for your smart TV. Remember to consult your TV’s user manual or contact the manufacturer’s support team if you require further assistance specific to your TV model.
Conclusion
Connecting your smart TV to the internet opens up a world of online entertainment and convenience right from your living room. Whether you choose to connect via Wi-Fi, Ethernet, or using an HDMI cable with a streaming device, each method has its own advantages and considerations. Wi-Fi provides the convenience of a wireless connection, while Ethernet offers a direct and stable wired connection. Using an HDMI cable with a streaming device allows you to enjoy additional features and access to a wide range of streaming apps and services.
Setting up the internet connection for your smart TV involves navigating the TV’s settings, selecting the appropriate connection method, and entering the necessary credentials. However, you may encounter common connection issues along the way, such as weak signals, incorrect passwords, or firmware compatibility. By troubleshooting these issues, you can ensure a smooth and uninterrupted streaming experience.
Remember to consider factors like signal strength, distance from the router, and potential interference when setting up your internet connection. Regularly updating your smart TV’s firmware and restarting your devices can also help resolve connectivity problems. In case of persistent issues, do not hesitate to reach out to your internet service provider for assistance.
With a properly set up internet connection, your smart TV becomes a powerful entertainment hub, providing access to a wide variety of streaming services, online content, apps, and more. Enjoy your favorite shows, movies, and games on the big screen, browse the web, and even control your smart home devices, all from the comfort of your living room. Stay connected, stay entertained, and make the most of your smart TV’s capabilities.