Introduction
Sharing an external hard drive on a network can be incredibly useful, especially in a Windows 10 environment. It allows you to access and transfer files between multiple devices quickly and conveniently. Whether you have important documents, multimedia files, or backups, sharing your external hard drive on a network ensures seamless accessibility and collaboration.
In this article, we will guide you through the process of sharing an external hard drive on a Windows 10 network. Before we start, make sure you have the necessary permissions and access to the drive you want to share. Additionally, ensure that the external hard drive is connected and recognized by your Windows 10 computer.
Sharing your external hard drive will enable other devices connected to the network to access the files and folders you choose to share. It’s a practical solution for families, small businesses, or any scenario where files need to be accessed and shared across multiple devices.
Windows 10 offers built-in features that make the sharing process straightforward. By following the step-by-step instructions in this article, you’ll be able to share your external hard drive and enjoy the convenience and efficiency of accessing your files from any device within your network.
Prerequisites
Before you can proceed with sharing your external hard drive on a Windows 10 network, there are a few prerequisites that need to be in place:
- A Windows 10 computer: You will need a computer running the Windows 10 operating system, as the steps mentioned in this article are specific to Windows 10.
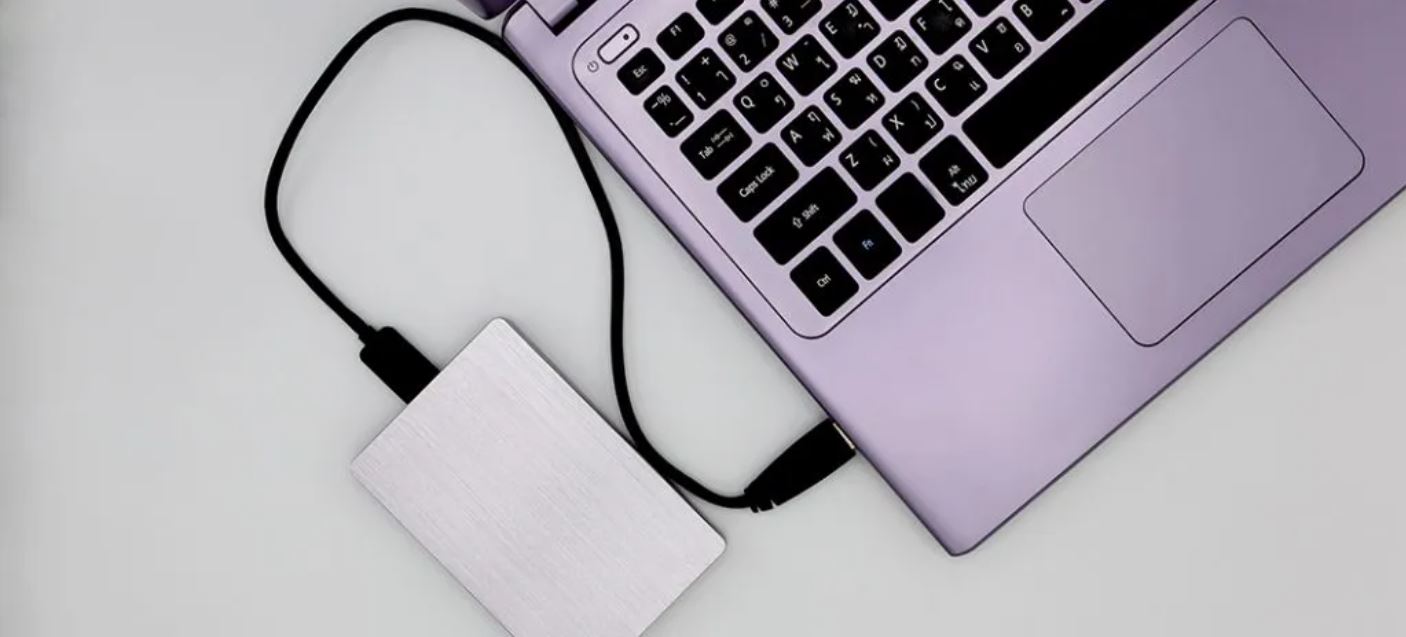
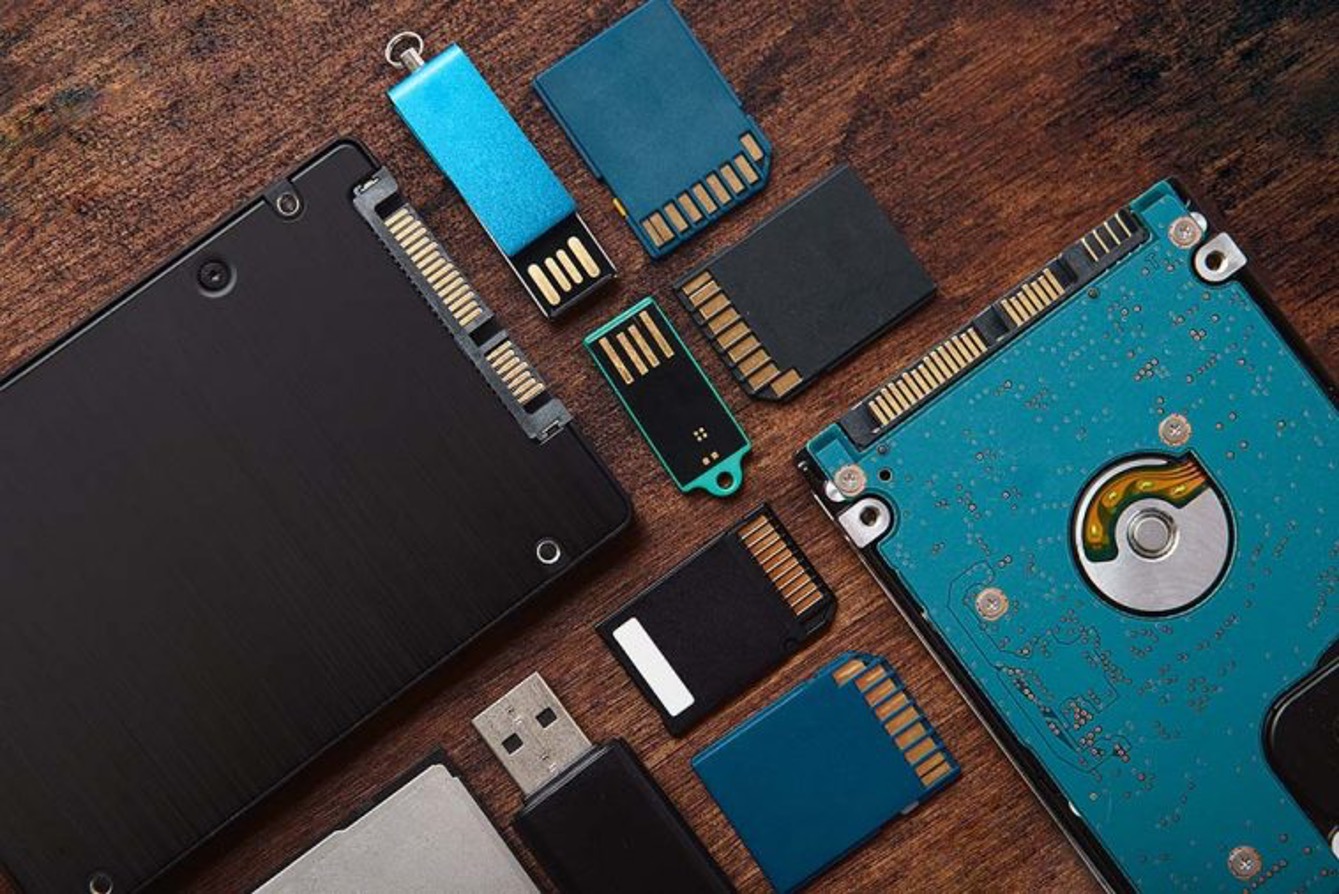
- External hard drive: Ensure that you have an external hard drive connected to your Windows 10 computer. This drive should be recognized and accessible through File Explorer.
- Admin access: You will need administrative access to your Windows 10 computer. This allows you to make changes to the sharing settings.
- Network connection: You must have a local network connection established, such as Wi-Fi or Ethernet, to share your external hard drive with other devices on the network.
- Permission to share: Verify that you have the necessary permissions to share files and folders on your Windows 10 computer. If you are not the administrator, ensure that the administrator grants you permission to share the external hard drive.
By meeting these prerequisites, you will be ready to proceed with the process of sharing your external hard drive on a Windows 10 network. It is important to have these prerequisites in place as they ensure a smooth and successful sharing experience, allowing you to access your files and collaborate with others on your network effortlessly.
Step 1: Connect the External Hard Drive
To begin, ensure that your external hard drive is connected and recognized by your Windows 10 computer. Follow these simple steps:
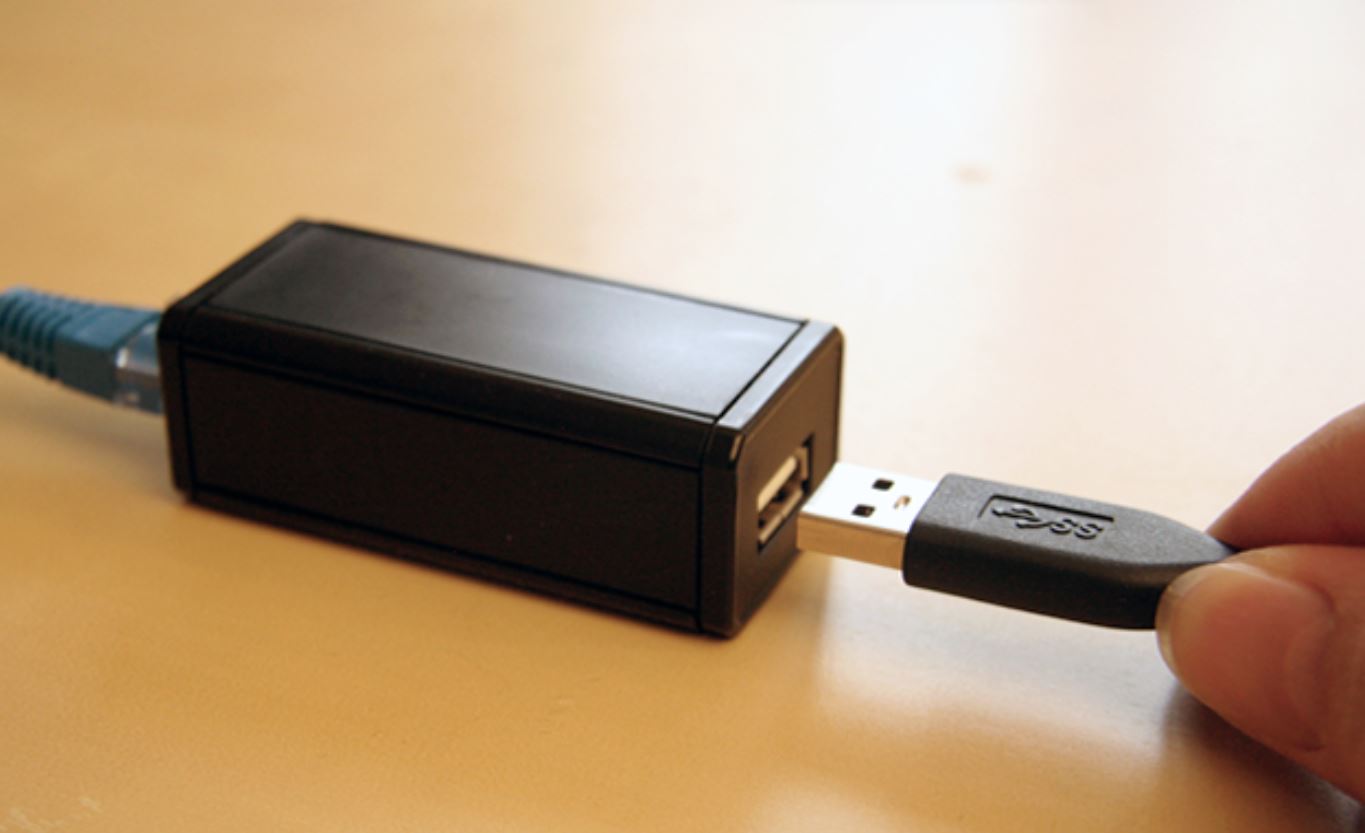
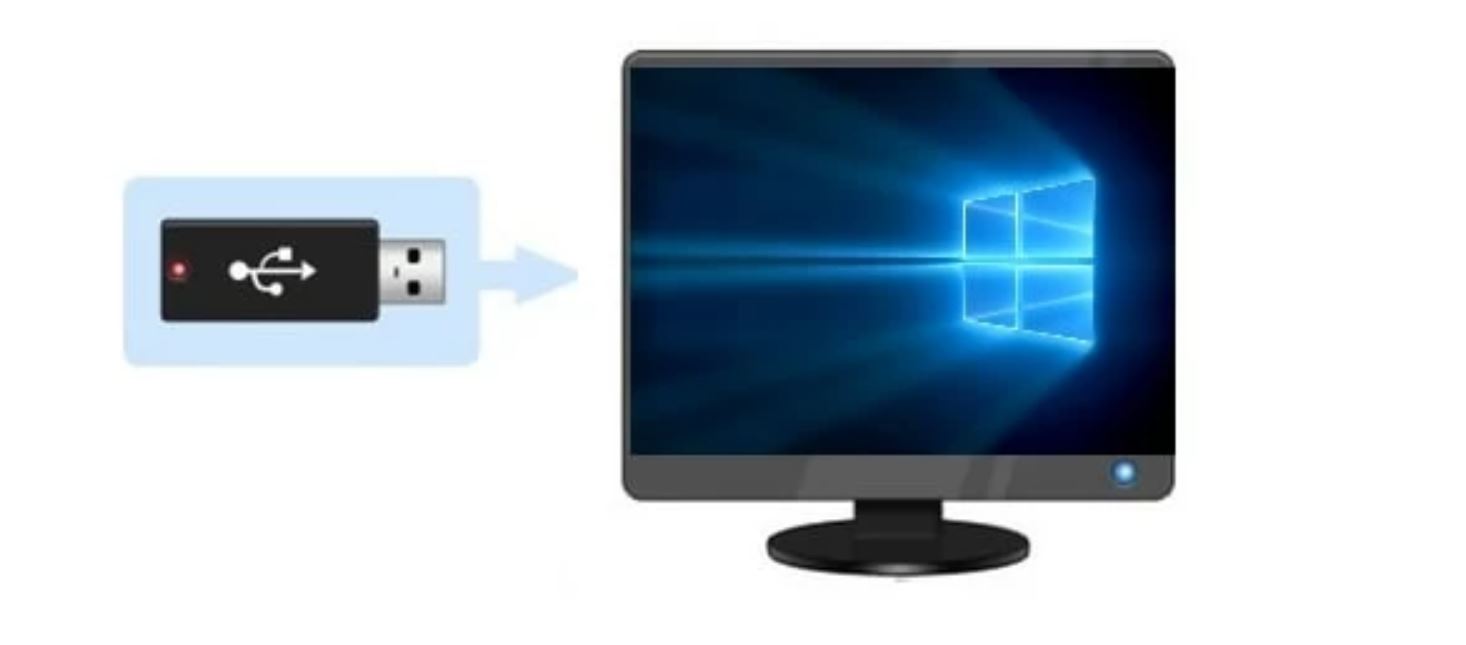
- Turn on your external hard drive and connect it to your Windows 10 computer using a USB cable or any other applicable connection method.
- Wait for a moment to allow your computer to detect the external hard drive.
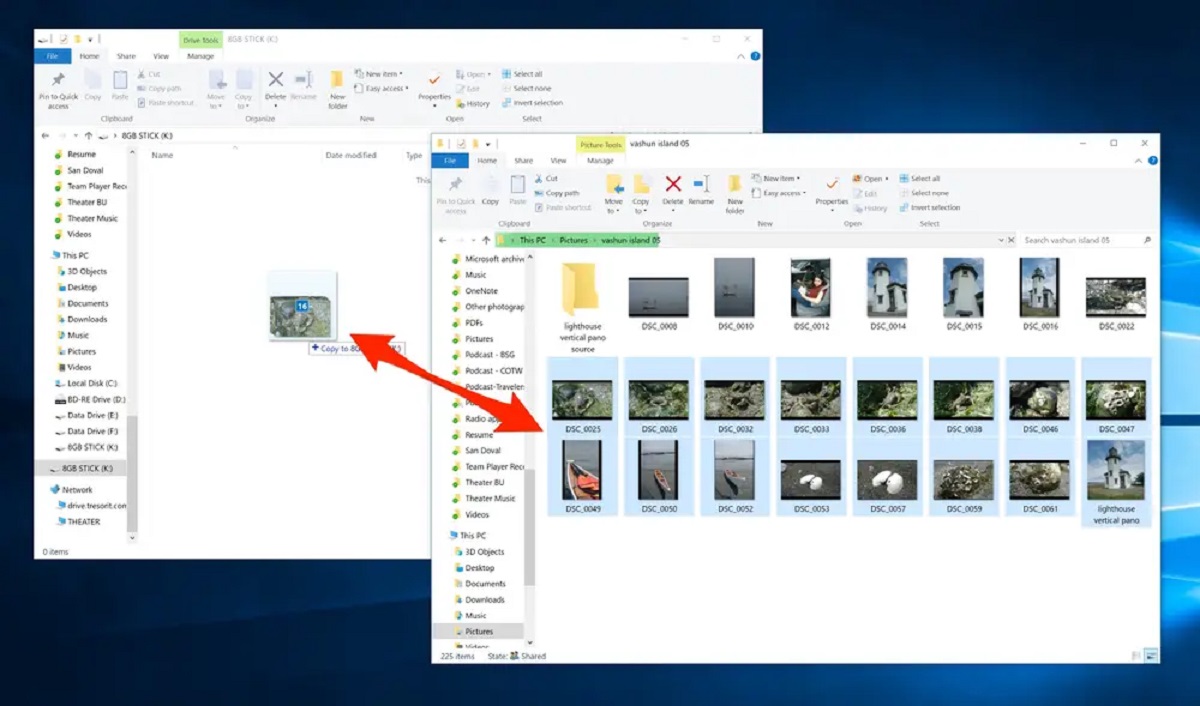
- Once detected, open “File Explorer” by pressing the Windows key + E on your keyboard or by clicking on the File Explorer icon located in the taskbar.
- In the left-hand navigation pane of File Explorer, locate the “This PC” or “My Computer” section. Your external hard drive should appear under this section.
- Click on the name of your external hard drive to access its contents. This confirms that your external hard drive is successfully connected and recognized by your Windows 10 computer.
It’s important to ensure that your external hard drive is properly connected and recognized before proceeding to the next steps. This ensures that you will be able to access and share the drive’s files and folders with other devices on your Windows 10 network.
Once your external hard drive is connected and recognized, you can move on to the next step and begin the process of sharing it on your Windows 10 network.
Step 2: Open File Explorer
To proceed with sharing your external hard drive on a Windows 10 network, you will first need to open File Explorer. File Explorer is a built-in Windows application that allows you to navigate and manage files and folders on your computer.
Follow these steps to open File Explorer:
- Press the Windows key + E on your keyboard. This keyboard shortcut will instantly open File Explorer.
- Alternatively, you can click on the File Explorer icon located in the taskbar. The icon looks like a folder and can usually be found at the bottom of the screen.
Once File Explorer is open, you will be able to view and access files and folders on your Windows 10 computer. This is a crucial step in the process of sharing your external hard drive on a Windows 10 network, as it allows you to manage sharing settings for the drive.
With File Explorer open, you are now ready to move on to the next step and access the properties of your external hard drive to enable sharing.
Step 3: Access the Drive’s Properties
In order to share your external hard drive on a Windows 10 network, you’ll need to access the drive’s properties. The properties menu allows you to make changes and configure various settings for the drive, including sharing permissions.
Follow these steps to access the drive’s properties:
- In File Explorer, locate your external hard drive in the left-hand navigation pane under the “This PC” or “My Computer” section.
- Right-click on the name of your external hard drive. This will open a context menu.
- From the context menu, select “Properties”. A new window will appear displaying the properties for your external hard drive.
- Within the properties window, click on the “Sharing” tab. This is where you can configure sharing settings for your external hard drive.
By accessing the drive’s properties, you now have the ability to enable sharing and configure additional settings to control how the drive is shared on your Windows 10 network.
With the drive’s properties window open, you’re now ready to proceed to the next step and enable sharing for your external hard drive.
Step 4: Enable Sharing
Now that you have accessed the properties of your external hard drive, it’s time to enable sharing. Enabling sharing allows other devices on your Windows 10 network to access the files and folders stored on your external hard drive.
To enable sharing for your external hard drive, follow these steps:
- Within the properties window of your external hard drive, navigate to the “Sharing” tab if you’re not already on that tab.
- Click on the “Advanced Sharing” button. This will open the Advanced Sharing window.
- Check the box labeled “Share this folder” or “Share this device”. The exact wording may vary depending on your Windows 10 version.
- Optionally, you can change the share name if you want to give it a more descriptive or memorable name.
- Click on the “Permissions” button. This allows you to customize the sharing permissions for the external hard drive.
- In the Permissions window, you can specify which users or groups have access to the shared drive and the level of permissions they have (e.g., read-only or read/write access).
- Once you have configured the sharing permissions, click “OK” to apply the changes and close the Permissions window.
- Back in the Advanced Sharing window, click “OK” to apply the sharing settings and close the window.
- Finally, click “OK” in the properties window to save the changes you made.
Enabling sharing for your external hard drive ensures that it is accessible to other devices on your Windows 10 network. By customizing the sharing permissions, you can control who has access to the drive and what they can do with the shared files and folders.
Now that you have enabled sharing for your external hard drive, it’s time to move on to configuring advanced sharing settings in the next step.
Step 5: Configure Advanced Sharing Settings
After enabling sharing for your external hard drive, it’s important to configure advanced sharing settings to ensure the drive is accessible and secure on your Windows 10 network. These settings allow you to define how the drive is shared and control the level of access granted to other devices.
To configure advanced sharing settings for your external hard drive, follow these steps:
- Open the properties window of your external hard drive as explained in Step 3: Access the Drive’s Properties.
- Within the properties window, go to the “Sharing” tab if you’re not already there.
- Click on the “Advanced Sharing…” button.
- In the Advanced Sharing window, click on the “Permissions” button to review or modify the sharing permissions that were set in Step 4.
- If you want to customize the user permissions further, you can click on the “Add” or “Remove” buttons to add or remove users or groups from the list.
- Click “OK” to save the changes made to the sharing permissions.
- Back in the Advanced Sharing window, click on the “Caching…” button if you want to configure offline access to the shared drive. This allows you to access the files stored on the drive even when you’re not connected to the network.
- Make the desired changes in the Offline Settings dialog box and click “OK” to apply the changes.
- Once you have configured the advanced sharing settings, click “OK” to apply the sharing settings and close the Advanced Sharing window.
- Click “OK” in the properties window to save all the changes you made.
Configuring advanced sharing settings provides you with more control over how your external hard drive is shared and accessed on your Windows 10 network. By reviewing and customizing the sharing permissions, as well as configuring offline access, you can ensure the drive is securely shared and meets your specific needs.
Now that you have configured the advanced sharing settings, it’s time to move on to the next step and learn how to access the shared drive on other devices within your network.
Step 6: Share the Drive with Other Devices on the Network
Now that you have enabled sharing and configured advanced sharing settings for your external hard drive, it’s time to share the drive with other devices on your Windows 10 network. Sharing the drive allows other devices to access and interact with the files and folders stored on it.
To share the drive with other devices on the network, follow these steps:
- Open File Explorer by pressing the Windows key + E on your keyboard or by clicking on the File Explorer icon in the taskbar.
- In the left-hand navigation pane, locate and click on the “Network” section.
- Your shared external hard drive should appear in the Network section. It may be listed with the name you assigned to it during the sharing process.
- Right-click on the shared drive and select “Properties” from the context menu.
- In the properties window, make note of the network path or address displayed. This is the address that other devices on the network will need to use to access the shared drive.
With the drive shared, other devices on your Windows 10 network can now access and interact with the files and folders stored on your external hard drive. They can simply navigate to the Network section in File Explorer and find the shared drive using the network path or address you provided.
Now that you have successfully shared your external hard drive with other devices on the network, it’s time to move on to the final step and learn how to access the shared drive on those devices.
Step 7: Access the Shared Drive on Other Devices
Now that you have shared your external hard drive on your Windows 10 network, it’s time to learn how to access the shared drive from other devices connected to the same network. This allows you to easily retrieve and interact with the files and folders stored on the shared drive.
To access the shared drive on other devices, follow these steps:
- On the device you want to access the shared drive from, ensure that it is connected to the same network as the computer hosting the shared drive.
- Open File Explorer or any file management application on the device.
- Navigate to the Network section or a similar section that displays network devices or shared resources.
- Look for the shared external hard drive that you previously shared from your Windows 10 computer. It should be listed under the network devices or shared resources.
- Click on the shared drive to access its contents.
Once you have accessed the shared drive on the other device, you have the freedom to open, edit, copy, or move files and folders as needed. You can perform regular file management tasks, just as if the files and folders were stored directly on the device you are using.
By accessing the shared drive on other devices, you can enjoy the convenience of having your files and folders accessible from multiple devices within your Windows 10 network. It promotes seamless collaboration and ensures that you can work with your files and data regardless of the device you are using.
With this final step completed, you have successfully learned how to access the shared drive on other devices within your Windows 10 network. Enjoy the convenience and flexibility of sharing and accessing your external hard drive hassle-free.
Conclusion
Sharing your external hard drive on a Windows 10 network can greatly enhance your productivity and convenience, allowing you to access and collaborate on files from multiple devices within your network. In this article, we’ve provided a step-by-step guide on how to share an external hard drive on a Windows 10 network. By following these steps, you can easily enable sharing, configure advanced sharing settings, and access the shared drive on other devices.
Remember to ensure that you have the necessary prerequisites in place, including a Windows 10 computer, a connected and recognized external hard drive, admin access, a network connection, and the appropriate permissions. These prerequisites are essential for a successful sharing experience.
Through each step, you’ve learned how to connect the external hard drive, open File Explorer, access the drive’s properties, enable sharing, configure advanced sharing settings, and finally, access the shared drive on other devices. Each of these steps plays a crucial role in the overall sharing process, enabling you to securely and efficiently share your files and folders within your Windows 10 network.
By sharing your external hard drive, you can easily collaborate with colleagues, share multimedia files with family and friends, or access important documents from any device within your network. It eliminates the need for physical file transfers and allows for seamless sharing and data accessibility.
In conclusion, sharing your external hard drive on a Windows 10 network is a valuable tool that can greatly enhance your file management and collaboration capabilities. By following the steps outlined in this article, you’ll be able to effectively share your external hard drive and enjoy the benefits of streamlined access and sharing on your Windows 10 network.