Introduction
Welcome to the world of hard disk drives! If you’re new to the concept or just looking to expand your knowledge, this article will provide you with a basic understanding of how to use a hard disk drive (HDD) effectively. Hard disk drives are the primary storage devices in most computers, storing and retrieving data using magnetic storage technology.
In this article, we will guide you through the process of connecting and installing a hard disk drive, partitioning and formatting it, allocating drive letters, transferring data to and from the HDD, managing storage space, and maintaining and troubleshooting your hard disk drive. By the end of this guide, you will have the knowledge and skills necessary to make the most out of your HDD.
Whether you’re a computer enthusiast, a professional in need of extra storage, or a casual user wanting to understand more about hard disk drives, this article is for you. We’ll start with the basics and gradually delve into more advanced topics. So, let’s get started!
Basic Understanding of Hard Disk Drives
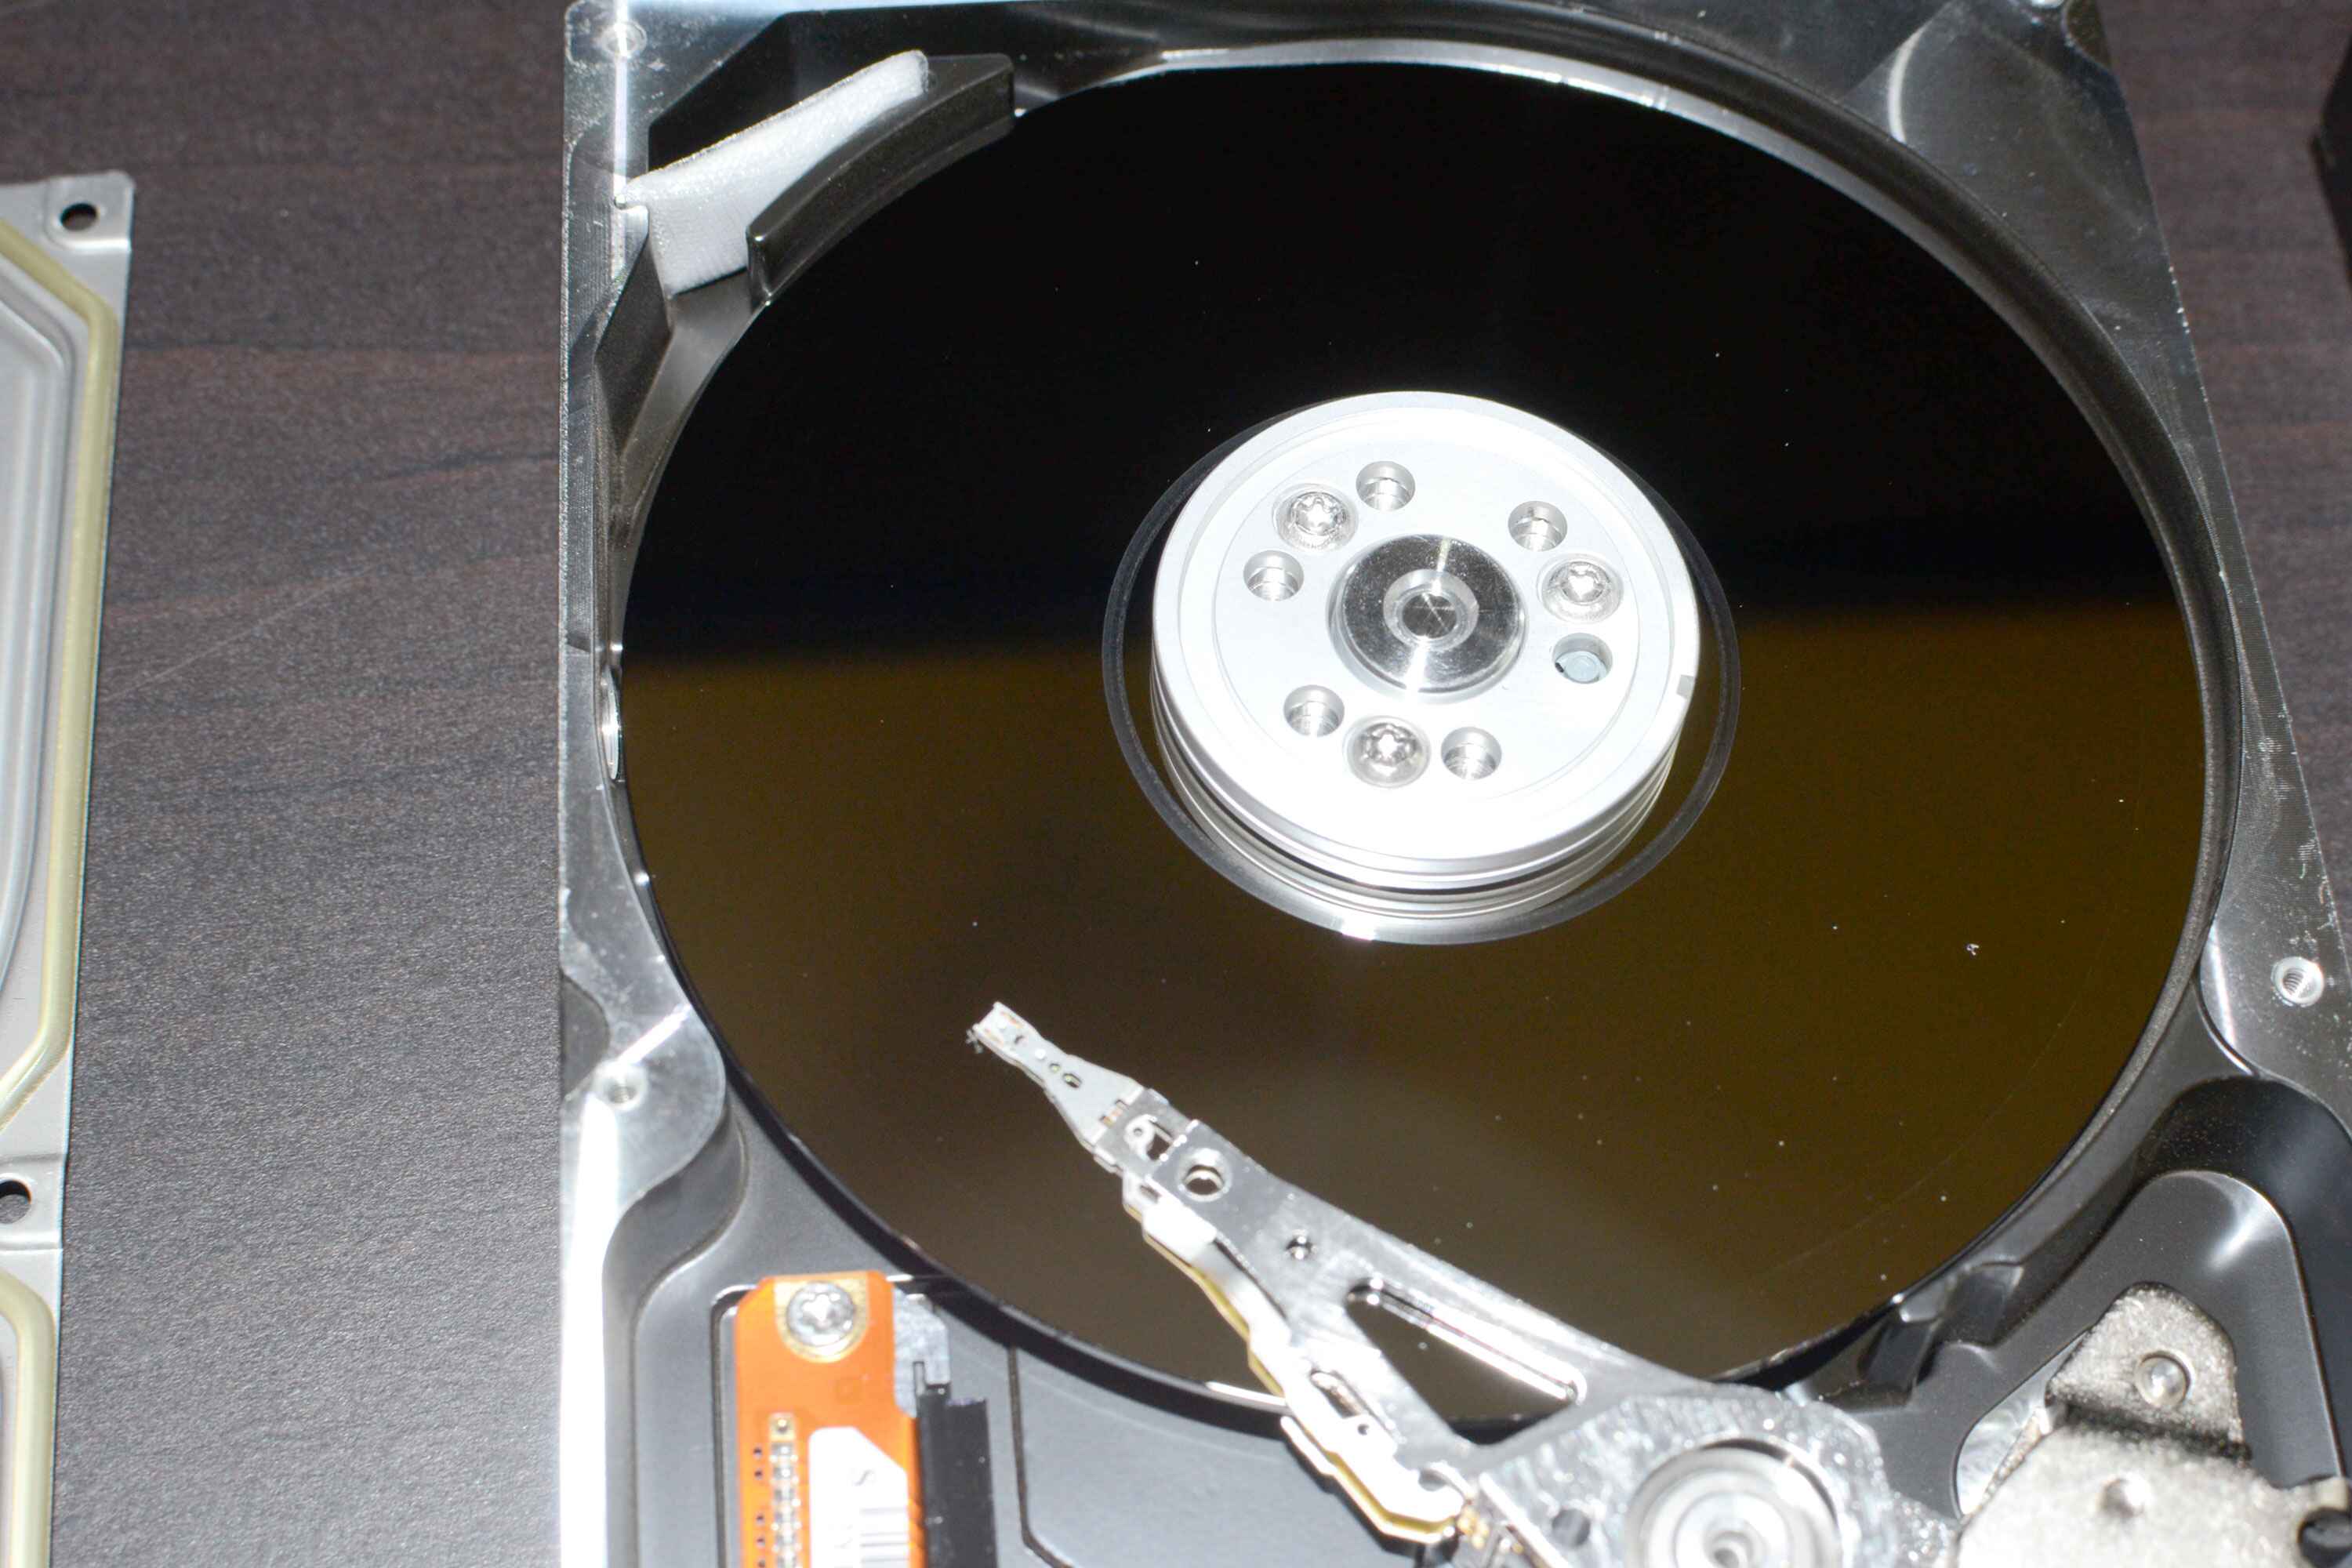
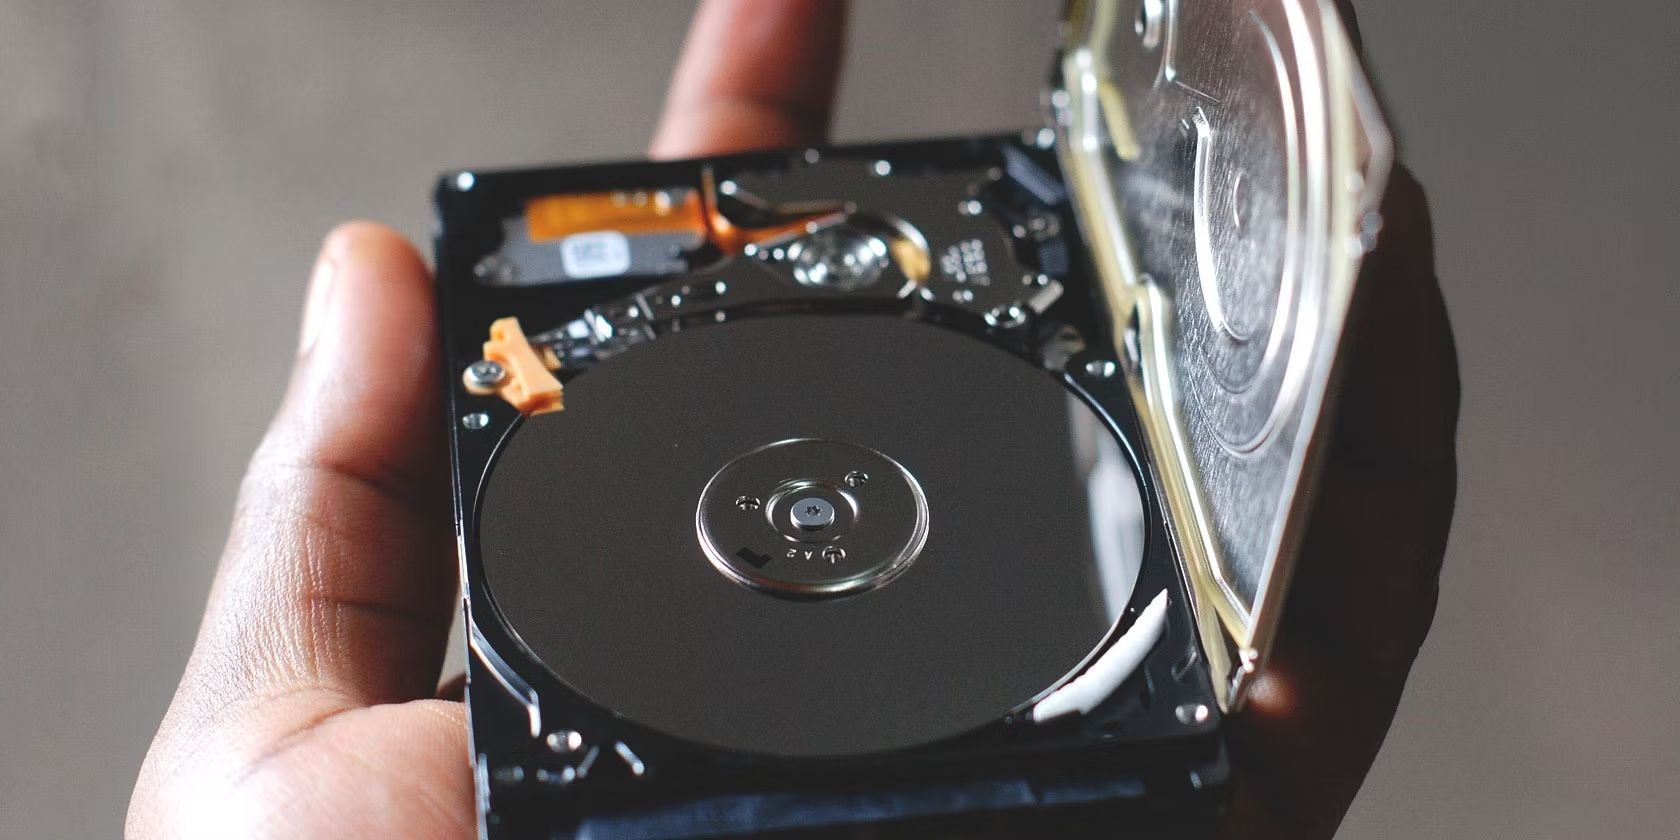
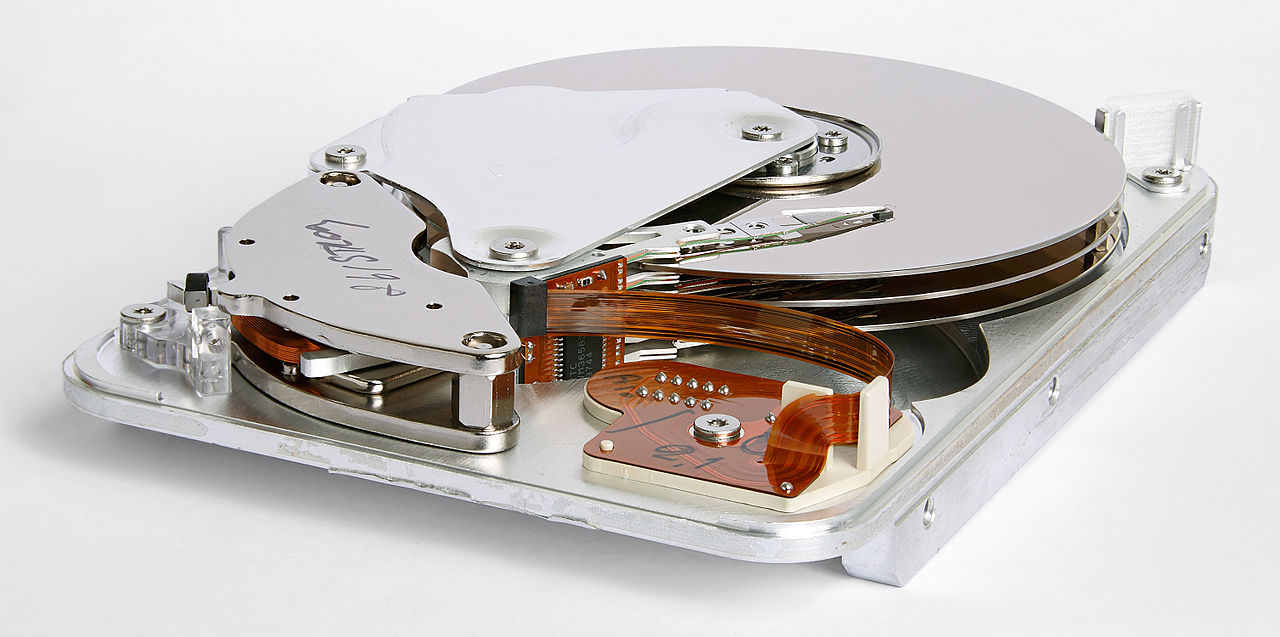
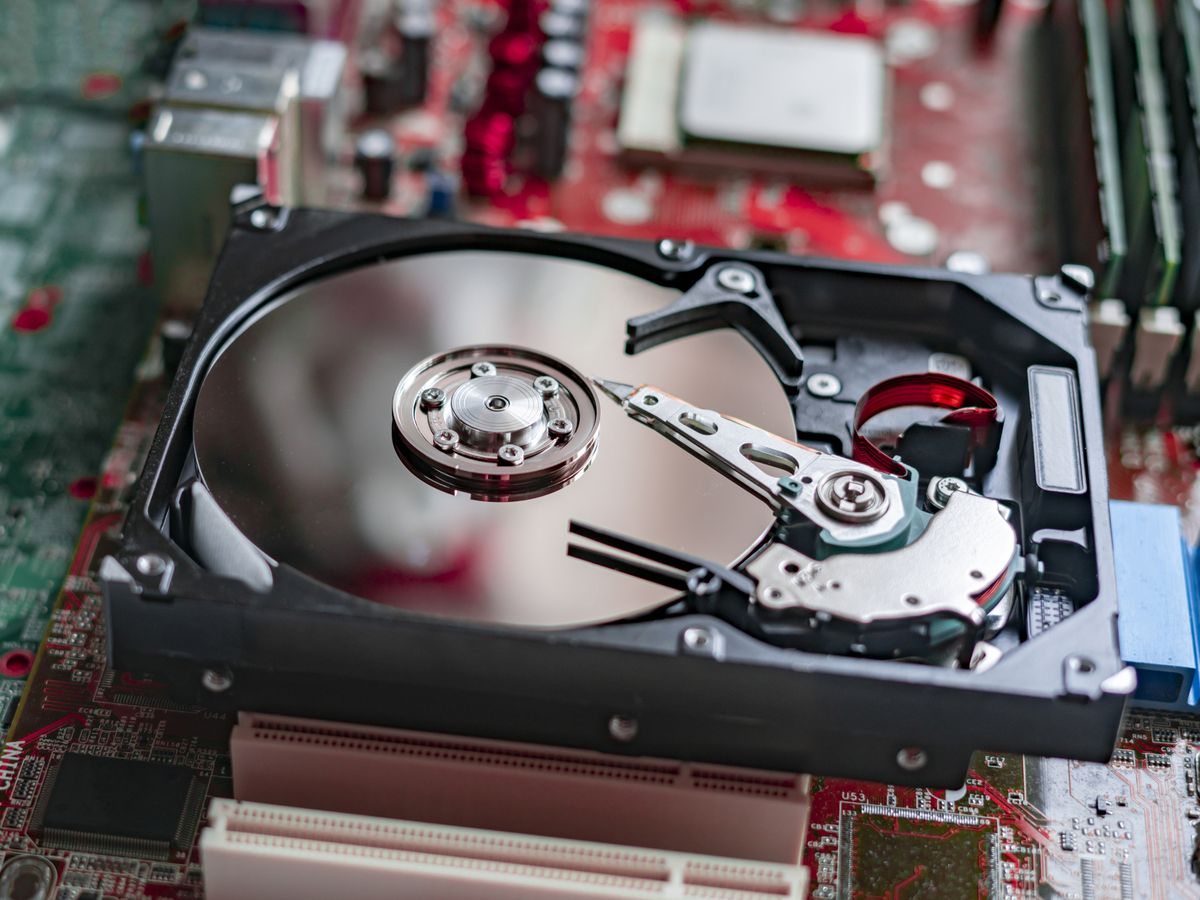
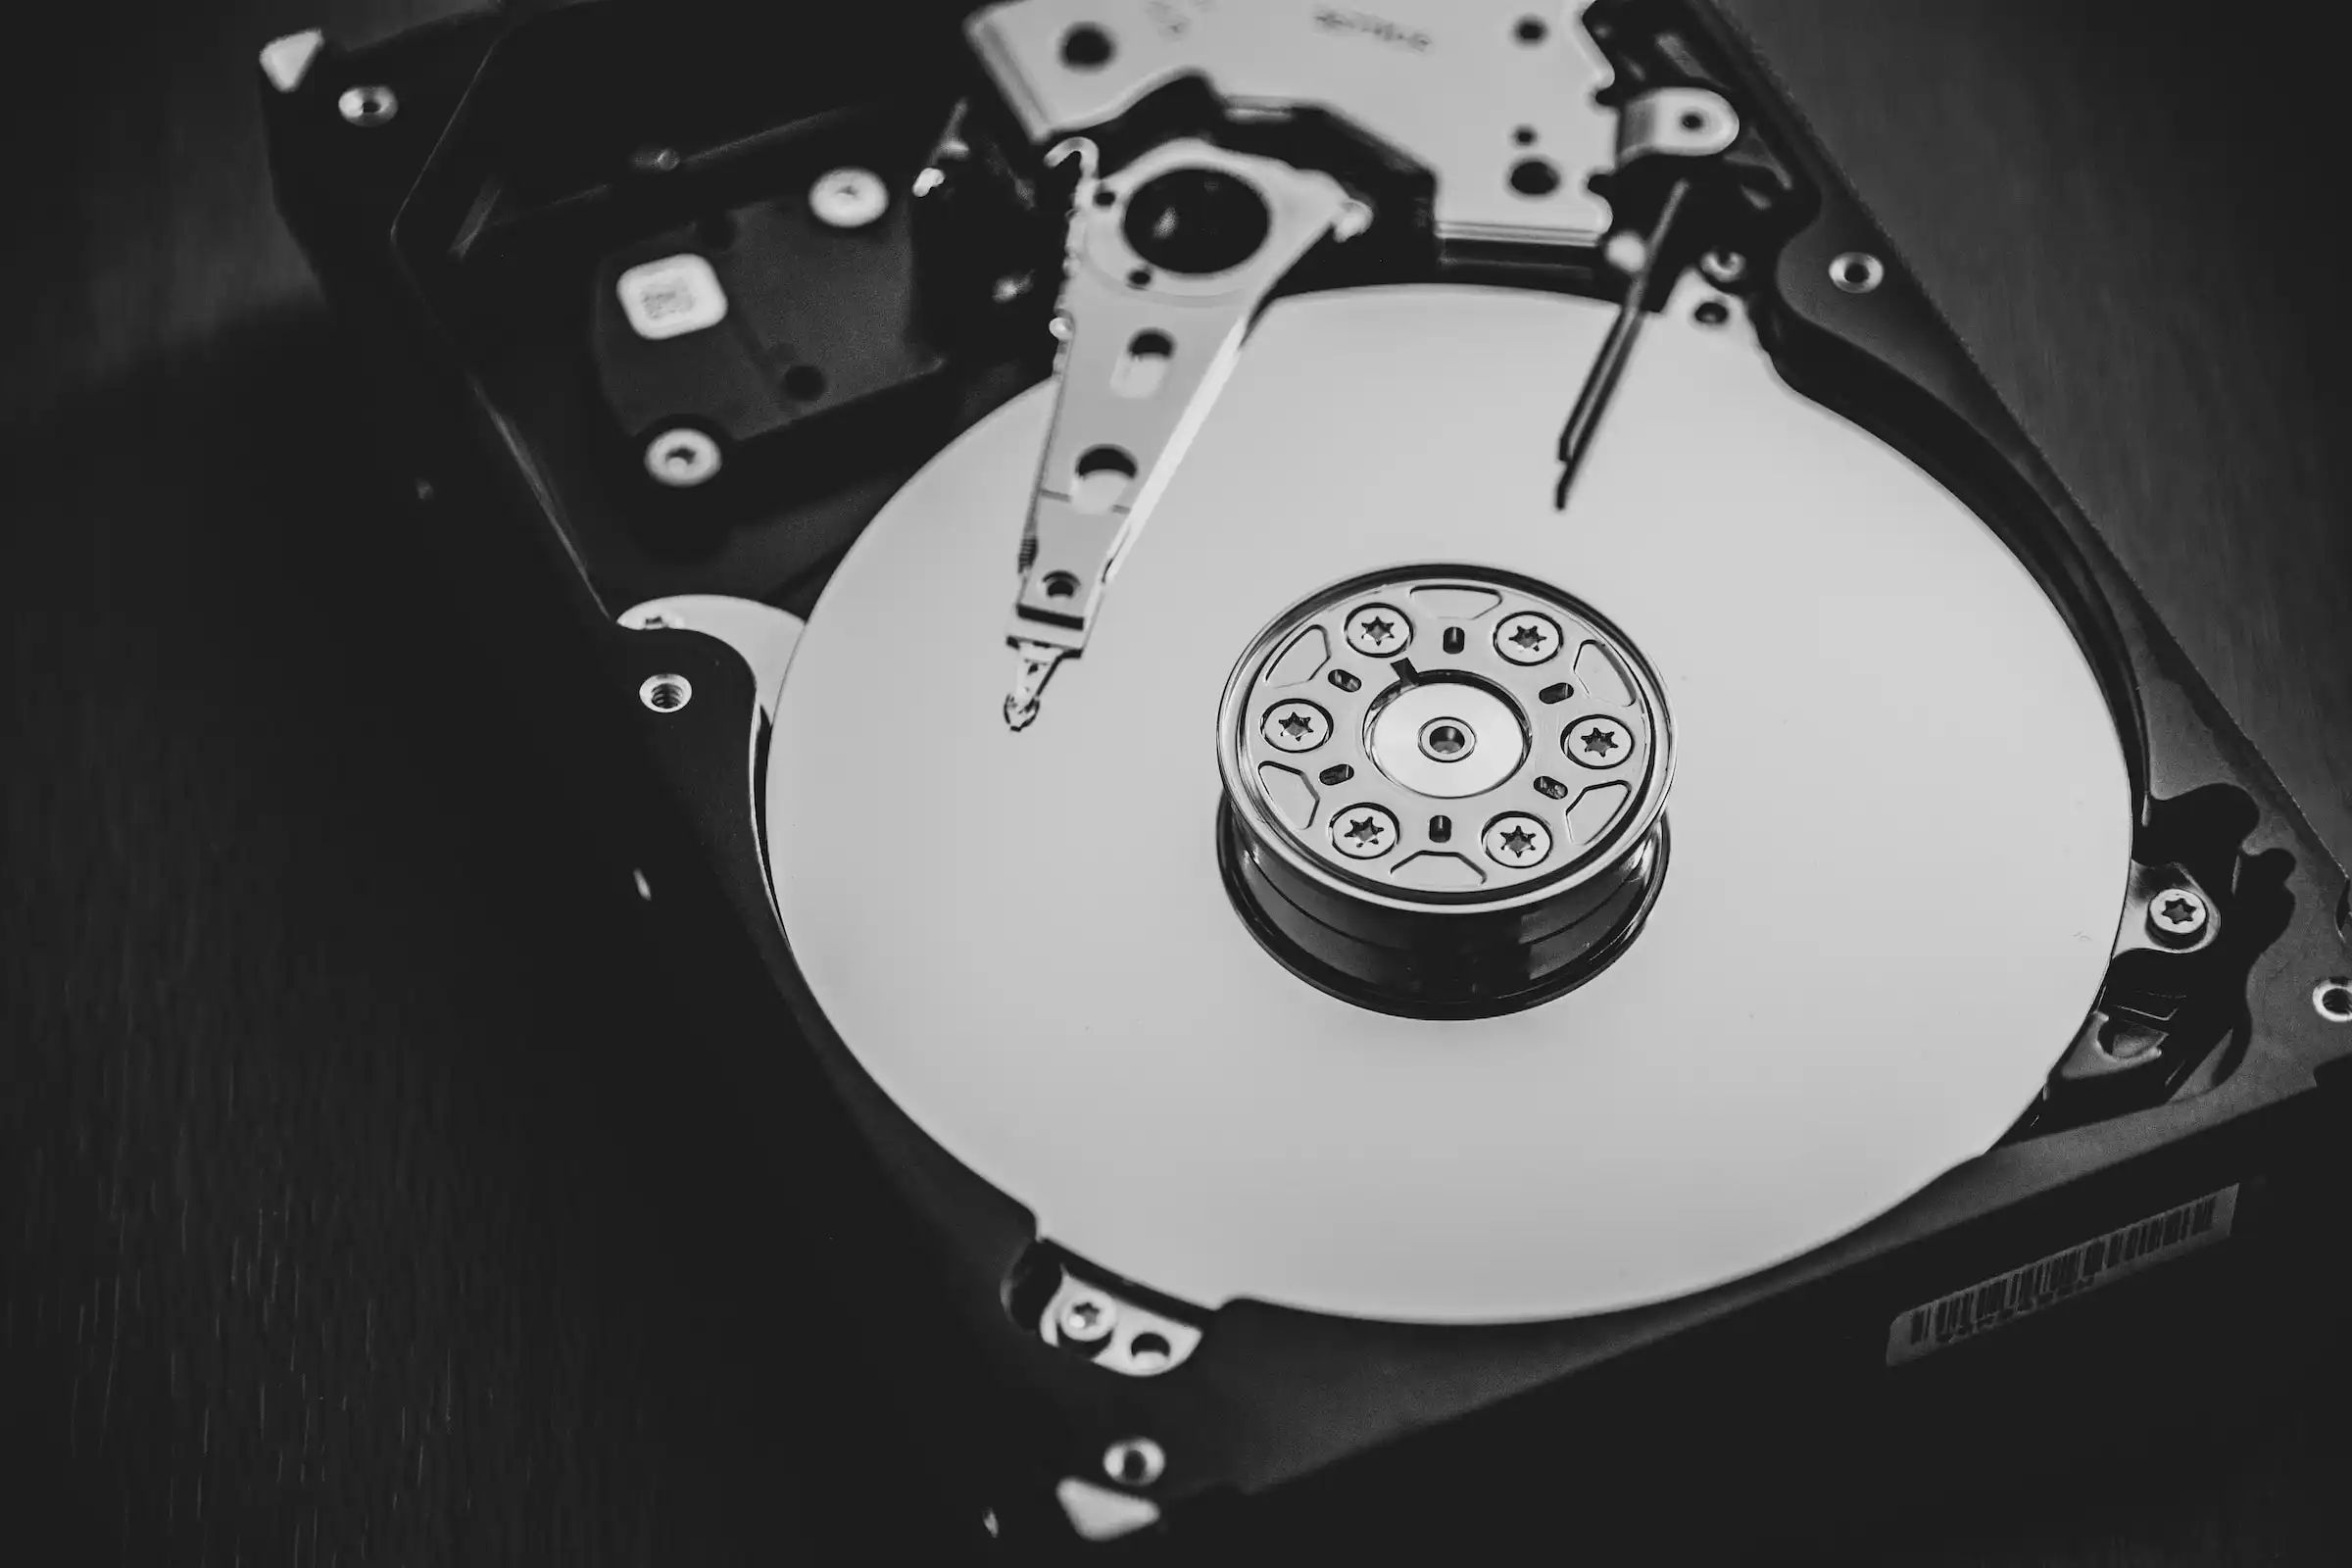
Before we dive into the technical aspects of using a hard disk drive, it’s important to have a basic understanding of what it is and how it works. A hard disk drive, or HDD, is a storage device that uses magnetic storage to store and retrieve data. It consists of one or more spinning disks, called platters, coated with a magnetic material. These platters rotate at high speeds while a read/write head moves across them to read and write data.
The capacity of a hard disk drive is determined by the number of platters it contains and the density of data that can be stored on each platter. HDDs come in various capacities, ranging from a few hundred gigabytes to several terabytes. They are commonly used in desktop computers, laptops, servers, and external storage devices.
Hard disk drives are non-volatile storage devices, which means they retain data even when the power is turned off. This makes them ideal for storing large amounts of data that needs to be accessed frequently. They are capable of reading and writing data at high speeds, making them suitable for tasks that require quick access to large files.
One important factor to consider when using an HDD is its mechanical components. Since the read/write head moves across the spinning platters, it’s vital to handle the drive with care to prevent physical damage. Sudden movements, drops, or impact can lead to data loss or even permanent damage to the drive. Therefore, it’s recommended to handle hard disk drives gently and avoid subjecting them to unnecessary vibrations or shocks.
Now that you have a basic understanding of what a hard disk drive is and how it functions, let’s move on to the next section, where we will learn how to connect and install a hard disk drive.
Connecting and Installing the Hard Disk Drive
Connecting and installing a hard disk drive (HDD) is a straightforward process that requires a few simple steps. Whether you are adding a new HDD to your existing system or replacing an old one, this section will guide you through the process.
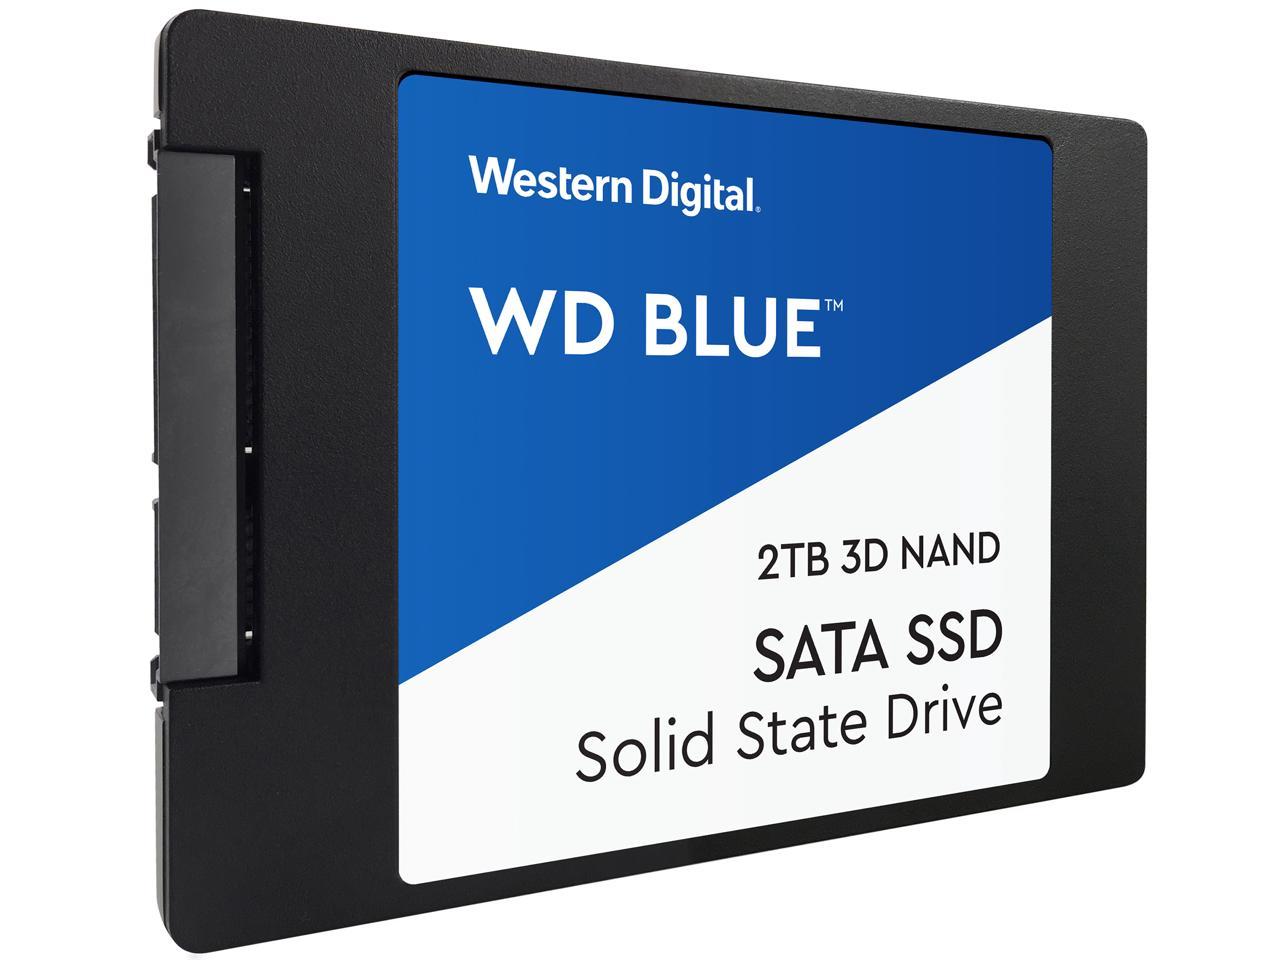
The first step is to determine the type of connection interface your HDD uses. Most modern HDDs use either Serial ATA (SATA) or PCIe (Peripheral Component Interconnect Express) interface. SATA is the most common type and is compatible with most motherboards. PCIe is a faster interface commonly used for high-performance SSDs.
To connect the HDD to your computer’s motherboard, follow these steps:
- Power off your computer and unplug it from the power source.
- Open the computer case by removing the screws or latches on the side panel. Refer to your computer’s manual for specific instructions.
- Locate an available SATA or PCIe slot on the motherboard.
- For SATA connection, attach one end of the SATA data cable to the SATA port on the motherboard and the other end to the SATA port on the HDD. Make sure to align the connectors properly.
- For power connection, use a SATA power cable from the power supply unit (PSU) and connect it to the corresponding port on the HDD. PCIe SSDs may require a separate power connector.
- Double-check all connections to ensure they are secure.
Once the HDD is physically connected, it’s time to install it in your operating system. Here’s how:
- Close the computer case and secure it with screws or latches.
- Power on your computer and enter the BIOS/UEFI setup by pressing the designated key during the boot process (usually Del, F2, or F10).
- Navigate to the “Boot” or “Storage” section of the BIOS/UEFI setup.
- Ensure that the HDD is detected by the system. If not, check the connections and try again.
- Save the changes and exit the BIOS/UEFI setup.
At this point, your computer should recognize the newly installed hard disk drive. You can verify this by checking the Disk Management tool in Windows or the Disk Utility in macOS. Note that the HDD may appear as an uninitialized or unallocated disk, which we’ll address in the next section.
Congratulations! You have successfully connected and installed your hard disk drive. In the next section, we will learn how to partition and format the HDD to make it ready for use.
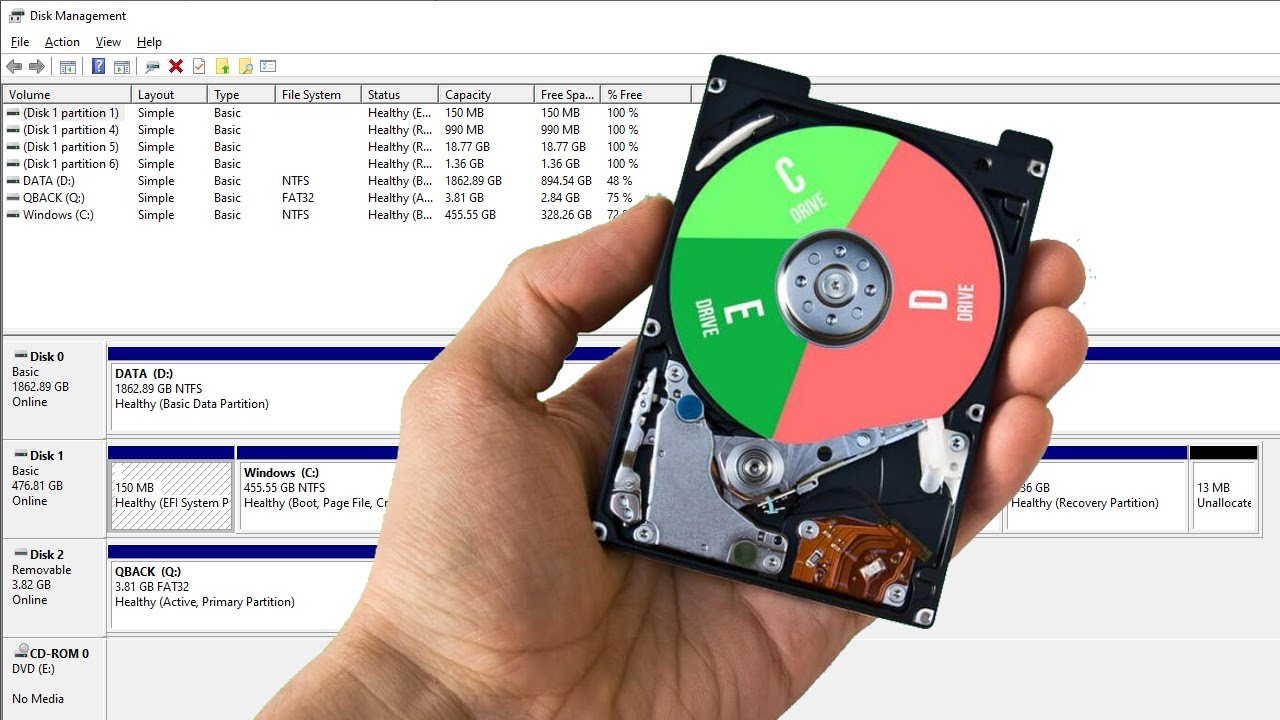
Disk Partitioning
Once you have connected and installed your hard disk drive (HDD), the next step is to partition it. Disk partitioning involves dividing the HDD into separate sections known as partitions, each acting as an independent storage unit. Partitioning allows you to organize your data, install multiple operating systems, and improve overall performance.
Before you begin partitioning, it is important to understand the different types of partitions:
- Primary Partition: This is the main partition on a disk and is typically used to install an operating system.
- Extended Partition: An extended partition is a container partition that can hold multiple logical partitions.
- Logical Partition: Logical partitions reside within an extended partition and are used to store data.
To partition your HDD, follow these steps:
- Open the Disk Management tool in Windows or the Disk Utility in macOS.
- Select your HDD from the list of available disks.
- Right-click on the unallocated space and choose “New Simple Volume” (Windows) or “Add Partition” (macOS).
- Specify the size of the partition and allocate a drive letter (Windows) or a mount point (macOS).
- Choose the file system you want to use for the partition, such as NTFS (Windows) or APFS (macOS).
- Format the partition to prepare it for use.
- Repeat the above steps to create additional partitions as needed.
When partitioning your HDD, consider your specific needs and requirements. For example, you may want to create a separate partition for your operating system, programs, and personal data. This can help isolate data and ensure better organization and easier management.
It’s also worth noting that partitioning an HDD will allocate a specific amount of space to each partition. Be mindful of the sizes you assign to each partition, as it can affect the overall storage capacity available.
Once you have partitioned your HDD, you will see the newly created partitions listed in the Disk Management tool (Windows) or the Disk Utility (macOS). These partitions can be formatted and assigned drive letters or mount points, allowing you to start using them to store your data.
Partitioning your HDD provides flexibility and organization, making it easier to manage your data. In the next section, we will discuss the process of formatting the partitions to prepare them for use.
Formatting the Hard Disk Drive
Once you have partitioned your hard disk drive (HDD), the next step is to format the partitions. Formatting is the process of preparing a partition to store data by creating a file system on it. Formatting is necessary for the operating system to recognize and read/write data on the partition.
There are different file systems you can choose from, depending on your needs and the operating system you are using. Some common file systems include:
- NTFS (New Technology File System): This is the default file system for modern Windows operating systems. It provides security features and support for large file sizes.
- APFS (Apple File System): This is the default file system for macOS High Sierra and later versions. It offers enhanced performance, data integrity, and encryption.
- exFAT (Extended File Allocation Table): exFAT is a file system that is compatible with both Windows and macOS. It allows for large file sizes and is often used for external storage devices.
To format your HDD partitions, follow these steps:
- Open the Disk Management tool in Windows or the Disk Utility in macOS.
- Select the partition you want to format.
- Right-click on the partition and choose the “Format” option.
- Select the desired file system from the list.
- Specify the volume label (optional) and choose the allocation unit size (Windows).
- Confirm the formatting operation and wait for it to complete.
It’s important to note that formatting a partition will permanently erase all data on that partition. Therefore, it’s crucial to backup any important files before formatting.
After formatting, the partition will be ready to store data. It will be assigned a drive letter (Windows) or a mount point (macOS), and you can start using it to save files, install applications, and organize your data.
Keep in mind that some operating systems may have specific requirements or limitations when it comes to formatting HDD partitions. For example, older versions of Windows may not support certain file systems, or macOS may require additional steps to enable certain features.
Formatting your HDD partitions ensures compatibility and optimal performance. In the next section, we will discuss how to allocate drive letters or mount points to your partitions for easier access.
Allocating Drive Letters
After you have formatted your hard disk drive (HDD) partitions, the next step is to allocate drive letters or mount points to them. Drive letters are a way to identify and access the different partitions or storage devices connected to your computer. In Windows, drive letters are assigned to each partition, such as C:, D:, E:, etc. In macOS, mount points are used instead of drive letters.
The process of allocating drive letters or mount points is straightforward:
- Open the Disk Management tool in Windows or the Disk Utility in macOS.
- Locate the partition you want to assign a drive letter or mount point to.
- Right-click on the partition and choose the “Change Drive Letter and Paths” option (Windows) or “Mount” option (macOS).
- In Windows, click on the “Add” button and choose from the available drive letters. In macOS, click on the “Mount” button.
- Confirm the changes and exit the settings.
Assigning drive letters or mount points to your HDD partitions makes it easier to access them in the file explorer or file manager. You can simply open the designated drive letter or mount point and start working with the files stored in that partition.
It’s important to note that some drive letters, such as C: in Windows, are typically reserved for the operating system’s main partition. In such cases, the drive letter may not be available for allocation. However, you can still assign other unused drive letters or mount points to your additional partitions.
Additionally, if you have multiple partitions or storage devices, it’s a good practice to assign drive letters or mount points sequentially or in a logical manner. This can help you easily identify and navigate through your different partitions, enhancing overall efficiency and organization.
Once you have assigned drive letters or mount points to your HDD partitions, you can start using them to store, access, and manage your data. In the next section, we will discuss the process of transferring data to and from your hard disk drive.
Transferring Data to and from the Hard Disk Drive
Transferring data to and from your hard disk drive (HDD) is a key aspect of using it effectively. Whether you want to back up your important files, transfer media files, or share data with others, understanding the process of data transfer is essential.
There are several methods you can use to transfer data to and from your HDD:
- Using File Explorer or File Manager: The most common and straightforward method is to use the built-in file explorer (Windows) or file manager (macOS) to manually copy and paste files between your computer and the HDD. Simply open the source folder, select the files or folders you want to transfer, and paste them into the desired location on the HDD.
- Drag and Drop: Another simple method is to drag and drop files or folders from your computer to the HDD or vice versa. This method is particularly useful when you have multiple files to transfer.
- Backup and Sync Software: You can utilize specialized backup and sync software to automate the process of transferring and synchronizing data between your computer and the HDD. This can be beneficial for regular backups or keeping files in sync across multiple devices.
- External Data Transfer: If you have a large amount of data to transfer, you can use external data transfer methods like USB 3.0 or Thunderbolt cables and external storage devices. These methods offer high-speed data transfer rates, making it quick and efficient to transfer large files or complete system backups.
- Network Transfer: If your HDD is connected to a network, you can transfer data over the network. This can be done by mapping the network drive or by using network file sharing protocols such as SMB (Server Message Block) or NFS (Network File System).
When transferring data to your HDD, ensure that you have sufficient available storage space. Regularly check the available capacity of the HDD to prevent running out of storage and causing any issues with data transfer or file management.
Transferring data from your HDD to your computer follows the same principles as transferring data to the HDD. Use the same methods mentioned above according to your needs and preferences.
Remember to safely eject or disconnect the HDD from your computer after transferring data to or from it. This helps to prevent data corruption and protects the integrity of your files.
With the knowledge of how to transfer data to and from your HDD, you can easily manage your files and keep your data organized. In the next section, we will discuss how to manage storage space on your hard disk drive.
Managing Storage Space
Managing storage space on your hard disk drive (HDD) is crucial for efficient data organization and ensuring your HDD performs optimally. As you store more files and data on your HDD, it’s important to keep track of available space and make informed decisions about file management and storage usage.
Here are some tips for managing storage space on your HDD:
- Clean Up Unnecessary Files: Regularly go through your files and delete any unnecessary or duplicate files. This can free up valuable storage space and improve overall performance. Use built-in tools like Disk Cleanup (Windows) or Optimized Storage (macOS) to identify and remove unnecessary files automatically.
- Move Large Files or Unused Data: Identify large files or folders that are taking up significant space on your HDD. Consider moving them to an external storage device, such as an external HDD or a cloud storage service, to free up space on your primary HDD.
- Utilize Compression or Archiving: If you have files that are not frequently accessed but still need to be stored, consider compressing them into a zip or archive file format. This can save space while keeping the files intact for future use.
- Implement Folder Structure and Organization: Create a logical and efficient folder structure to organize your files. This makes it easier to locate and manage files, reducing the chance of duplicate files or wasted storage space.
- Regularly Backup and External Storage: Consider regularly backing up your important files and storing backups on external storage devices or cloud storage services. This not only protects your data but also frees up space on your HDD.
- Monitor Storage Usage: Keep an eye on the storage usage of your HDD. Use the built-in tools or third-party software to monitor the space and be proactive in managing it. If the free space is critically low, it’s important to prioritize cleaning up or moving files to avoid any performance issues.
By adopting these strategies and practices, you can effectively manage the storage space on your HDD and ensure uninterrupted performance and file organization. Regularly reviewing and optimizing your storage usage will prevent clutter and allow for smoother data management.
In the next section, we will discuss important aspects of maintaining and troubleshooting your hard disk drive.
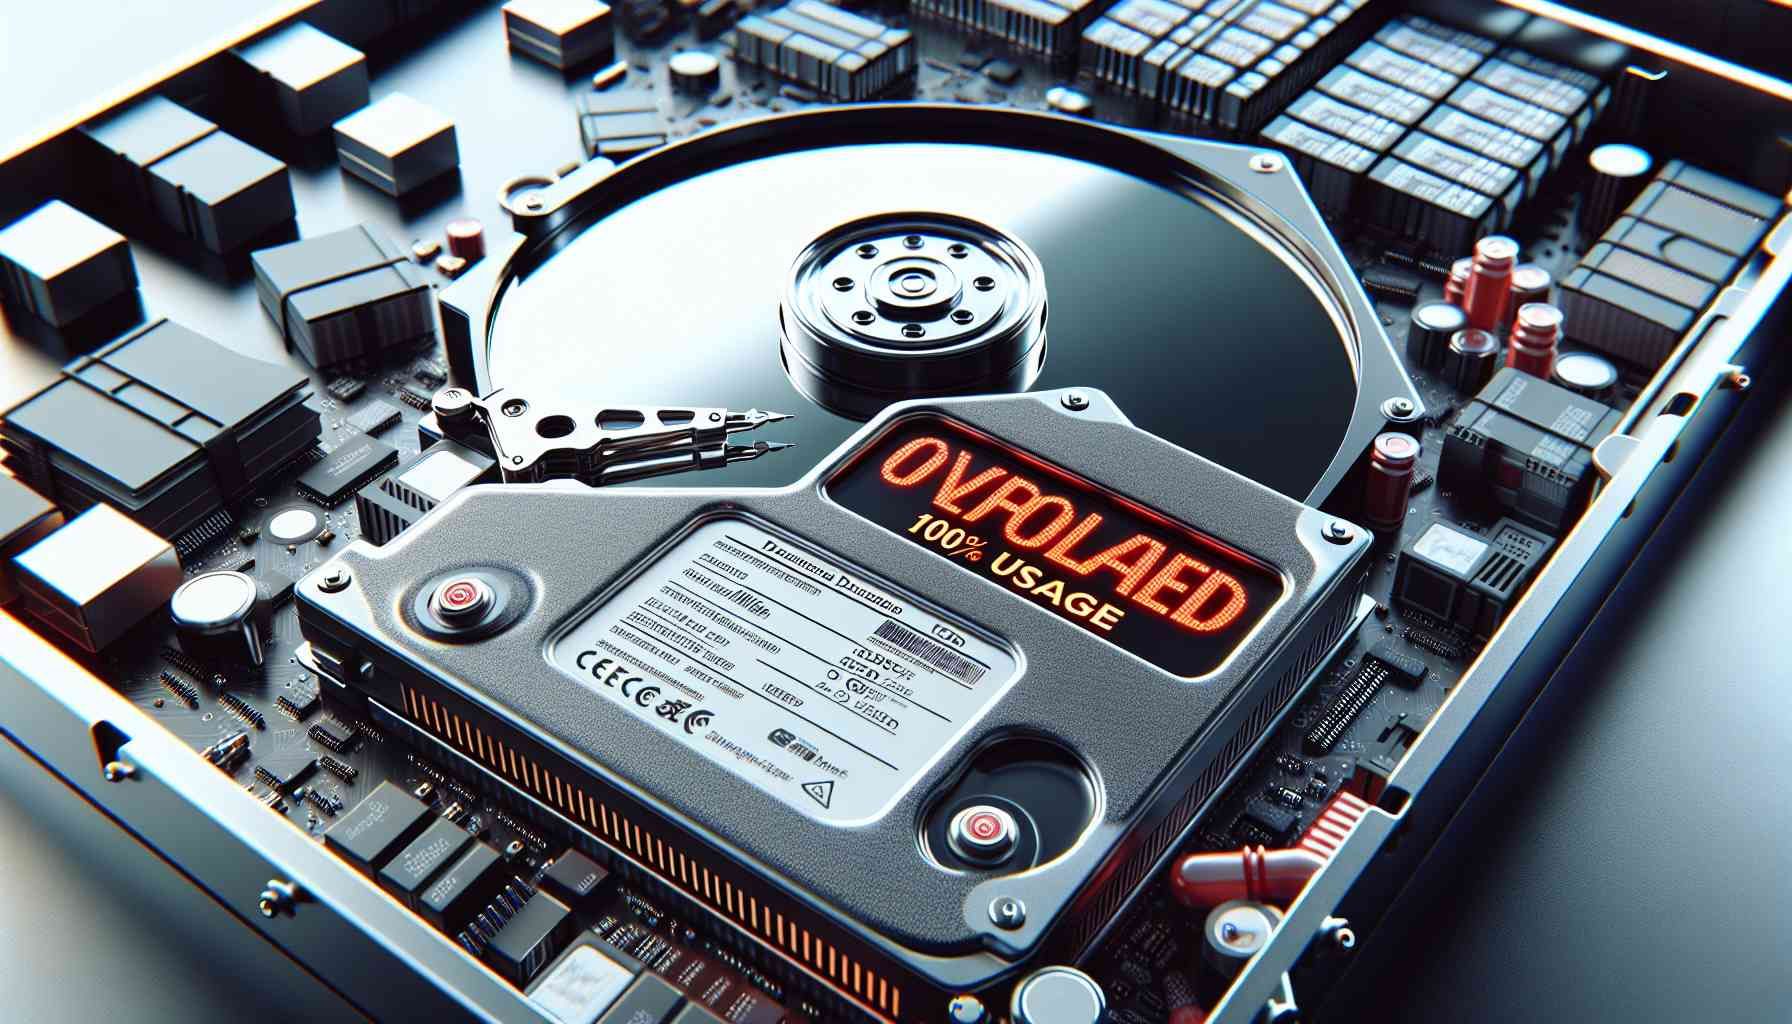
Maintaining and Troubleshooting the Hard Disk Drive
Maintaining and troubleshooting your hard disk drive (HDD) is essential for ensuring its optimal performance and longevity. By following some best practices and being aware of common issues, you can proactively address any potential problems and keep your HDD running smoothly.
Here are some important aspects to consider when maintaining and troubleshooting your HDD:
- Keep Your HDD Cool: Excessive heat can damage your HDD. Ensure that your computer’s cooling system is working properly, and avoid placing the HDD in an environment with high temperatures. Proper airflow and ventilation are essential for maintaining the temperature within acceptable limits.
- Protect Against Power Surges: Power surges can cause damage to your HDD. Use a surge protector or an uninterruptible power supply (UPS) to protect your system from sudden voltage spikes or power outages.
- Scan for Malware and Viruses: Regularly scan your HDD for malware and viruses. Use reputable antivirus software and keep it up to date to prevent any malicious software from affecting your HDD’s performance or compromising your data.
- Perform Regular Disk Checks: Use the built-in disk checking tools provided by your operating system to scan and repair any errors on your HDD. These tools can help identify and fix any file system or physical disk issues.
- Update HDD Firmware: Occasionally, HDD manufacturers release firmware updates to address performance or compatibility issues. Check for firmware updates on the manufacturer’s website and follow their instructions to update the firmware of your HDD.
- Backup Important Data Regularly: Regularly back up your important files and data to an external storage device or cloud storage service. In the event of HDD failure or data loss, having a backup ensures that you can recover your valuable files.
- Seek Professional Help When Needed: If you encounter persistent issues or suspect hardware failures with your HDD, it’s advisable to seek professional help. Professional technicians can diagnose and resolve complex HDD problems and offer guidance on potential solutions.
By following these maintenance practices and troubleshooting tips, you can extend the lifespan of your HDD and minimize the risk of data loss or performance degradation. Regular maintenance and proactive measures help ensure that your HDD consistently delivers reliable storage for your files and applications.
Remember, prevention is key when it comes to maintaining your HDD. By taking proper care of your HDD and promptly addressing any issues, you can enjoy reliable storage and peace of mind.
Conclusion
Congratulations! You’ve gained a fundamental understanding of how to use a hard disk drive (HDD) effectively. By following the steps outlined in this guide, you can confidently connect and install your HDD, partition and format it, allocate drive letters or mount points, transfer data to and from the HDD, manage storage space, and maintain and troubleshoot any potential issues.
A hard disk drive is a critical component of your computer’s storage system, providing reliable and high-capacity storage for your files, applications, and operating system. By properly utilizing and managing your HDD, you can ensure a smooth and efficient computing experience.
Remember to handle your HDD with care, avoiding unnecessary shocks or vibrations that could damage the mechanical components. Keep your HDD cool and protect it from power surges to prevent potential damage. Regularly scan for malware and viruses, perform disk checks, and update the firmware when needed to maintain the health and performance of your HDD.
Efficiently managing storage space on your HDD is crucial for organizing your data and optimizing performance. Regularly clean up unnecessary files, consider moving large or unused data to external storage devices, and implement a well-organized folder structure to make file management easier.
If you encounter any issues or suspect hardware failures, seek professional help to diagnose and resolve the problem. Regularly back up your important data to safeguard against data loss and ensure you can recover your files in case of HDD failure.
By implementing these practices and utilizing the knowledge gained from this guide, you can make the most out of your hard disk drive and enjoy efficient and reliable storage for your computing needs.