Introduction
Welcome to the guide on how to access a hard disk drive on Windows 10. Hard disk drives (HDDs) store all your important data, from documents and photos to music and videos. Being able to access your HDD is crucial for managing your files and ensuring they are safe and organized.
Windows 10 provides multiple methods to access your hard drive, whether it’s an internal or external drive. In this article, we will explore four different methods to help you navigate and access your HDD with ease.
Before we dive into the various methods, let’s briefly discuss the importance of having access to your hard disk drive. Whether you need to transfer files, create backups, or troubleshoot any issues, having the ability to access your HDD is essential.
Whether you’re a novice or an expert, this guide will provide step-by-step instructions on accessing your hard disk drive on Windows 10. So, let’s get started and explore the methods that will enable you to access your HDD effortlessly.
Prerequisites
Before we delve into the methods of accessing a hard disk drive on Windows 10, there are a few prerequisites you need to ensure are in place:
- A Windows 10 computer: Ensure that you have a computer running Windows 10 as these methods are specifically tailored for this operating system.
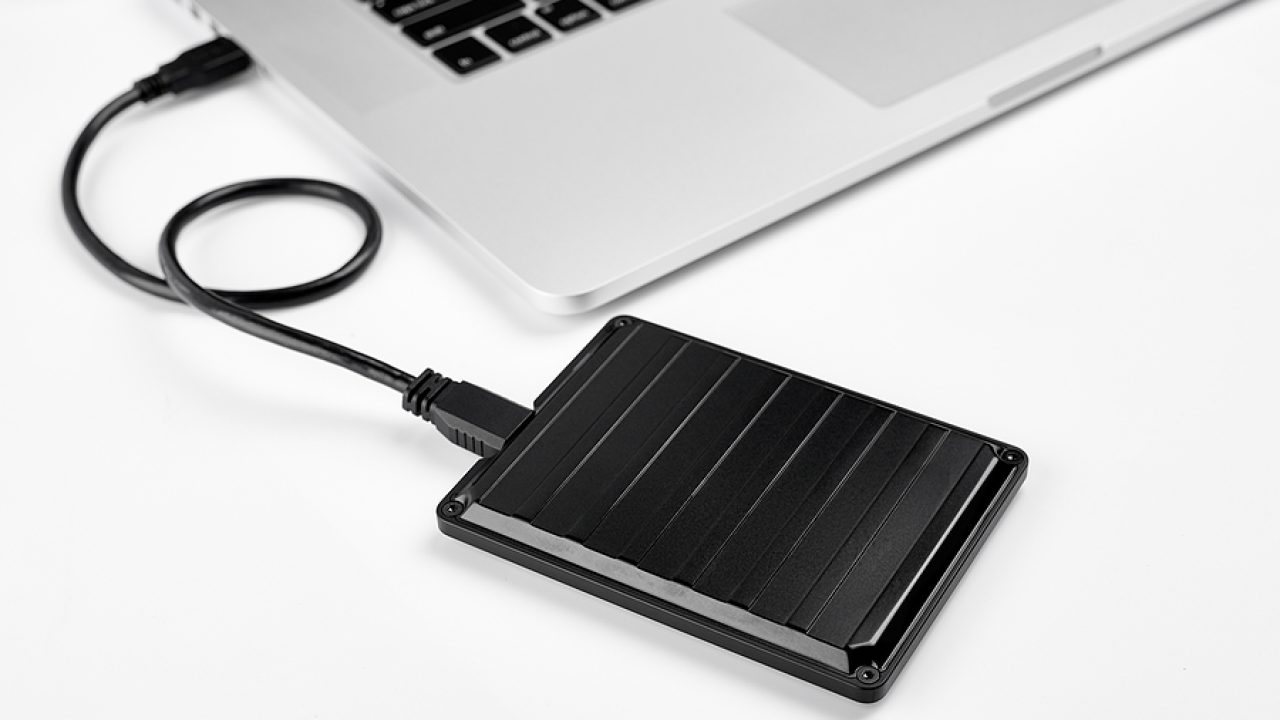
- A functioning hard disk drive: Make sure that your hard disk drive is connected and functioning properly. It can be an internal HDD installed within your computer or an external HDD connected via USB.
- Administrative privileges: To perform the necessary actions for accessing the hard disk drive, you will need administrative privileges on your Windows 10 computer.
By meeting these prerequisites, you are ready to proceed with the methods we will outline in the following sections. These methods are designed to work with Windows 10 and provide you with different options to access your hard disk drive seamlessly.
Now that you have a clear understanding of the prerequisites, let’s move on to the first method of accessing your hard disk drive through the File Explorer.
Method 1: Accessing the Hard Disk Drive through File Explorer
One of the most straightforward methods to access your hard disk drive on Windows 10 is through File Explorer. File Explorer provides a graphical interface that allows you to view, manage, and access your files and folders, including your hard disk drive.
Here’s how you can use File Explorer to access your hard disk drive:
- Open File Explorer: You can do this by pressing the Windows key and E simultaneously or by clicking on the File Explorer icon in the taskbar.
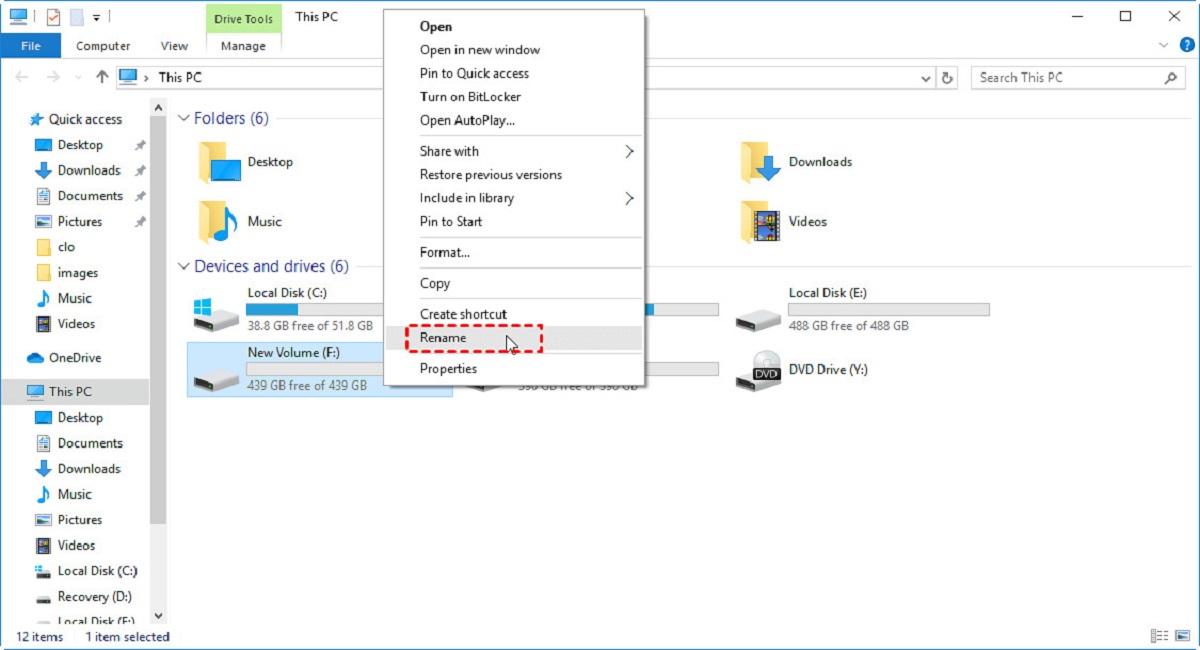
- Locate the hard disk drive: On the left-hand side of the File Explorer window, you will see a sidebar with various options. Look for “This PC” or “Computer” and click on it.
- Access the hard disk drive: Under the “Devices and drives” section, you will find a list of all your connected drives, including your hard disk drive. Simply double-click on the drive you want to access, and it will open in a new File Explorer window.
Once you have accessed your hard disk drive, you can navigate through the folders and files, perform various actions like copying and moving files, and manage your data according to your needs.
Using File Explorer provides you with a user-friendly interface to interact with your hard disk drive and makes it convenient to access, organize, and manage your files and folders. It is a simple and effective method, particularly if you need to perform basic file operations on your hard disk drive.
Now that we have covered the first method, let’s move on to the next method: using Disk Management to access the hard disk drive.
Method 2: Using Disk Management to Access the Hard Disk Drive
If you’re looking for more advanced options and greater control over your hard disk drive, you can utilize Disk Management in Windows 10. Disk Management is a built-in tool that allows you to manage, format, and partition your drives, including your hard disk drive.
Here’s how you can use Disk Management to access your hard disk drive:
- Open Disk Management: To open Disk Management, right-click on the Start button and select “Disk Management” from the context menu.
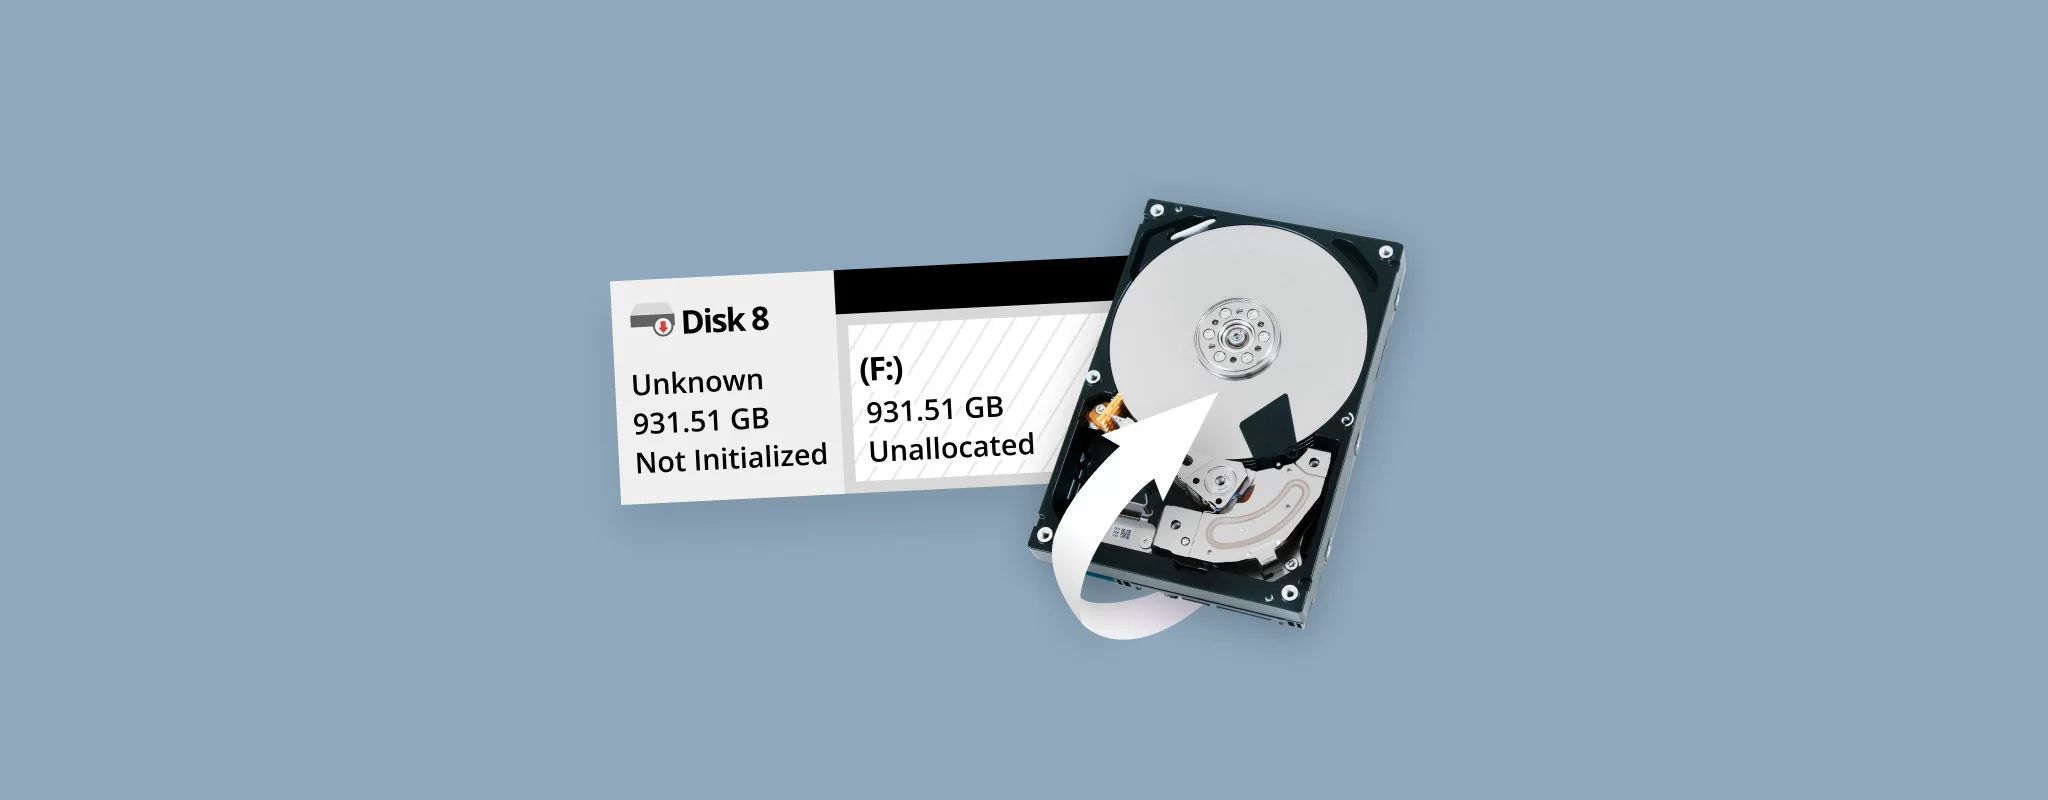
- Locate your hard disk drive: In the Disk Management window, you will see a list of all the drives connected to your computer. Look for your hard disk drive, which will be labeled with its corresponding drive letter and size.
- Access your hard disk drive: Once you have located your hard disk drive, you can right-click on it and select “Open” to access it. Alternatively, you can also perform other actions such as formatting or creating partitions by right-clicking on the drive.
By using Disk Management, you gain more control over your hard disk drive and can perform advanced operations such as formatting, resizing partitions, and assigning drive letters.
It’s important to note that Disk Management provides powerful features that require caution when performing certain actions. Be sure to double-check and confirm the operations you initiate to avoid any accidental data loss or drive corruption.
Now that we have covered the second method of accessing your hard disk drive, let’s move on to the next method: accessing the hard disk drive through Command Prompt.
Method 3: Accessing the Hard Disk Drive through Command Prompt
If you prefer a command-line approach or need to perform specific tasks on your hard disk drive, accessing it through Command Prompt can be a useful method. Command Prompt allows you to execute commands directly and provides a more technical way to interact with your hard disk drive.
Here’s how you can access your hard disk drive through Command Prompt:
- Open Command Prompt: Press the Windows key, type “Command Prompt,” and select the Command Prompt app from the search results.
- Navigate to the drive: Use the “cd” command followed by the drive letter of your hard disk drive to navigate to it. For example, if your drive letter is “D,” you can enter the command “cd D:” and hit Enter.
Once you have navigated to your hard disk drive, you can execute various commands to perform tasks such as listing files, creating directories, or copying files, providing you with a more flexible and powerful way to manage your hard disk drive.
Command Prompt is particularly useful if you are familiar with command-line operations or need to perform advanced file operations on your hard disk drive. However, it requires some knowledge of commands and their syntax, so proceed with caution and ensure you have a good understanding of the commands you are executing.
Now that we have explored accessing the hard disk drive through Command Prompt, let’s move on to the final method: accessing the hard disk drive through PowerShell.
Method 4: Accessing the Hard Disk Drive through PowerShell
If you prefer a more advanced and robust command-line interface, PowerShell offers extensive capabilities for managing and accessing your hard disk drive. PowerShell is a scripting language and command-line shell that provides a wide range of administrative and automation functionalities.
Here’s how you can access your hard disk drive through PowerShell:
- Open PowerShell: Press the Windows key, type “PowerShell,” and select the Windows PowerShell app from the search results. Alternatively, you can right-click on the Start button and choose “Windows PowerShell” or “Windows PowerShell (Admin)” to launch PowerShell with administrative privileges.
- Navigate to the drive: Use the “cd” command followed by the drive letter of your hard disk drive, similar to Command Prompt. For example, if your drive letter is “E,” you can enter the command “cd E:” and press Enter.
Once you have accessed your hard disk drive through PowerShell, you can utilize a wide array of commands and scripts to perform various tasks, including file operations, disk management, and more. PowerShell provides extensive flexibility and automation capabilities, making it a powerful option for managing your hard disk drive.
While PowerShell offers advanced functionalities, it is recommended to have a solid understanding of the commands and their syntax. Be cautious when executing commands that can potentially modify or delete data on your hard disk drive.
Now that we have covered accessing the hard disk drive through PowerShell, let’s summarize what we’ve learned in the next section.
Conclusion
Accessing your hard disk drive on Windows 10 is crucial for managing your files, performing backups, and troubleshooting any issues that may arise. In this guide, we have explored four methods to help you access your hard disk drive with ease.
First, we learned how to access the hard disk drive through File Explorer, providing a user-friendly graphical interface to navigate and manage your files. Then, we explored Disk Management, which offers advanced options for formatting, partitioning, and controlling your hard disk drive.
Next, we discussed accessing the hard disk drive through Command Prompt, providing a command-line interface for executing specific tasks and advanced file operations. Finally, we explored accessing the hard disk drive through PowerShell, a robust scripting language that offers extensive automation capabilities.
Remember to ensure that you meet the prerequisites, such as having a Windows 10 computer, a functioning hard disk drive, and administrative privileges. By following the steps outlined in each method, you can access your hard disk drive and manage your files effectively.
Whether you prefer a graphical interface, command-line operations, or advanced scripting, Windows 10 provides multiple options to access and control your hard disk drive. Choose the method that best suits your needs and technical expertise.
By having the ability to access your hard disk drive, you can organize your files, perform necessary tasks, and ensure the security of your data. Take advantage of these methods and make the most out of your Windows 10 experience.