Introduction
Opening a hard disk drive may seem like a daunting task, but with the right tools and instructions, it can be a manageable process. Whether you’re looking to repair a faulty drive, retrieve important data, or simply satisfy your curiosity, knowing how to open a hard disk drive is a valuable skill.
This article will guide you through the step-by-step process of opening a hard disk drive, ensuring that you handle it with care and minimize the risk of damage. We’ll discuss the materials you’ll need, how to prepare your workspace, and the specific steps to follow to safely open the drive.
It’s important to note that opening a hard disk drive should only be done as a last resort, and only if you are comfortable working with delicate electronic components. If the drive is still under warranty, opening it will likely void the warranty, so be sure to consider this before proceeding.
Now, let’s gather the required materials and get started on opening your hard disk drive.
Tools You’ll Need
Before you begin opening a hard disk drive, it’s essential to gather the necessary tools. Here are the items you’ll need:
- Screwdriver set: A small screwdriver set with different head types, such as Phillips and Torx, will be needed to remove screws holding the hard disk drive together.
- Precision tweezers: These are useful for safely handling small components and cables inside the drive.
- Anti-static wrist strap: This helps protect the drive from electrostatic discharge, reducing the risk of damaging sensitive electronic components.
- Plastic pry tool: A non-metallic tool, such as a plastic pry tool or spudger, is handy for gently prying open the drive without causing damage.
- Clean workspace: Ensure you have a clean and well-lit workspace where you can comfortably work on the hard disk drive.
It’s important to emphasize the use of an anti-static wrist strap to prevent electrostatic discharge. Static electricity can damage the delicate circuitry inside the drive, rendering it unusable.
With these tools on hand, you’ll be well-equipped to proceed with opening the hard disk drive in a safe and efficient manner. Now that you have the necessary materials, let’s move on to preparing your workspace.
Step 1: Gather the Required Materials
Before you begin opening a hard disk drive, it’s essential to gather all the necessary materials. Having everything prepared will help streamline the process and reduce the risk of misplacing any important components. Here’s what you’ll need:
- Screwdriver set: Ensure you have a small screwdriver set with different head types, such as Phillips and Torx. These will be required to remove the screws holding the hard disk drive casing together.
- Precision tweezers: Precision tweezers will come in handy when handling small cables and delicate components inside the hard disk drive. They allow for precise and secure control, minimizing the risk of damage to any internal parts.
- Anti-static wrist strap: This is a crucial tool to protect the drive from electrostatic discharge. By grounding yourself and connecting the wrist strap to a grounded object, you can prevent any static electricity from damaging the delicate electronic components of the hard disk drive.
- Plastic pry tool: A plastic pry tool or spudger is an excellent tool for safely prying open the hard disk drive without causing any harm. These non-metallic tools are specifically designed to prevent scratches or damage to the casing.
- Clean and well-lit workspace: Choose a clean and clutter-free workspace with ample lighting. This will help ensure that you can easily see and access the internal components of the hard disk drive.
By gathering all the necessary materials before starting, you’ll be better prepared and ready to proceed with opening the hard disk drive. Having these tools handy will make the process smoother and minimize the risk of encountering any difficulties along the way.
Once you’ve gathered all the required materials, you can move on to preparing your workspace for the task at hand.
Step 2: Prepare Your Workspace
Before you begin opening a hard disk drive, it’s crucial to prepare your workspace. Creating an organized and well-equipped environment will ensure that you have a smooth and comfortable experience. Follow these steps to prepare your workspace:
- Clean the area: Clear your workspace of any clutter, dust, or debris. This will minimize the chances of any foreign particles entering the hard disk drive during the opening process.
- Ensure proper lighting: Make sure your workspace is well-lit. Sufficient lighting will allow you to clearly see the small components and cables inside the hard disk drive.
- Use an anti-static mat: Place an anti-static mat on your workspace. This will provide an extra layer of protection against electrostatic discharge, keeping your drive safe from potential damage.
- Wear an anti-static wrist strap: Put on an anti-static wrist strap and connect it to a grounded object. This will help dissipate any static electricity from your body, preventing it from harming the delicate electronic components of the hard disk drive.
- Organize your tools: Lay out your tools in an orderly manner, ensuring easy access during the opening process. This will save you time and effort searching for the right tool when you need it.
By following these steps, you’ll create a controlled and safe environment for opening your hard disk drive. A clean and well-lit workspace, along with proper grounding and organized tools, will make the process more efficient and reduce the risk of accidental damage or mishaps.
Now that your workspace is prepared, you’re ready to move on to the next step: removing the cover of the hard disk drive.
Step 3: Remove the Cover
Now that you have gathered the necessary tools and prepared your workspace, it’s time to remove the cover of the hard disk drive. This step will give you access to the internal components of the drive. Follow these instructions carefully:
- Power off and unplug: Before proceeding, make sure to power off your computer and unplug it from the power source. This precautionary measure will prevent any electrical mishaps and ensure your safety throughout the process.
- Lay the drive on a static-free surface: Place the hard disk drive on an anti-static mat or another static-free surface. This will help protect the drive from any static electricity that could potentially damage its internal components.
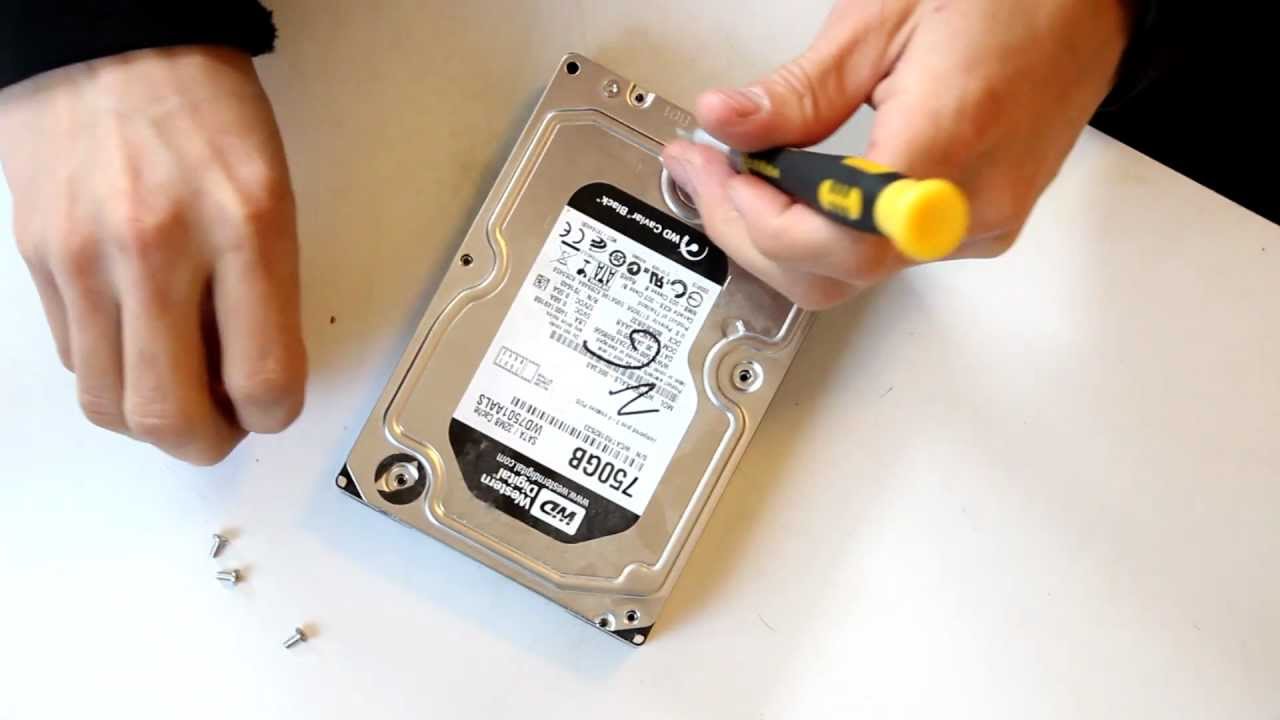
- Locate the screws: Look for the screws that secure the cover of the hard disk drive. The number and placement of screws may vary depending on the manufacturer and model of the drive.
- Use the appropriate screwdriver: Once you’ve identified the screws, use the appropriate screwdriver from your set to slowly and carefully remove them. Place the screws in a safe location to avoid misplacing them.
- Gently separate the cover: With the screws removed, gently separate the cover from the rest of the drive. Take your time and be cautious, as excessive force or mishandling can damage the delicate internal components.
- Set aside the cover: Once the cover is removed, set it aside in a clean and secure location. This will prevent any accidental damage or misplacement while you work on the internal components.
By following these steps, you can safely remove the cover of the hard disk drive without causing any harm to the internal components. Remember to handle the drive with care and avoid any sudden movements or excessive force that could potentially damage the delicate parts inside.
Now that the cover is off, we can move on to the next step: disconnecting the cables and screws inside the hard disk drive.
Step 4: Disconnect Cables and Screws
With the cover of the hard disk drive removed, the next step is to disconnect the cables and screws that hold the internal components in place. Follow these instructions to safely disconnect the cables and screws:
- Identify the cables: Locate the cables connected to the hard disk drive. These cables typically include the power cable and the data cable. Take note of how they are connected so you can reconnect them correctly later.
- Disconnect the cables: Carefully and gently detach the cables from their connectors. Avoid pulling on the cables directly as this can damage them. Instead, use your fingertips or a pair of precision tweezers to release the connectors.
- Remove any screws: Look for any screws that secure the internal components, such as the circuit board or brackets. Use the appropriate screwdriver to carefully remove these screws. Keep them in a safe place to avoid misplacement.
- Set aside the cables and screws: Once the cables and screws are removed, set them aside in a clean and secure location. This will prevent them from getting lost or damaged while you continue working on the hard disk drive.
Take your time during this step and handle the cables and screws with care. Pay attention to how the cables are connected and make note of any unique placements or orientations. This will ensure that you can easily reassemble the hard disk drive later without any complications.
With the cables and screws disconnected, you’re now ready to move on to the next step: opening the actual hard disk drive unit.
Step 5: Open the Hard Disk Drive
After disconnecting the cables and screws, it’s time to open the hard disk drive unit itself. Follow these steps to safely open the drive:
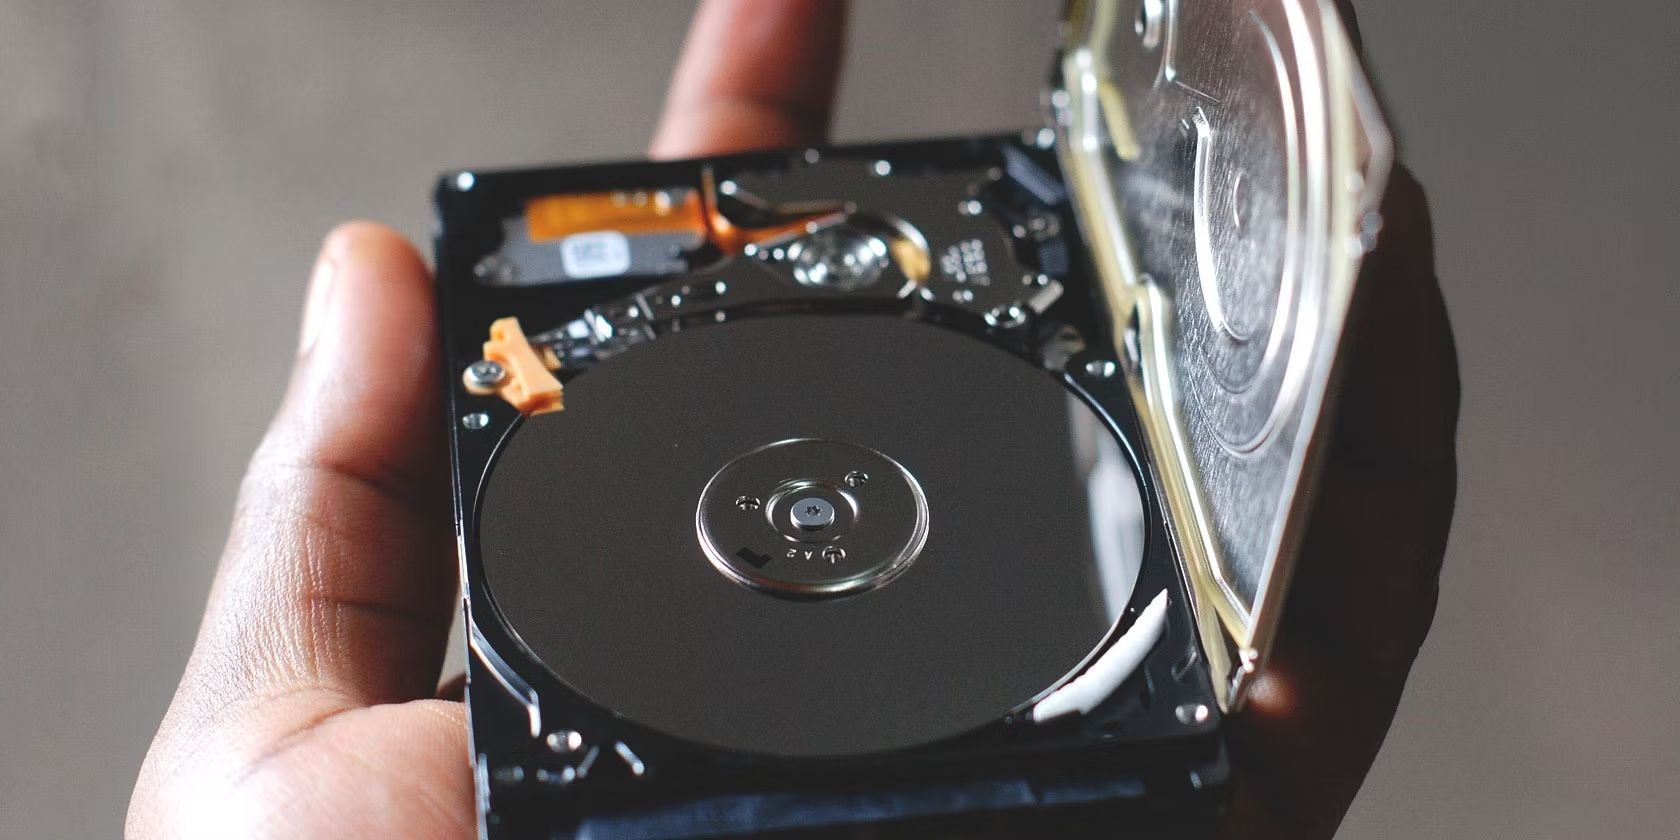
- Identify the latches or tabs: Examine the sides or edges of the hard disk drive case for any latches or tabs that hold it together. These latches or tabs may vary depending on the make and model of the drive.
- Use a plastic pry tool: Gently insert a plastic pry tool or spudger into the seam between the casing halves. Apply gentle pressure to release the latches or tabs, gradually working your way around the drive. Be careful not to pry too forcefully or use a metal tool, as this can cause damage to the casing or internal components.
- Separate the casing halves: Once the latches or tabs are released, carefully separate the casing halves of the hard disk drive. Take this step slowly and keep an eye out for any additional clips or connectors that may still be holding the casing together.
- Set aside the casing: Once the casing is opened, set it aside in a safe and clean area. Be mindful of any loose screws or small components that may be attached to the casing. Keeping the casing separate will prevent any accidental damage or misplacement.
Opening the hard disk drive requires patience and precision. Take your time to avoid rushing the process and causing any harm to the internal components. The goal is to safely access the platters where the data is stored without causing any damage or contamination.
With the casing opened, you can now proceed to the next step: locating the platters inside the hard disk drive.
Step 6: Locate the Platters
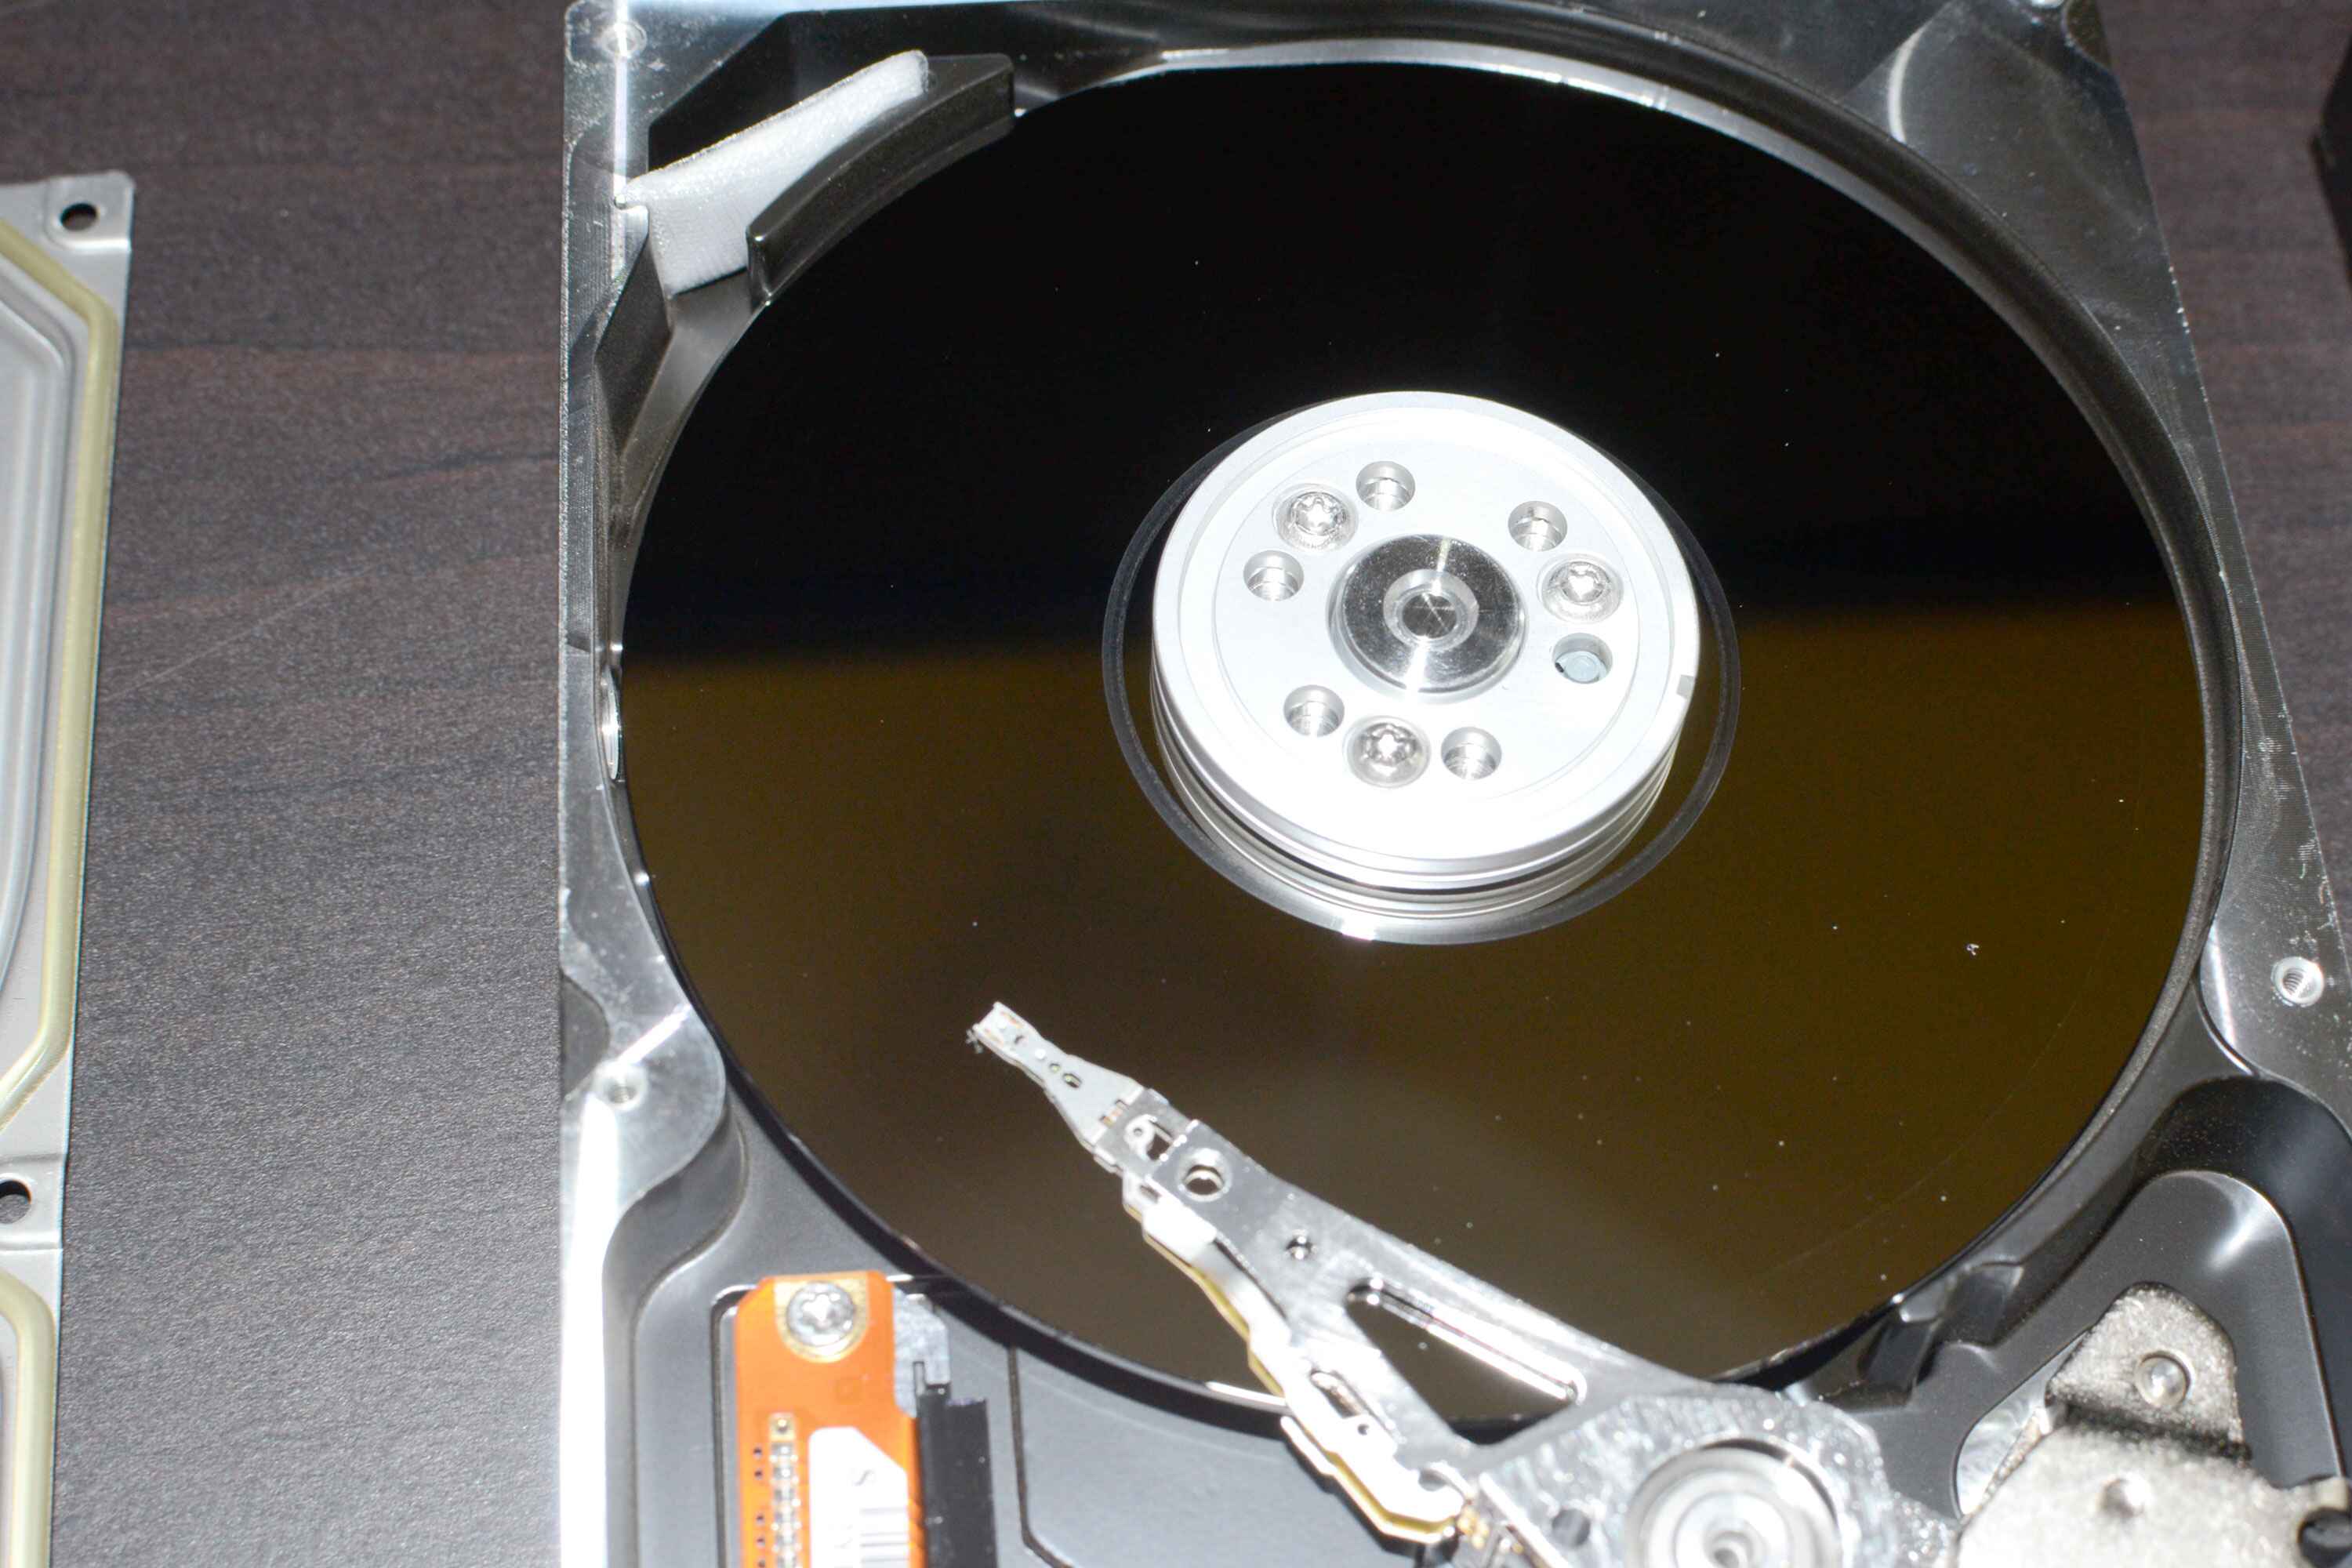
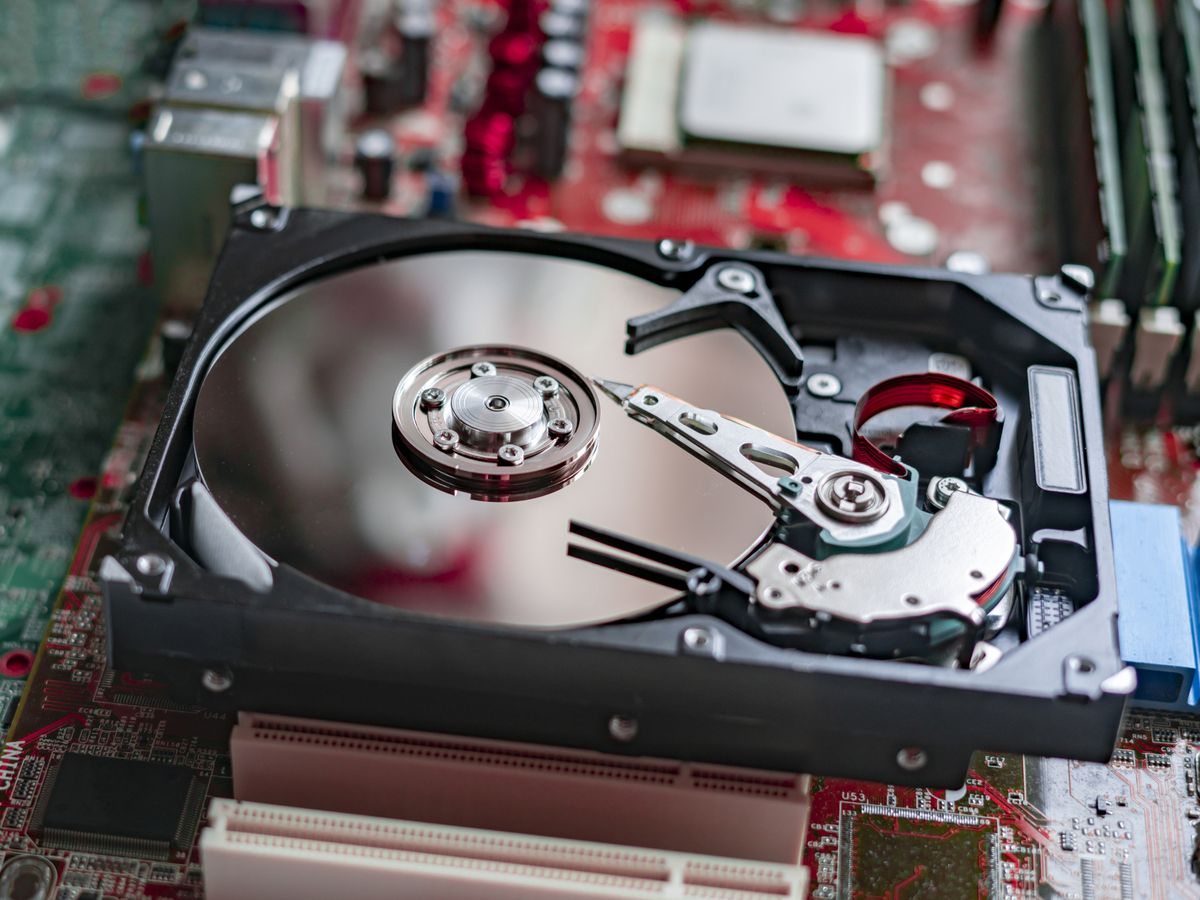
Now that you have successfully opened the hard disk drive, the next step is to locate the platters. These platters are the circular discs inside the drive where your data is stored. Here’s how to find and identify the platters:
- Observe the internal components: Take a close look at the inside of the hard disk drive. You’ll likely see a collection of metal or glass-like discs stacked on a spindle in the center. These are the platters.
- Note the number of platters: Depending on the capacity of the hard disk drive, there may be multiple platters stacked on top of each other. Take note of how many platters you see to have an understanding of the drive’s structure.
- Identify the platter material: The platters are usually made of glass or a special type of aluminum. They have a smooth and reflective surface. Take care not to touch or damage the platters, as they are extremely delicate and sensitive to contaminants.
It’s important to exercise caution during this step. Do not attempt to remove or touch the platters directly, as this can cause irreparable damage. The purpose of locating the platters is to gain an understanding of where your data is physically stored within the hard disk drive.
Once you have identified and observed the platters, you can proceed to the next step: accessing the data on the platters.
Step 7: Access Data on the Platters
Now that you have located the platters inside the hard disk drive, you may wonder how to access the data stored on them. In order to access the data, you will need to follow these guidelines:
- Consult professional data recovery services: If you need to retrieve important data from the hard disk drive, it is recommended to seek professional data recovery services. These experts have the necessary tools and expertise to safely access and recover data from the platters without causing further damage.
- Ensure a clean environment: Data recovery professionals work in specialized cleanrooms that maintain a controlled environment to minimize the risk of contamination. It is important to understand that a sealed and clean environment is vital for successful data retrieval from the platters.
- Avoid DIY data recovery attempts: Attempting to access the data on the platters without proper knowledge and equipment can lead to irreversible damage. Scratches, dust, or even fingerprints can cause unrecoverable data loss. It is best to leave data recovery in the hands of professionals who have the expertise to handle and recover data safely.
Remember, accessing data on the platters is a delicate and complex process that requires specialized equipment and expertise. Professionals in data recovery can ensure the highest chances of successful data retrieval while minimizing the risk of further damage to the platters and data loss.
Now that you understand the importance of consulting professional data recovery services, you can prepare yourself for the final step: safely closing the hard disk drive.
Step 8: Safely Close the Hard Disk Drive
After accessing the data on the platters or completing any necessary tasks, it’s time to safely close the hard disk drive. Follow these steps to ensure that the drive is securely closed:
- Clean the platters: If you have accessed the platters, it’s important to ensure they are clean and free from any dust or debris. Gently blow away any particles or use a specialized cleaning solution and a lint-free cloth to wipe the platters if necessary.
- Align the casing halves: Carefully align the two halves of the hard disk drive casing. Ensure that any clips or connectors line up properly.
- Press the casing together: Apply gentle and even pressure to the casing halves, pressing them firmly together. Make sure the casing is securely closed, with no gaps or misalignments.
- Reinsert the screws: Use the appropriate screwdriver to insert the screws back into their original positions. Tighten them securely but avoid over-tightening, as this can damage the casing.
- Reconnect cables: Reattach the power and data cables to their respective connectors on the hard disk drive. Ensure they are firmly and securely connected.
By following these steps, you can safely and effectively close the hard disk drive, protecting the internal components from any potential damage or contamination.
It’s important to note that if you have performed any data recovery or maintenance tasks on the drive, it is recommended to back up your data before closing the drive. This will help prevent any potential loss of data should any issues arise in the future.
With the drive securely closed, you have successfully completed the process of opening and closing a hard disk drive. Remember to handle the drive with care and seek professional assistance if needed.
Conclusion
Opening a hard disk drive can be a complex and delicate process. With the right tools, knowledge, and precautions, you can safely access the internal components and perform necessary tasks such as data recovery or maintenance. However, it’s important to approach this process with caution and consider the potential risks involved.
If you’re not confident in your abilities or the drive is still under warranty, it’s best to seek professional assistance. Professional data recovery services can ensure the highest chances of successful data retrieval while minimizing the risk of further damage to the drive and data loss.
Remember these key points when it comes to opening a hard disk drive:
- Prepare your workspace with cleanliness, proper lighting, and anti-static measures.
- Gather the necessary tools, including screwdrivers, tweezers, and a plastic pry tool.
- Follow the steps carefully while removing the cover, disconnecting cables and screws, and accessing the platters.
- Consult professional data recovery services for sensitive tasks and crucial data retrieval.
- Close the hard disk drive safely, ensuring cleanliness and proper alignment before securing the casing and reconnecting cables.
Opening a hard disk drive should only be done as a last resort and if you have the necessary knowledge and experience. Mishandling or improper procedures can lead to irreparable damage, data loss, or voiding the warranty. When in doubt, it’s always best to consult professionals who specialize in hard disk drive maintenance and data recovery.
By following the guidelines provided in this article, you can approach the process of opening a hard disk drive with confidence, ensuring that you handle the drive with care and take the necessary precautions to protect its internal components.