Introduction
An external hard drive is a useful peripheral that allows you to store and backup your data, freeing up precious space on your Windows 10 PC. If you’ve recently purchased an external hard drive and need to initialize it before using it, this guide will walk you through the process step by step.
Initializing an external hard drive is necessary to prepare it for use with your Windows 10 PC. It involves setting up the drive’s basic structure and allows your computer to recognize and interact with it. By following these steps, you’ll be able to initialize your external hard drive quickly and easily.
Please note that initializing an external hard drive will erase all existing data on the drive, so it’s important to back up any important files before proceeding. Additionally, make sure to connect the external hard drive directly to your computer’s USB port and not through a USB hub for optimum performance.
Step 1: Connect the external hard drive to your Windows 10 PC
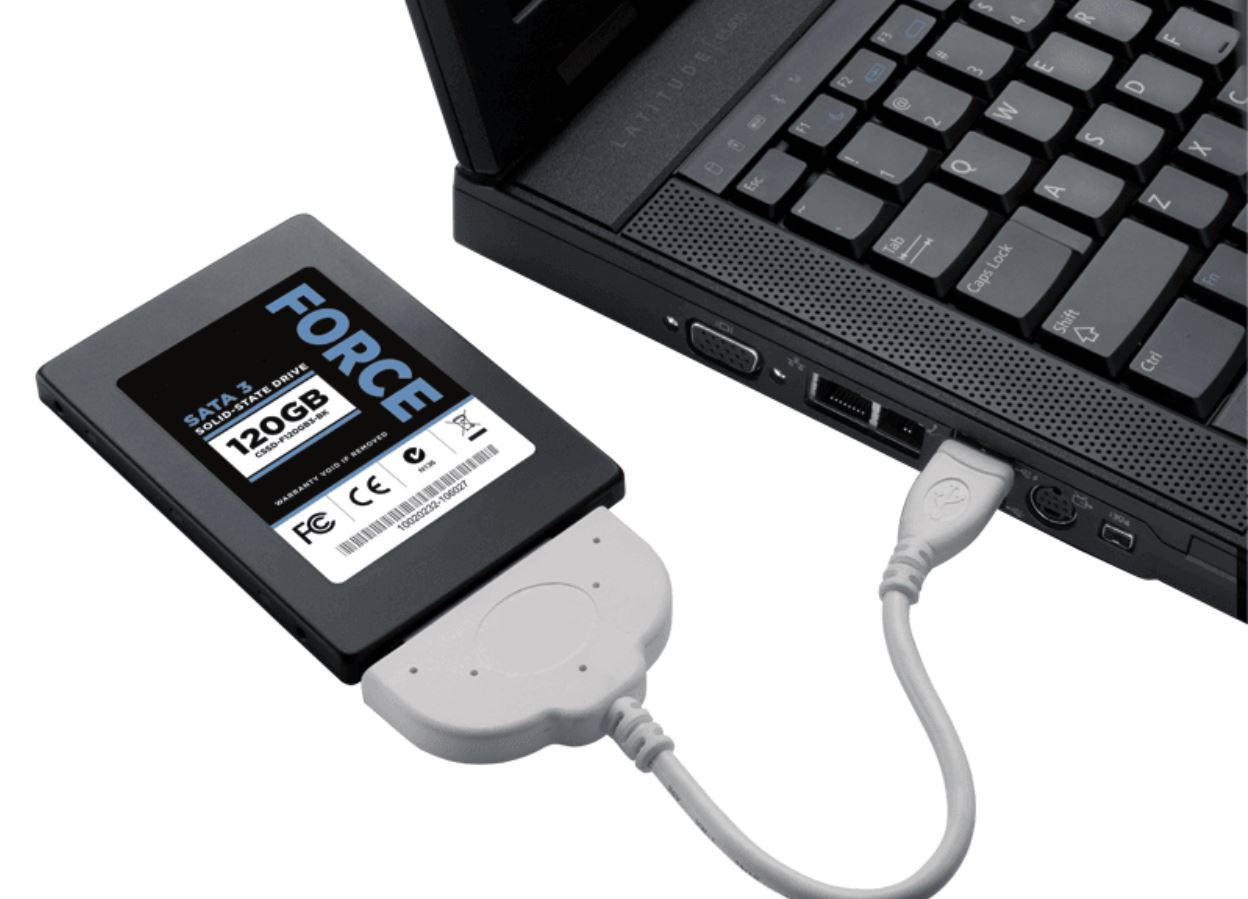
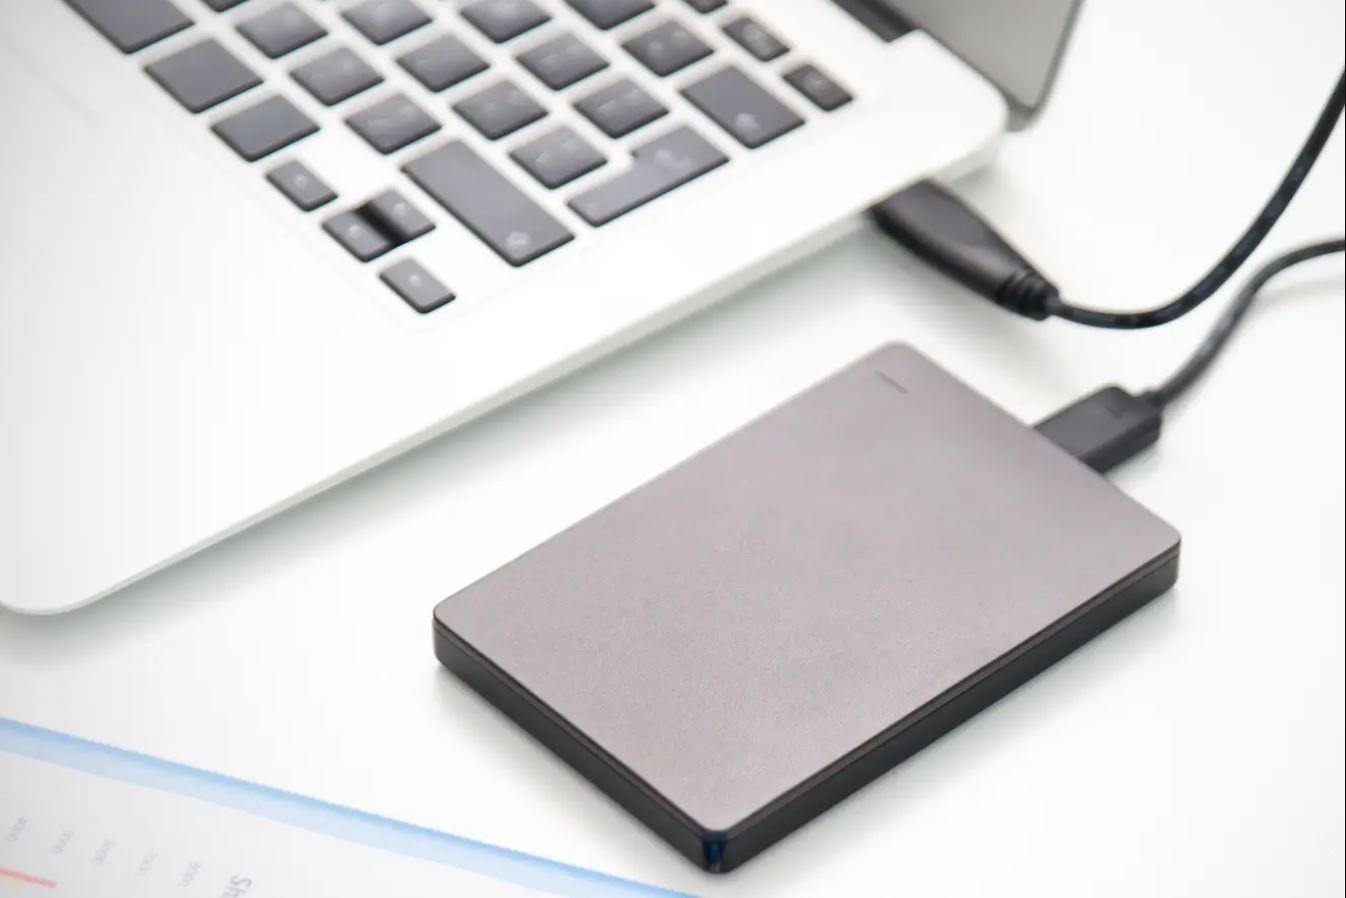
The first step is to connect your external hard drive to your Windows 10 PC. Locate an available USB port on your computer and plug in the USB cable from the external hard drive. Ensure that the cable is securely connected.
Depending on the type of external hard drive you have, you may need to connect it using a USB-A to USB-A, USB-C to USB-C, or USB-A to USB-C cable. Make sure to use the appropriate cable for your specific external hard drive.
Once the external hard drive is connected, you should hear a sound notification or see a pop-up message indicating that a new device has been detected. Windows 10 will automatically try to install the necessary drivers for the external hard drive.
If the drivers are successfully installed, you can proceed to the next step. However, if you encounter any issues with the driver installation, you may need to visit the manufacturer’s website and download the latest drivers for your specific external hard drive model.
Step 2: Open Disk Management
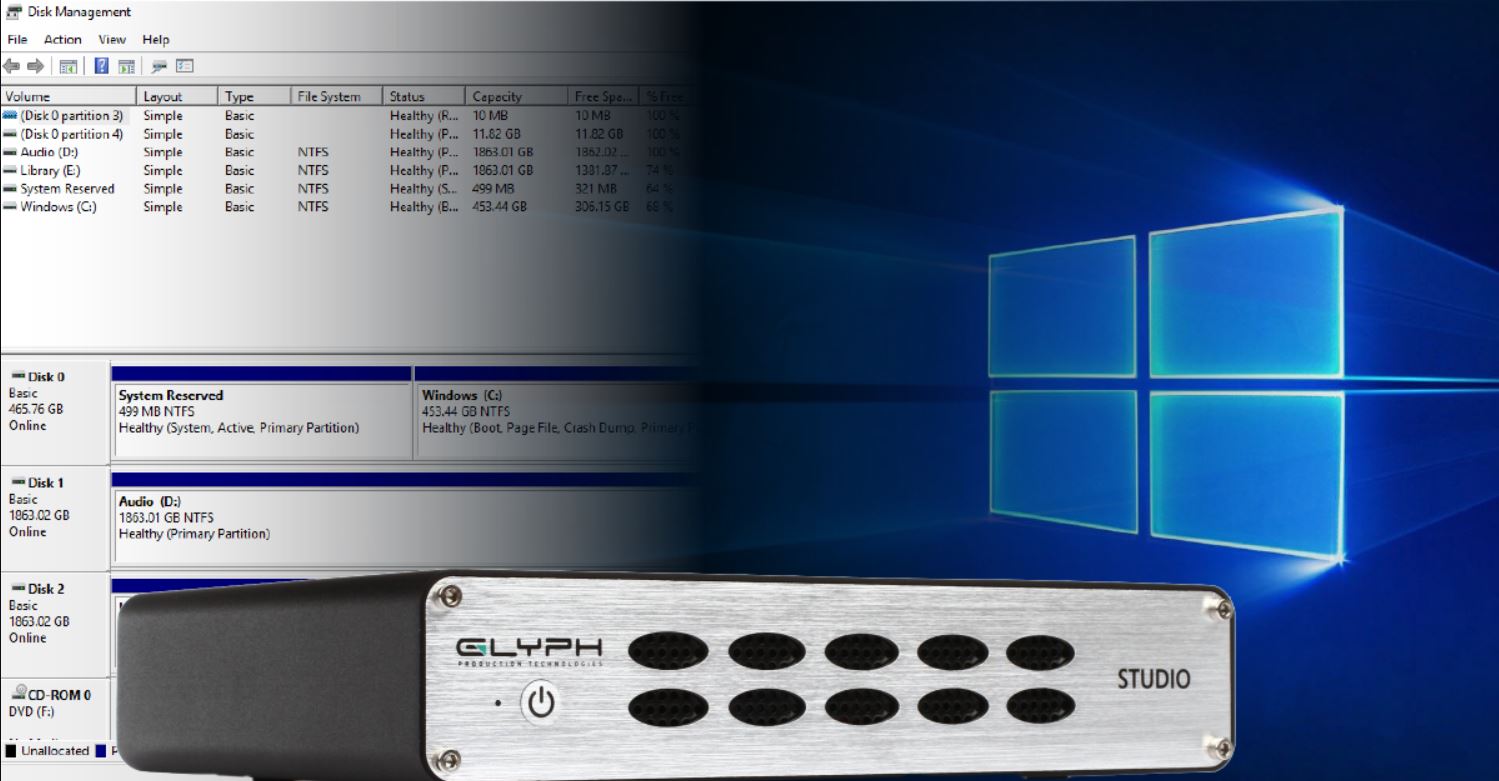
After connecting the external hard drive to your Windows 10 PC, the next step is to open Disk Management. Disk Management is a built-in utility in Windows 10 that allows you to manage and configure storage devices connected to your computer.
To open Disk Management, you can follow one of these methods:
- Right-click on the Start button and select “Disk Management” from the context menu that appears.
- Press the Windows key + X on your keyboard to open the Power User menu and select “Disk Management” from the list.
- Type “Disk Management” in the search bar next to the Start button and select the “Create and format hard disk partitions” option from the search results.
Once Disk Management is open, you will see a list of all the storage devices connected to your computer, including your internal hard drive(s) and the newly connected external hard drive. The external hard drive will usually be labeled as “Disk X,” where X represents the assigned number for the drive.
Take note of the assigned number for your external hard drive, as you will need it in the following steps to locate and manage the drive.
Step 3: Locate the external hard drive in Disk Management
Once you have opened Disk Management, the next step is to locate your external hard drive in the list of available storage devices. Follow these steps to find your external hard drive:
- Look for the disk number corresponding to your external hard drive. The disk number will be displayed in the leftmost column. It should match the assigned number that you noted in the previous step.
- Identify the size of the disk to further confirm that it is indeed your external hard drive. The size of the disk is displayed in the “Size” column in Disk Management.
- The external hard drive will not have any drive letter assigned to it and may show as “Not Initialized”. This indicates that the drive is not yet set up for use.
If you have trouble identifying your external hard drive, look for a disk with a capacity matching your drive and ensure it shows as “Not Initialized.”
It’s essential to take note of the disk number as you will need it in the upcoming steps to initialize and format the external hard drive.
Step 4: Initialize the external hard drive
Now that you’ve located your external hard drive in Disk Management, it’s time to initialize the drive to make it usable with your Windows 10 PC. Follow these steps to initialize the external hard drive:
- Right-click on the disk corresponding to your external hard drive and select “Initialize Disk” from the context menu.
- In the Initialize Disk window that appears, make sure that the correct disk is selected.
- Choose the partition style for your external hard drive. For most drives, it is recommended to select the “MBR” (Master Boot Record) partition style.
- Click on the “OK” button to start the initialization process.
Please be aware that initializing the external hard drive will erase any existing data on the drive. If you have any important files on the drive, make sure to back them up before proceeding. Initializing the drive will only set up the basic structure and not create any partitions or format the drive.
Once the initialization process is complete, you will see a “Healthy (Primary Partition)” label next to your external hard drive in Disk Management. This indicates that the drive is now ready to be partitioned and formatted.
Step 5: Partition the external hard drive
After initializing the external hard drive, the next step is to partition the drive. Partitioning allows you to divide the drive into separate sections, each of which can be treated as an individual storage unit. By creating partitions, you can organize your data better and allocate space according to your needs.
Follow these steps to partition your external hard drive:
- Right-click on the “Unallocated” space or the newly initialized external hard drive, and select “New Simple Volume…” from the context menu.
- In the New Simple Volume Wizard window, click “Next” to start the process.
- Specify the size of the partition you want to create. By default, the wizard will use the maximum available space for the partition.
- Assign a drive letter to the partition. You can choose any available letter from the drop-down list.
- Select a file system for the partition. For compatibility with Windows 10, it is recommended to choose the “NTFS” file system.
- Enter a volume label for the partition. This is the name that will be displayed when you access the partition.
- Ensure that the option “Perform a quick format” is selected.
- Click on the “Next” button to continue.
- Review the settings and click “Finish” to create the partition.
Repeat these steps if you want to create multiple partitions on your external hard drive. Once the partitions are created, you will see them listed in Disk Management with assigned drive letters and labels.
Step 6: Format the external hard drive
After partitioning the external hard drive, the next step is to format the newly created partitions. Formatting a partition prepares it for storing data by setting up the file system and directory structure. Follow these steps to format your external hard drive partitions:
- Right-click on the partition you want to format and select “Format…” from the context menu.
- In the Format window that appears, verify the file system as “NTFS” (recommended) and adjust the allocation unit size if necessary.
- Enter a volume label for the partition. This is the name that will be displayed when you access the partition.
- Ensure that the option “Perform a quick format” is checked for faster formatting.
- Click on the “OK” button to begin the formatting process.
- Wait for the formatting process to complete. The duration will vary depending on the size of the partition and the processing power of your computer.
- Repeat these steps for each partition you want to format on the external hard drive.
Once the formatting process is complete, your external hard drive partitions will be ready to use. The partitions will now be displayed with their assigned drive letters and labels in Disk Management.
Formatting the partitions will permanently erase any existing data on them. Make sure to back up any important files before proceeding with the formatting process.
Step 7: Assign a drive letter to the external hard drive
Once you have formatted the partitions on your external hard drive, the next step is to assign a drive letter to each partition. A drive letter allows you to access the partitions easily from File Explorer or any other file management software. Follow these steps to assign a drive letter:
- Open Disk Management by right-clicking on the Start button and selecting “Disk Management” from the menu.
- Locate the partition you want to assign a drive letter to. It should be listed with the label and size.
- Right-click on the partition and select “Change Drive Letter and Paths…” from the context menu.
- In the Change Drive Letter and Paths window, click on the “Add” button.
- Choose a drive letter from the drop-down menu.
- Click on the “OK” button to assign the selected drive letter to the partition.
- Repeat these steps for each partition on your external hard drive.
Once you have assigned drive letters to all the partitions, you can easily access them by opening File Explorer and navigating to the corresponding drive letters.
It is important to assign unique drive letters to each partition to avoid any conflicts with other storage devices connected to your computer.
Step 8: Eject and safely remove the external hard drive
After you have finished using your external hard drive, it is important to safely eject and remove it from your Windows 10 PC to prevent data loss or corruption. Follow these steps to safely remove your external hard drive:
- Close any files or applications that are open and using the external hard drive.
- Go to the system tray and locate the “Safely Remove Hardware and Eject Media” icon. It looks like a USB plug with a green checkmark.
- Click on the icon to open the Safely Remove Hardware and Eject Media menu.
- From the menu, find and select the external hard drive that you want to eject. It will be listed with its assigned drive letter and label.
- Wait for the system to safely eject the external hard drive. You may see a notification or a message indicating that it is safe to remove the device.
- Once you receive confirmation that it is safe to do so, disconnect the USB cable from the computer and then from the external hard drive.
It is important to always eject the external hard drive properly before physically removing it from your computer. This ensures that any pending read or write operations are completed and that the file system on the drive is in a stable state.
By following these steps to eject and safely remove your external hard drive, you can protect your data and ensure the longevity of the drive for future use.
Conclusion
Initializing an external hard drive in Windows 10 is a simple process that allows you to prepare the drive for use with your computer. By following the steps outlined in this guide, you were able to connect the external hard drive, open Disk Management, locate the drive, initialize it, partition and format it, assign drive letters, and safely remove it when finished.
Remember to back up any important data before initializing the drive, as the process will erase all existing data. Additionally, make sure to choose the appropriate partition style for your external hard drive and select the file system that best suits your needs.
With your external hard drive properly initialized and set up, you can now take advantage of its additional storage capacity for backups, file transfers, or any other data storage needs. Whether you use it for extra space for your media files, a backup solution, or additional storage for your work documents, an external hard drive is a convenient and reliable solution.
Always ensure that you safely eject and remove the external hard drive from your computer to prevent any data loss or damage to the drive. By following the proper procedures, you can protect your valuable data and preserve the integrity of the external hard drive.
Now that you have successfully initialized your external hard drive in Windows 10, you can enjoy the benefits of expanded storage space and the ability to safely store and access your important files. Harness the power and convenience of your external hard drive to keep your digital life organized and secure.