Introduction
Welcome to the world of technology where everything is just a click away, and important data can be lost in the blink of an eye. In this digital age, backing up your computer data is crucial to ensure that your valuable files and documents are safe and secure. One of the best ways to protect your data is by creating backups on an external hard drive. In this guide, we will show you step-by-step how to backup your Windows 10 computer to an external hard drive.
Why is it important to backup your data? Imagine a scenario where your computer crashes, gets stolen, or falls victim to a malware attack. Without a backup, you could lose all your precious photos, important documents, and other irreplaceable files. By regularly backing up your computer to an external hard drive, you can rest easy knowing that your data is protected.
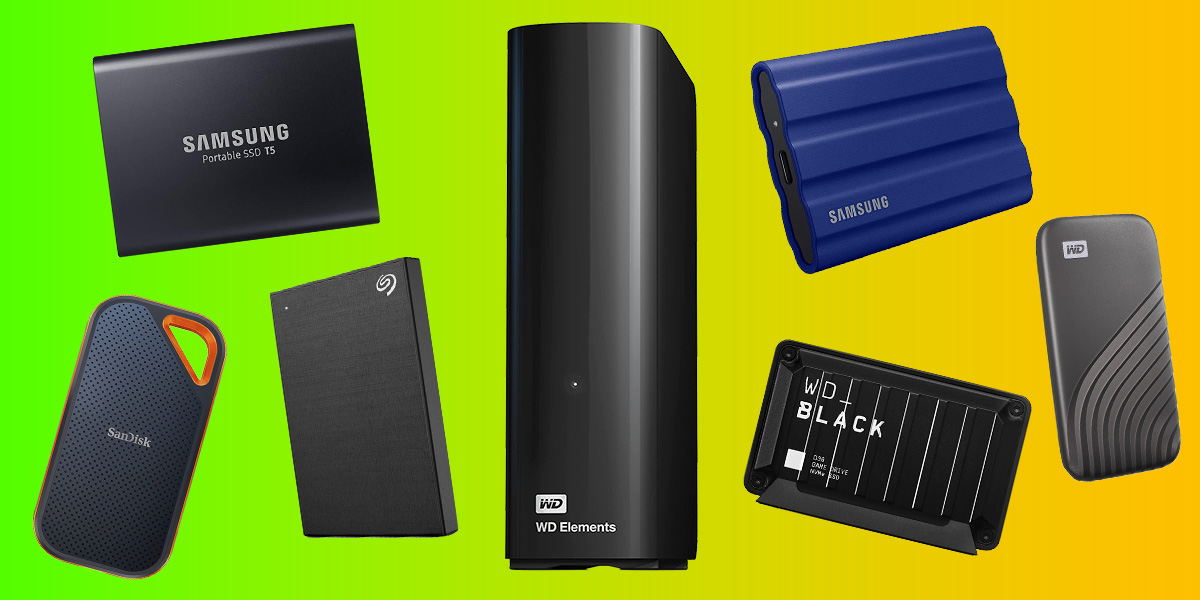
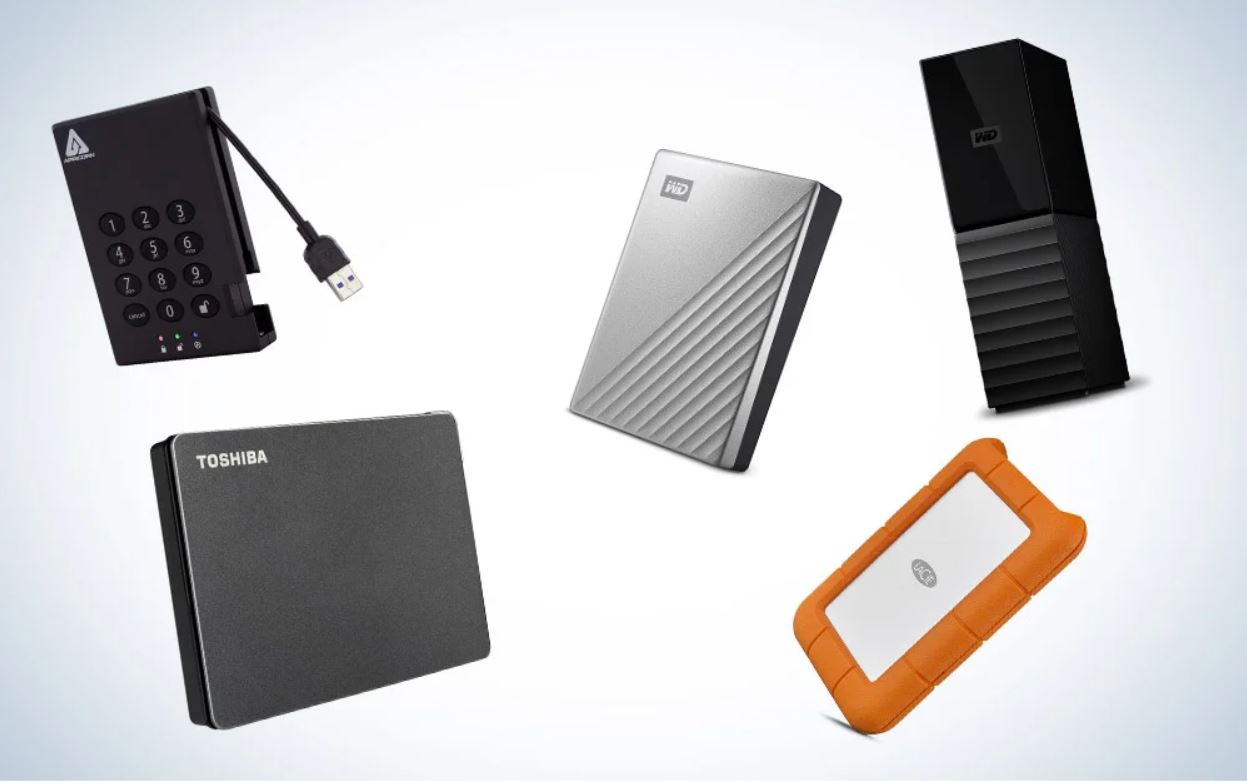
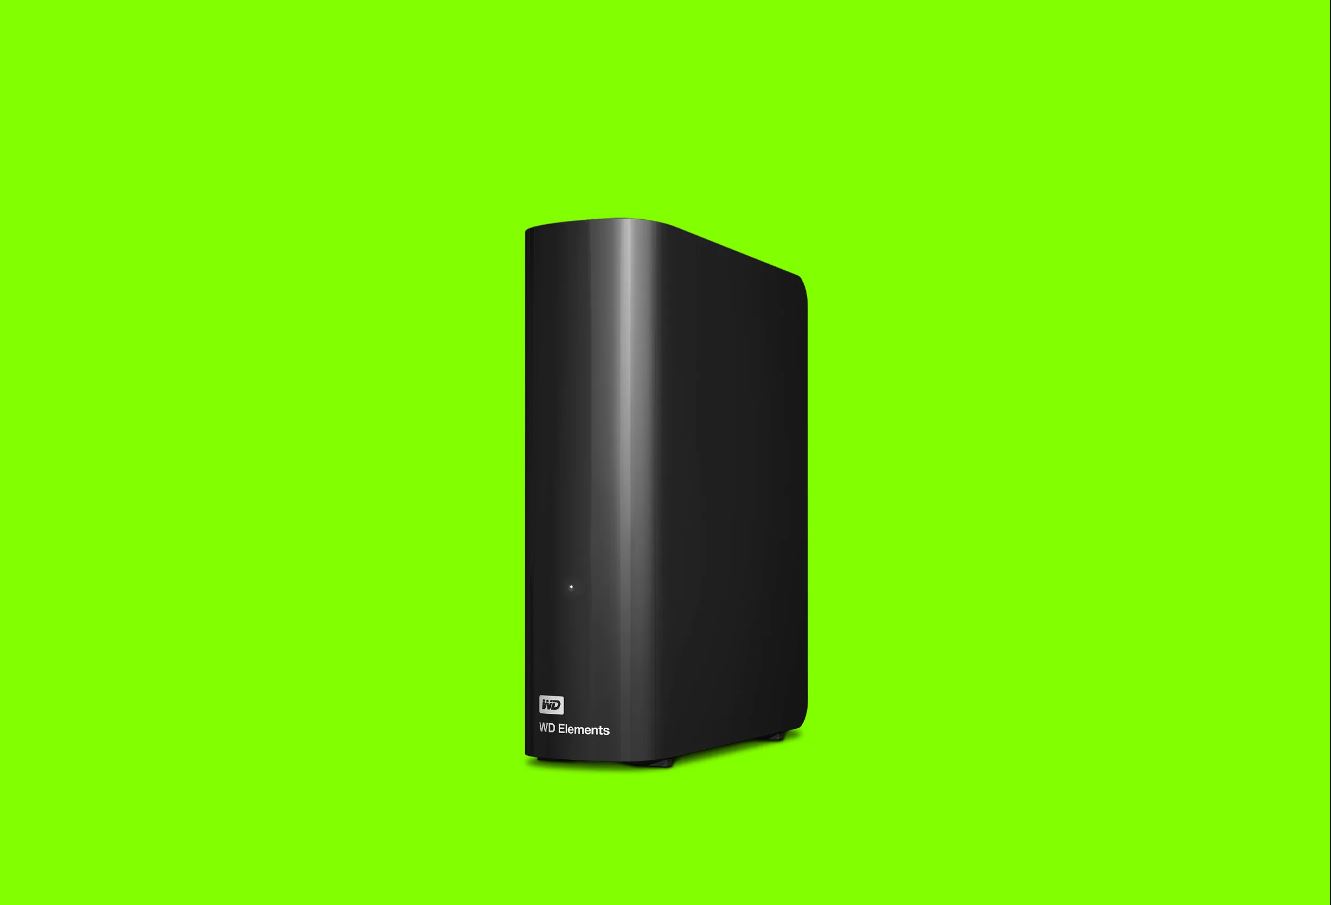
Before we dive into the step-by-step instructions, it’s important to note that there are several external hard drives available in the market. When choosing one, consider factors such as capacity, speed, and connectivity options. It’s always a good idea to invest in a high-quality external hard drive that meets your storage needs and offers reliable performance.
If you’re ready to safeguard your data and avoid potential data loss nightmares, let’s get started on the journey to backup your Windows 10 computer to an external hard drive.
Step 1: Choosing the Right External Hard Drive
Before you can start backing up your Windows 10 computer, you’ll need to choose the right external hard drive. There are various factors to consider when making this decision.
First, determine the storage capacity you’ll need. Consider the size and quantity of the files you wish to back up. If you have a large collection of photos, videos, or other media files, you’ll likely need a larger capacity hard drive. It’s always better to choose a hard drive with more storage than you currently need, as it allows for future growth and prevents the need to upgrade too soon.
Speed is another important factor to consider. Look for an external hard drive with a fast data transfer rate, especially if you frequently work with large files or require quick backups. Solid State Drives (SSDs) generally provide faster speeds compared to traditional Hard Disk Drives (HDDs), but they are often more expensive.
Connectivity options are also worth considering. Most modern external hard drives use a USB connection, usually USB 3.0 or higher, which offers faster data transfer speeds. Some drives may also have additional connectivity options like Thunderbolt or eSATA. Ensure that your chosen hard drive is compatible with the ports available on your computer.
When choosing an external hard drive, it’s a good idea to read customer reviews and compare different models before making a decision. Look for reliable brands known for their performance and durability. Don’t forget to check the warranty offered by the manufacturer, as it can provide additional peace of mind.
Once you have taken all these factors into consideration, you’ll be well-equipped to choose the right external hard drive for your backup needs. With a high-quality and appropriate capacity external hard drive, you’ll be ready to move on to the next step in backing up your Windows 10 computer.
Step 2: Connecting the External Hard Drive to your Windows 10 Computer
Now that you have chosen the perfect external hard drive for your backup needs, it’s time to connect it to your Windows 10 computer. Follow these simple steps:
- Locate an available USB port on your Windows 10 computer. Most computers have multiple ports, so choose one that is easily accessible and provides a stable connection.
- Take the USB cable that came with your external hard drive and plug one end into the hard drive itself.
- Connect the other end of the USB cable to the available USB port on your computer. Ensure that the connection is secure and firm.
- When you plug in the external hard drive, your computer should automatically detect it. In some cases, you may need to install drivers or perform additional setup steps, but this is usually rare for most modern external hard drives.
- Wait for a few moments as your Windows 10 computer recognizes the connected external hard drive. You may hear a sound or see a notification pop up on your screen indicating that the device is ready for use.
- Once the connection is established, you can confirm that your computer has recognized the external hard drive by opening the File Explorer. Look for the drive listed under the “This PC” or “Devices and drives” section.
With the external hard drive successfully connected to your Windows 10 computer, you’re now ready to move on to the next step and configure the backup settings. Remember, it’s essential to keep the external hard drive connected throughout the backup process to ensure a successful backup of your valuable data.
Step 3: Opening the Backup Settings in Windows 10
With your external hard drive connected to your Windows 10 computer, it’s time to open the backup settings to configure and customize your backup preferences. Follow these steps:
- Click on the “Start” button located in the bottom left corner of your desktop screen. This will open the Start menu.
- In the Start menu, click on the “Settings” icon. It looks like a gear and is usually located above the power button icon.
- Within the Windows Settings menu, locate and click on the “Update & Security” option. It is usually represented by an icon with a circular arrow.
- In the left-hand menu of the Update & Security window, click on the “Backup” tab. This will take you to the Backup settings page.
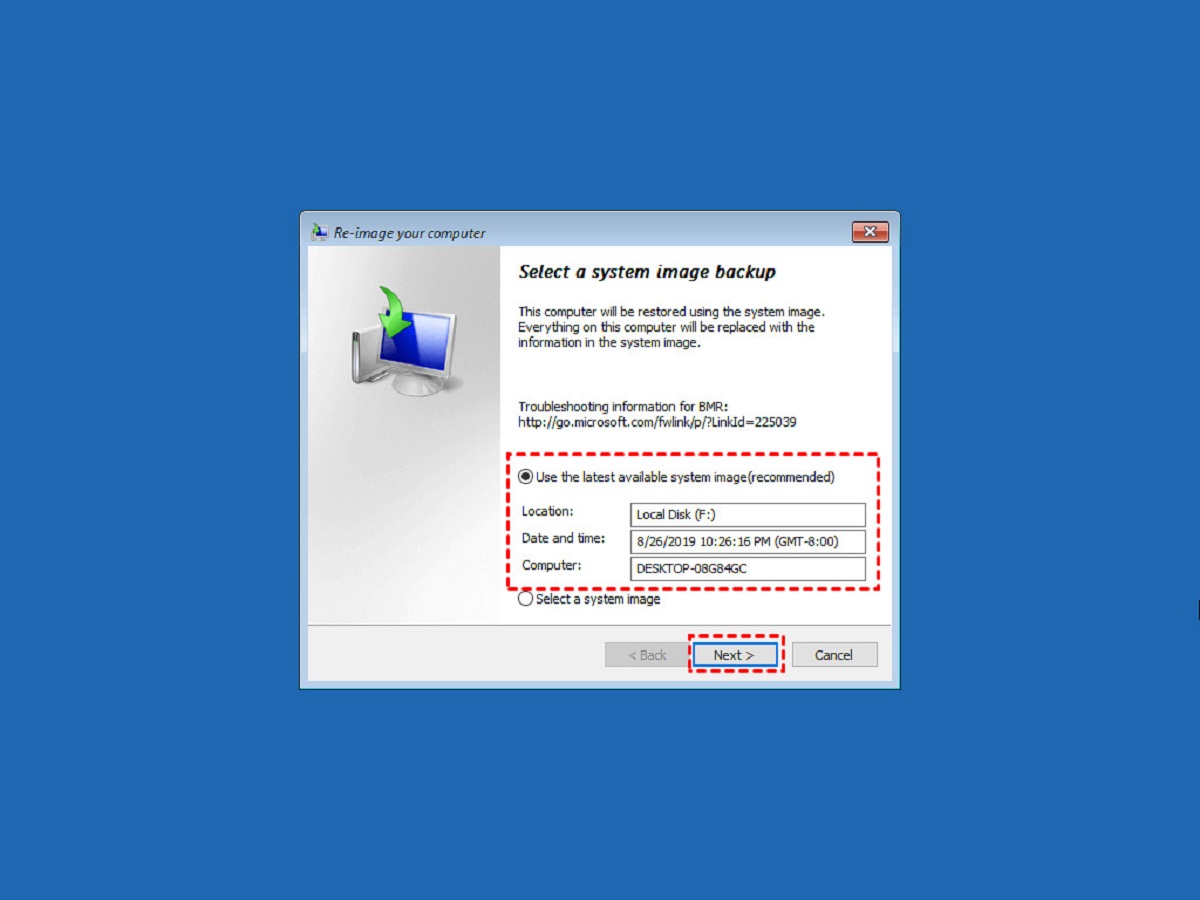
- On the Backup settings page, you will see an overview of your currently configured backup settings (if any) and the “Add a drive” option. Click on “Add a drive” to select your connected external hard drive as the destination for your backups.
- A list of available drives will appear. Select your external hard drive from the list. Windows 10 will now recognize your external hard drive as the backup destination.
Once you have completed these steps, you have successfully opened the Backup settings in Windows 10 and designated your external hard drive as the backup destination. In the next step, we will delve into configuring the backup options to customize your backup settings according to your specific requirements.
Step 4: Configuring the Backup Options
Now that you have opened the Backup settings in Windows 10 and designated your external hard drive as the backup destination, it’s time to configure the backup options according to your preferences. Follow these steps:
- On the Backup settings page, under the “Back up using File History” section, click on the “More options” link. This will expand the configuration options.
- Set the frequency of your backups by selecting how often you want Windows to back up your files. You can choose between every hour, every day, or every week. Select the option that suits your needs best.
- Choose how long you want to keep your backups by selecting the duration under the “Keep my backups” section. You can opt to keep them forever or set a specific time period, such as 1 month, 3 months, or 6 months.
- Customize the folders that you want to include or exclude from the backup by clicking on the “Back up these folders” option. By default, Windows will back up the most commonly used folders, such as your Desktop, Documents, Pictures, and Videos. However, you can add or remove folders based on your preferences.
- If you want to include additional folders from external drives or network locations, click on the “Add a folder” button and browse to the desired location. This allows you to have a comprehensive backup of all your important files.
- Under the “Back up my files” section, you have the option to run a backup immediately by clicking on the “Back up now” button. This is useful if you want to create an initial backup before scheduling automated backups.
Take your time to go through each option and adjust them according to your specific backup needs. Once you have configured the backup options to your satisfaction, you’re ready to move on to the next step and initiate the backup process.
Step 5: Initiating the Backup Process
With the backup options configured to your preferences, it’s time to initiate the backup process on your Windows 10 computer. Follow these steps to get started:
- On the Backup settings page, make sure your external hard drive is still selected as the backup destination. If not, click on the “Add a drive” option and select your external hard drive from the list.
- Scroll down to the bottom of the Backup settings page and click on the “Back up now” button under the “Back up using File History” section. This will start the backup process.
- Windows 10 will begin scanning your selected folders and files for changes and create a copy of those that have been modified or are new since the last backup.
- The time it takes to complete the initial backup will depend on the size of the files and folders being backed up and the speed of your computer and external hard drive. It is recommended to have patience and let the process run without interruption.
- During the backup, you can continue using your computer as usual. Windows will run the backup process in the background, ensuring that your files are protected while you work.
- Once the backup is completed, you will receive a notification indicating that the backup process finished successfully.
It is important to note that subsequent backups will be incremental, meaning that only the changes made to your files and folders will be backed up, resulting in shorter backup times in the future. It is recommended to regularly initiate the backup process to keep your data protected.
With the backup process initiated and completed successfully, you can move on to the next step to verify the backup and ensure the safety of your valuable data.
Step 6: Verifying the Backup
After completing the backup process on your Windows 10 computer, it’s crucial to verify that the backup was successful and that all of your important files are safely stored on your external hard drive. Follow these steps to verify the backup:
- Open the File Explorer on your Windows 10 computer.
- Look for your external hard drive listed under the “This PC” or “Devices and drives” section. It should have the same name or label that you assigned to it during the setup process.
- Double-click on the external hard drive to open it.
- Navigate through the folders to ensure that all the files and folders you intended to back up are present and that their contents are intact.
- Select a few files from different folders and open them to verify that they open correctly without any issues.
- If everything looks good and all your important files are present and accessible, then your backup was successful! You can have peace of mind knowing that your data is secure on your external hard drive.
It’s important to periodically verify your backups to ensure the integrity of your data and prevent any potential issues down the line. Regularly checking your backups will give you confidence that your files are protected and can be easily restored if needed.
If you encounter any problems during the verification process or notice that some files are missing or corrupted, you may need to run another backup to update those files. Additionally, if you have made significant changes or additions to your files, it’s a good idea to perform regular backups to keep your data up-to-date.
With the backup successfully verified, you can proceed to the next step to learn about scheduling automatic backups to further simplify and streamline the backup process.
Step 7: Scheduling Automatic Backups
Once you have successfully backed up your files and verified the integrity of your backup, it’s time to set up automatic backups on your Windows 10 computer. By scheduling automatic backups, you can ensure that your data is consistently protected without manual intervention. Follow these steps to schedule automatic backups:
- Go to the Backup settings page on your Windows 10 computer by following the steps outlined in Step 3.
- Under the “Back up using File History” section, click on the “More options” link to access additional backup settings.
- Scroll down to the “Automatic backups” section and toggle the switch to turn on “Automatically back up my files.”
- Select the frequency at which you want Windows to automatically back up your files. You can choose between every hour, every day, or every week, depending on your needs and preferences.
- Choose how long you want to keep your backups. You can select either “Until space is needed” or set a specific time period using the drop-down menu.
- Customize the folders to include or exclude from automatic backup by clicking on the “Back up these folders” option. You can add or remove folders according to your requirements.
- Click on the “Back up now” button to initiate the first automatic backup based on your selected settings.
Once you have completed these steps, Windows 10 will now automatically back up your files at the scheduled frequency and keep your backups up-to-date. It is advisable to keep your external hard drive connected to your computer to ensure the seamless execution of automatic backups.
By scheduling automatic backups, you can eliminate the risk of forgetting to back up your files and ensure that your data is consistently protected. This convenience alleviates the need for manual backups and provides you with added peace of mind.
Remember to periodically review and update your backup settings to reflect any changes in your file organization or storage needs. This will ensure that your backups remain relevant and effective.
With automatic backups set up, you can now have confidence in the continuous protection of your important data.
Conclusion
Congratulations! You have successfully learned how to backup your Windows 10 computer to an external hard drive. By following the step-by-step instructions, you have taken an important step towards safeguarding your valuable data and protecting it from potential loss or damage.
Backing up your computer is a crucial task in today’s digital world, where our personal and professional lives depend heavily on digital files and documents. By regularly creating backups on an external hard drive, you can have peace of mind knowing that your files are secure and can be easily recovered in the event of a computer crash, theft, or any other unforeseen circumstances.
In this guide, you learned about the importance of choosing the right external hard drive that fits your storage needs. You also learned how to connect the external hard drive to your Windows 10 computer and open the backup settings to configure your backup preferences.
By configuring the backup options, you personalized your backup process to meet your specific requirements. Initiating the backup process and verifying the backup helped ensure the safety and integrity of your data. Finally, scheduling automatic backups streamlined the backup process and made it more convenient for you to stay protected.
Remember, consistently backing up your files is crucial. Regularly check your backups and update them as needed. It’s also a good idea to store a copy of your important data in a separate off-site location for additional protection.
Don’t wait until disaster strikes to realize the importance of backups. Take the necessary steps today to protect your valuable data and gain peace of mind. Now that you have the knowledge and skills, you can confidently backup your Windows 10 computer to an external hard drive and ensure that your files are safe, secure, and easily recoverable.