Introduction
Welcome to our guide on how to restore a Windows 10 image backup from an external hard drive. Your computer’s data is valuable, and having a reliable backup can protect you from unforeseen events like system crashes, malware attacks, or accidental file deletions. Windows 10 provides a built-in backup feature that allows you to create a system image backup and save it to an external hard drive.
Restoring a Windows 10 image backup from an external hard drive can be a lifesaver in situations where your computer is unresponsive or experiences major issues. By following the steps outlined in this guide, you will be able to retrieve your system and files back to the exact state they were in when the backup was created.
Before we begin, ensure that you have an external hard drive with the previously created system image backup. This backup should include your operating system, installed programs, and personal files. Let’s dive in and learn how to successfully restore Windows 10 image backup from an external hard drive.
Step 1: Connect the External Hard Drive
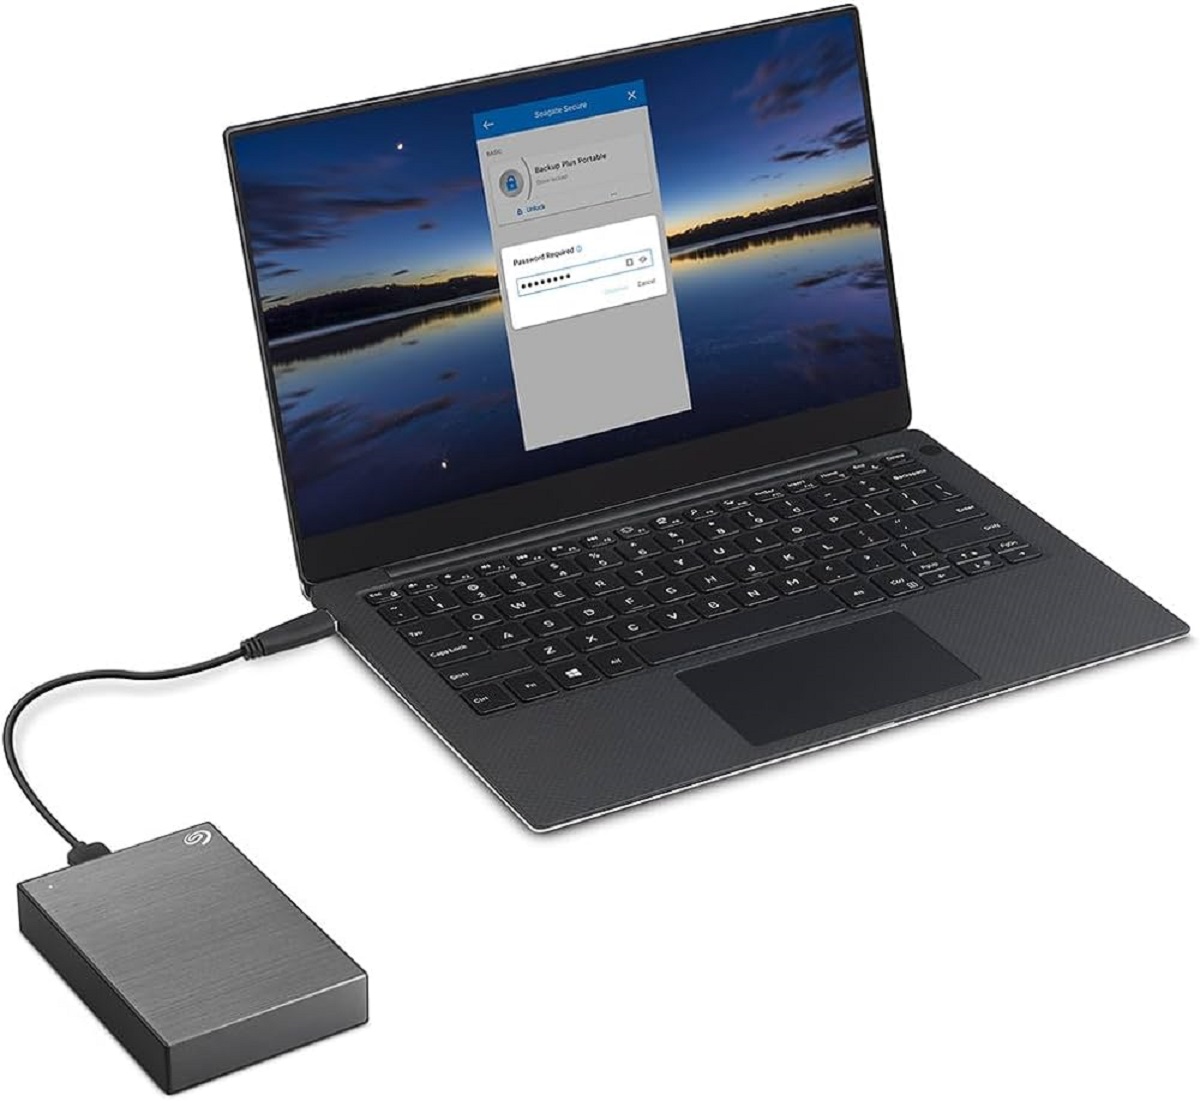
To begin the process of restoring your Windows 10 image backup, the first step is to connect the external hard drive that contains the backup files to your computer.
Locate an available USB port on your computer and insert the USB cable of the external hard drive into it. Ensure that the connection is secure and the drive is properly powered on.
If the external hard drive requires an external power source, make sure it is plugged into a power outlet. Some external hard drives draw power directly from the USB port, while others need additional power to operate.
Once the connection is established, wait for a few moments to allow your computer to recognize the external hard drive.
To confirm that the external hard drive is detected by your computer, you can open the File Explorer (previously known as Windows Explorer) by pressing the Windows key + E on your keyboard. Look for the external hard drive under the “This PC” or “Computer” section.
If you see the external hard drive listed, it means that the connection is successful, and you are ready to proceed to the next step. However, if the drive is not appearing in the File Explorer, you may need to troubleshoot the connection or try a different USB port.
Once the external hard drive is connected and recognized by your computer, you can proceed with the next steps to restore your Windows 10 image backup.
Step 2: Identify the Backup File
After connecting the external hard drive, the next step is to identify the backup file that you want to restore. This file contains the system image backup of your Windows 10 operating system and all your personal files.
Open the File Explorer by pressing the Windows key + E on your keyboard, and navigate to the external hard drive where you stored the backup file. Look for a folder or file with a name that corresponds to the date and time the backup was created. It may be labeled as a system image, backup, or have a specific name you assigned to it during the backup process.
If you are unsure about the exact location of the backup file, you can use the search function in the File Explorer to search for files with a specific extension. In the search bar at the top right corner of the File Explorer, type in the file extension of your backup file, such as “.vhd” or “.vhdx” for Windows image backups. This will help narrow down your search results.
Once you have located the backup file, take note of its location, including the folder path and the file name. This information will be needed in the next steps to access and restore the backup file.
Before proceeding, it is important to ensure that the backup file you have selected is the most recent and appropriate backup for restoring your system. You may want to double-check the date and time stamp of the backup file to confirm its relevance.
With the backup file identified, you are now ready to move on to the next step and access the Windows Recovery Environment.
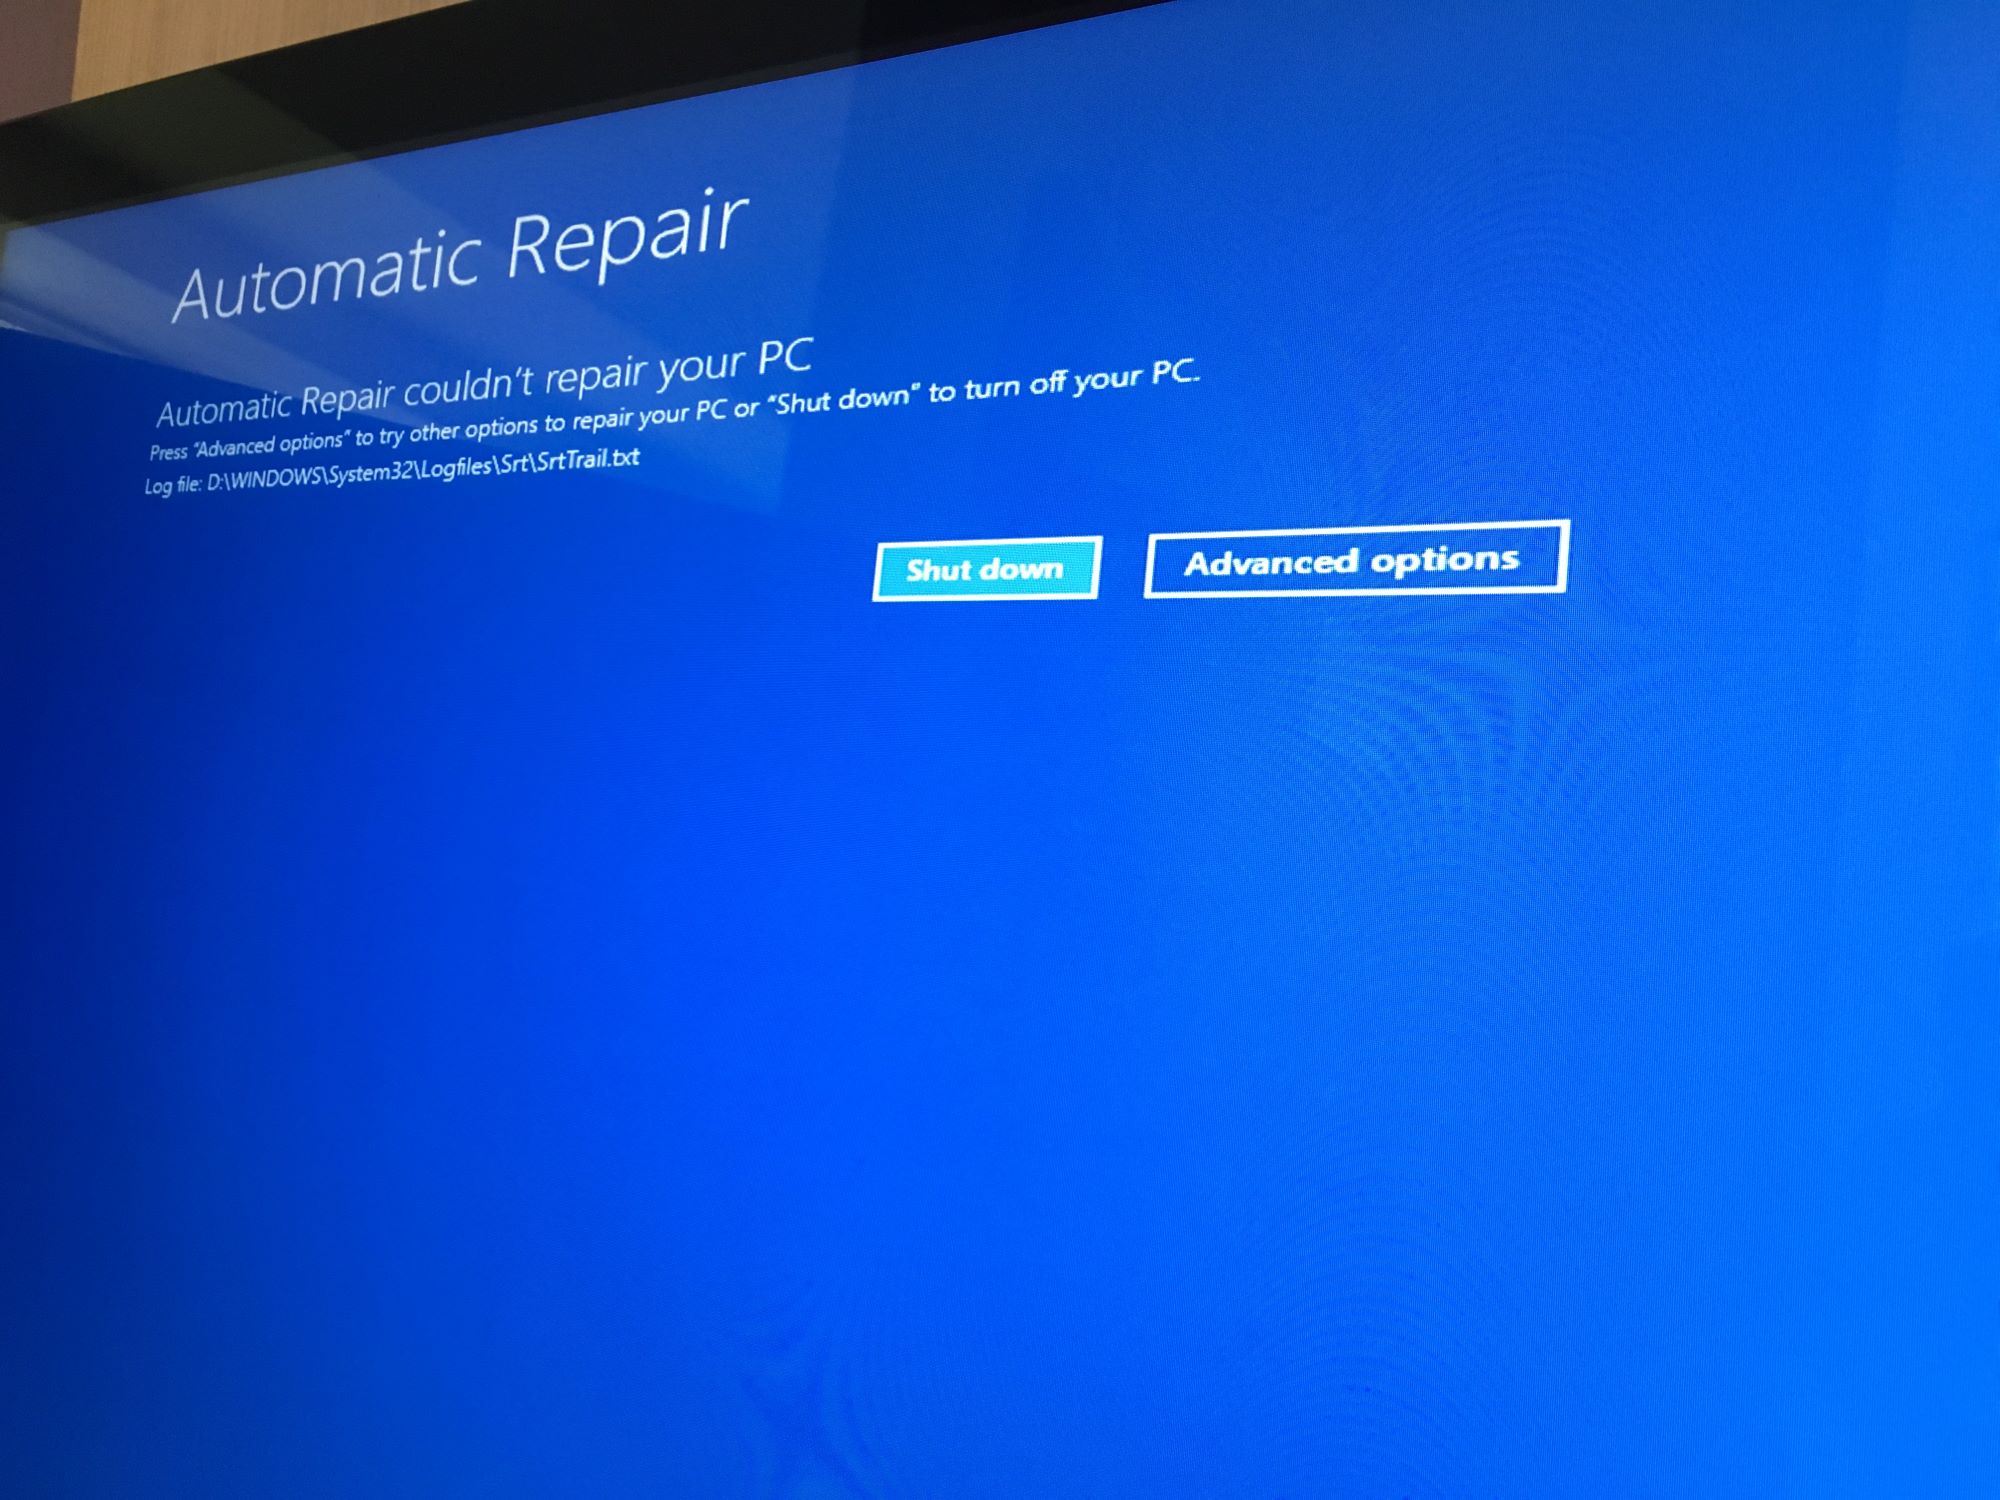
Step 3: Access Windows Recovery Environment
In order to restore your Windows 10 image backup from the external hard drive, you need to access the Windows Recovery Environment. This built-in feature of Windows provides various recovery and troubleshooting options.
Start by ensuring that your computer is turned off. Then, press the power button to turn it on. While your computer is booting up, you will need to interrupt the normal startup process to access the Windows Recovery Environment.
Depending on your computer model and configuration, you will need to use a specific key or key combination to access the Windows Recovery Environment. Some common keys include F8, F11, or F12. Check your computer’s manual or manufacturer’s website to determine the correct key or combination for your system.
Once you have determined the correct key or combination, restart your computer if necessary and press the designated key(s) repeatedly as soon as your computer powers on. This will prompt your computer to enter the Windows Recovery Environment.
If successful, you will see a screen with various recovery options. Select the option that allows you to troubleshoot or restore your system. The wording may vary slightly depending on your version of Windows 10.
If you are unable to access the Windows Recovery Environment using the designated key or combination, it may be necessary to modify the boot order in your computer’s BIOS settings. Consult your computer’s manual or manufacturer’s website for instructions on accessing and modifying the BIOS settings.
Once you have accessed the Windows Recovery Environment, you are now ready to proceed to the next step and select the System Image Recovery option.
Step 4: Select the System Image Recovery Option
Now that you have successfully accessed the Windows Recovery Environment, it’s time to select the System Image Recovery option to start the restoration process.
In the Windows Recovery Environment, you will see a series of recovery options. Look for an option that is labeled “System Image Recovery” or similar. This option is specifically designed for restoring a Windows system image backup.
Using the arrow keys on your keyboard, navigate to the “System Image Recovery” option and press Enter to select it. This will initiate the system image recovery process.
Depending on your computer’s configuration, you may be prompted to choose the operating system you want to restore. If you only have one operating system installed on your computer, it will be automatically selected.
Next, you may be asked to select a keyboard input method. Choose the appropriate option and click Next to continue.
If you are prompted to provide administrator credentials, enter the username and password for an administrator account on your computer and click OK or Continue.
After completing these steps, you will be taken to the System Image Recovery screen, where you can begin the restoration process.
It’s worth noting that selecting the System Image Recovery option will erase all the existing data on your computer’s hard drive. Make sure you have a recent backup of your important files and data before proceeding.
With the System Image Recovery option selected, you are now ready to choose the backup image you want to restore. This will be covered in the next step.
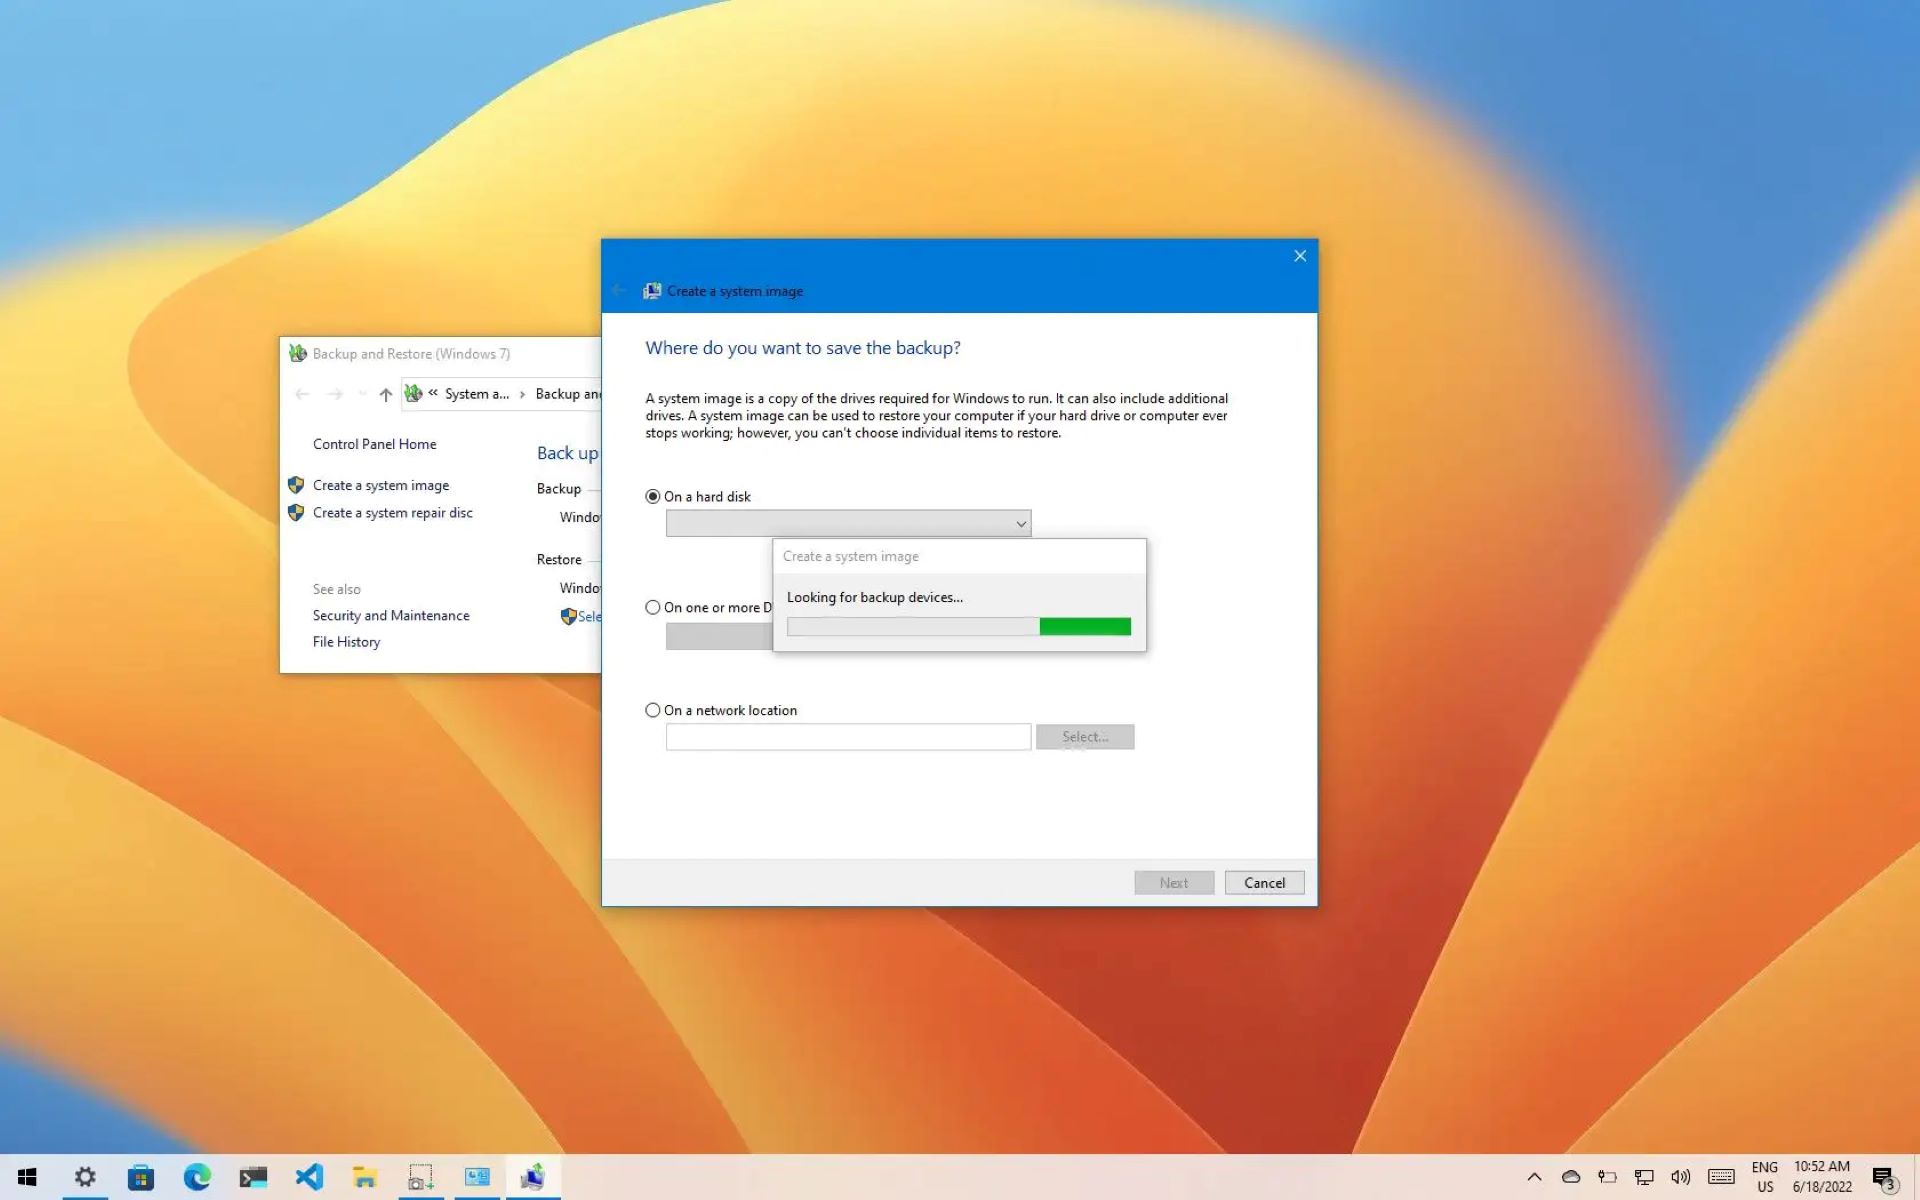
Step 5: Choose the Backup Image to Restore
After selecting the System Image Recovery option, you will now have the opportunity to choose the specific backup image that you want to restore to your computer.
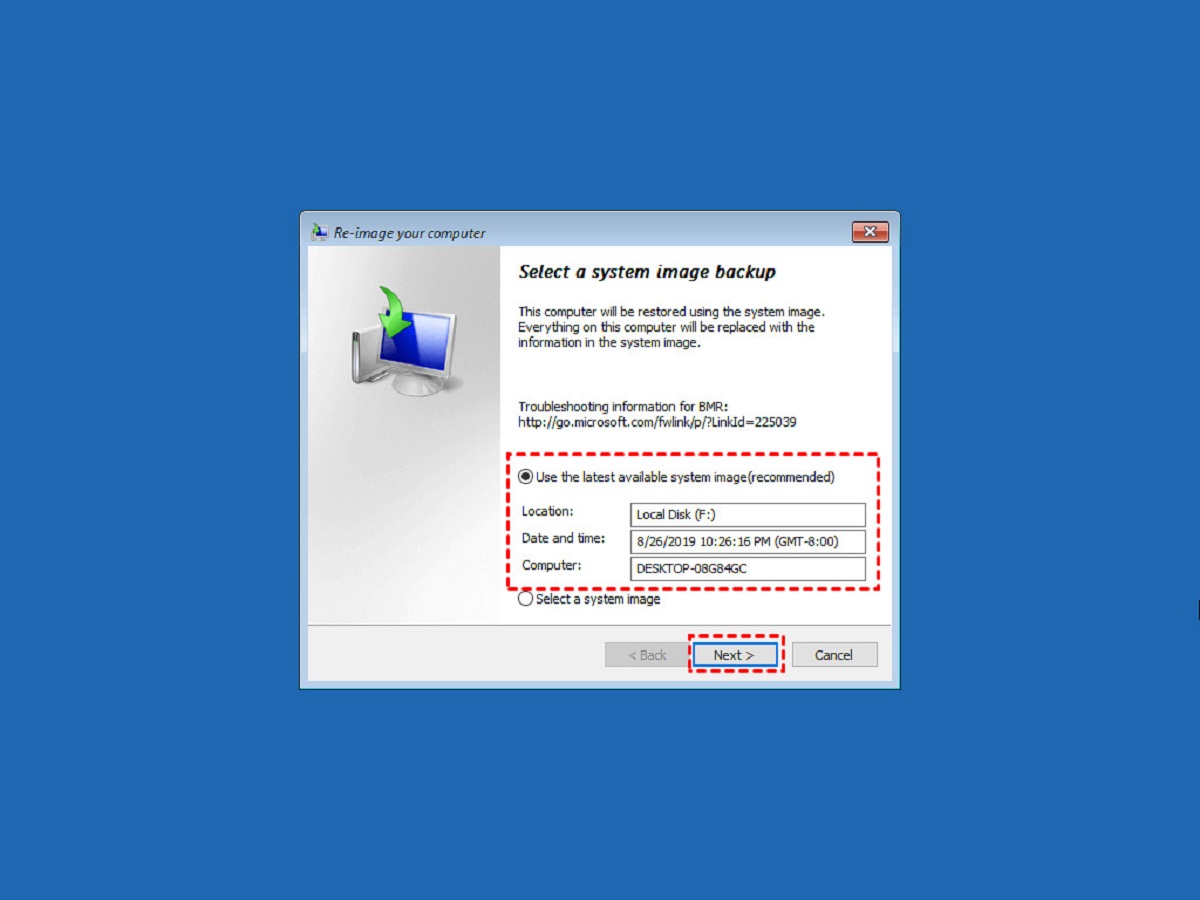
On the System Image Recovery screen, you will typically see a list of available backup images. These images are created from previous system image backups that you have performed.
Review the list of backup images and select the one that corresponds to the date and time you want to restore. Be sure to choose the most recent backup image to ensure that you have the latest version of your system and files.
If you do not see the backup image you are looking for, you may need to manually specify the location of the backup file. Click on the “Select a system image” option and browse to the folder where your backup file is stored on the external hard drive.
Once you have selected the appropriate backup image, click Next to continue.
On the next screen, you may be presented with additional options related to the restoration process. These options can include formatting and repartitioning your hard drive. Review the options and select the ones that align with your preferences and needs.
Keep in mind that formatting and repartitioning your hard drive will erase all existing data, so make sure you have backed up any important files beforehand.
After making your selections, click Next to confirm your choices and proceed with the restoration process. A warning message may appear, informing you that restoring your system will overwrite the existing data on your computer’s hard drive.
Once you are ready to proceed, click the “Finish” or “Yes” button. Your computer will now begin the process of restoring the selected backup image to your hard drive.
Now that you have chosen the backup image to restore, let’s move on to the next step and confirm the restore process.
Step 6: Confirm the Restore and Proceed with the Process
After selecting the backup image you want to restore, it is important to confirm your choices and proceed with the restoration process.
On the confirmation screen, carefully review the details of the restore operation. Take note of the selected backup image, the drive that will be restored, and any additional options you have chosen.
Double-check that you have selected the correct backup image and that you are comfortable with the restoration options that you have chosen.
Once you have confirmed that everything is correct, click on the “Next” or “Start” button to initiate the restore process. Your computer will begin restoring the selected backup image to your hard drive.
Depending on the size of the backup image and the speed of your computer and external hard drive, the restoration process may take some time. It is important to be patient and not interrupt the process.
Feel free to monitor the progress of the restore operation, as certain applications may display the estimated time remaining or a progress bar. This will help you gauge how much more time is needed for the restoration to complete.
During the restore process, your computer may restart multiple times as it configures the restored system and files. This is normal, and you should allow the process to continue without interruption.
It is crucial that you do not disconnect the external hard drive or turn off your computer during the restore process, as this can lead to data corruption or an incomplete restoration.
Once the restoration process is complete, you will see a confirmation message. It may indicate that the restore operation was successful and that you can now restart your computer to access the restored system.
Congratulations! You have successfully confirmed the restore process and proceeded with the restoration of the selected backup image. Now it’s time to move on to the next step and wait for the restoration to complete.
Step 7: Wait for the Restoration to Complete
After initiating the restoration process, it is important to be patient and wait for the restoration to complete. This step requires allowing the system ample time to restore the selected backup image to your computer’s hard drive.
The duration of the restoration process can vary depending on several factors such as the size of the backup image, the speed of your computer, and the performance of the external hard drive.
While the restoration is in progress, it is essential not to interrupt the process or perform any other actions that may interfere with it. It is recommended to avoid using the computer for other tasks during this time.
You may notice that your computer restarts multiple times during the restoration process. This is a normal part of the process, as the system configures the restored files and settings.
It is crucial not to disconnect the external hard drive or power off your computer during the restoration. Interrupting the process can result in data corruption or an incomplete restoration.
For an estimate of the remaining time, you can check for progress indicators or time estimations provided by the restoration tool. Keep in mind that these estimates may not always be entirely accurate, as the restoration process adapts to different system configurations.
While waiting for the restoration to complete, you can use this time to prepare for the final steps of the restoration process. Ensure that any necessary activation keys or licenses for your software are readily available to reactivate them after the restoration.
Once the restoration process is finished, your computer will display a message indicating the successful completion of the restore operation.
With patience and anticipation, you have now completed the waiting period for the restoration to finish. Now it’s time to move on to the next step and complete the restore process by restarting your computer.
Step 8: Complete the Restore Process and Restart Your Computer
After the restoration process has successfully completed, it’s time to finalize the restore process by restarting your computer.
Once you receive the confirmation message that the restoration is complete, you should see an option to restart your computer. Click on the “Restart” or “Finish” button to proceed.
Your computer will now go through the restart process, which may take a few moments. During this time, it will configure the restored system and integrate all the necessary settings and files.
After the restart, your computer should boot up with the restored Windows 10 operating system and all of your personal files intact. You will notice that your computer is in the exact state it was when the backup file was created.
Take some time to explore your computer and ensure that everything has been restored correctly. Check if all your installed programs are functioning properly, and verify that your personal files are accessible and up-to-date.
If everything appears to be in order, congratulations! You have successfully completed the restore process and now have your Windows 10 system back to its previous state.
It is recommended to create a new backup of your system at this point to ensure that you have the most recent version of your data saved in case of any future issues or emergencies.
Lastly, take a moment to update any necessary software licenses or activation keys that may have been reset during the restoration process. This will ensure that all your programs are fully licensed and functioning as intended.
With the completion of the restore process and the successful restart of your computer, you can now enjoy the restored system and continue using your computer with confidence.
Thank you for following this guide on how to restore a Windows 10 image backup from an external hard drive. We hope this tutorial has been helpful in assisting you with the restoration process.
Conclusion
Restoring a Windows 10 image backup from an external hard drive is a crucial process to recover your system and files in the event of unforeseen issues or data loss. By following the steps outlined in this guide, you can successfully restore your Windows 10 image backup and bring your computer back to its previous state.
Throughout the process, it is important to ensure that you have a recent and reliable system image backup stored on an external hard drive. Connecting the external hard drive, identifying the backup file, accessing the Windows Recovery Environment, and selecting the System Image Recovery option are the initial steps to take.
Choosing the backup image to restore, confirming the restore process, and waiting patiently for the restoration to complete requires attention to detail and a bit of patience. It is crucial to avoid interrupting the process or powering off your computer to prevent any data corruption or incomplete restoration.
Once the restoration is complete, it is essential to finalize the process by restarting your computer. Verify that all your programs are functioning correctly and update any necessary software licenses or activation keys to ensure smooth operation.
We hope this guide has provided you with the knowledge and confidence to restore your Windows 10 image backup from an external hard drive. Remember to regularly create and update your backups to safeguard your data and system.
Thank you for reading, and we wish you a successful restoration process and a fully functional Windows 10 system!